How to Set Up a Forest Trail for Hiking
- September 11, 2024
- 0 comment
Hiking is an invigorating way to explore nature, offering a chance to unwind, connect with the environment, and experience the beauty of the outdoors. Creating a forest trail for hiking is not only a rewarding project but also a valuable contribution to the community, providing a safe and enjoyable path for others to immerse themselves in the wilderness.
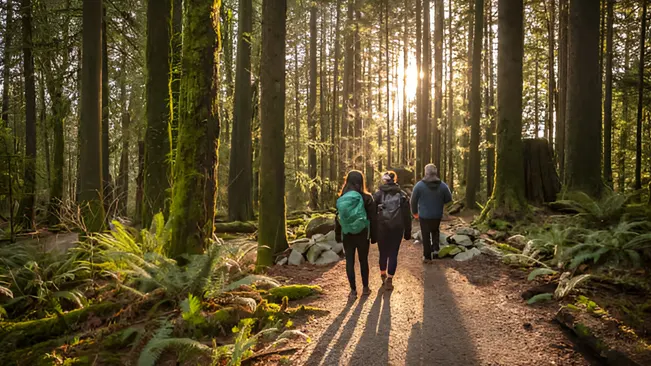
This guide will walk you through the process of setting up a forest trail for hiking, ensuring that it’s well-designed, sustainable, and accessible for everyone.
Table of Content
- Planning Your Forest Trail
- Designing the Trail
- Preparing the Trail Bed
- Building Trail Structures
- Ensuring Sustainability
- Making the Trail Accessible
- Promoting Your Trail
- Safety Considerations
- Trail Etiquette and Rules
- Monitoring and Improving the Trail
1. Planning Your Forest Trail
The first step in creating a successful forest trail is thorough planning. Before you start, take time to research the area where you intend to build the trail. Understand the local ecosystem, wildlife, vegetation, and any existing trails.

- Choosing the Location: Select an area that offers scenic views, interesting flora and fauna, and diverse terrain to enhance the hiking experience. Consider the accessibility of the location for potential hikers and the impact on local wildlife.
- Understanding Regulations: Check with local authorities and environmental agencies to ensure that your trail development complies with regulations. You may need permits or permissions, especially if the trail crosses public or protected lands.
- Assessing the Terrain: Conduct a detailed survey of the land. Look at topographical maps to understand elevation changes, water bodies, and potential obstacles like cliffs or swamps. Use this information to plot a preliminary route that maximizes safety and enjoyment while minimizing environmental impact.
2. Designing the Trail
Once you’ve chosen your location, the next step is to design the trail. This phase is crucial as it determines how user-friendly and sustainable your trail will be.

- Trail Length and Difficulty: Decide on the length and difficulty level of your trail. It’s important to cater to your target audience, whether they are beginners, families with children, or experienced hikers. Consider creating loops or branches for varying difficulty levels within the same trail system.
- Route Mapping: Use GPS technology to map out the route. Aim to create a path that highlights the area’s natural beauty, such as viewpoints, water features, and unique vegetation. Avoid steep grades that could cause erosion or be challenging for hikers.
- Switchbacks: If your trail crosses steep terrain, incorporate switchbacks. These are zigzag paths that reduce the grade of ascent or descent, making the trail easier to hike and reducing soil erosion.
- Trail Width: Determine the appropriate trail width. A narrow trail (18-24 inches wide) is sufficient for single-file hiking, while a wider trail (4-6 feet) may be necessary for areas with heavy foot traffic or where hikers may need to pass each other.
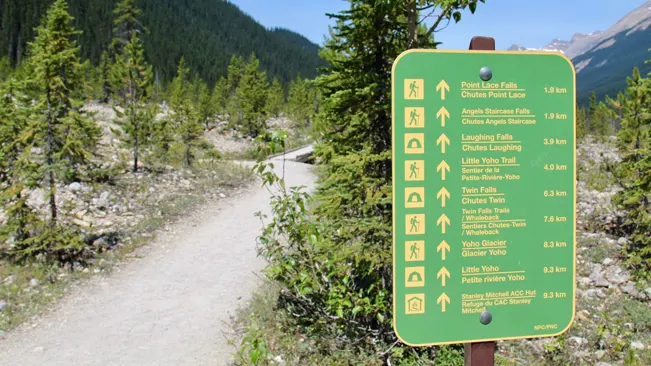
- Trail Markers: Plan for the placement of trail markers, which help hikers stay on the path and provide information about direction, distance, and safety. Use durable, weather-resistant materials for these markers.
3. Preparing the Trail Bed
Creating the trail bed involves clearing the path of obstacles and ensuring a stable, durable surface that can withstand foot traffic.
- Clearing the Path: Start by removing any debris, such as fallen trees, rocks, and underbrush. However, be mindful of the natural environment; try to preserve significant trees and vegetation that contribute to the trail’s aesthetics and ecological balance.
- Grading and Smoothing: Use hand tools or small machinery to grade the trail bed, ensuring it is smooth and has a gentle slope for drainage. A well-graded trail helps prevent water accumulation and reduces the risk of erosion.
- Installing Water Bars: Water bars are diagonal barriers placed across the trail to divert water off the path, preventing erosion. Install them in areas where water naturally flows during rainstorms, particularly on slopes.
- Adding Trail Surfacing: Depending on the type of soil and the expected foot traffic, you may need to add a surfacing material, such as gravel, wood chips, or crushed stone. This helps stabilize the trail bed and makes the trail more comfortable to walk on.
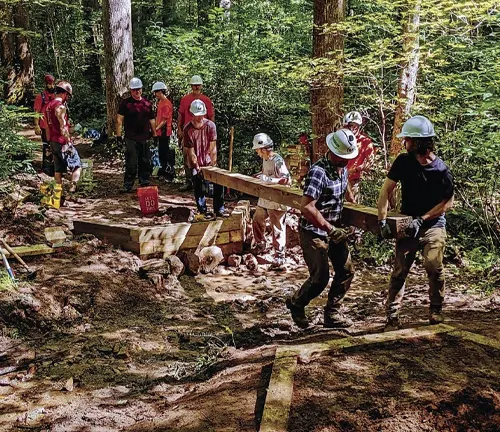
4. Building Trail Structures
In some areas, you may need to build structures like bridges, steps, or boardwalks to maintain the trail’s usability and protect the environment.
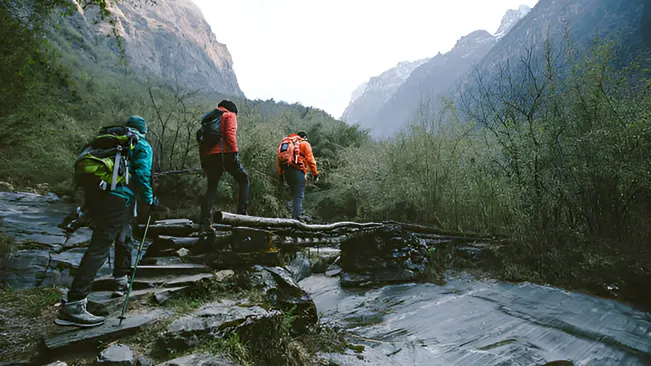
- Bridges: If your trail crosses streams or rivers, building a bridge is essential for hiker safety and to prevent damage to the waterway. Use durable, rot-resistant materials like treated wood or steel, and ensure the bridge is wide enough for safe passage.
- Steps and Staircases: On steep sections of the trail, steps or staircases may be necessary to prevent erosion and make the ascent or descent easier. Construct them using natural materials, such as logs or stones, that blend with the environment.
- Boardwalks: In wetland areas or places with fragile vegetation, building a boardwalk can protect the ecosystem while allowing hikers to traverse the terrain safely. Ensure the boardwalk is raised sufficiently to avoid flooding and is built with non-slip materials.
5. Ensuring Sustainability
Sustainability is a key consideration when building a forest trail. A well-designed trail minimizes its impact on the environment and remains in good condition for years to come.

- Erosion Control: Preventing erosion is crucial to maintaining the integrity of your trail. In addition to water bars, consider using retaining walls made of logs or rocks on steep slopes to stabilize the soil.
- Habitat Preservation: Be conscious of the local wildlife and plants. Avoid disturbing animal habitats and minimize the removal of vegetation. Where possible, reroute the trail around sensitive areas to reduce human impact.
- Trail Maintenance Plan: Establish a maintenance plan to keep the trail in good condition. This includes regular inspections for damage, clearing debris, and repairing any structures or surfacing materials that have deteriorated.
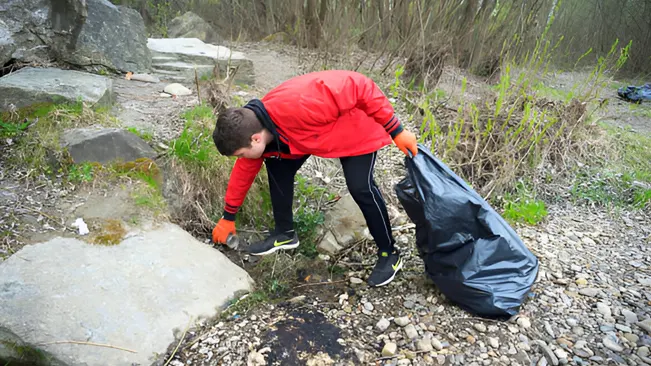
- Educating Hikers: Use signage to educate hikers about Leave No Trace principles, which encourage responsible outdoor behavior. This includes staying on the trail, not disturbing wildlife, and carrying out all trash.
6. Making the Trail Accessible
To ensure that your trail is inclusive, consider making it accessible to people with different abilities.
- Signage and Information: Provide clear signage that indicates the difficulty level, trail length, and any accessibility features. Information at the trailhead should include a map and details about the terrain, so hikers can choose a trail that suits their abilities.
- ADA Compliance: If feasible, design portions of the trail to be compliant with the Americans with Disabilities Act (ADA). This includes having a stable, firm surface, gentle slopes, and accessible facilities like restrooms and parking.
- Rest Areas: Incorporate rest areas with benches or seating, especially along more challenging sections of the trail. These can be simple, rustic spots that offer a chance to relax and enjoy the scenery.
7. Promoting Your Forest Trail
Once your forest trail is complete, it’s time to share it with the public. Promotion can help attract visitors and ensure that the forest trail is used and appreciated.
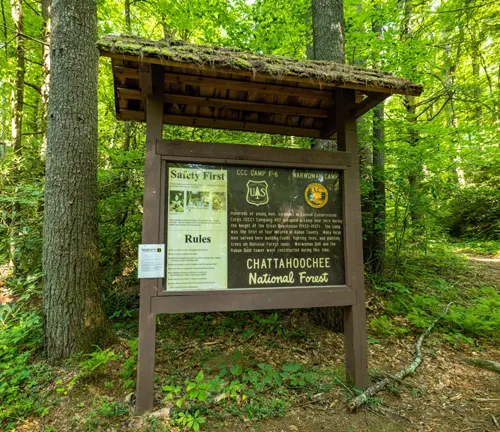
Trailhead Information
Create a welcoming trailhead with maps, rules, and information about the trail. Include details on the length, difficulty, and points of interest. A well-organized trailhead sets the tone for the hiking experience.
Community Involvement
Engage the local community by hosting a trail opening event or inviting volunteers to help with trail maintenance. Community involvement can foster a sense of ownership and responsibility toward the trail.
Guided Hikes
Organize guided hikes or nature walks to introduce people to the trail. These events can highlight the natural features of the trail and educate participants about the local environment.

8. Safety Considerations
Safety is paramount when setting up a forest trail. Ensuring that hikers are safe on the trail will enhance their experience and reduce the risk of accidents.
- Emergency Exits: Plan for emergency access points along the trail, especially if it’s long or remote. These should be clearly marked and accessible to rescue teams in case of an emergency.
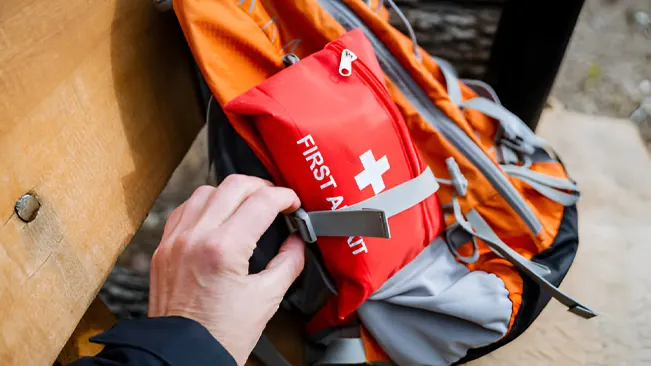
- First Aid Kits: Consider placing first aid kits at the trailhead and at key points along the trail. These should be easily accessible and stocked with essentials for treating minor injuries.
- Weather Considerations: Provide information on the typical weather conditions in the area and advise hikers on how to prepare. This could include signage at the trailhead about the need for proper footwear, water, and protective clothing.
9. Trail Etiquette and Rules
Establishing clear rules and encouraging good trail etiquette is essential for maintaining a pleasant and safe environment for all trail users.
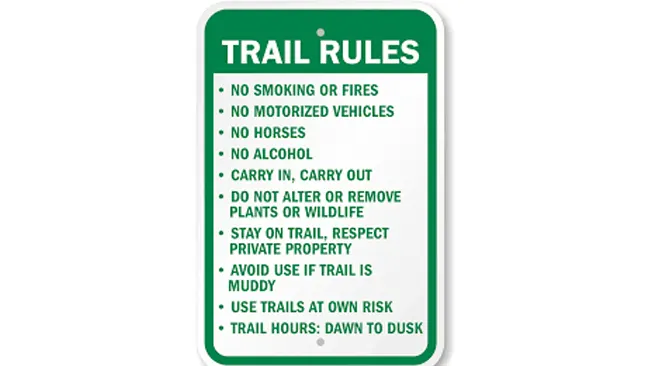
- Trail Rules: Post rules at the trailhead, including guidelines on staying on the trail, respecting wildlife, and not littering. Include information about the permitted uses of the trail, such as whether it’s open to mountain biking or horses.
- Trail Etiquette: Encourage hikers to practice good trail etiquette, such as yielding to uphill hikers, keeping noise levels low, and being courteous to other trail users. This can be communicated through signage or in promotional materials.
10. Monitoring and Improving the Forest Trail
After the Forest trail is open, regular monitoring and improvements are essential to ensure its longevity and quality.
- User Feedback: Gather feedback from hikers to identify areas for improvement. This could be done through surveys, suggestion boxes at the trailhead, or online reviews.
- Trail Adjustments: Be open to making changes based on user feedback and environmental observations. This might involve rerouting sections of the trail, improving signage, or adding amenities like rest areas or additional trail markers.
- Long-Term Maintenance: Develop a long-term maintenance plan that includes regular inspections, repairs, and updates to the trail. This helps ensure that the trail remains safe and enjoyable for years to come.
Conclusion
Setting up a forest trail for hiking is a fulfilling project that offers long-lasting benefits to both the community and the environment. By following the steps outlined in this guide, you can create a forest trail that is safe, sustainable, and enjoyable for hikers of all skill levels. From initial planning to ongoing maintenance, each phase of the process is an opportunity to contribute to the preservation and appreciation of the natural world.
Frequently Asked Questions (FAQs)
- What is the first step in setting up a forest trail for hiking?
The first step in setting up a forest trail is thorough planning. This involves selecting a suitable location, understanding the local ecosystem, checking for necessary permits, and assessing the terrain to determine the best route for the trail. - Do I need any permits to create a hiking trail in the forest?
Yes, depending on the location of your trail, you may need to obtain permits from local authorities or environmental agencies, especially if the trail crosses public land, protected areas, or private property. - How do I ensure that the trail is sustainable and environmentally friendly?
To ensure sustainability, design the trail to minimize erosion, protect wildlife habitats, and reduce environmental impact. Use techniques like switchbacks on steep slopes, water bars for drainage, and avoid disturbing sensitive areas. - What materials should I use for surfacing the trail?
The choice of surfacing material depends on the soil type and expected foot traffic. Common materials include gravel, wood chips, and crushed stone. These materials help stabilize the trail bed and make it more comfortable and durable for hikers. - How wide should a hiking trail be?
Trail width varies based on the expected usage. A narrow trail (18-24 inches) is sufficient for single-file hiking, while a wider trail (4-6 feet) may be needed in areas with heavy foot traffic or where hikers need to pass each other. - What is the best way to mark the trail?
Use durable, weather-resistant trail markers that are easy to spot but blend with the natural environment. Place markers at regular intervals and at critical points like trail intersections or where the path might be unclear. - How can I make the trail accessible for people with disabilities?
To make a trail accessible, design it with gentle slopes, a stable and firm surface, and ADA-compliant features such as accessible restrooms and parking. Ensure that signage provides clear information about the trail’s accessibility. - What kind of structures might be necessary on the trail?
Structures like bridges, steps, and boardwalks might be necessary to cross water bodies, navigate steep sections, or protect sensitive ecosystems. Use materials that are durable and blend well with the environment. - How do I maintain the trail after it’s built?
Regular maintenance includes inspecting the trail for damage, clearing debris, repairing structures, and addressing any erosion issues. A long-term maintenance plan should be established to keep the trail safe and enjoyable. - How can I promote the trail to the public?
Promote the trail through local tourism websites, social media, and hiking apps. Host a trail opening event, provide detailed information at the trailhead, and consider organizing guided hikes to introduce the community to the trail.

James Wilson
Forestry AuthorJames Wilson has over 15 years of experience in forestry economics, specializing in sustainable practices, investment opportunities, and financial management. He has contributed to notable publications like "Forestry Today" and "EcoFinance Journal" and is known for providing practical and insightful advice. With a degree in Environmental Economics, James stays updated through continuous learning and active participation in industry discussions. Outside work, he enjoys hiking and nature photography, bringing a well-rounded perspective to his professional role.


Leave your comment