How to Sharpen a Chainsaw: Saw Sharpening Tips and Best Guides
- February 24, 2025
- 0 comment
Maintaining a chainsaw is essential for both its performance and user safety. A dull chain not only reduces cutting efficiency but also increases the likelihood of accidents due to kickback or improper cutting. Regular sharpening is key to keeping a chainsaw in peak condition, extending its lifespan, and ensuring smooth operation.
Proper sharpening techniques allow the tool to cut through wood effortlessly, saving time and reducing wear on the engine. Learning the right methods, from using the correct tools to following step-by-step procedures, makes all the difference in maintaining optimal chainsaw function.
Why Chainsaw Sharpening is Important
Chainsaws work by cutting wood with a series of sharpened teeth. Over time, these teeth dull from use, especially when cutting dirty or hard materials. A dull chainsaw doesn’t just slow down your work but also puts unnecessary stress on the machine and increases fuel consumption. Most importantly, a dull chain can increase the risk of kickback, one of the most dangerous situations you can face with a chainsaw. Regular sharpening keeps the tool effective, safe, and energy-efficient.
Understanding the Basic Chainsaw Teeth and Angles
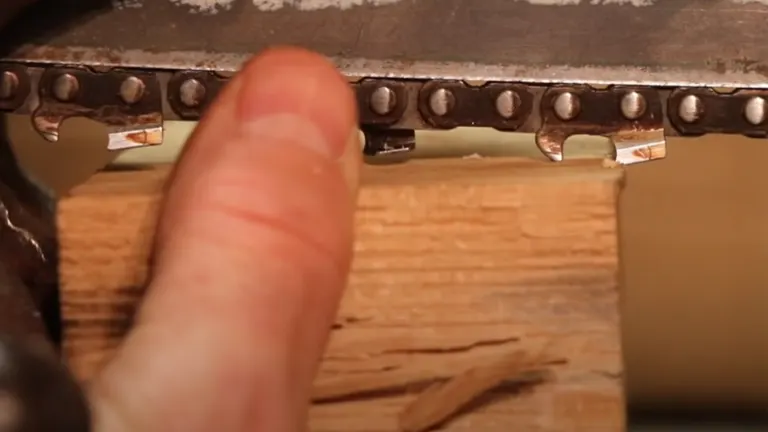
Chainsaw teeth have two components: the cutting edge and the raker. The cutting edge slices through the wood, while the raker controls the depth of the cut. For optimal performance, the cutting teeth need to be sharp and the rakers must be adjusted appropriately.
Chainsaw teeth are sharpened at a specific angle, usually between 25° to 35°, depending on the chain type and the work you’re doing. A sharper angle is used for softwood, while a more aggressive angle works better for hardwood.
Tools Needed for Chainsaw Sharpening
Before you begin, gather the necessary tools. The following items are essential for sharpening a chainsaw effectively:

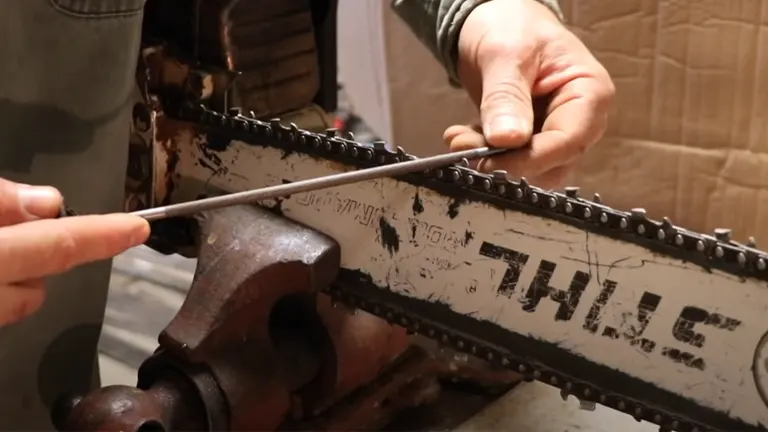
- Round File: Used to sharpen the individual cutting teeth.
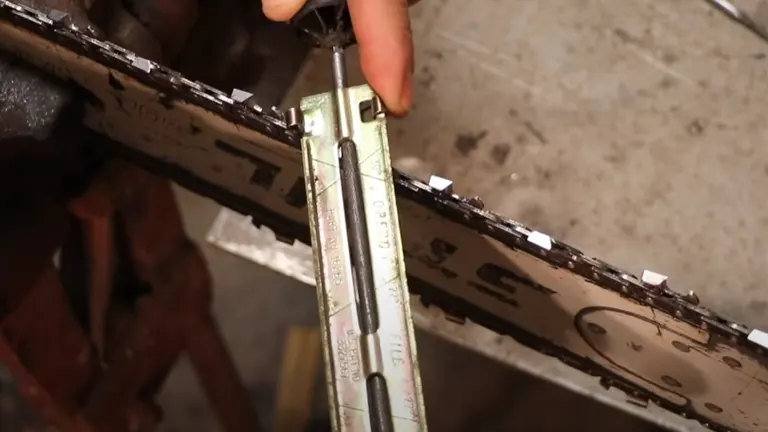
- File Guide: Ensures the file is held at the correct angle.
- Depth Gauge Tool: Adjusts the height of the rakers (also called depth gauges).
- Flat File: Used to file down the depth gauges.
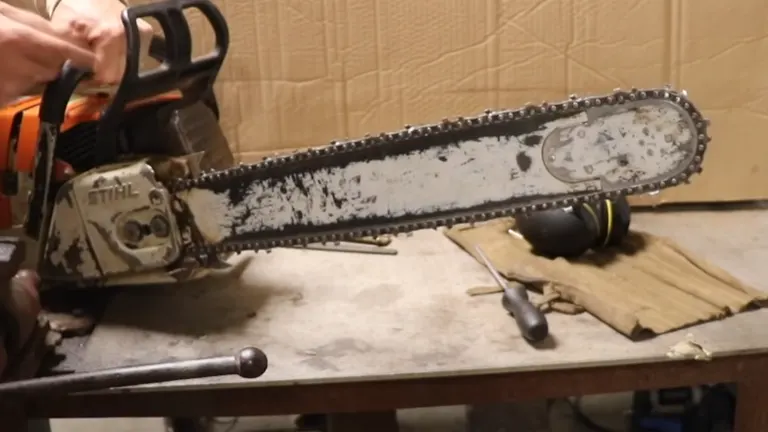
- Vise or Clamp: Keeps the chainsaw bar steady while sharpening.
Having the right tools not only makes sharpening easier but ensures that the saw is sharpened uniformly.
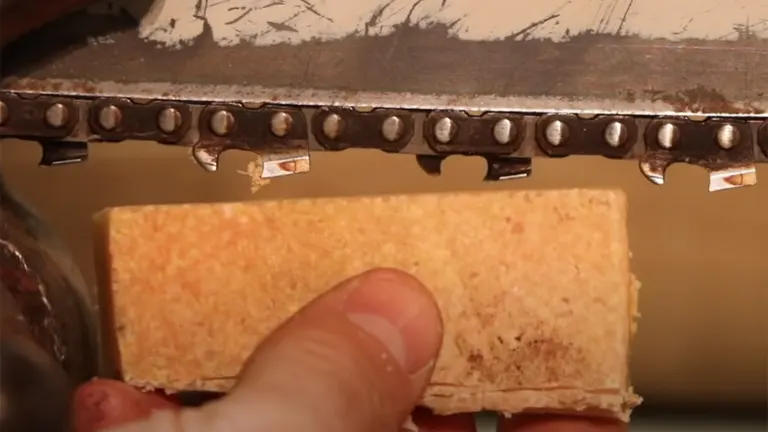
Inspecting the Chain for Wear
Before you sharpen the chain, inspect it for wear and damage. Look for:
- Broken Teeth: If any teeth are broken or severely damaged, replace the chain.
- Bent or Warped Chain Links: These can cause irregular cuts and should be replaced.
- Excessively Worn Teeth: If the cutting teeth are too worn, the chain may need replacement rather than sharpening.
If your chain passes inspection, you’re ready to begin sharpening.
What Else You Need to Know about Chainsaw Sharpening Guide
There are a few other things that relate to chainsaw sharpening that you should know.
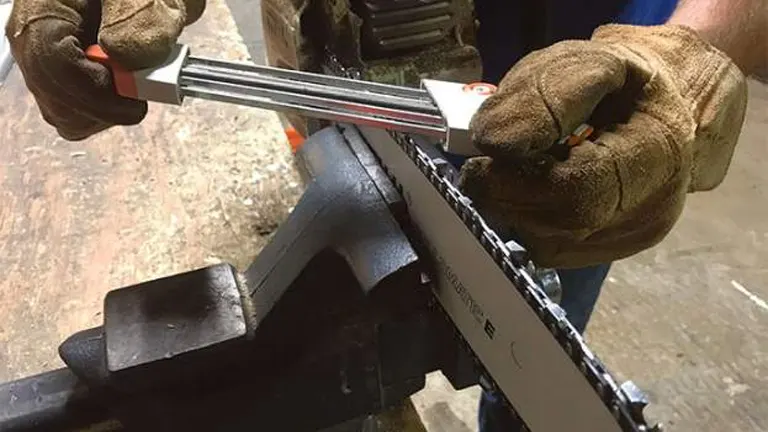
- Secure the Chainsaw:
Before sharpening, clamp the chainsaw bar in a vise or use a chainsaw clamp. This holds the chainsaw steady, allowing for precise sharpening. - Select the Correct File:
The file size must match the chain’s cutting tooth size. Chains come in different pitches (the distance between links), so verify your chain’s specs before choosing the file. - Set the File Guide:
Attach the file guide to maintain the correct sharpening angle, generally marked on the guide itself. - Sharpen the Teeth:
Position the file in the guide at the designated angle (usually 30°). File each cutting tooth with smooth, even strokes—typically 5 to 10 strokes per tooth. Always file from the inside of the tooth outward, and count the number of strokes to maintain uniform sharpness. - Alternate Sides:
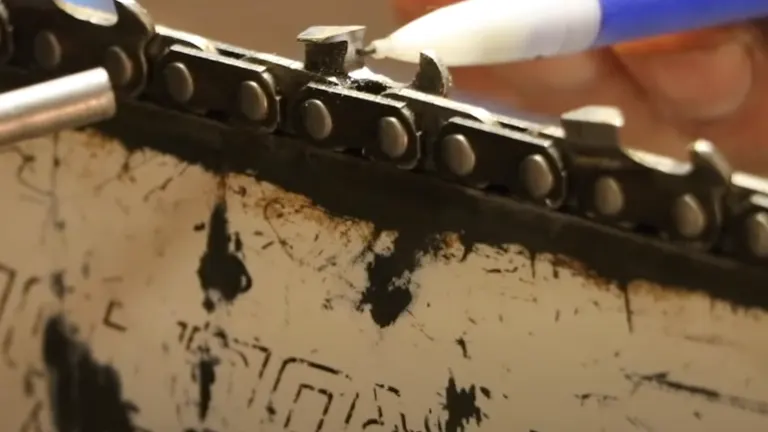
Once you’ve sharpened all the teeth on one side of the chain, rotate the chainsaw to access the teeth on the other side. Ensure consistency by maintaining the same number of strokes per tooth. - Check and Adjust the Rakers:
After sharpening the cutting teeth, use the depth gauge tool to check the rakers. If they’re too high, the chain won’t cut deeply enough. Use a flat file to lower the rakers to the correct height, as recommended by your chainsaw’s manufacturer.
Safety Tips During Chainsaw Sharpening
When sharpening a chainsaw, prioritize safety. Here are a few key points:
- Wear Safety Gear: Always wear gloves to protect your hands from sharp teeth and files. Safety glasses protect your eyes from metal filings.
- Turn Off the Chainsaw: Never sharpen a chainsaw while it’s running. Ensure the engine is off and cool before beginning.
- Work in a Safe Area: Choose a well-lit, clutter-free workspace.
When to Replace the Chainsaw Chain
Even with regular sharpening, chainsaw chains will eventually need to be replaced. Signs that it’s time to replace the chain include:
- Teeth are too short: Chains have a limit to how much they can be filed. If the teeth have been sharpened down too much, they won’t cut efficiently.
- Frequent dulling: If the chain becomes dull quickly after sharpening, it may be too worn out.
- Damaged or missing teeth: Chains with multiple damaged teeth are unsafe and should be replaced.
Maintaining a Chainsaw Chain
Proper chainsaw chain maintenance extends the life of your chain and reduces the need for frequent sharpening:
- Lubricate the Chain: A well-oiled chain cuts more efficiently and wears less. Check your chainsaw’s oil level regularly.
- Avoid Dirt and Rocks: These materials dull a chainsaw chain quickly. Be mindful when cutting logs close to the ground.
- Tension Adjustment: A loose chain can come off the bar, while an overly tight chain can overheat. Always adjust chain tension as per your chainsaw’s manual.
Chainsaw Sharpening Services
If you’re not comfortable sharpening a chainsaw yourself, professional sharpening services are available. Hardware stores and small engine repair shops often provide sharpening services. While this may save time, learning to sharpen a chainsaw yourself ensures that you can always maintain your tool in top condition, especially during extended projects where you can’t afford downtime.
Final Conclusion
Sharpening a chainsaw is a vital skill that improves both performance and safety. By understanding your chainsaw’s components, using the correct tools, and following proper sharpening techniques, you can keep your chainsaw running at peak efficiency. Regular sharpening reduces wear, saves fuel, and prevents dangerous accidents, ensuring that your chainsaw is ready for any cutting task.
Frequently Asked Questions (FAQs)
- What sizes of chains can the Oregon 620-120 sharpen?
It accommodates various chain sizes and pitches, making it suitable for different chainsaw models. - Is the sharpener electric or manual?
It’s an electric sharpener, providing quicker and more precise sharpening compared to manual options. - Does the sharpener come with a work light?
Yes, it features a built-in light for better visibility during sharpening. - Can it sharpen both professional and DIY chains?
Yes, it’s versatile enough for both professional and home chainsaw users. - How long does setup take?
With its mounting bracket, setup is quick and easy, typically only taking a few minutes. - What is the primary advantage of using this sharpener?
The main advantage is its precision, allowing uniform sharpening that extends chain life. - Is it suitable for frequent use?
Yes, the sharpener is designed for heavy-duty, frequent use, making it durable and long-lasting. - Is the price worth it for occasional users?
While more expensive, it may be unnecessary for occasional users but is ideal for those who regularly sharpen chains.
We hope these chainsaw sharpening tips help you maintain your tool for safe, efficient use. Have sharpening techniques or experiences to share? Join the conversation below—your advice could benefit others. Don’t forget to share this guide with anyone looking to keep their chainsaw in top shape for smooth, safe cutting.

David Murray
Forestry AuthorI'm David Murry, a forestry equipment specialist with a focus on chainsaw operation. With over 13 years of experience, I've honed my skills in operating and maintaining a wide range of machinery, from chainsaws to log splitters. My passion for the outdoors and commitment to sustainable forestry drive my work, which emphasizes safety, efficiency, and staying updated with industry advancements. Additionally, I'm dedicated to sharing my expertise and promoting environmental awareness within the forestry community.


Leave your comment