How to Remove Creosote from a Wood Stove 2024
- September 26, 2023
- 2 comment
Creosote is a byproduct of wood combustion that can accumulate in wood stoves and their flues. This tar-like substance can be a fire hazard if left unchecked, so it’s crucial to understand how to remove it effectively. In this article, we’ll explore the steps to get rid of creosote and maintain a clean wood stove.
What is Creosote?
Creosote is a mixture of organic chemicals produced when wood is burned. There are three stages of creosote buildup:
The Three Stages of Creosote Buildup
1. First Degree Creosote (light and fluffy):
- Appearance and Texture: At this initial stage, creosote is primarily sooty and powdery. It resembles a light dusting of ash or black fluff.
- Formation: It forms when there is a relatively good combustion process, with a reasonably efficient air-to-fuel ratio. Even with optimal conditions, some creosote formation is inevitable.
- Risks: This type of creosote buildup poses a lower fire risk compared to its later stages, but it can still reduce the efficiency of the stove or chimney due to restricted airflow.
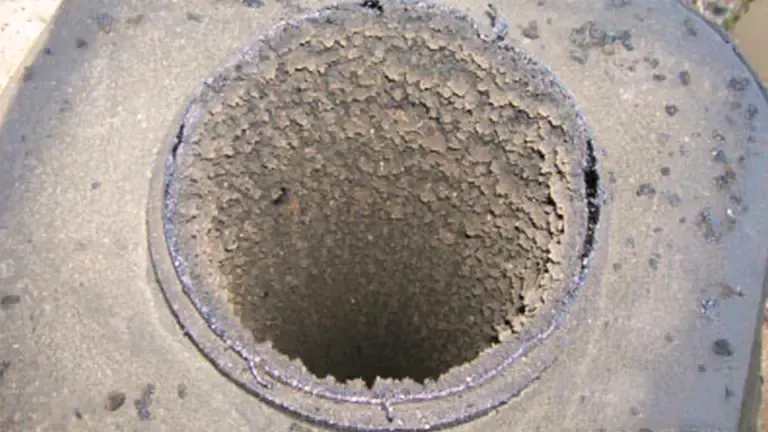
2. Second Degree Creosote (porous and crunchy):
- Appearance and Texture: Resembling hard popcorn or crispy bread crusts, this stage of creosote is granular and has puffy formations.
- Formation: It usually forms when the combustion process is cooler than ideal. This can be due to burning unseasoned or damp wood, or when the fire smolders because of restricted airflow.
- Risks: The crunchy nature means it’s more challenging to remove than first-degree creosote. If it ignites, it can lead to chimney fires that are more intense than those caused by the first degree.
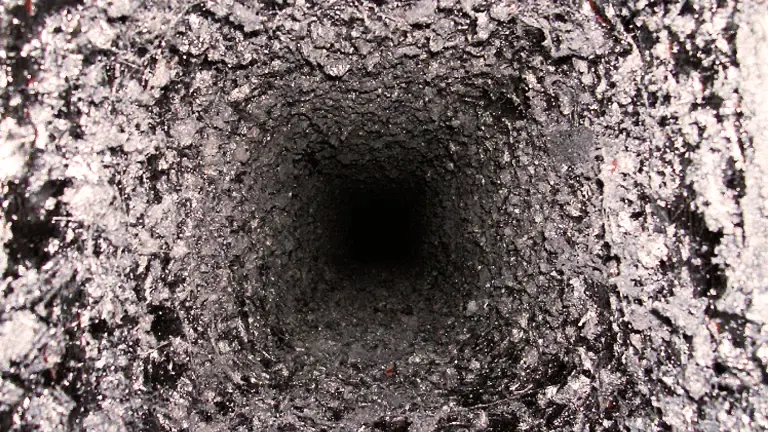
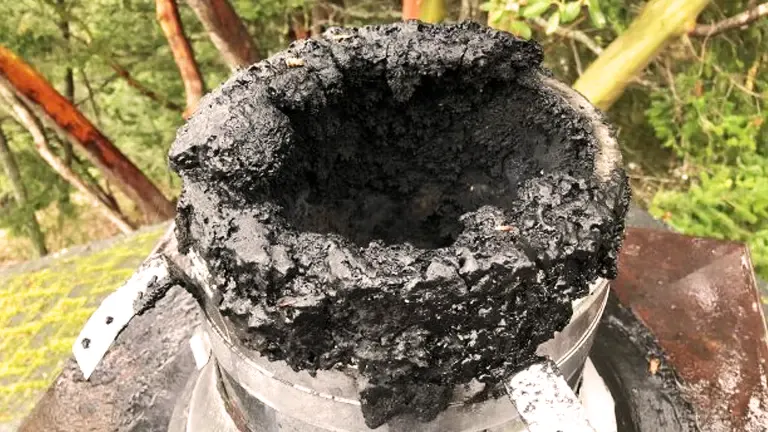
3. Third Degree Creosote (shiny and hard):
- Appearance and Texture: It looks glossy, and shiny, and might be hard and smooth or sticky and tar-like, often resembling a coating of black paint or tar on the chimney or stove’s walls.
- Formation: This stage is a result of very low combustion temperatures, often stemming from restricted air supply, burning green wood, or a combination of both.
- Risks: It’s the most dangerous type of creosote. It’s highly flammable and is the primary cause of most chimney fires. Its dense nature means it’s highly insulating, further lowering the combustion temperature and worsening the buildup.
Steps to Remove Creosote
Safety First
Before you begin, prioritize safety. Wear old clothes that you won’t mind staining or getting dirty. Protect your eyes with goggles and wear a dust mask to prevent inhaling any soot or debris. If you’re working in an enclosed space, ensure it’s well-ventilated. And if you’re venturing onto the roof, always use a sturdy ladder. Consider employing a roof harness for extra security.
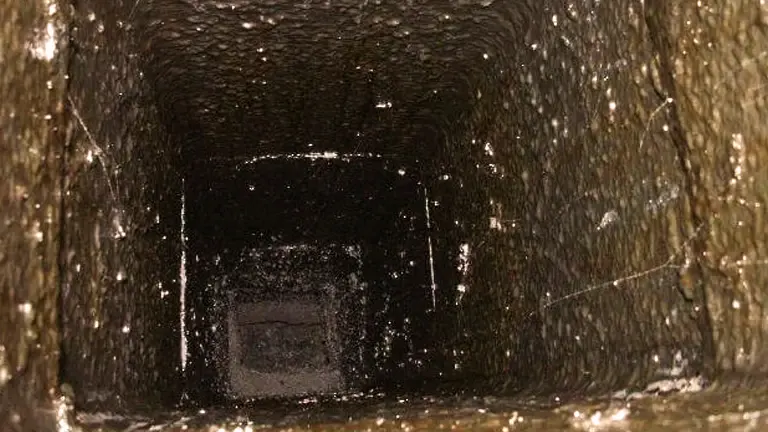
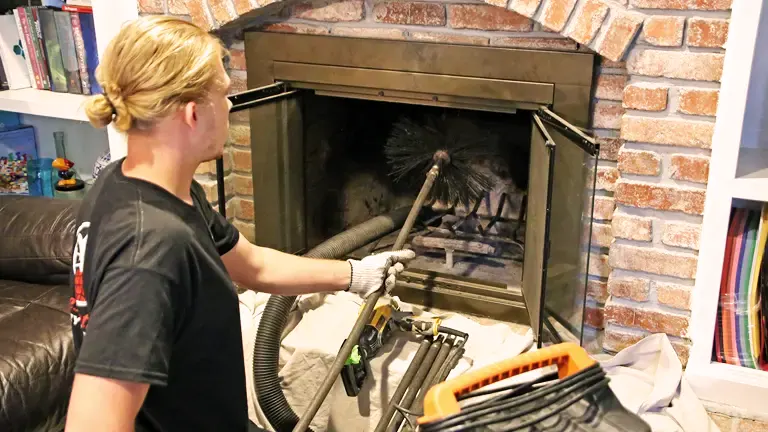
Inspect the Chimney
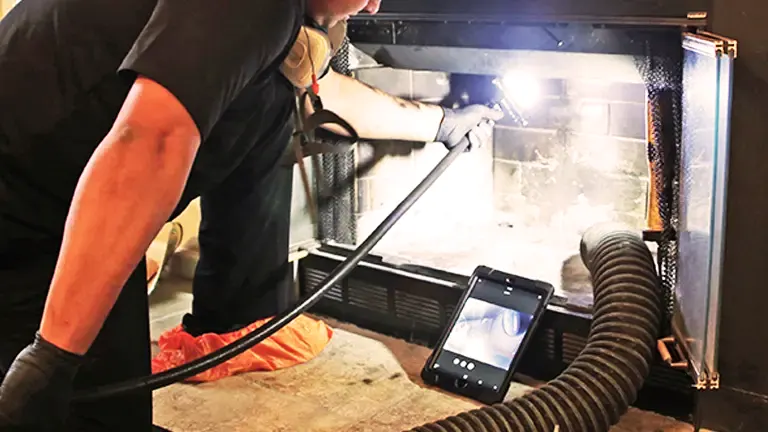
Begin your creosote removal process by performing a visual inspection of the chimney. With a flashlight in hand, examine the inside of your chimney flue. This will give you an idea of the amount and type of creosote buildup you’re dealing with. Creosote can manifest in various forms: it might appear flaky, possess a sticky or tar-like consistency, or be hard and shiny.
Gather Necessary Tools
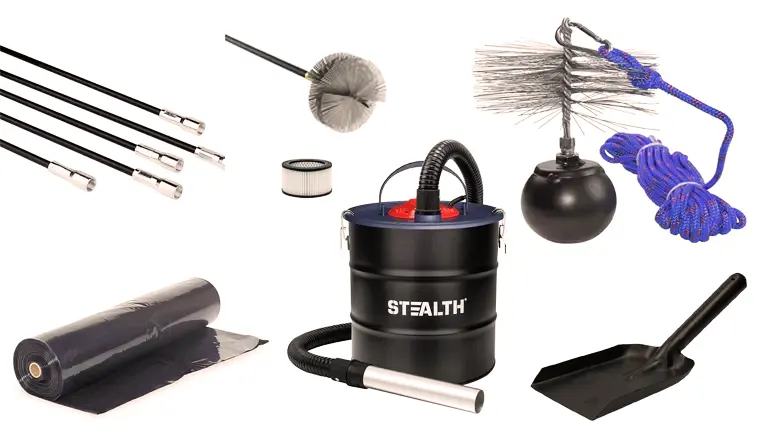
The right tools can make the task more manageable. Depending on the extent of the buildup, you might need a chimney brush that fits the dimensions of your chimney, extension rods, a chimney brush rope and weight, a tarp or plastic sheeting, a powerful shop vacuum with a robust filter, a scraper, small shovel, buckets, and trash bags.
Prep the Area
Before you commence cleaning, prep the surrounding area to keep your home clean. Lay down a tarp or plastic sheeting around your fireplace or wood stove. This will catch any falling debris. Additionally, seal off the fireplace or stove using plastic sheeting. This will contain the dust and soot, preventing them from spreading throughout your living space.
Cleaning from the Top
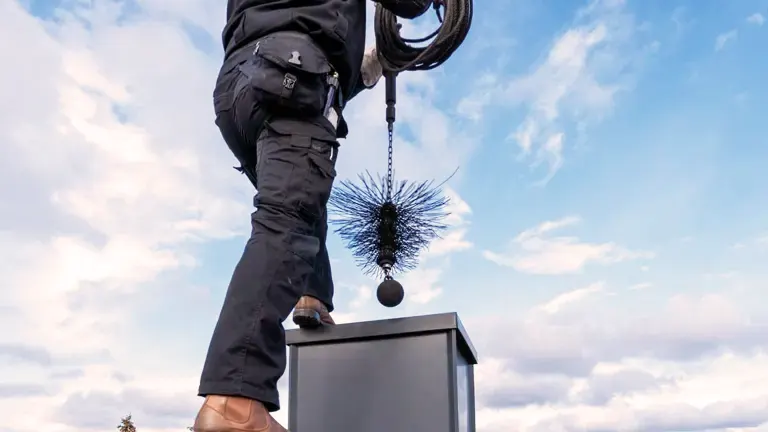
For those comfortable working from the roof, start the cleaning process from the top. Securely attach your chimney brush to one section of the extension rod. Then, insert the brush into the chimney from above and engage in an up-and-down scrubbing motion. As you progress, add more rod sections as necessary. Continue this process until the entire chimney length is free of creosote.
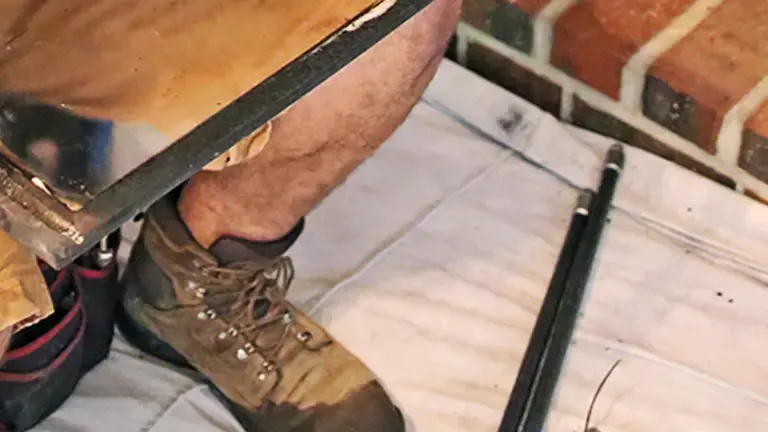
Cleaning from the Bottom
If you’d rather avoid the roof, or if it’s safer to do so, you can also clean from the bottom. For this method, attach a rope and weight to your chimney brush. Drop this weighted brush down the chimney, then pull it up and down. This action will scrub away the creosote from the interior chimney walls.s
Scrape Away Larger Deposits
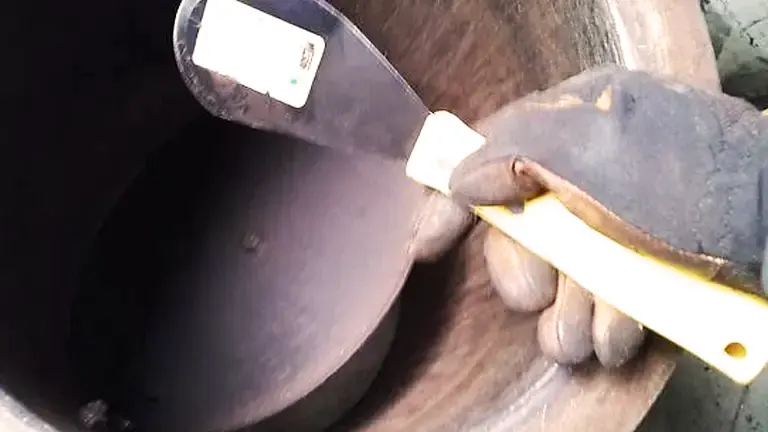
In instances of significant creosote accumulation, a brush might not be sufficient. Use a scraper or a small shovel to manually and carefully dislodge these larger deposits.
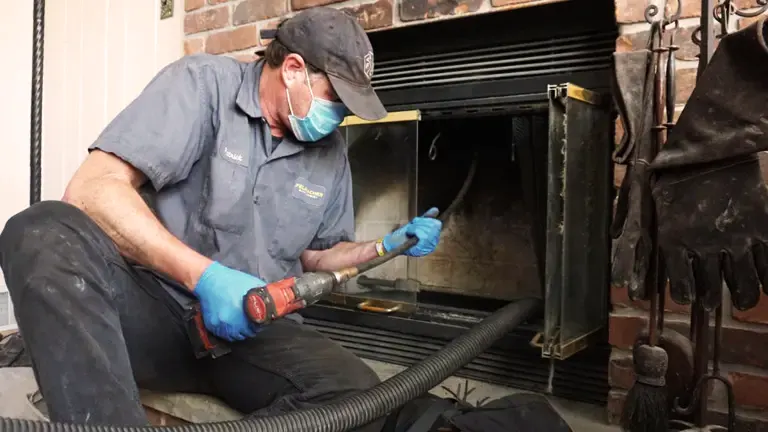
Clean the Firebox
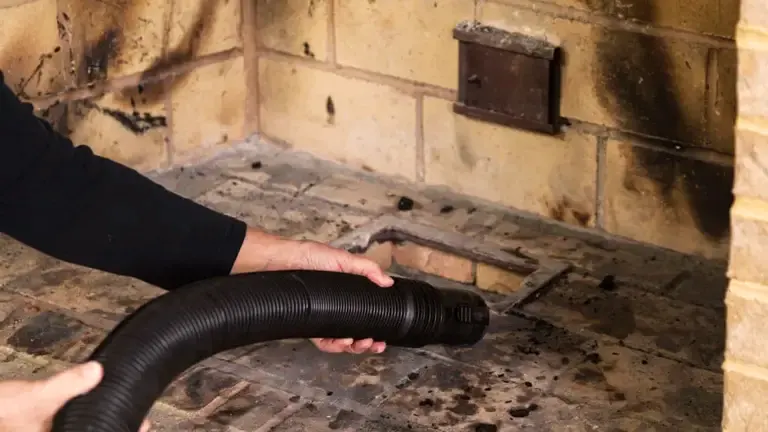
Don’t forget the firebox. First, empty it of any residual ash or creosote. Then, employ a shop vacuum to eradicate any lingering debris, ensuring a clean finish.
Dispose of Creosote
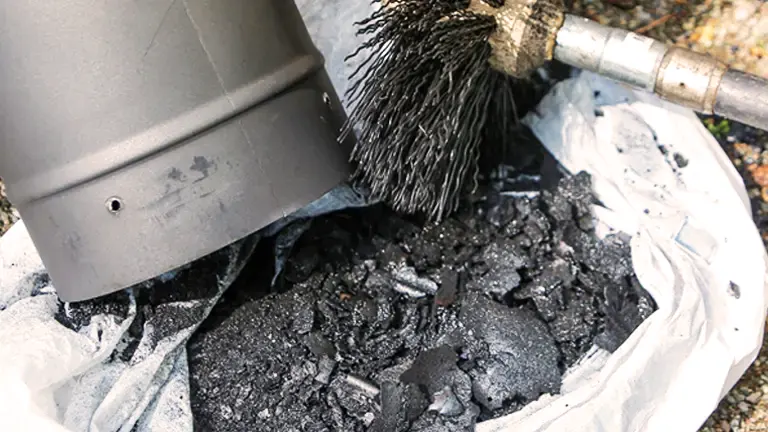
Handling the post-cleanup is essential. Transfer all the creosote debris into trash bags. Be aware that some local regulations might classify creosote as hazardous waste. Always check and adhere to these guidelines when disposing of the material.
Regular Maintenance
Creosote buildup is a recurring issue, but regular maintenance can keep it at bay. Always use dry, seasoned wood when lighting your fireplace or stove, as this minimizes creosote formation. Schedule an annual inspection and cleaning by a professional chimney sweep. While creosote sweeping logs can help reduce buildup, they should never replace a professional cleaning.
Conclusion
Regularly removing creosote is an essential aspect of maintaining a wood-burning stove or fireplace. Not only does it ensure the efficient functioning of the stove, but it also plays a critical role in preventing potential chimney fires.
Expert Insight: If that stubborn creosote still lingers, here’s a trusted product you might want to try!
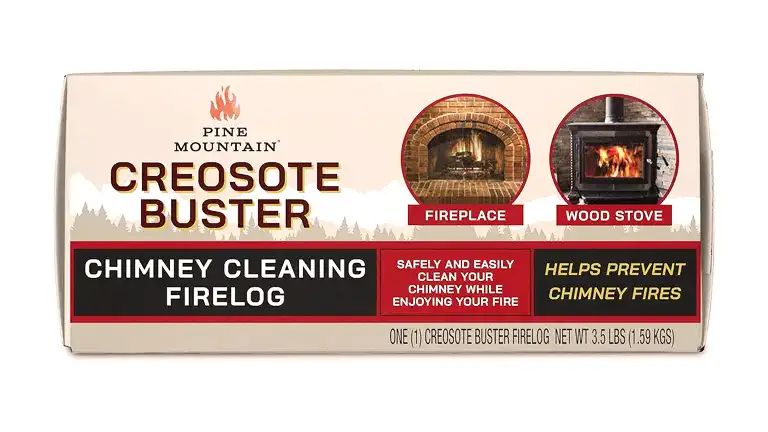
“I discovered the Creosote Buster Fire log, a game-changer for fireplace safety. It targets and breaks down creosote compounds in chimneys, reducing fire risks. Just use it once a season, and it handles the creosote buildup seamlessly. Environmentally, it outperforms traditional cordwood, emitting significantly less carbon monoxide and particulates. Made in the U.S., it blends quality and eco-friendliness, making fireplace moments both safe and authentic. It stands out even when compared to popular brands like Duraflame and Blackwood Charcoal.“
– David Murray
FAQs
- I’ve noticed there are different colors and consistencies of creosote. What does this mean?
Creosote varies in appearance based on its formation stage. A light, flaky deposit indicates early-stage creosote which is easier to clean. A sticky, tar-like consistency signals the intermediate stage, while a hard, glossy appearance is indicative of third-stage creosote, which is the most challenging to remove and most hazardous in terms of potential chimney fires. - Can creosote be recycled or used for any practical purpose?
While historically, creosote was used as a preservative for wood, modern health and environmental concerns make its reuse inadvisable for most applications. Disposal in compliance with local regulations is recommended. - Does the type of stovepipe or chimney liner affect creosote buildup?
Absolutely. A smooth, insulated stainless steel liner, for example, will typically have less buildup than an older, unlined chimney because it stays hotter, reducing condensation of creosote. - Is there a relationship between outdoor temperature and creosote buildup?
Yes, in colder weather, the exterior part of the chimney is cooler, which can increase the condensation of creosote inside, especially if the stove is not operated efficiently. - Are there any DIY creosote removers or homemade solutions that can help in its removal?
While commercial creosote removers are most commonly recommended, some individuals swear by using a mixture of baking soda and water or even chimney sweeping logs. However, for thick or glazed creosote, professional cleaning is essential. - If I notice a lot of creosote, should I stop using my wood stove immediately?
Significant creosote buildup can pose a fire risk. If you notice excessive buildup, it’s a good idea to reduce usage and have the stove and chimney inspected and cleaned as soon as possible. Safety should always come first.
In wrapping up our comprehensive guide on How to Remove Creosote from a Wood Stove 2024, we hope you’ve found the insights beneficial. As the world of wood stoves continues to evolve, sharing experiences and best practices becomes all the more vital. We’re eager to hear your thoughts, experiences, and any tips you’ve garnered in your creosote removal journey. Every shared piece of advice could make someone’s task easier and safer. So, don’t hold back – let’s make our wood-burning community even more informed and robust by sharing our collective wisdom. Your voice matters!

David Murray
Forestry AuthorI'm David Murry, a forestry equipment specialist with a focus on chainsaw operation. With over 13 years of experience, I've honed my skills in operating and maintaining a wide range of machinery, from chainsaws to log splitters. My passion for the outdoors and commitment to sustainable forestry drive my work, which emphasizes safety, efficiency, and staying updated with industry advancements. Additionally, I'm dedicated to sharing my expertise and promoting environmental awareness within the forestry community.
2 comments
Hello, I would like to add my comment here. Before installing my stove & flue I ready extensively about the problems occurring when burning fuel in a wood stove/multi fuel stove. One of the big highlights was ensuring the flue doesn't cool down too quickly during it use, also about the best lighting stage. The chimney we planned to use was in a 200 year old cob cottage. It has a quite a large chimney. So I fitted two registration plates at the bottom, the lower one which was removable the upper one in more fixed position. I then fitted 2 stainless steel flexible flue liners up the chimney. Then working from roof I filled the chimney void around the 2 flues with clay beads (similar to type I had installed in house floor as part of a breathable floor). I capped one flue, top & bottom, to be available at later date, if need be. With this arrangement I have noticed that a small amount chimney dust accumulates only each year. I brush every year, after about 3 months use. This stove heats our water and underfloor heating on the ground floor only. I can in fact run radiators if need be. Normally we burn between 3 to4 hrs a day only.


I was told by a fireman from New Brunswick that all the fire departments in the east to tell people to burn potato peels in the wood stove as they remove the creosote buildup!
Lynda
October 3, 2023 7:49 am