Tips for Storing Lumber
- August 16, 2024
- 0 comment
Storing lumber properly is essential for maintaining its quality and ensuring it remains usable for future projects. Whether you’re a professional woodworker, a DIY enthusiast, or someone who appreciates the beauty and utility of wood, understanding how to store lumber correctly can save you time, money, and effort. Here’s a comprehensive guide with detailed tips for effective lumber storage.
1. Choose the Right Environment
The environment in which you store your lumber is crucial for preserving its quality. Wood is sensitive to changes in temperature and humidity, which can lead to warping, cracking, and other forms of damage. Here are some key factors to consider:
- Temperature Control: Store lumber in a location where the temperature is relatively stable. Avoid places with extreme temperature fluctuations, like uninsulated garages or sheds. Ideally, the storage area should be cool but not cold, as extreme cold can make wood brittle. Sudden temperature changes can cause the wood to expand and contract rapidly, leading to cracks and splits.
- Humidity Levels: Maintaining consistent humidity levels is vital. High humidity can cause wood to swell, while low humidity can lead to shrinkage and cracking. Aim for a humidity level of around 35-55%. You can use a dehumidifier to reduce humidity or a humidifier to add moisture when needed. Fluctuations in humidity can cause the wood to warp and distort over time.
- Ventilation: Ensure the storage area is well-ventilated. Good airflow helps to prevent moisture buildup, which can lead to mold and mildew. Open windows or use fans to keep the air circulating around your lumber. Proper ventilation also helps to maintain a consistent temperature and humidity level throughout the storage area.
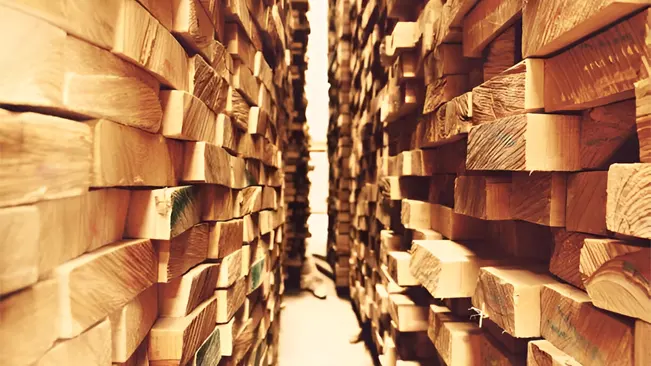
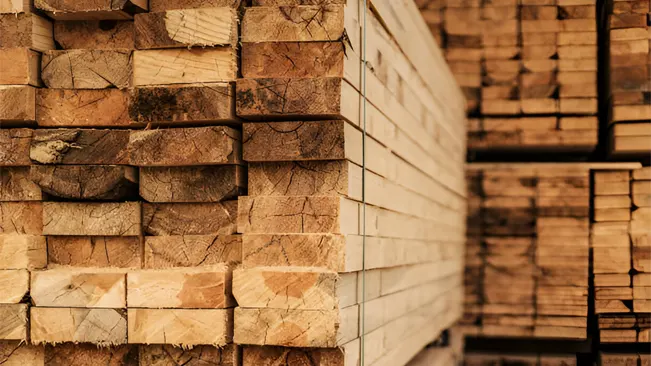
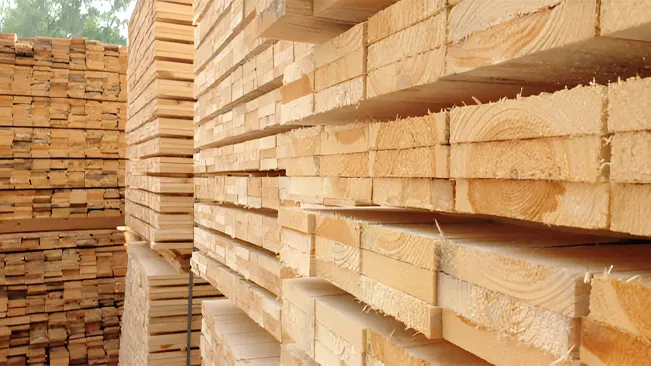
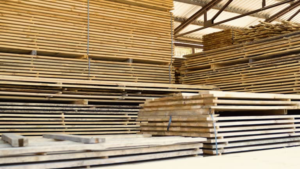
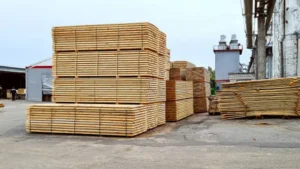
2. Proper Stacking Techniques
How you stack your lumber can significantly impact its longevity and usability. Improper stacking can lead to warping and other deformities. Follow these guidelines for effective lumber stacking:
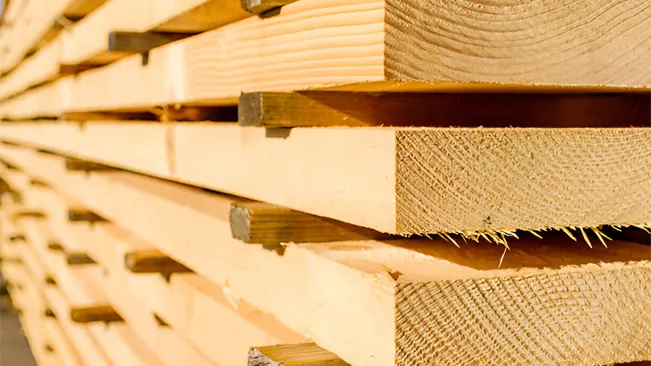
- Elevate the Lumber: Always keep your lumber off the ground. Use pallets, cinder blocks, or other supports to elevate the wood. This prevents moisture from the ground from seeping into the lumber and causing damage. Elevating the lumber also allows for better air circulation around the bottom layers.
- Even Support: Place supports or stickers (small pieces of wood) of equal thickness between each layer of lumber. These should be spaced at regular intervals (every 16 to 24 inches) to provide even support and allow air circulation. Make sure the stickers are aligned vertically across all layers to prevent bending. Using stickers of varying thicknesses can cause the lumber to warp or twist.
- Flat Surface: Ensure that the surface on which you stack the lumber is flat and level. An uneven surface can cause the lumber to bend and warp over time. If stacking on the ground, make sure the area is smooth and free of debris. Using a concrete slab or a level wooden platform can provide an ideal surface for stacking lumber.
- Weight Distribution: Distribute weight evenly across the stack to avoid putting too much pressure on any single point. This helps maintain the structural integrity of the wood and prevents deformation. Avoid stacking heavy lumber on top of lighter pieces, as the weight can cause the bottom layers to compress and distort.
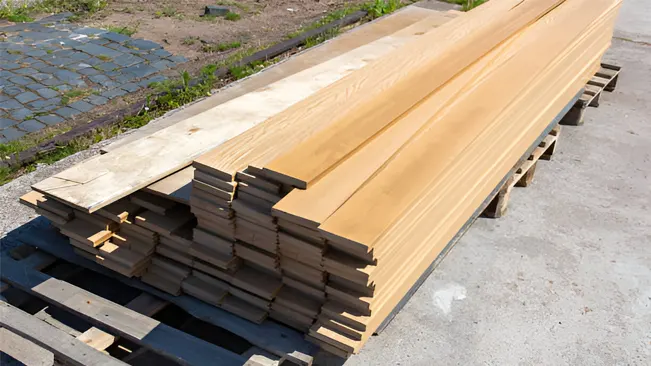
3. Protection from Elements
Protecting lumber from the elements is crucial, especially if it is stored outdoors or in an area exposed to weather conditions. Here are some protective measures:
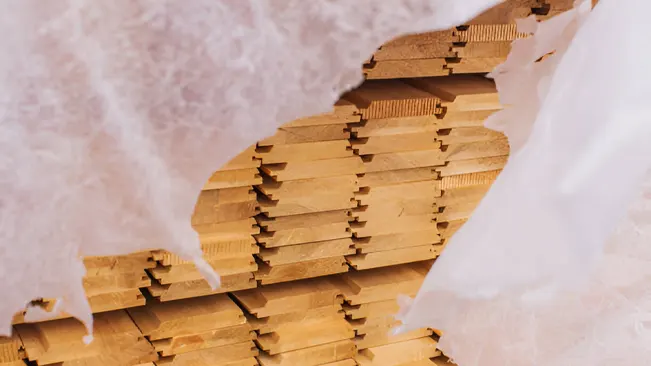
- Covering: Use a breathable cover, such as a tarp or specialized lumber cover, to shield the wood from direct sunlight, rain, and snow. Ensure the cover allows for air circulation to prevent condensation buildup, which can lead to mold. Avoid using plastic sheeting or any non-breathable material, as it can trap moisture and promote mold growth.
- Sheltering: If possible, store lumber in a covered area such as a shed, barn, or a dedicated lumber storage rack with a roof. This provides an additional layer of protection against the elements and helps keep the lumber dry. A sheltered area also protects the wood from direct sunlight, which can cause fading and discoloration over time.
- End Sealing: Applying an end sealer to the cut ends of the lumber can help prevent rapid moisture loss and reduce the risk of end checks (cracks) and splits. This is particularly important for freshly cut wood. End sealing helps to maintain an even moisture content throughout the board, reducing the likelihood of warping or twisting.
4. Regular Inspection and Maintenance
Regularly inspecting and maintaining your lumber storage can prevent minor issues from becoming major problems. Incorporate these practices into your routine:
- Visual Inspections: Periodically check the lumber for signs of damage, such as cracks, splits, or mold. Address any issues promptly to prevent further deterioration. Look for signs of discoloration or soft spots, which can indicate moisture damage. Regularly inspect the storage area for any signs of pests or infestations.
- Rotate Stock: If you have a large quantity of lumber, practice a first-in, first-out (FIFO) system. This means using the oldest lumber first, ensuring that no pieces remain in storage for too long. This practice helps maintain the quality of your wood and prevents it from becoming unusable due to prolonged storage.
- Cleanliness: Keep the storage area clean and free of debris. Dust and dirt can attract pests and contribute to mold growth. Regularly sweep or vacuum the area to keep it tidy. Wipe down any shelves or racks to remove any accumulated dust or dirt.
- Pest Control: Take measures to protect lumber from pests such as termites, beetles, and rodents. Store lumber in a place that is not easily accessible to insects, and consider using pest deterrents or traps around the storage area. Regularly inspect the lumber for any signs of pest activity, such as holes, frass (sawdust-like droppings), or tunneling.
5. Additional Tips for Specific Types of Lumber
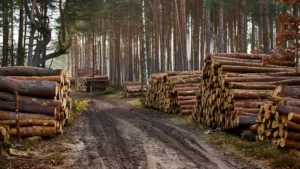
- Freshly Cut Lumber: Freshly cut lumber has a higher moisture content than dried lumber. If you have planked the lumber from your own woodland, lay it out flat in an open barn with stickers between the boards to allow it to dry out evenly. Monitor the drying process regularly to prevent issues such as warping or cracking. Once the lumber has reached the desired moisture content, you can then store it using the techniques mentioned earlier.
- Plywood Storage: Plywood sheets can be large and unwieldy. The best way to store sheets of plywood is vertically in a lumber cart. This keeps them off the ground and protected from moisture while taking up less space. Avoid stacking plywood sheets horizontally, as the weight of the top sheets can cause the bottom sheets to become distorted over time.
6. Acclimating Lumber for Use
Before using stored lumber for a project, it’s important to allow it to acclimate to the environment where it will be used. This helps prevent issues such as warping or cracking once the wood is cut and assembled. Place the lumber in the desired room or workspace for at least a week before starting your project, allowing it to adjust to the temperature and humidity levels.
Conclusion
Proper lumber storage is a vital practice for anyone working with wood, whether for professional or personal projects. By selecting the right environment, employing effective stacking techniques, protecting lumber from the elements, and conducting regular inspections, you can ensure your wood remains in optimal condition. These methods not only preserve the quality of the lumber but also save you from unnecessary costs and frustrations in the long run.
Frequently Asked Questions
1. Why is temperature control important for storing lumber?
Temperature control is crucial because extreme fluctuations can cause wood to expand and contract rapidly, leading to warping, cracking, and brittleness. A stable temperature environment helps maintain the structural integrity of the wood.
2. What is the ideal humidity level for storing lumber?
The ideal humidity level for storing lumber is between 35-55%. Consistent humidity levels prevent the wood from swelling or shrinking, which can cause warping and cracking.
3. How should I stack lumber to prevent warping?
To prevent warping, stack lumber on a flat, level surface with even support using stickers of equal thickness between layers. Ensure the lumber is elevated off the ground to allow for proper air circulation.
4. What materials can be used to elevate lumber off the ground?
You can use pallets, cinder blocks, or any other sturdy supports to elevate lumber off the ground. This helps prevent moisture from seeping into the wood from the ground.
5. Why is ventilation important in lumber storage?
Proper ventilation prevents moisture buildup, which can lead to mold and mildew. Good airflow helps maintain consistent temperature and humidity levels, preserving the quality of the lumber.
6. How can I protect lumber from outdoor elements?
Protect lumber from outdoor elements by using breathable covers, storing it in a covered area like a shed or barn, and applying end sealers to cut ends to prevent rapid moisture loss.
7. What are the signs of pest infestation in stored lumber?
Signs of pest infestation include small holes in the wood, frass (sawdust-like droppings), tunneling, and visible pests. Regular inspections can help detect and address infestations early.
8. How often should I inspect my stored lumber?
Regular inspections should be conducted periodically, depending on the storage environment and the type of lumber. At a minimum, inspect the lumber every few months to check for signs of damage or pests.
9. Can I store freshly cut lumber immediately, and how?
Freshly cut lumber should be laid out flat with stickers between the boards in a well-ventilated area to allow it to dry evenly. Monitor the drying process to prevent warping and cracking before transferring it to long-term storage.
10. How do I acclimate lumber before using it for a project?
Acclimate lumber by placing it in the environment where it will be used for at least a week before starting your project. This allows the wood to adjust to the local temperature and humidity levels, reducing the risk of warping and cracking once installed.

Edward Smith
Forestry AuthorWoodworking is about more than crafting; it's a harmonious connection with nature, mastering tools, and preserving our environment. I'm here to share my knowledge and experiences with you, forging a future where we can embrace wood's beauty and utility while safeguarding our forests' health and diversity.


Leave your comment