Basics of Hardwood Finishing
- January 21, 2025
- 0 comment
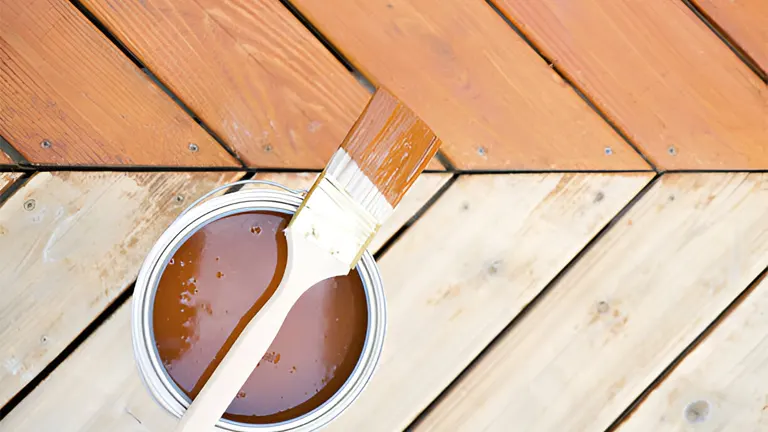
Hardwood finishing is an important part of woodworking that improves both the look and durability of wooden surfaces. It involves applying a protective coating to wood, which helps keep it beautiful while protecting it from damage caused by moisture, sunlight, and everyday wear and tear.
A good finish not only protects the wood but also enhances its color and texture, allowing the natural grain patterns to stand out. The right finish can turn a plain piece of wood into a stunning item, making it perfect for furniture, cabinets, and decorative pieces. Choosing the right finish is essential and depends on several factors, such as the type of wood, how the finished product will be used, and the desired look.
There are many different finishes available, each with its own features, application methods, and care needs. Understanding the basics of hardwood finishing is key to getting great results. Whether you are a beginner or an experienced woodworker, learning how to finish wood properly will not only make your projects look better but also help them last longer, allowing you to enjoy your creations for many years.
Understanding Wood Finishes
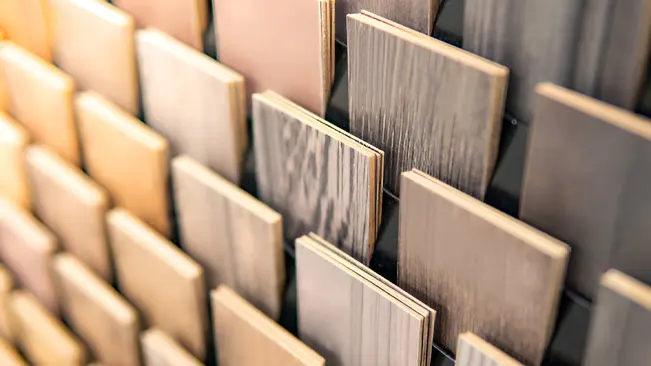
A wood finish is a protective coating applied to wood to preserve its natural beauty and protect it from environmental damage. Finishes serve two primary purposes: protection and decoration.
Protection
The protective aspect of wood finishes involves creating a barrier against moisture, UV light, and physical wear. This barrier helps to prevent issues such as:
- Moisture Damage: Unfinished wood is highly susceptible to moisture, which can lead to warping, swelling, and decay. A good finish helps to seal the wood, preventing moisture absorption.
- UV Damage: Sunlight can cause fading and discoloration over time. UV-resistant finishes protect the wood from harmful rays, preserving its color and integrity.
- Physical Wear: Everyday use can lead to scratches and dents. A durable finish provides a protective layer that can withstand the rigors of daily life.
Decoration
In addition to protection, wood finishes enhance the wood’s appearance. They can:
- Highlight Grain Patterns: Finishes can accentuate the natural grain and texture of the wood, making it visually appealing.
- Alter Color: Different finishes can change the color of the wood, allowing for a wide range of aesthetic choices. For instance, a dark stain can give a rich, elegant look, while a clear finish can maintain the wood’s natural color.
- Add Sheen: Finishes come in various sheens, from matte to high gloss, allowing woodworkers to achieve the desired look for their projects.
Types of Wood Finishes
Wood finishes can be categorized into two main types: penetrating finishes and surface finishes. Each type has its unique characteristics and applications.
Penetrating Finishes
Penetrating finishes soak into the wood, providing protection from within. They tend to enhance the wood’s natural grain and color while offering a more natural look. Common types include:
- Oils:
- Boiled Linseed Oil: A traditional finish that penetrates deeply, providing a warm tone and enhancing grain visibility. It dries slowly and may require multiple applications.
- Tung Oil: Derived from the nut of the tung tree, this oil cures to form a water-resistant finish. It offers a rich, amber hue and is often used for fine furniture.
- Waxes:
- Waxes provide a soft, natural finish that enhances the wood’s appearance while offering minimal protection. They are often used as a topcoat over other finishes for added depth.
- Stains:
- Stains are often used to change the color of the wood while allowing the grain to show through. They can be oil-based or water-based, with oil stains generally providing richer colors.
Surface Finishes
Surface finishes create a protective layer on top of the wood. They are typically more durable than penetrating finishes and offer a wide range of sheens. Common types include:
- Varnishes:
- Varnishes are a blend of resins, oils, and solvents. They form a hard, protective film that is resistant to moisture and UV light. They come in various formulations, including oil-based and water-based options.
- Lacquers:
- Lacquers dry quickly and provide a hard, durable finish. They are often used in commercial applications due to their fast drying time and ease of application. However, they can be more challenging to repair.
- Shellacs:
- Shellac is a natural finish made from the secretions of the lac bug. It provides a warm, amber hue and is easy to apply. However, it is less durable than varnishes and lacquers and is sensitive to heat and alcohol.
The Finishing Process
The finishing process typically involves three key steps: sanding, staining, and applying the finish. Each step is crucial for achieving a professional-quality result.
Sanding
Sanding is essential for preparing the wood surface. Proper sanding ensures that the finish adheres well and results in a smooth, even surface. It’s important to start with a coarse sandpaper (around 120-grit) to remove imperfections, such as scratches or old finishes. Gradually move to finer grits (220-grit and above) to achieve a smooth surface.
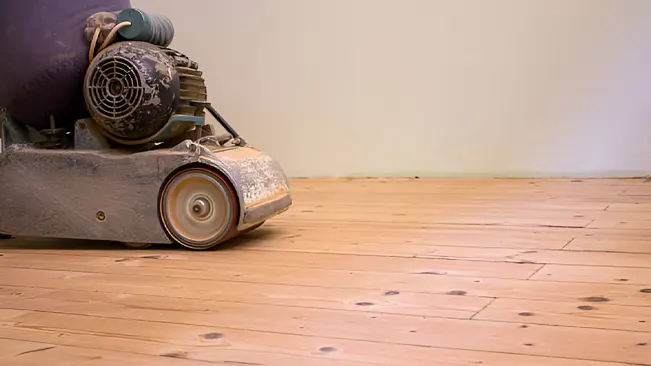
This step is crucial for preventing visible scratches in the final finish. Always sand in the direction of the wood grain to avoid creating unsightly scratches. After sanding, use a tack cloth or vacuum to remove dust and debris. This step is vital to ensure a clean surface for finishing.
Staining
Staining adds color to the wood while highlighting its grain. When choosing a stain, select one that complements the wood type and the desired final appearance. Test the stain on a scrap piece of wood to see how it reacts. Apply the stain using a brush, cloth, or foam applicator, working in small sections to ensure even coverage.
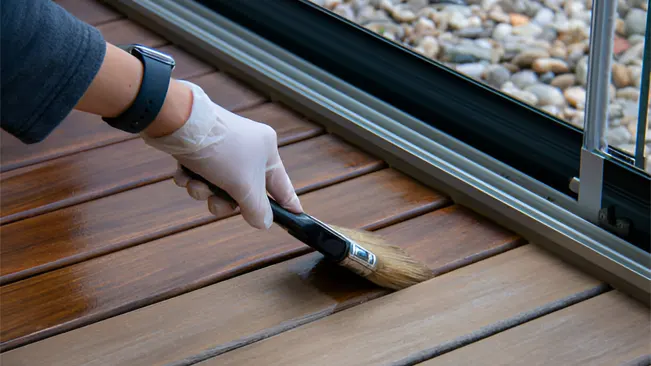
After applying the stain, wipe off any excess with a clean cloth. This prevents blotches and ensures an even color. If a darker color is desired, multiple coats can be applied, allowing each coat to dry completely before applying the next.
Applying the Finish
Once the stain is dry, it’s time to apply the finish. Depending on the type of finish, you can use a brush, roller, or spray gun. Brushes are ideal for varnishes and oils, while spray guns provide a smooth, even coat for lacquers. Apply the first coat of finish evenly, ensuring complete coverage. For oil-based finishes, you may need to let it soak in for a few minutes before wiping off excess.
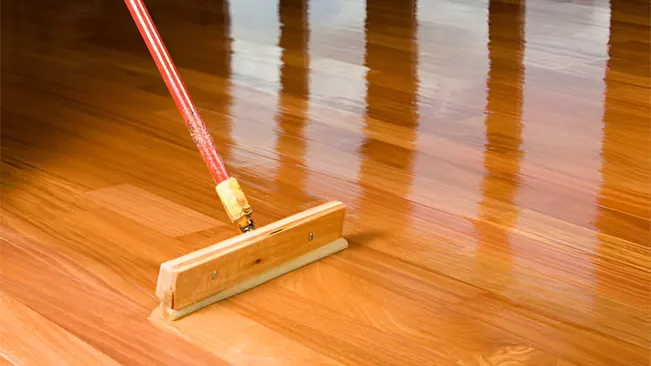
After the first coat dries, lightly sand the surface with fine-grit sandpaper (320-grit or higher) to remove any imperfections and raise the grain. Apply additional coats as needed, sanding between each coat for a smooth finish. Generally, two to four coats are recommended, depending on the finish type and desired durability.
Essential Tools and Materials
To achieve a successful finish, gather the following tools and materials:

- Sandpaper: Various grits for preparing the wood surface, typically ranging from 120 to 320 grit.
- Brushes: Natural bristle brushes are ideal for oil-based finishes, while synthetic brushes work well with water-based products. A foam brush can also be useful for applying finishes smoothly.
- Rags: Lint-free rags are essential for applying stains and wiping off excess finish. Old t-shirts or specialized finishing cloths work well.
- Spray Equipment: For larger surfaces, a spray gun can provide an even application. Ensure you have the appropriate nozzle size for the finish being used.
- Protective Gear: Safety is paramount. Use gloves, masks, and goggles to protect against fumes and dust.
- Tack Cloth: A tack cloth is an essential tool for cleaning the surface before applying the finish, as it effectively removes dust and debris.
- Finish: Choose the appropriate finish based on your project requirements, whether it be varnish, lacquer, or oil.
Tips for Achieving Professional Results
To elevate your finishing skills and achieve professional-quality results, consider the following tips:
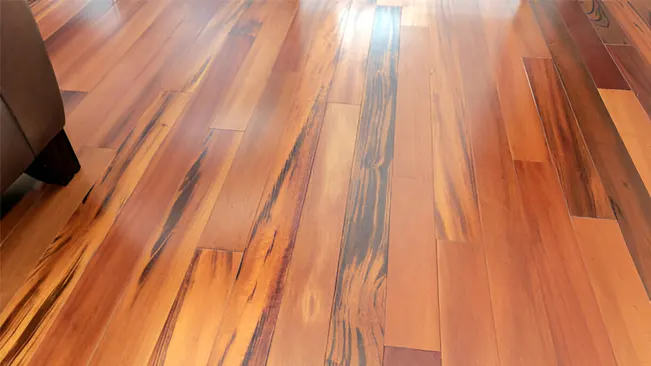
- Work in a Dust-Free Environment: Dust can settle on wet finishes and ruin the appearance. Work in a clean, well-ventilated area to minimize dust.
- Temperature and Humidity: Ideal conditions for finishing are a temperature of 70°F (21°C) and humidity levels between 40-60%. Extreme temperatures and humidity can affect drying times and finish quality.
- Patience is Key: Allow sufficient drying time between coats. Rushing the process can lead to a poor finish and increased risk of imperfections.
- Test on Scrap Wood: Always test your stain and finish on a scrap piece of the same wood. This allows you to see how the finish will look and make adjustments as needed.
- Maintain Your Tools: Clean brushes and spray equipment immediately after use to prolong their lifespan and ensure optimal performance for future projects.
Hardwood Finishing Techniques
Mastering hardwood finishing techniques can significantly improve the quality of your projects. Here are some advanced techniques to consider:
- Grain Filling: For a smooth, glass-like finish, consider using a grain filler. This technique fills the open pores of woods like oak and mahogany, creating a uniform surface.
- French Polishing: This traditional technique involves applying many thin coats of shellac, resulting in a high-gloss, mirror-like finish. It’s a labor-intensive process but produces stunning results.
- Burnishing: Burnishing involves rubbing the wood with a hard, smooth object, like a polished stone or a piece of hardwood, to create a polished surface. This technique can enhance the natural sheen of the wood without using a finish.
Conclusion
Hardwood finishing is a crucial aspect of woodworking that transforms ordinary wood into stunning, durable pieces. By understanding the various types of finishes, mastering the application techniques, and utilizing the right tools and materials, woodworkers can achieve professional-quality results that showcase the natural beauty of the wood while providing long-lasting protection.
Whether you’re a beginner or an experienced craftsman, investing time and effort into learning the basics of hardwood finishing will elevate your projects and bring you one step closer to creating heirlooms that will be cherished for generations.
Frequently Asked Questions
1. What is the purpose of wood finishing?
Wood finishing serves two main purposes: protection and decoration. It creates a barrier against moisture, UV light, and physical wear while enhancing the wood’s appearance and highlighting its natural grain.
2. What are the different types of wood finishes?
The two main types of wood finishes are penetrating finishes (such as oils and stains) and surface finishes (such as varnishes, lacquers, and shellacs).
3. How do I choose the right finish for my project?
Consider factors like the project type, environmental exposure, desired aesthetic, and ease of application when selecting a finish.
4. What is the importance of sanding in the finishing process?
Sanding is crucial for preparing the wood surface, ensuring the finish adheres well and creating a smooth, even appearance. It involves starting with coarse grit sandpaper and progressing to finer grits.
5. Can I apply multiple coats of stain?
Yes, if a darker color is desired, multiple coats of stain can be applied, allowing each coat to dry completely before adding the next.
6. What is the best way to apply the finish?
The application method depends on the type of finish being used. Brushes are ideal for varnishes and oils, while spray guns provide a smooth, even coat for lacquers.
7. How many coats of finish should I apply?
Generally, two to four coats of finish are recommended, depending on the type of finish and desired durability. Always sand lightly between coats for a smooth finish.
8. What temperature and humidity conditions are ideal for finishing?
Ideal conditions for finishing are a temperature of 70°F (21°C) and humidity levels between 40-60%. Extreme temperatures and humidity can affect drying times and finish quality.
9. How do I maintain my finishing tools?
Clean brushes and spray equipment immediately after use to prolong their lifespan and ensure optimal performance for future projects.
10. Can I repair a damaged finish?
The ability to repair a finish depends on the type of finish and the extent of the damage. In some cases, light sanding and reapplying the finish can restore the surface. For more significant damage, it may be necessary to remove the existing finish and start over.
We hope this guide on Hardwood Finishing has provided you with valuable insights into enhancing wooden surfaces. Whether you’re new to woodworking or have years of experience, mastering the basics of hardwood finishing is crucial for achieving professional results. If you have any tips or experiences to share, please leave them in the comments below. Your contributions can help others improve their skills. Don’t forget to share this article with friends and colleagues interested in woodworking to highlight the importance of proper finishing techniques.
Edward Smith
Forestry AuthorWoodworking is about more than crafting; it's a harmonious connection with nature, mastering tools, and preserving our environment. I'm here to share my knowledge and experiences with you, forging a future where we can embrace wood's beauty and utility while safeguarding our forests' health and diversity.


Leave your comment