How to Grow Chickpea Seeds: Beginner’s Guide
- March 12, 2024
- 0 comment
Chickpeas, also known as garbanzo beans, are a nutritious and versatile crop that can be a delightful addition to any home garden. With their rich content of protein, fiber, and various vitamins, growing chickpeas can be both rewarding and beneficial. This article provides a simple guide for planting and nurturing chickpea seeds for a bountiful harvest.
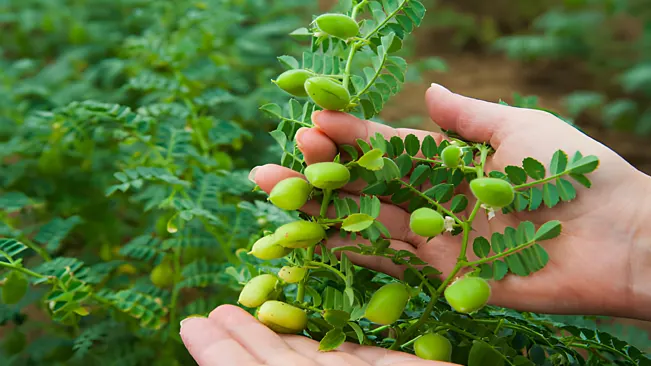
Benefits of Chickpea
| Benefit | Description |
|---|---|
| High in Protein | Chickpeas are a great source of plant-based protein, making them an excellent choice for vegetarians and vegans. |
| Rich in Fiber | They are high in dietary fiber, which aids in digestion and helps in maintaining a healthy gut. |
| Supports Blood Sugar Control | Due to their low glycemic index, chickpeas can help in managing blood sugar levels, beneficial for individuals with diabetes. |
| Heart Health | Chickpeas contain heart-healthy nutrients, such as potassium and magnesium, which help in lowering blood pressure. |
| Weight Management | The fiber and protein in chickpeas can promote feelings of fullness, helping in weight control. |
| Nutrient Dense | They are packed with essential vitamins and minerals like iron, zinc, phosphorus, and B vitamins. |
| Versatile in Cooking | Chickpeas are incredibly versatile in recipes, ranging from salads and stews to hummus and snacks. |
| Gluten-Free | Chickpeas are naturally gluten-free, making them a great option for those with gluten sensitivities or celiac disease. |
| May Reduce Cancer Risk | Some studies suggest that the consumption of chickpeas might be associated with a reduced risk of certain types of cancer, due to their antioxidant properties. |
| Bone Health | The iron, calcium, and other minerals in chickpeas contribute to maintaining strong bone health. |
List on How To Grow Chickpea Seeds
- Selecting the Right Seed Variety
- Preparing the Soil
- Planting the Seeds
- Watering and Maintenance
- Fertilizing
- Pest and Disease Management
- Harvesting
Selecting the Right Seed Variety
Desi Chickpeas
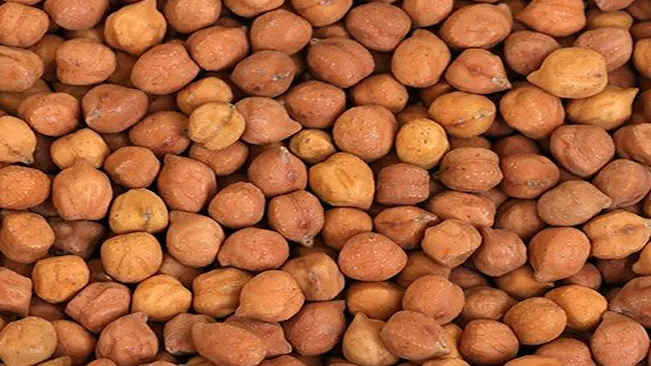
- Appearance: Desi chickpeas are smaller and darker, usually ranging in color from yellow to brown, and have a thicker seed coat.
- Taste and Texture: They tend to have a stronger, more earthy flavor compared to Kabuli chickpeas and are known for their sturdier texture.
- Usage: Desi chickpeas are often used in Indian and Middle Eastern cuisines. They are typically found in dishes like chana masala, and are also ground into flour known as besan or gram flour.
- Growing Conditions: Desi chickpeas are generally more tolerant of dry conditions and can be more resistant to diseases. They are well-suited for growing in regions with hot, dry climates.
Kabuli Chickpeas
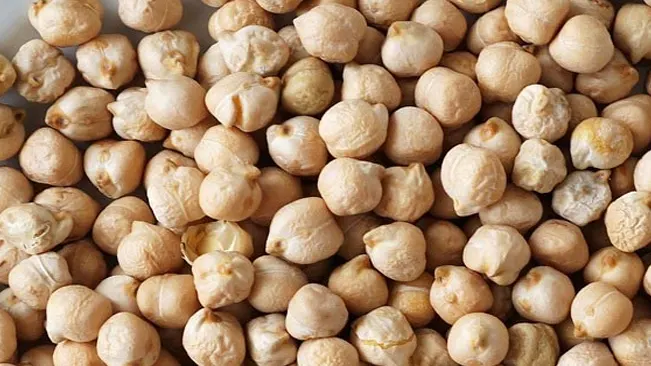
- Appearance: Kabuli chickpeas are larger with a smoother, cream-colored coat. They are the type most commonly found in Western supermarkets.
- Taste and Texture: These chickpeas have a milder, nuttier flavor and a softer texture when cooked.
- Usage: Kabuli chickpeas are often used in salads, soups, and stews, and are the primary type used to make hummus.
- Growing Conditions: Kabuli chickpeas usually require more water and are more sensitive to certain diseases compared to Desi types. They are suited to areas with moderate climates and good rainfall or irrigation.
Choosing the Right Variety
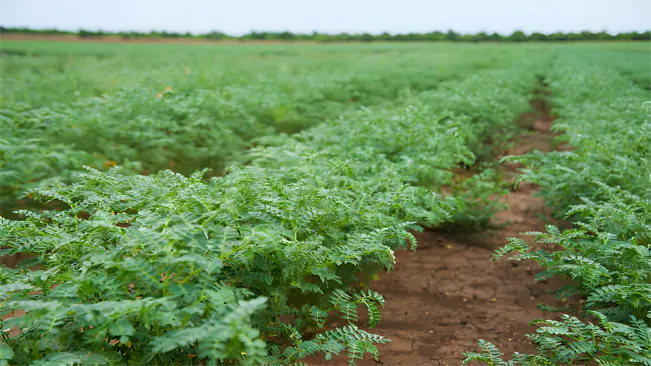
- Climate Suitability: Evaluate your local climate. Desi varieties may be more appropriate for hotter, drier areas, while Kabuli types might do better in regions with milder temperatures and more consistent rainfall.
- Soil Conditions: Both types generally prefer well-drained soil with a neutral pH, but Desi varieties are often more adaptable to less than ideal soil conditions.
- Culinary Preferences: Consider what you plan to cook with your chickpeas. If you enjoy Indian dishes or want to make your own chickpea flour, go for Desi. If you prefer salads, soups, or hummus, Kabuli might be the better choice.
- Local Advice: Always a good idea, consult with local nurseries or agricultural extensions for the best-suited variety for your area, as they can provide insights based on regional experiences and data.
Preparing the Soil
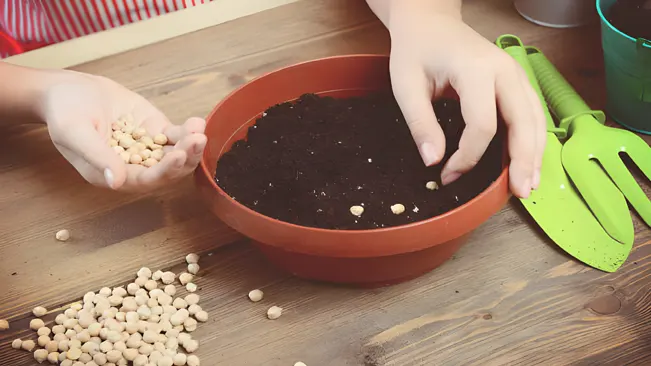
- Understanding Soil Drainage
- Chickpeas require well-drained soil to prevent waterlogging, which can lead to root diseases.
- You can test soil drainage by watering the soil and observing how quickly the water drains away. Good drainage means the water should not stay pooled on the surface for long.
- Optimizing Soil pH
- Chickpeas grow best in a soil pH range of 6.0 to 7.0. This slightly acidic to neutral range allows for optimal nutrient absorption.
- You can test your soil’s pH using a home testing kit available at garden centers. If the pH is too low (too acidic), you can add lime to raise it. If it’s too high (too alkaline), adding sulfur can lower it.
- Tilling the Soil
- Tilling to a depth of 8-10 inches helps to aerate the soil, making it easier for chickpea roots to grow and access nutrients.
- This process also helps in breaking up compacted layers, which improves drainage and root penetration.
- Removing Weeds and Debris
- Clearing the area of weeds and debris is crucial as it reduces competition for nutrients and minimizes the risk of pest and disease infestation.
- Ensure to remove the roots of the weeds to prevent them from growing back.
- Adding Organic Compost
- Incorporating organic compost into the soil is beneficial for several reasons:
- It enriches the soil with essential nutrients, which chickpeas will need as they grow.
- Compost improves soil structure, enhancing its ability to retain the right amount of moisture while still draining well.
- It also encourages beneficial microbial activity in the soil, which can aid in the natural growth process of the chickpeas.
- Incorporating organic compost into the soil is beneficial for several reasons:
- Additional Soil Amendments
- Depending on the initial quality of your soil, you might consider additional amendments:
- If the soil is too sandy and drains too quickly, adding organic matter like peat moss can help improve water retention.
- In clayey soils that tend to compact and not drain well, adding coarse sand or gypsum can help improve texture and drainage.
- Depending on the initial quality of your soil, you might consider additional amendments:
Planting the Seeds
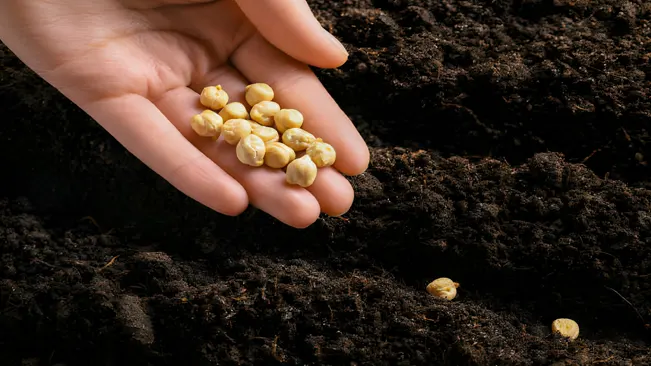
Timing
- Planting chickpea seeds in late spring or early summer is crucial because this is when soil temperatures have adequately warmed up. Chickpeas are sensitive to frost and cold soil can hinder germination.
- In many regions, this corresponds to a few weeks after the last expected frost date. Checking local agricultural guidelines can provide a more specific planting window based on your local climate.
Soil Temperature
- The ideal soil temperature for chickpea seeds to germinate is at least 70°F (21°C). If the soil is too cold, seeds may rot or fail to germinate.
- You can use a soil thermometer to check the temperature at seed depth. This ensures that the conditions are right for planting.
Seed Depth and Spacing
- Planting seeds about 1-2 inches deep helps protect them from being eaten by birds and ensures they have enough soil coverage to retain the necessary moisture.
- Spacing the seeds 3-6 inches apart allows each plant enough room to grow and access nutrients without too much competition. Too close, and the plants may struggle for resources; too far apart, and the soil may not be used efficiently.
Row Spacing
- Rows spaced 18-24 inches apart provide several benefits. This spacing allows for adequate air circulation around the plants, which is important for preventing fungal diseases.
- It also makes it easier to access the plants for maintenance, such as weeding and harvesting. Adequate row spacing is especially important in humid climates where air circulation is crucial to keep plants healthy.
Watering and Maintenance
Watering Techniques
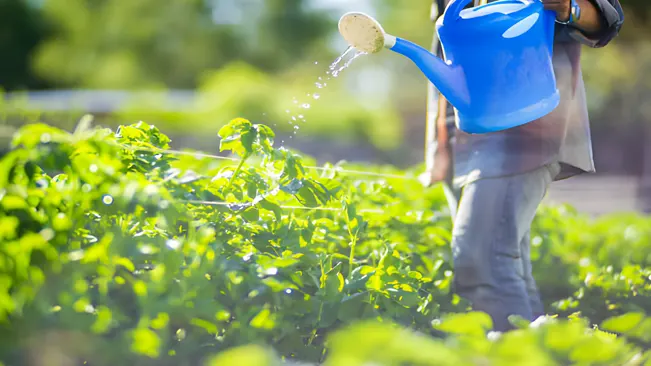
- Gentle Watering: Right after planting the seeds, it’s crucial to water them gently. This can be done using a watering can with a sprinkle head to avoid disturbing the seeds or using a soft spray setting on a hose nozzle.
- Consistency is Key: The goal is to keep the soil consistently moist but not soggy. Chickpeas, like many legumes, are sensitive to overwatering. Excess water can suffocate the roots and hinder proper growth.
Monitoring Soil Moisture
- Check Soil Regularly: Feel the soil with your fingers. If the top inch of the soil feels dry, it’s time to water. During hot, dry periods, more frequent watering may be necessary.
- Avoid Wetting Foliage: When watering, aim at the soil, not the plants. Wet foliage can lead to fungal diseases, especially if the leaves remain damp overnight.
Understanding Water Needs
- 1 Inch Per Week Rule: Generally, chickpeas need about 1 inch of water per week. This can come from rainfall or manual watering. Use a rain gauge or a simple container in the garden to measure the amount of water your plants are receiving from rain.
- Adjustments for Weather and Soil Type: Water needs can vary based on weather conditions and soil type. Sandy soils drain faster and may require more frequent watering, while clay soils retain moisture longer.
Mulching
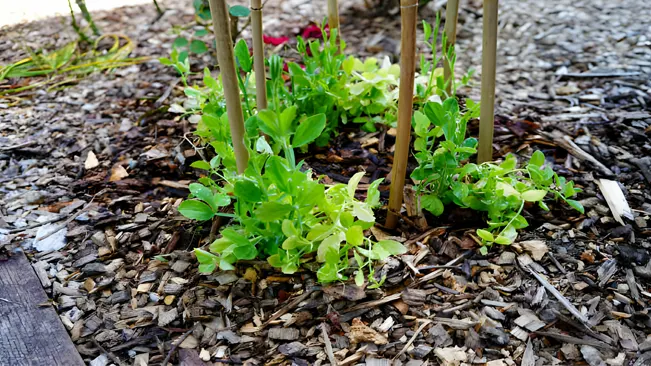
- Benefits of Mulching: Applying mulch around chickpea plants helps retain soil moisture, reduces the soil temperature, and suppresses weed growth. Mulch also prevents soil compaction from heavy rains.
- Choosing Mulch: Organic mulches like straw, bark, or compost are ideal. They not only conserve moisture but also gradually break down, adding nutrients to the soil.
- Application: Lay a 2-3 inch layer of mulch around the plants, taking care to leave some space around the stem base to prevent rot.
Fertilizing
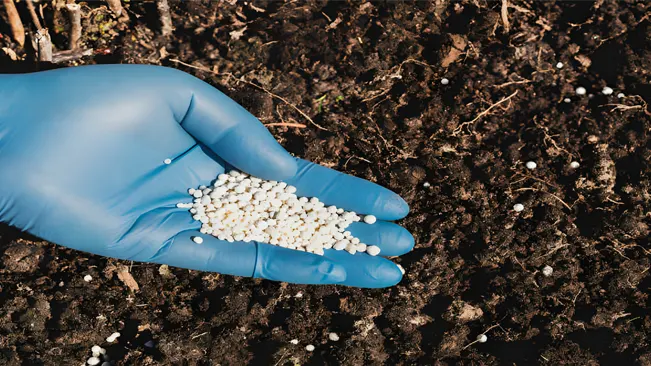
- Nitrogen Fixation: Chickpeas, like other legumes, have a special ability to fix nitrogen from the air. They do this with the help of symbiotic bacteria called rhizobia, which live in nodules on the roots of the plants. This process naturally enriches the soil with nitrogen, a vital nutrient for plant growth.
- Reduced Need for Fertilizer: Because of their nitrogen-fixing ability, chickpeas generally don’t require as much nitrogen fertilizer as other crops. Excessive nitrogen can actually be counterproductive, as it can discourage the growth of the beneficial bacteria and lead to lush foliage at the expense of pod development.
- Soil Quality Consideration: If your soil is poor in other nutrients, a light application of a balanced fertilizer can be beneficial. Look for a fertilizer that provides a balanced blend of nutrients, including phosphorus and potassium, which are important for chickpea growth.
- Organic Fertilizer: Using organic fertilizer is a good choice for chickpeas. It releases nutrients slowly, which is ideal for the relatively long growing season of chickpeas. Organic matter also improves soil structure, water retention, and provides a healthy environment for soil microbes.
- Timing of Fertilization: If you decide to fertilize, do it at the time of planting. This helps the plants get a good start, especially in terms of root development and early growth.
- Soil Testing: To accurately determine the nutrient needs, it’s advisable to conduct a soil test. This test will tell you the existing nutrient levels in your soil and help you decide if and what kind of fertilizer is needed.
- Observation: Pay attention to your chickpea plants as they grow. Signs such as stunted growth, pale leaves, or delayed flowering can indicate nutrient deficiencies. If you notice any of these, a mild fertilizer application might be necessary.
Pest and Disease Management
Pest Management
Common Pests:
- Aphids: These small, soft-bodied insects can be green, yellow, or black. They tend to suck sap from the plant, which can lead to yellowing and curling leaves. Aphids also excrete a sticky substance called honeydew, which can lead to sooty mold.
- Caterpillars: Several species can affect chickpeas. They typically feed on leaves, which can reduce the plant’s ability to photosynthesize and weaken it.
Management Strategies:
- Regular Inspection: Frequent checking of plants for pests is key. This early detection can prevent large infestations.
- Natural Predators: Encouraging natural predators like ladybugs and lacewings can help control aphid populations.
- Organic Pesticides: If infestation occurs, consider using organic pesticides like neem oil or insecticidal soap. Always follow label instructions.
- Manual Removal: In the case of small infestations, removing pests by hand or with a strong jet of water can be effective.
Disease Management
Common Diseases:
- Fungal Diseases: Including root rot and wilt, caused by excessive moisture and poor soil drainage.
- Ascochyta Blight: A significant disease in chickpeas, characterized by lesions on stems, leaves, and pods.
Management Strategies:
- Crop Rotation: Avoid planting chickpeas in the same soil year after year. Rotating crops helps break the cycle of soil-borne diseases.
- Soil Health: Maintain good soil health with adequate drainage. Avoid overwatering to prevent fungal diseases.
- Resistant Varieties: If available, use disease-resistant chickpea varieties. Consult local agricultural resources for recommendations.
- Clean Equipment: Ensure garden tools and equipment are clean to avoid spreading diseases.
- Remove Infected Plants: Promptly remove and destroy infected plants to prevent the spread of disease.
Harvesting
When to Harvest
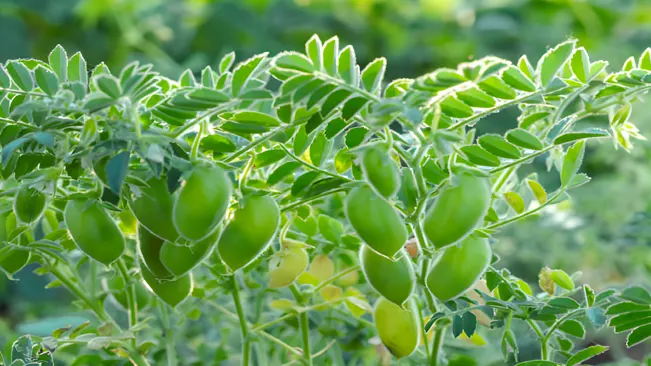
- Chickpeas are usually ready to harvest about 100 days after planting, but this can vary depending on the variety and local growing conditions.
- The key indicators for readiness are the yellowing of leaves and the firmness of the pods. This change in color and texture suggests that the chickpeas have reached maturity.
- If your goal is to harvest dry chickpeas, wait until the entire plant has yellowed and the pods have dried out on the plant. This typically occurs a few weeks after the initial maturation signs.
Harvesting for Fresh Eating
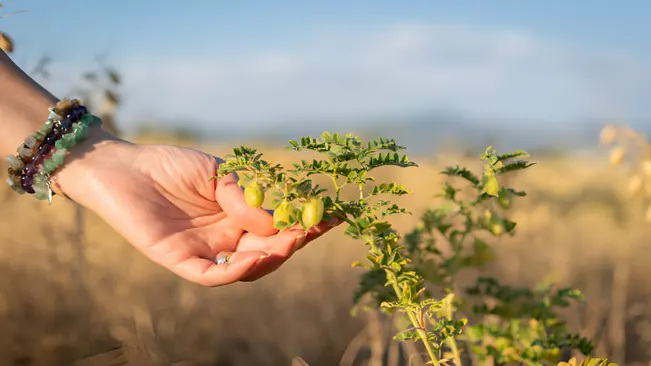
- If you prefer to consume chickpeas fresh, also known as “green chickpeas,” you should harvest them a bit earlier, when the pods are plump but haven’t yet hardened.
- Fresh chickpeas can be eaten raw, or they can be cooked similarly to peas or edamame.
Harvesting for Dried Chickpeas
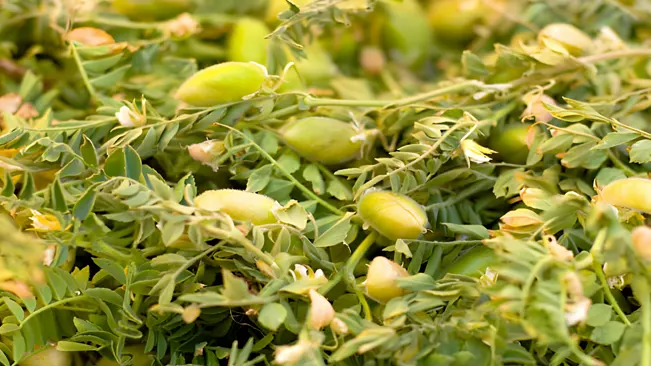
- For dried chickpeas, which are more common for storage and culinary use (like in hummus or curries), allow the pods to dry on the plant.
- Once the pods are dry and the seeds inside feel hard, it’s time to harvest. The pods will also emit a rattling sound when shaken if the chickpeas are fully dried.
Harvesting Process
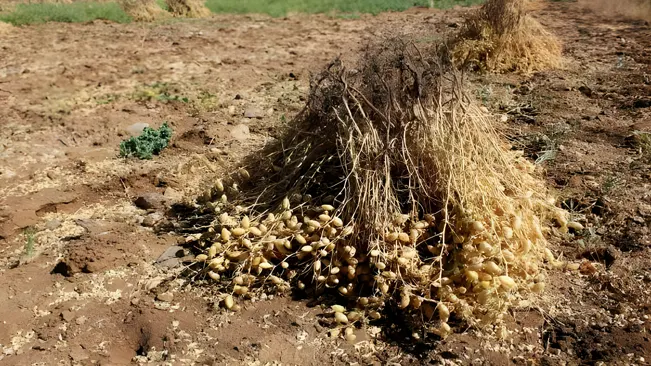
- Gently pull or cut the plant from the ground. If you’re harvesting for dried chickpeas, you can uproot the entire plant.
- For fresh chickpeas, carefully pluck the pods from the plant.
Post-Harvest Processing
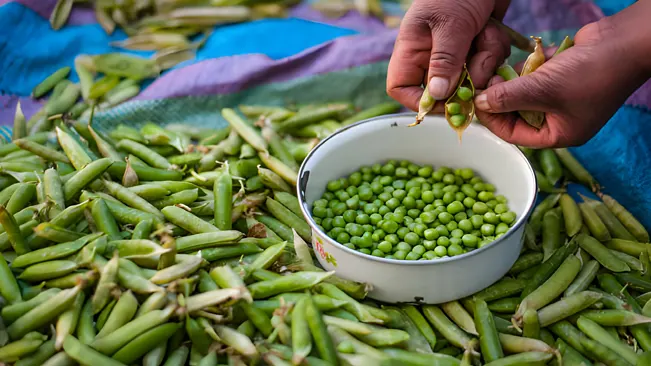
- After harvesting, if you have uprooted the entire plant for dried chickpeas, hang the plants in a warm, dry place to further aid in the drying process.
- Once fully dried, thresh the chickpeas by gently rubbing or beating the pods to release the seeds.
- Winnowing can be used to separate the chickpeas from the chaff. This involves tossing the threshed material into the air, allowing the wind to blow away the lighter chaff while the heavier chickpeas fall back down.
Storage
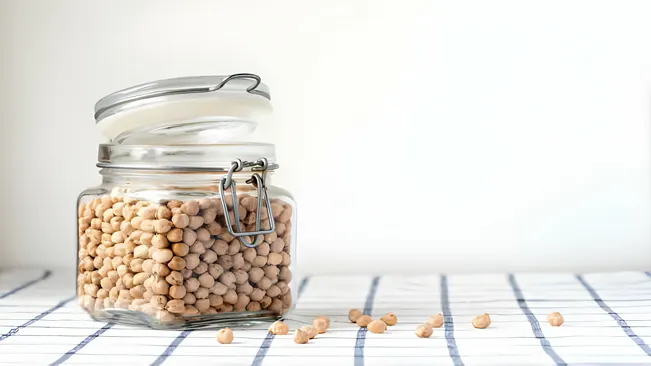
- Store dried chickpeas in a cool, dry place. They can be kept in airtight containers for extended periods, making them a great staple food for year-round use.
Conclusion
Planting chickpea seeds is a straightforward and rewarding process. With proper care and attention, you can enjoy a plentiful harvest of these nutritious legumes. Whether you incorporate them into delicious recipes or enjoy them as a healthy snack, homegrown chickpeas are a delightful addition to any diet.
FAQs (Frequently Asked Questions)
- What is the best time to plant chickpea seeds?
Plant chickpea seeds in late spring or early summer, when the soil temperature is at least 70°F (21°C). - How deep should I plant chickpea seeds?
Plant the seeds about 1-2 inches deep in the soil. - What kind of soil do chickpeas need?
Chickpeas prefer well-drained soil with a pH between 6.0 and 7.0. They are fairly adaptable but thrive in loamy soils. - Do chickpeas need a lot of sunlight?
Yes, chickpeas need full sunlight. Choose a planting site that receives at least 6-8 hours of direct sunlight daily. - How often should I water chickpea plants?
Water the plants to keep the soil consistently moist but not waterlogged. Approximately 1 inch of water per week is sufficient. - Do I need to fertilize my chickpea plants?
Chickpeas generally do not require much fertilizer as they fix their own nitrogen. However, poor soils may benefit from a light application of a balanced organic fertilizer at planting time. - How far apart should I plant chickpea seeds?
Space the seeds 3-6 inches apart in rows, with about 18-24 inches between each row. - How do I protect chickpea plants from pests?
Regularly inspect for pests like aphids and caterpillars. Use organic pesticides if necessary and practice crop rotation to prevent soil-borne diseases. - When are chickpeas ready to harvest?
Chickpeas are ready to harvest when the leaves turn yellow and the pods are firm, usually about 100 days after planting. For dry chickpeas, allow the pods to dry on the plant. - Can I grow chickpeas in containers?
Yes, chickpeas can be grown in containers. Ensure the container is deep enough (at least 8-10 inches) and has good drainage.

Kristine Moore
Forestry AuthorI'm Kristine Moore, a seasoned garden landscaping professional with over 30 years of experience. My extensive career has been dedicated to transforming outdoor spaces into stunning, sustainable landscapes. With a deep understanding of horticulture, design principles, and environmental stewardship, I have become a respected figure in the field, known for creating harmonious, visually appealing, and eco-friendly gardens. My commitment to excellence and continuous learning in landscaping trends and techniques has solidified my reputation as an expert in garden design and implementation.



Leave your comment