How to Plant Pumpkin Seeds: A Comprehensive Cultivation Guide
- February 21, 2024
- 2 comment
Pumpkins, a symbol of fall and a staple in Halloween decorations and Thanksgiving pies, begin as a tiny seed. Planting pumpkin seeds is a rewarding endeavor that brings joy to gardeners of all ages. Whether you’re a novice or a seasoned gardener, this guide will walk you through the process of planting pumpkin seeds to ensure a bountiful harvest.
Nutritional Benefits of Pumpkin
| Benefit | Description |
|---|---|
| Nutrient-Rich | Pumpkins are loaded with vitamins and minerals, including a high amount of vitamin A, which is good for eyesight, and vitamin C, which supports the immune system. |
| Low Calorie | Being low in calories and high in fiber, pumpkins are an excellent addition to weight loss diets. |
| High in Fiber | The high fiber content in pumpkins helps in improving digestion and can aid in weight loss by making you feel fuller for longer. |
| Heart Health | The fiber, potassium, and vitamin C content in pumpkins support heart health. Eating pumpkin can help regulate blood pressure. |
| Boosts Immunity | Vitamin A, Lutein, and Zeaxanthin in pumpkins can strengthen your immune system. |
| Skin Health | Pumpkins contain antioxidants like beta-carotene, which can help protect the skin from sun damage. |
| Eye Health | Rich in nutrients like Lutein, Zeaxanthin, and vitamins C and E, which are known to prevent cataracts and degeneration of the eyesight. |
| Cancer Prevention | Antioxidants like beta-carotene might play a role in cancer prevention. Research suggests a lower risk of certain types of cancer when a diet is rich in beta-carotene. |
| Mood Booster | Pumpkin seeds contain an amino acid called tryptophan, which helps in the production of serotonin, a mood booster. |
| Sleep Aid | The tryptophan in pumpkin seeds can also help in improving sleep quality. |
Choosing the Right Time
The key to successful pumpkin growing starts with planting at the right time. Pumpkins require a long growing season, typically between 75 to 100 days. Therefore, it’s crucial to plant the seeds after the last frost when the soil has warmed up to at least 70°F (21°C). This is usually late spring or early summer, depending on your climate.
Soil Temperature
- For optimal germination, pumpkin seeds require warm soil. The ideal soil temperature is around 70°F (21°C). Planting seeds in soil that has not adequately warmed up can lead to poor germination rates. You can use a soil thermometer to check the temperature at planting depth.
Regional Considerations
- In northern regions, where the growing season is shorter, planting should be done as soon as the soil is warm enough. This usually falls in late spring.
- In milder climates, there might be more flexibility in planting times. However, it’s still important to avoid the hottest part of the summer, as extreme heat can stress the plants.
- In southern regions, where summers are very hot, planting can be done in late summer for a fall harvest.
Adjusting Planting Time for Specific Varieties
- Different pumpkin varieties may have slightly different growing requirements. Some varieties might mature faster and can be planted a bit later, while others that take longer to mature should be planted earlier. Always check the seed packet for specific variety recommendations.
Preparing for Early Planting
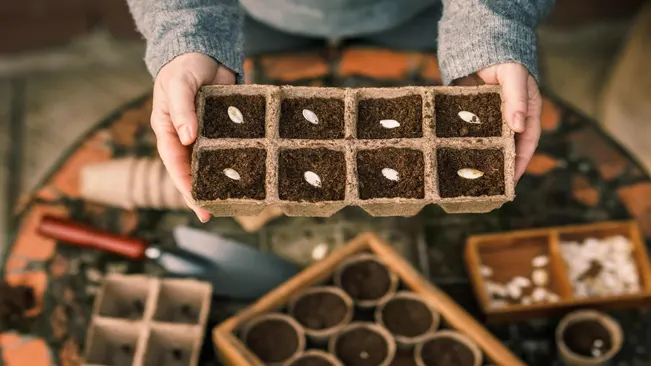
- If you’re eager to get a head start, you can begin seeds indoors in biodegradable pots a few weeks before the last frost date. However, pumpkins generally prefer to be directly sown as they do not always transplant well.
Selecting Pumpkin Seeds
There are numerous varieties of pumpkins, ranging from small decorative types to the large ones often used for carving. Some popular varieties include ‘Small Sugar’ for pies, ‘Jack O’ Lantern’ for carving, and ‘Mini-Jack’ for decoration. Select seeds based on your intended use and ensure they are from a reputable source to guarantee quality.
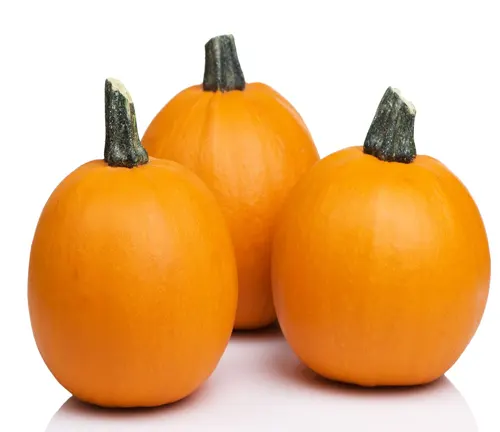
Small Sugar or New England Pie
- Use: This variety is renowned for its use in baking, particularly for making pumpkin pies.
- Characteristics: ‘Small Sugar’ pumpkins are small and round, typically weighing about 5 to 8 pounds. They have a sweet, fine-grained, orange flesh that is ideal for cooking.
- Growing: These pumpkins mature in about 100 days and are known for their thick, long-lasting rind.
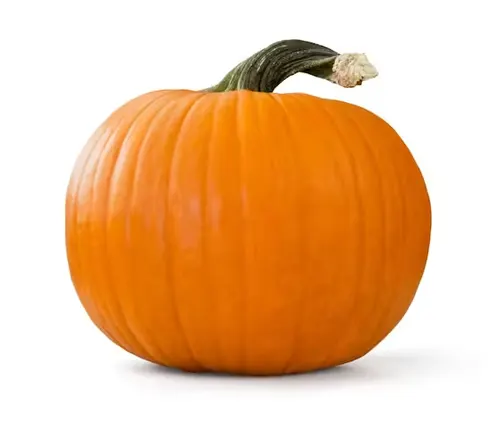
Jack O’ Lantern
- Use: As the name suggests, these are primarily used for carving Jack-o’-lanterns during Halloween.
- Characteristics: They are medium-sized, usually weighing between 10 to 20 pounds, with a symmetrical shape and a sturdy outer rind that’s easy to carve.
- Growing: ‘Jack O’ Lantern’ pumpkins need a growing season of around 100 to 120 days. They are relatively easy to grow and are quite popular among home gardeners.
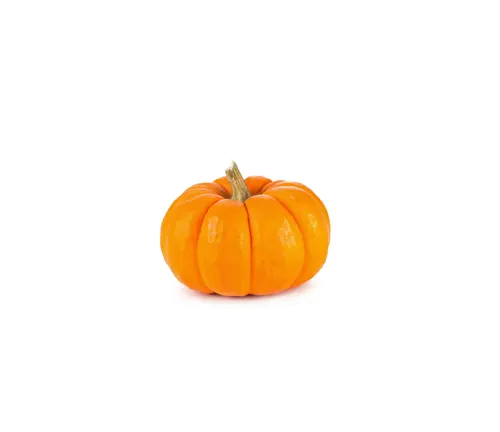
Mini-Jack
- Use: These are decorative pumpkins, perfect for tabletop displays and autumn decorations.
- Characteristics: ‘Mini-Jack’ pumpkins are small, typically the size of a grapefruit or smaller, with a bright orange color. They are not used for cooking due to their size and composition.
- Growing: They have a shorter growing period compared to larger varieties and can be grown in smaller spaces or even in containers.
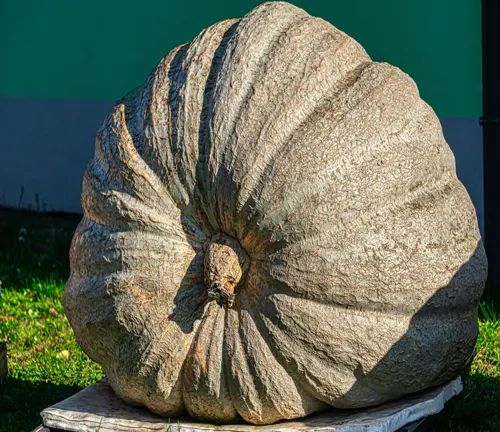
Atlantic Giant
- Use: For those interested in growing giant pumpkins, perhaps for competitions or just for fun, this is the go-to variety.
- Characteristics: These pumpkins can grow to be extremely large, sometimes weighing hundreds of pounds.
- Growing: They require a longer growing season and more space, as well as meticulous care in terms of watering and fertilization.
Cinderella or Rouge vif d’Etampes
- Use: Popular for both decoration and cooking, this French heirloom variety is named for its resemblance to the pumpkin carriage in the Cinderella fairy tale.
- Characteristics: It has a deep red-orange, somewhat flat, and deeply ribbed appearance.
- Growing: These pumpkins mature in about 110 days and prefer rich soil.

Tips for Selecting Seeds
- Source: Always buy seeds from a reputable supplier to ensure they are disease-free and have a good germination rate.
- Climate and Space Considerations: Some varieties may be more suited to your local climate and the space available in your garden.
- Hybrid vs. Heirloom: Hybrid seeds often offer disease resistance and uniformity, while heirloom seeds provide traditional varieties and can be saved for planting next year.
Preparing the Planting Site
Pumpkins thrive in a sunny location with well-draining soil. Prepare your planting site by loosening the soil to a depth of 12 to 15 inches and mixing in a couple of inches of compost or aged manure. This will improve soil fertility and drainage.
Selecting the Right Location
- Sun Exposure: Pumpkins require full sun, which means the site should receive at least 6 to 8 hours of direct sunlight per day. This is essential for healthy growth and fruit development.
- Air Circulation: Choose a location with good air circulation to help prevent fungal diseases. Avoid planting in low-lying areas where cold air settles.
Soil Requirements
- Soil Type: Pumpkins prefer well-draining soil. They do not thrive in areas where water pools, as this can lead to root rot and other issues.
- Soil pH: The ideal soil pH for pumpkins is between 6.0 and 6.8. You can test your soil’s pH with a home test kit available at garden centers.
Preparing the Soil
Loosening the Soil
- Depth: Loosen the soil to a depth of about 12 to 15 inches. This deep tilling allows the pumpkin roots to penetrate the soil easily.
- Tools: Use a shovel or a garden fork for this task. For larger areas, a rototiller can be very effective.
Enhancing Soil Quality
- Adding Organic Matter: Mix in 2 to 4 inches of organic matter like compost or aged manure. This enriches the soil with nutrients and improves its texture.
- Improving Drainage: If your soil is heavy or clayey, incorporating organic matter can also improve its drainage capabilities.
- Balancing pH: If your soil test indicates an imbalance in pH, you can amend the soil accordingly. Use lime to raise the pH or sulfur to lower it.
Planting the Seeds
Plant the pumpkin seeds 1 inch deep into the soil. If you’re planting multiple seeds, space them about 4 to 5 feet apart in rows or hills to give the vines ample room to spread. Water the seeds gently but thoroughly after planting.
Soil Depth and Seed Placement
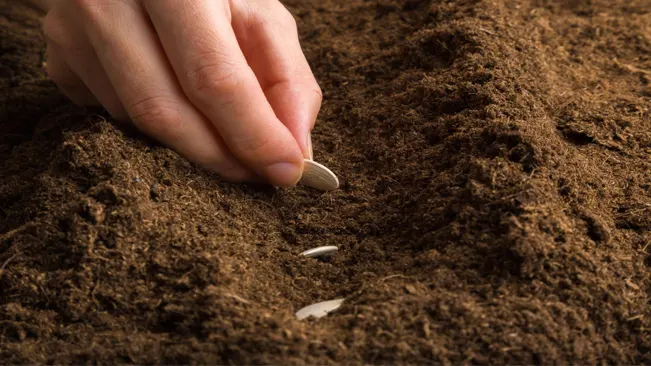
- Plant pumpkin seeds 1 inch deep in the soil. This depth allows for easy germination while keeping them well-covered.
Spacing the Seeds
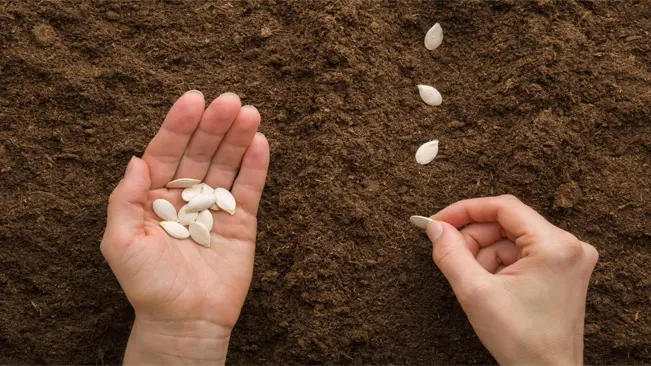
- Space seeds 4 to 5 feet apart to accommodate the sprawling growth of pumpkin vines.
- Choose between planting in rows (seeds spaced 4-5 feet apart in lines, with rows 6-8 feet apart) or in hills (2-3 seeds grouped together with each hill spaced 4-5 feet apart).
Watering After Planting
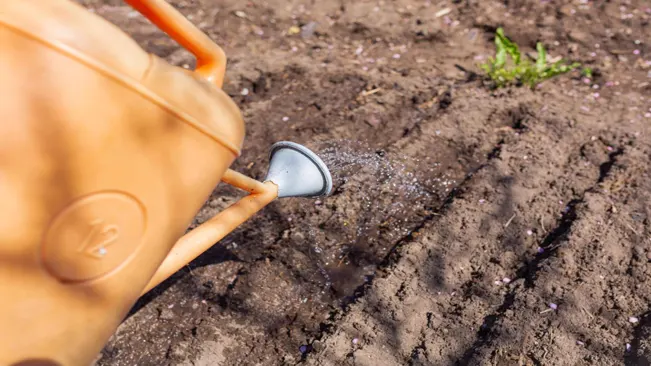
- Water the seeds gently but thoroughly right after planting to moisten the surrounding soil. Avoid dislodging seeds with a strong water flow.
Consistent Moisture
- Keep the soil moist (not waterlogged) after planting, as pumpkin seeds typically germinate in 7-10 days. Avoid overwatering to prevent rot.
Mulching
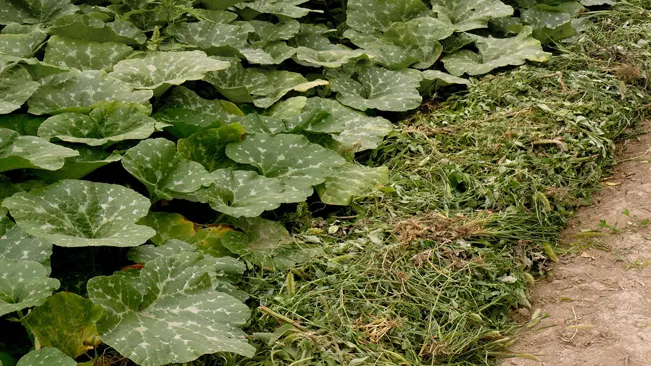
- Once seedlings are a few inches tall, apply a layer of mulch around them to retain moisture, stabilize soil temperature, and control weeds.
Watering and Maintenance
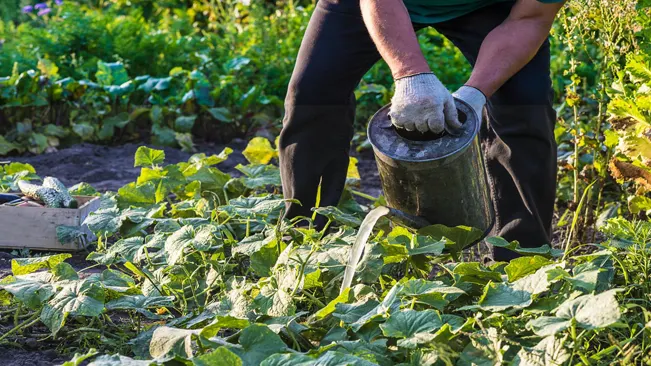
Pumpkins need regular watering, especially during dry spells. Keep the soil consistently moist but not waterlogged. As the plants grow, you can reduce watering frequency, focusing on deep, infrequent waterings. Be mindful to water at the base of the plant to avoid wetting the leaves, which can lead to disease.
- Soil Moisture: The goal is to maintain a consistent level of moisture in the soil. The top inch of soil should feel moist to the touch. If it’s dry, it’s time to water.
- Watering Depth: When you water, do so deeply. This means the water should reach down to at least 6 inches below the surface. Deep watering encourages the roots to grow deeper, making the plants more drought-tolerant and stable.
- Frequency of Watering: The frequency depends on several factors, including soil type, weather, and plant size. Initially, more frequent watering may be necessary, especially while seedlings are establishing themselves. As the plants grow and the roots extend deeper, you can reduce the frequency.
- Weather Considerations: During hot, dry periods, more frequent watering will be necessary. Conversely, in cooler or rainy conditions, reduce the amount of water to prevent waterlogging.
Watering Techniques
The method of watering is as important as the frequency and amount:
- Water at the Base: Always water directly at the base of the plant. This method reduces the chances of water splashing on the leaves, which can lead to fungal diseases such as powdery mildew.
- Drip Irrigation: If possible, consider setting up a drip irrigation system. This ensures that water is delivered slowly and directly to the soil, minimizing evaporation and preventing water from touching the foliage.
- Mulching: Apply a layer of organic mulch around the base of your pumpkin plants. Mulch helps retain soil moisture, reduces weed growth, and keeps the soil temperature regulated.
Fertilizing
A couple of weeks after planting, when the plants have established themselves, start a regular feeding program. Use a balanced, all-purpose garden fertilizer, following the instructions on the label. Avoid high nitrogen fertilizers, which encourage more vine growth at the expense of fruit.
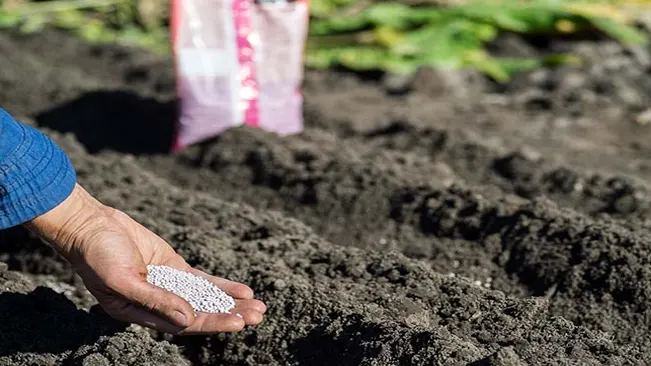
- Importance: Fertilization is vital for the healthy growth and fruit production of pumpkins. It ensures a balanced nutrient supply in the soil.
- Timing:
- Initial Stage: Start fertilizing a few weeks after planting, when plants have several true leaves.
- Subsequent Applications: Additional fertilization may be needed based on soil nutrients and plant growth stage.
- Choosing Fertilizer:
- Use a balanced all-purpose garden fertilizer, ideally with an N-P-K ratio of 10-10-10 or 20-20-20.
- Nitrogen (N) for leaf/stem growth, Phosphorus (P) for roots/flowers, and Potassium (K) for overall health.
- Application Techniques:
- Follow label instructions for rates and methods.
- Apply via side-dressing, drip irrigation, or foliar spray, with frequency depending on the fertilizer type.
- Avoid High Nitrogen Fertilizers: These encourage vine growth over fruiting. They usually have a higher first number in N-P-K, like 20-10-10.
- Monitoring and Adjustments:
- Watch plant responses to adjust quantity, frequency, or fertilizer type.
- Over-fertilization leads to nutrient burn; under-fertilization causes poor growth and yield.
Pest and Disease Management
Growing pumpkins can be a rewarding experience, but like any garden venture, it comes with its challenges, particularly pests and diseases. Understanding and managing these issues is crucial for a healthy pumpkin harvest. Here, we’ll discuss common pests and diseases that affect pumpkin plants and how to combat them effectively.
Common Pests
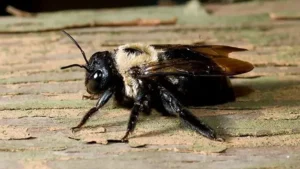
- Squash Bugs: These are one of the most common and destructive pests. They suck the sap out of the leaves, causing them to wilt and die. To manage squash bugs, regularly inspect the underside of the leaves and remove any eggs or bugs by hand. You can also use insecticidal soaps or neem oil as an organic control method.
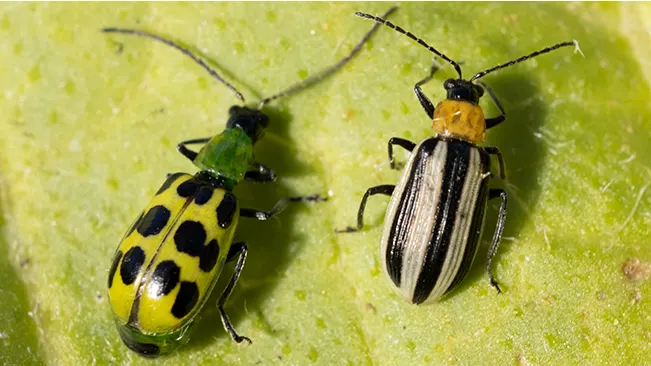
- Cucumber Beetles: These beetles not only damage leaves and stems but also transmit bacterial wilt, which can be deadly to the plant. Floating row covers can be used to protect young plants. For beetle control, use organic pesticides like pyrethrin or introduce beneficial insects like ladybugs that feed on these pests.
Common Diseases
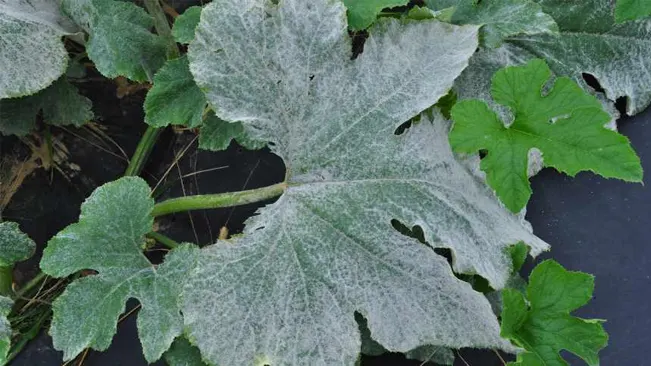
- Powdery Mildew: This is a fungal disease that appears as white powdery spots on leaves and stems. It can weaken the plant by inhibiting photosynthesis. To prevent powdery mildew, ensure good air circulation around the plants and avoid overhead watering. If mildew appears, organic fungicides like sulfur or baking soda solutions can be used.
- Downy Mildew: This appears as yellow spots on the upper surface of leaves and a purplish mold on the underside. It thrives in wet, humid conditions. To prevent downy mildew, water the plants at the base and during the morning to allow leaves to dry. Fungicides can be applied as a preventive measure.
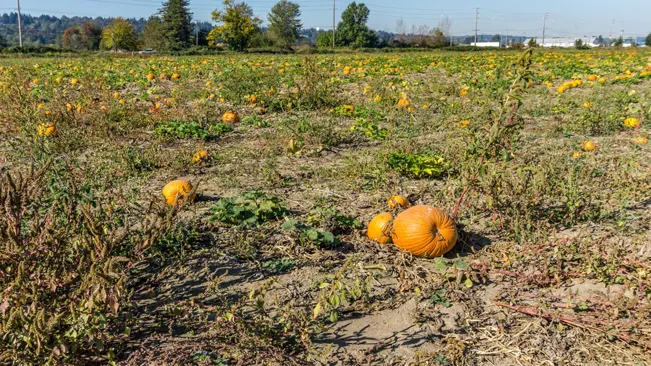
Harvesting
Harvesting pumpkins is a critical step in the growing process, marking the culmination of months of careful nurturing. To ensure the best quality and longevity of your pumpkins, it’s essential to harvest them correctly.
Timing the Harvest
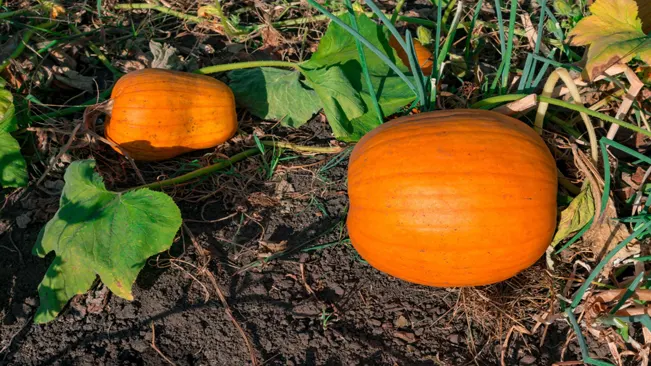
- Check the Color: Mature pumpkins usually have a deep, solid color, depending on their variety. Look for a consistent coloring throughout.
- Examine the Rind: A hard rind is a clear indicator of maturity. Test this by gently pressing your fingernail against the pumpkin’s skin. If it resists denting, the pumpkin is ready.
- Sound Test: Give the pumpkin a gentle thump. A mature pumpkin will sound hollow.
- Check the Stem: A dry, brown stem indicates that the pumpkin is ready to be harvested. If the stem is still green and moist, it may need more time.
Choosing the Right Day
- Aim to harvest pumpkins on a dry day. Harvesting when the fruit and vines are dry reduces the risk of rot and disease.
Cutting the Pumpkin
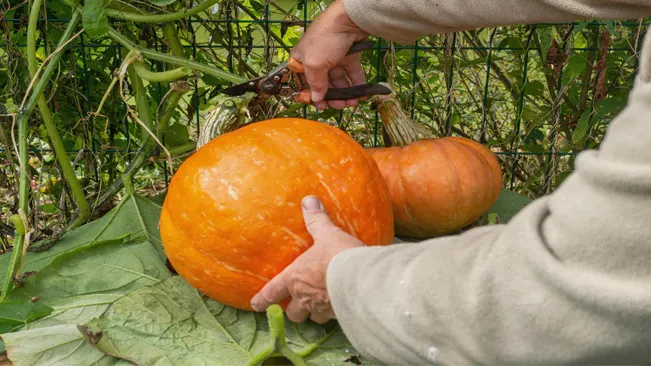
- Use a sharp knife or a pair of pruning shears. Make a clean cut, leaving several inches of the stem attached. This stem acts as a handle and also prevents premature rot.
- Avoid cutting too close to the pumpkin, as a short stem or no stem can lead to quicker decay.
- Never lift or carry the pumpkin by the stem, as this can cause it to break off, creating an open wound that invites rot and disease.
Curing the Pumpkins

- After harvesting, cure the pumpkins by leaving them in the sun for about a week. This process hardens the skin further and heals any cuts or bruises, extending their storage life.
- In case of cold or wet weather, cure them in a warm, well-ventilated area like a greenhouse or sunny room.
Handling and Storage
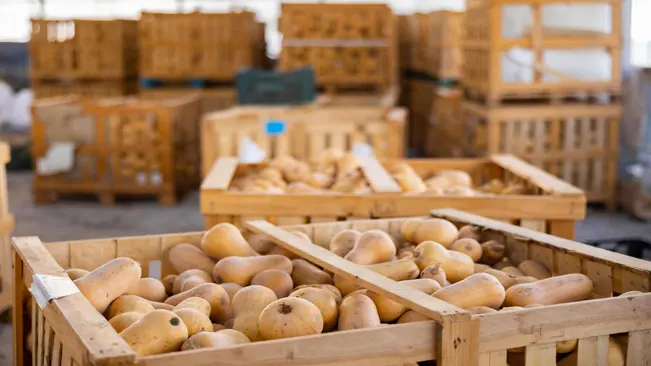
- Handle pumpkins gently to avoid bruising. Even small nicks can become large, rotten spots during storage.
- Store pumpkins in a cool, dry place. Ideal storage temperatures are between 50-55°F (10-13°C).
- Arrange them in a single layer, ensuring they don’t touch each other to promote air circulation and prevent rot.
Signs of Deterioration
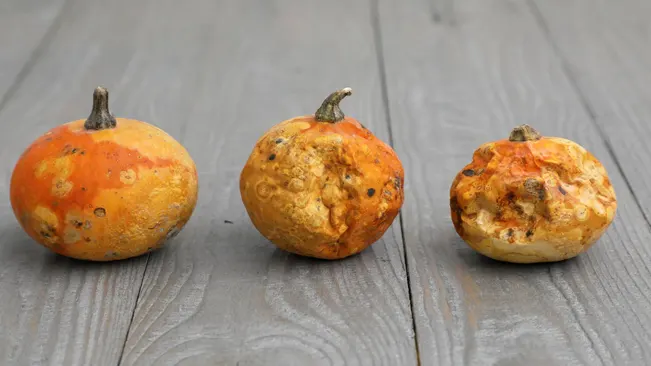
- Regularly check stored pumpkins for signs of soft spots, mold, or shrinkage. Remove any deteriorating pumpkins to prevent the spread of rot to healthy ones.
Conclusion
Planting pumpkin seeds is a delightful gardening activity that, with proper care, leads to a rewarding harvest. By following these steps, you’ll be well on your way to growing your own pumpkins, whether for carving, cooking, or decoration. Happy gardening!
FAQs (Frequently Asked Questions)
- When is the best time to plant pumpkin seeds?
The ideal time to plant pumpkin seeds is after the last frost in spring, when the soil temperature has reached at least 70°F (21°C). This usually falls in late spring or early summer. - How deep should I plant pumpkin seeds?
Pumpkin seeds should be planted about 1 inch deep in the soil. - How much space do pumpkins need to grow?
Pumpkins need a lot of space due to their sprawling vines. Plant seeds about 4 to 5 feet apart in rows or hills. - Can I plant pumpkin seeds directly in the garden?
Yes, it’s best to plant pumpkin seeds directly in the garden where they are to grow, as they do not transplant well. - Do pumpkins need a lot of sun?
Yes, pumpkins need full sun to grow. Choose a planting site that receives at least 6 hours of direct sunlight daily. - How often should I water pumpkin plants?
Water pumpkin plants deeply and regularly, especially during the growing season. The soil should be kept consistently moist but not waterlogged. - What kind of soil is best for growing pumpkins?
Pumpkins thrive in well-draining, nutrient-rich soil. Prepare your planting site by incorporating compost or aged manure to improve soil quality. - Do I need to fertilize my pumpkin plants?
Yes, pumpkin plants benefit from regular fertilization. Use a balanced, all-purpose garden fertilizer and follow the instructions on the label. - How do I protect pumpkin plants from pests and diseases?
Keep an eye out for common pests like squash bugs and cucumber beetles, and diseases like powdery mildew. Employ organic or chemical solutions as needed, and always follow the product’s instructions. - When are pumpkins ready to harvest?
Pumpkins are ready to harvest when they have reached the desired size, the rind is hard, and the color is uniformly developed. This is typically in late summer or early fall, before the first heavy frost.
Now that you have the steps to plant pumpkin seeds, it’s time to get your hands dirty. May your garden flourish with plump pumpkins ready for harvest!

Kristine Moore
Forestry AuthorI'm Kristine Moore, a seasoned garden landscaping professional with over 30 years of experience. My extensive career has been dedicated to transforming outdoor spaces into stunning, sustainable landscapes. With a deep understanding of horticulture, design principles, and environmental stewardship, I have become a respected figure in the field, known for creating harmonious, visually appealing, and eco-friendly gardens. My commitment to excellence and continuous learning in landscaping trends and techniques has solidified my reputation as an expert in garden design and implementation.
2 comments
Thanks for the well elaborate guide. I'm planting pumpkins this season.


Very good pumpkin
Muzaffar hussain agriculture
February 26, 2024 1:33 pm