How To Plant Spring Radish Seeds: Easy Guide for Beginners
- February 23, 2024
- 0 comment
Radishes are a popular, fast-growing crop, perfect for spring gardens. They’re not only easy to grow but also delicious and nutritious. This guide will walk you through the simple steps of planting radish seeds, ensuring a bountiful harvest.
Nutritional Benefits of Radish
| Benefit | Description |
|---|---|
| Nutritional Value | Radishes are low in calories but high in essential nutrients like vitamin C, potassium, and fiber. |
| Digestive Health | The high fiber content in radishes helps in maintaining a healthy digestive system. |
| Hydration | Radishes have a high water content, which helps in keeping the body hydrated. |
| Immune System Support | The vitamin C in radishes contributes to a stronger immune system. |
| Lowers Blood Pressure | Potassium in radishes can help in managing blood pressure levels. |
| Skin Health | The water, vitamins, and minerals in radishes are beneficial for maintaining healthy skin. |
| Anti-Cancer Properties | Radishes contain compounds like sulforaphane, which may have anti-cancer properties. |
| Weight Loss Aid | Being low in calories and high in fiber, radishes are an excellent food for weight loss diets. |
| Respiratory Health | Radishes have a pungent flavor and natural cleansing effects, which can benefit respiratory health. |
| Liver & Gallbladder | Radishes can help in the regulation of bile and liver function, potentially improving gallbladder health. |
What You’ll Need
- Radish seeds
- Garden plot or container
- Well-draining soil
- Watering can or hose
- Mulch (optional)
- Fertilizer (optional)
Choose the Right Variety
There are numerous radish varieties, each with unique flavors and growing times. For spring planting, opt for varieties like ‘Cherry Belle’ or ‘French Breakfast.’ Make sure to choose a type that suits your climate and taste preferences.
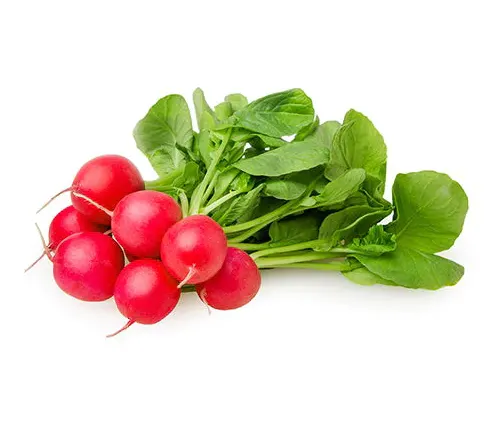
Cherry Belle
This is a classic radish variety and a great choice for spring planting. Cherry Belle radishes are round and bright red, known for their crisp texture and mild flavor. They are quite fast-growing, typically ready to harvest in just 22-30 days. This variety is also resistant to pithiness, a condition where radishes become spongy and less flavorful.
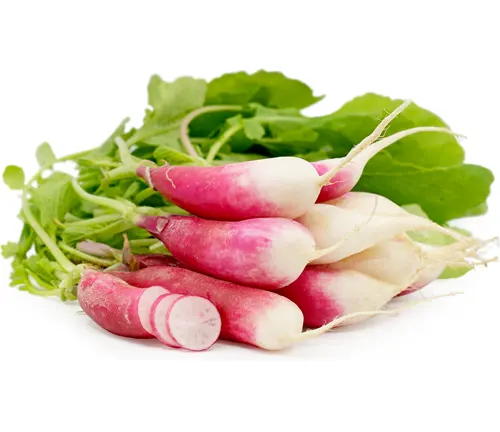
French Breakfast
A slightly elongated radish with a distinctive red top and white bottom. French Breakfast radishes have a mild, slightly peppery taste and are known for their crisp texture. They mature quickly, usually in about 25-30 days, and are particularly favored for their attractive appearance and good resistance to cracking.
In addition to these varieties, there are other factors and varieties to consider:
- Climate Adaptability: Some radish varieties are more tolerant of different climate conditions than others. For instance, some can withstand cooler temperatures, while others are better suited for warmer areas. It’s important to choose a variety that will thrive in your specific climate.
- Flavor Preferences: Radishes can range from mild and sweet to peppery and pungent. If you prefer a milder taste, look for varieties like ‘Cherry Belle’. For a more peppery flavor, ‘French Breakfast’ or ‘White Icicle’ might be more suitable.
- Growth Characteristics: Some radishes, like the ‘Daikon’ or ‘Watermelon’ radish, take longer to mature and have larger roots. These might require more space and a longer growing season compared to smaller, quicker varieties like ‘Cherry Belle’.
- Specialty Varieties: There are also unique and heirloom varieties with different shapes, sizes, and colors, like the ‘Watermelon’ radish, which has a green exterior and a bright pink interior, and the ‘Black Spanish’ radish, known for its black skin and strong flavor.
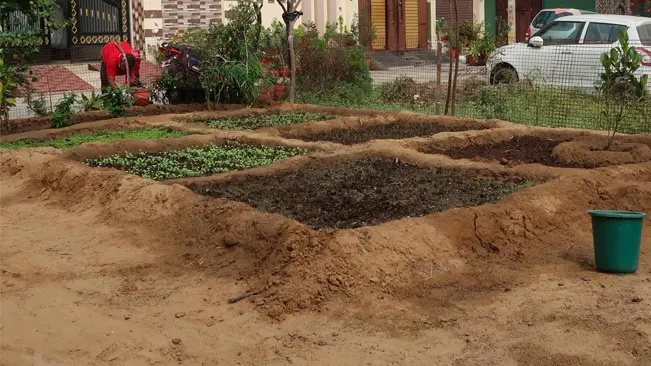
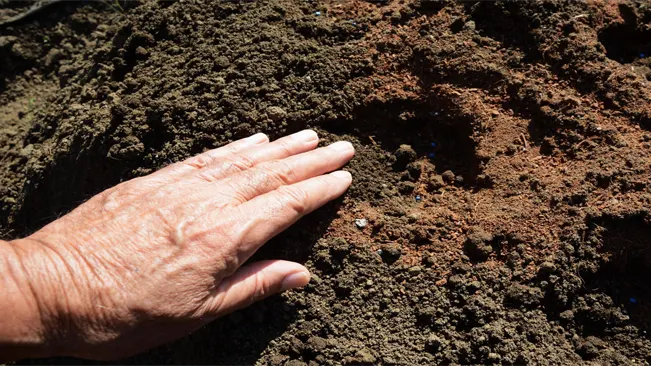
Prepare the Soil
Radishes thrive in loose, well-draining soil. Prepare your garden bed or container by loosening the soil and removing any rocks or debris. You can improve soil quality by adding organic matter like compost.
- Choose the Right Location: Radishes need a spot that receives plenty of sunlight — at least six hours of direct sun per day is ideal.
- Test the Soil: It’s beneficial to test your soil’s pH and nutrient levels. Radishes prefer a slightly acidic to neutral pH (about 6.0-7.0). Adjust the soil pH if necessary using lime (to raise pH) or sulfur (to lower pH).
- Loosen the Soil: Use a garden fork or tiller to loosen the soil to a depth of at least 8-10 inches. This aeration allows the radish roots to grow freely and helps improve drainage.
- Remove Rocks and Debris: Clear the soil of any rocks, large clumps of dirt, sticks, and roots that could obstruct the growth of the radishes. This step is crucial for helping your radishes form a regular shape.
- Enrich the Soil: Add organic matter like well-rotted compost or aged manure to the soil. This step improves soil fertility and structure. Compost provides essential nutrients and enhances the soil’s ability to retain moisture without becoming waterlogged.
- Mix in Fertilizer (If Needed): A light application of a balanced, all-purpose fertilizer can be mixed into the soil. Be cautious with nitrogen-heavy fertilizers, as too much nitrogen can encourage leafy growth at the expense of root development.
- Level and Smooth the Soil: After adding amendments and fertilizers, rake the soil to level it and break up any large clumps. This step creates a smooth, even surface that’s ideal for planting.
- Water Pre-Planting: If the soil is dry, water it lightly a day before planting your seeds. This preparation ensures that the soil is adequately moist for seed germination.
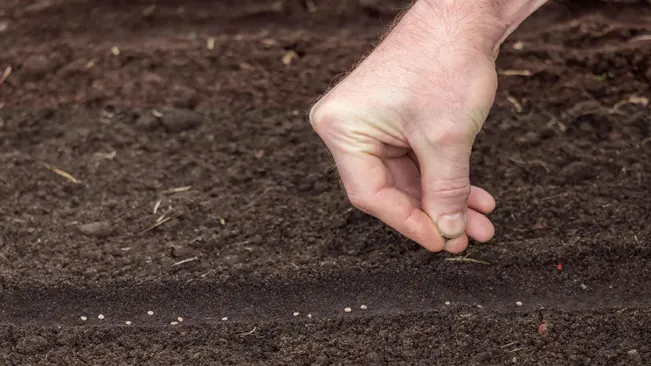
Sow the Seeds
Direct Sowing in the Garden
- Radishes are typically direct-seeded, meaning you plant them directly where they will grow in the garden. This is because radishes, like many root vegetables, do not respond well to transplanting.
Depth and Spacing
- The seeds should be sown about ½ inch deep in the soil. This shallow depth ensures that the seeds have enough soil coverage to retain moisture but are not so deep that they struggle to germinate.
- Spacing the seeds about 1 inch apart at the time of planting is important. This spacing allows each seedling enough room to sprout and grow a little before you thin them out.
Row Planting
- Planting in rows can make it easier to care for your radishes and to thin them later. Rows should be spaced about 6 inches apart. This distance provides adequate airflow and reduces the competition for nutrients and water.
Container Planting

- If you lack garden space, radishes are great for container gardening. Use a container that is at least 6 inches deep to accommodate the growth of the roots.
- Ensure the container has good drainage. This is crucial because radish roots are susceptible to rot in overly moist conditions. Drainage holes at the bottom of the container allow excess water to escape.
Soil Preparation
- Before sowing, prepare the soil by loosening it and removing any large stones or debris. Radishes prefer a well-draining soil rich in organic matter.
- If your soil is heavy or clay-like, consider mixing in some sand or compost to improve its texture and drainage.
Water Regularly
After planting, water the seeds gently but thoroughly. Keep the soil consistently moist but not waterlogged. Radishes need plenty of water to grow quickly and develop their characteristic crisp texture.
Importance of Regular Watering for Radishes

- Encourages Germination: Regular watering after planting the seeds is essential for germination. Radish seeds need consistent moisture to break dormancy and start sprouting.
- Ensures Even Growth: Once the seeds germinate, steady watering helps the radishes grow uniformly. Inconsistent watering can lead to uneven growth and can stress the plants, resulting in poor quality radishes.
- Prevents Cracking: If radishes experience a surge in growth due to excessive watering after a dry spell, they may crack. Consistent watering helps avoid this.
- Maintains Soil Texture: Regular watering keeps the soil in an ideal state for radish growth. Overly dry soil can become hard, making it difficult for the radish roots to expand. Conversely, overly wet soil can lead to root rot.
How to Water Radishes Effectively
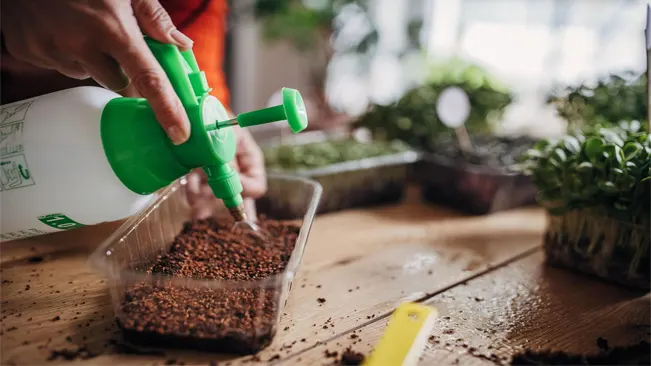
- Gentle Watering: Use a watering can with a gentle sprinkle or a low-pressure hose to avoid disturbing the soil or dislodging the seeds.
- Depth of Watering: Water should penetrate at least an inch into the soil to ensure that the moisture reaches the roots.
- Check Soil Moisture: Before watering, check the soil moisture. The soil should feel moist at about an inch below the surface. If it’s dry, it’s time to water.
- Mulching: Applying a layer of organic mulch can help retain soil moisture and reduce the frequency of watering.
- Avoid Overwatering: Overwatering can be as detrimental as under-watering. Excess water can deprive the roots of oxygen and promote root rot. Ensure good drainage in your soil to avoid waterlogged conditions.
- Morning Watering: Watering in the morning is ideal because it allows the water to reach the roots before the heat of the day and reduces evaporation. It also helps in keeping the foliage dry, which can prevent some plant diseases.
- Adjust for Weather Conditions: Be mindful of the weather conditions. Radishes may need more frequent watering in hot, dry weather and less during cool, damp periods.
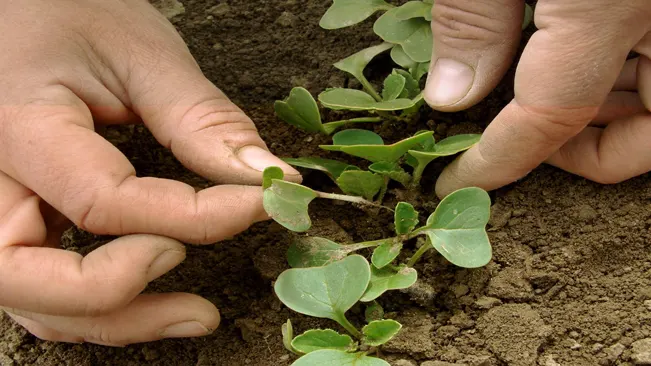
Thin the Seedlings
Once seedlings emerge, thin them so they stand 2-3 inches apart. This gives each radish enough space to grow and prevents overcrowding, which can lead to smaller radishes.
- Space for Growth: Radishes, like many root vegetables, need space around them to expand and develop. If they are too close together, they will compete for nutrients, water, and space, leading to poorly developed roots.
- Air Circulation: Adequate space between plants ensures better air circulation, which can reduce the risk of fungal diseases and other plant health issues.
- Sunlight Exposure: Thinning helps each plant receive enough sunlight, which is vital for healthy growth and development.
- Nutrient Availability: Less competition for nutrients results in healthier, more robust plants. Overcrowded plants can become stunted and weak.
How to Thin Radish Seedlings
- Wait for True Leaves: Begin thinning when the seedlings have one or two sets of true leaves, which usually happens a week or two after they sprout.
- Choose the Strongest: Identify the healthiest and strongest-looking seedlings to keep. You’re aiming for plants that are robust, straight, and disease-free.
- Proper Spacing: Gently pull out the extra seedlings to maintain a space of 2-3 inches between the remaining ones. Be careful not to disturb the roots of the plants you are keeping.
- Use the Thinnings: The removed seedlings can often be eaten if they’re large enough – they are tender and have a mild radish flavor.
- Water After Thinning: After thinning, water the plants gently to help settle the soil around the remaining seedlings.
Consider Mulching
Mulching helps retain soil moisture and control weeds. Use organic mulch like straw or grass clippings around your radishes, being careful not to cover the plants themselves.
Benefits of Mulching for Radishes
- Moisture Retention: Mulch helps to keep the soil moist by reducing evaporation. This is particularly beneficial for radishes, as consistent moisture is crucial for their even growth and to prevent them from becoming woody or overly pithy.
- Weed Control: A layer of mulch can suppress weed growth by blocking sunlight weeds need to grow. This reduces competition for nutrients and water, benefiting your radish plants.
- Temperature Regulation: Mulch acts as an insulator. It can keep the soil cooler in hot conditions and slightly warmer during cool nights. This can be particularly beneficial in the spring when temperatures can fluctuate.
- Soil Health: Organic mulches gradually break down, adding organic matter to the soil. This improves soil structure, nutrient content, and overall fertility, which can enhance radish growth.
- Pest Reduction: Some types of mulch can deter certain pests, providing an additional layer of protection for your radishes.
Types of Mulch Suitable for Radishes
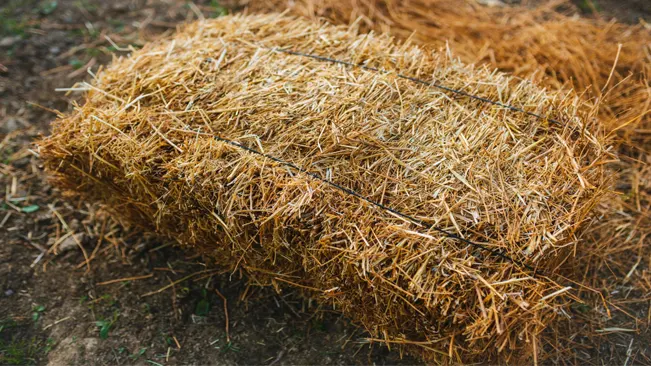
Straw: Lightweight and easy to spread, straw is an excellent choice for mulching radish beds. It’s particularly good at retaining moisture and regulating soil temperature.
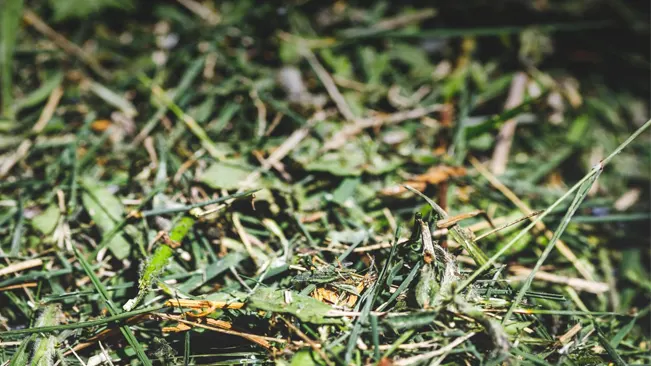
Grass Clippings: If free from pesticide use, grass clippings can be an excellent mulch. They break down quickly, enriching the soil with nutrients.
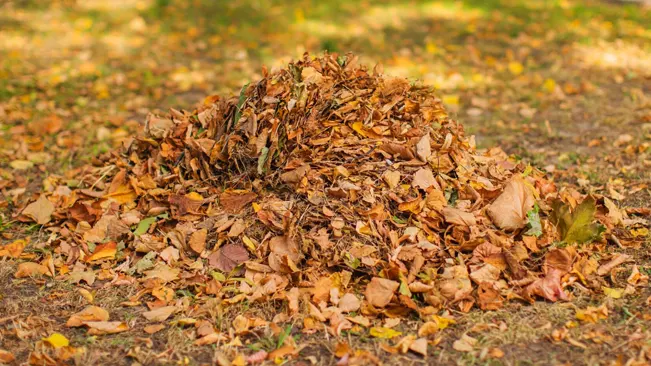
Leaf Mulch: Shredded leaves can be used, but they should be applied lightly around radishes to prevent matting and overly dense coverage.
Fertilize (Optional)
While radishes typically don’t require much fertilization, a light application of a balanced fertilizer can promote growth. Avoid high-nitrogen fertilizers, as they can lead to lush foliage at the expense of root development.
Choosing the Right Fertilizer
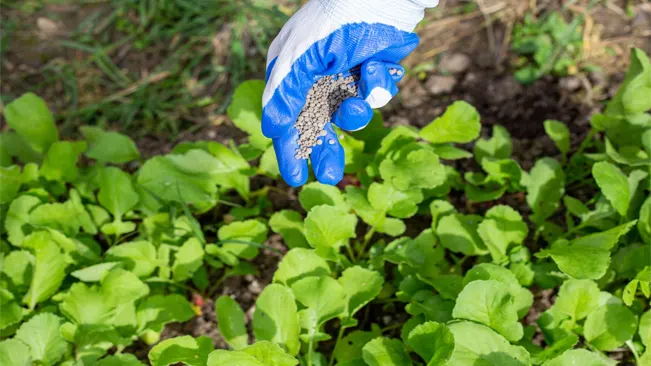
- Balanced Fertilizer: If you decide to fertilize, use a balanced fertilizer, which has equal parts nitrogen, phosphorus, and potassium (N-P-K). A common formula would be 10-10-10 or 5-5-5.
- Application Timing: Apply the fertilizer before planting the seeds. This gives the soil time to absorb the nutrients and avoids direct contact with the seeds, which can sometimes be harmful.
- Light Application: The key is moderation. A light application is sufficient. Follow the instructions on the fertilizer package to avoid overuse.
- Organic Options: For organic gardening, well-rotted compost, aged manure, or a balanced organic fertilizer can be good choices. These provide a slow-release of nutrients and improve soil structure and health.
- Soil Testing: If you’re unsure about the need for fertilization, a soil test can be very helpful. It will tell you what nutrients are already present in your soil and in what amounts.
- Observing the Plants: Sometimes the plants themselves indicate what they need. If the radish plants seem stunted or pale, a light application of fertilizer might be beneficial.
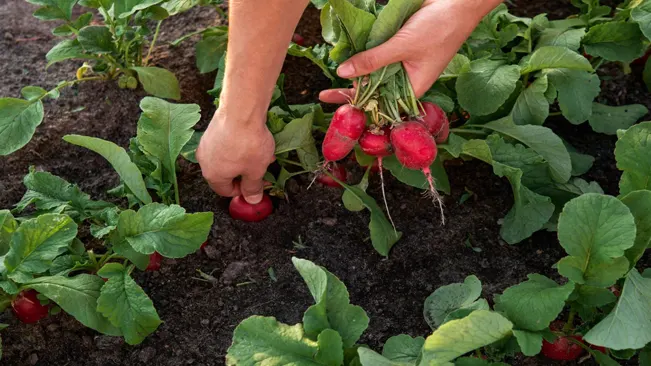
Harvesting
Timing of Harvest
Radishes are quick-growing vegetables, typically ready to harvest 3-4 weeks after planting. The exact time can vary depending on the variety and environmental conditions. It’s important to harvest them at the right time, as over-mature radishes can become woody and lose their flavor and crisp texture.
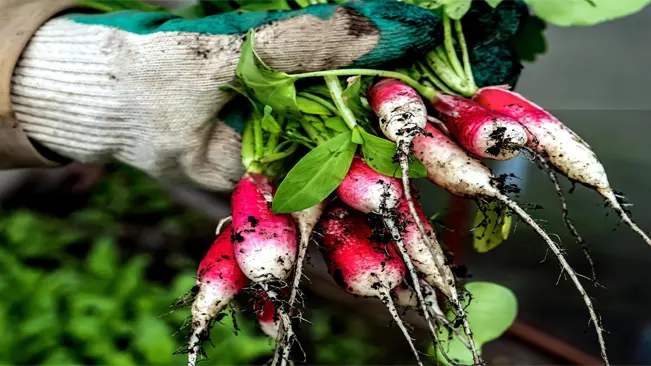
Identifying Harvest-Ready Radishes
- Size: As mentioned, radishes are usually ready when they are about the size of a large marble. Depending on the variety, this size can vary slightly.
- Visible Top: Often, a portion of the radish will protrude above the soil surface. This is a good indicator that they are ready to harvest.
- Color: The part of the radish visible above ground should be vibrant in color, which is another sign of maturity.
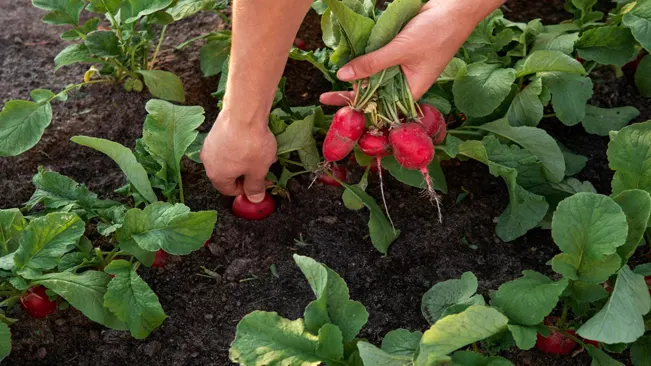
How to Harvest
- Gentle Pulling: Gently grasp the base of the greens and pull. Radishes should come out of the ground easily. If they don’t, loosen the soil around them with a garden fork or spade to prevent breaking them.
- Harvesting in Batches: If you’ve planted a large number, you don’t need to harvest all radishes at once. They can be harvested as needed, but it’s essential not to leave them in the ground too long after maturity.
Post-Harvest Handling
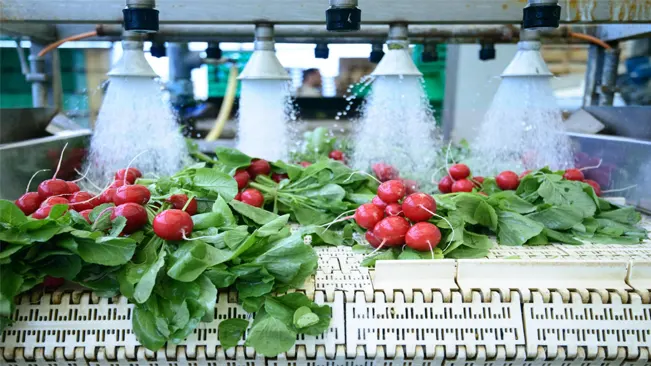
- Cleaning: Once harvested, wash the radishes to remove soil and debris. This is best done immediately after harvesting to prevent the soil from drying and hardening on the radishes.
- Trimming Greens: If you’re not using the greens, trim them off close to the radish top. The greens can be edible and nutritious, so consider using them in your cooking.
- Storage: Store radishes in a cool, humid place if not using them right away. They can be stored in the refrigerator, ideally in a crisper drawer. Storing them in plastic bags with holes can help maintain the right humidity levels.
Using Radishes
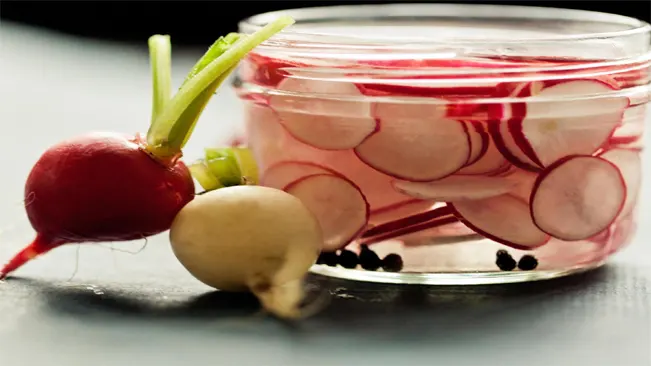
- Radishes are versatile in the kitchen. They can be eaten raw in salads, pickled, or even cooked in dishes like stir-fries. Their crisp texture and peppery flavor make them a delightful addition to many meals.
Common Challenges
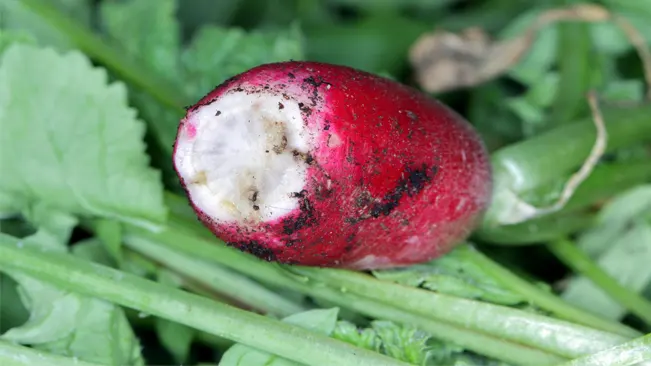
- Pest and Disease: Keep an eye out for pests and diseases that might affect your radishes, like root maggots or leaf miners.
- Bolting: In hot weather, radishes can bolt (flower prematurely), which makes them woody and inedible. It’s crucial to harvest before this happens.
Conclusion
Planting radish seeds in the spring is a rewarding and straightforward process. With minimal effort, you can enjoy fresh, homegrown radishes in salads, as garnishes, or simply as a healthy snack. Happy gardening!
FAQs (Frequently Asked Questions)
- What is the best time to plant radish seeds in spring?
Ideally, radish seeds should be planted as soon as the soil can be worked in the spring. This is often a few weeks before the last frost date in your area. - How deep should I plant radish seeds?
Radish seeds should be planted about ½ inch deep in the soil. - What kind of soil do radishes prefer?
Radishes grow best in loose, well-draining soil rich in organic matter. They prefer a slightly acidic to neutral pH. - How much spacing is needed between radish seeds?
Plant radish seeds about 1 inch apart. Once they sprout, thin the seedlings so they are 2-3 inches apart. - Do radishes require full sun?
Yes, radishes need full sun to grow properly. Aim for at least 6 hours of direct sunlight each day. - How often should I water radish plants?
Keep the soil consistently moist but not waterlogged. Watering radishes regularly is crucial for their development. - Can I grow radishes in containers?
Absolutely! Ensure the container is at least 6 inches deep and has good drainage. Maintain the same planting depth and spacing as in garden beds. - Do I need to fertilize my radish plants?
Radishes generally don’t require much fertilization, especially if planted in fertile soil. If necessary, a light application of a balanced, all-purpose fertilizer can be used. - How do I know when radishes are ready to harvest?
Radishes are typically ready to harvest when they are about the size of a large marble, usually 3-4 weeks after planting. The top of the radish root should be visible above the soil line. - Can radishes be grown in the shade?
While radishes prefer full sun, they can tolerate partial shade. However, too little sunlight may result in slower growth and smaller roots.

Kristine Moore
Forestry AuthorI'm Kristine Moore, a seasoned garden landscaping professional with over 30 years of experience. My extensive career has been dedicated to transforming outdoor spaces into stunning, sustainable landscapes. With a deep understanding of horticulture, design principles, and environmental stewardship, I have become a respected figure in the field, known for creating harmonious, visually appealing, and eco-friendly gardens. My commitment to excellence and continuous learning in landscaping trends and techniques has solidified my reputation as an expert in garden design and implementation.


Leave your comment