How to Renovate a Small Lawn: Easy Steps
- March 25, 2024
- 0 comment
How to Renovate a Small Lawn? Renovating a small lawn doesn’t have to be a daunting, time-consuming task. With a straightforward approach, it’s possible to give your lawn a new lease of life in just one day. This guide is particularly useful for those with limited outdoor space who prefer not to invest in heavy equipment like aerators.
List on How to Renovate a Small Lawn
- Step 1: Clearing the Lawn
- Step 2: Seeding
- Step 3: Ensuring Seed-Soil Contact
- Step 4: Fertilizing
- Step 5: Watering
Assessing Your Lawn
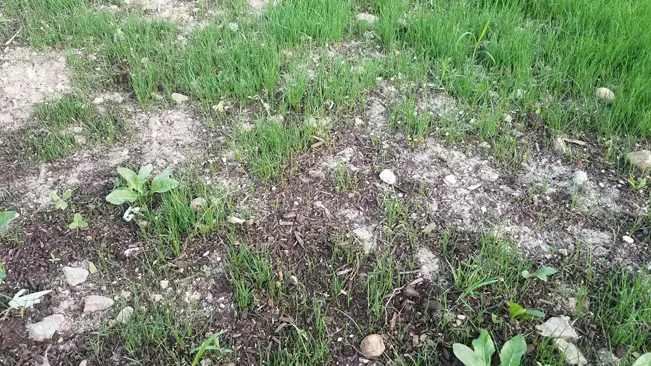
Identifying Problem Areas
- Bare Patches: Areas where grass is sparse or non-existent. These spots can result from heavy foot traffic, pet damage, or disease.
- Weed Infestation: An abundance of weeds can indicate underlying issues such as poor soil health or improper lawn care practices.
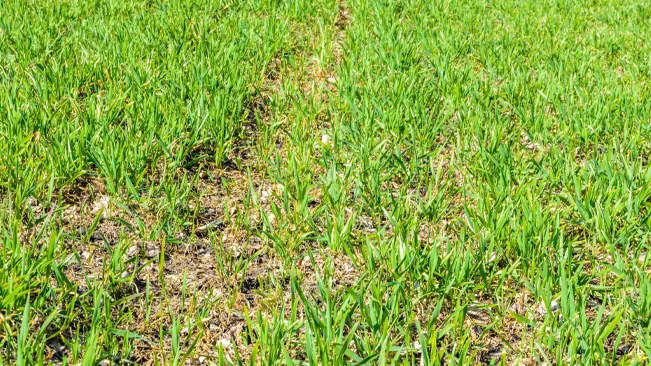
- Thinning Grass: Grass that appears thin and weak across large areas might be struggling due to compacted soil or lack of nutrients.
- Moss or Fungal Growth: The presence of moss or fungi often points to poor drainage, excessive shade, or overly acidic soil conditions.
Soil Health Assessment
- Texture Test: Grab a handful of moist soil from your lawn and try to form it into a ball. Sandy soil will fall apart easily, while clay soil will form a tight, compact ball. Loamy soil, which is ideal, will hold together but crumble under slight pressure.
- pH Test: Soil pH affects nutrient availability to grass plants. A simple pH test kit from your local garden center can tell you if your soil is too acidic, neutral, or alkaline. Most grass types prefer a slightly acidic to neutral pH (around 6.0 to 7.0).
- Nutrient Test: Consider conducting a more comprehensive soil test through a local extension service or with a home testing kit. This test can provide detailed information about nutrient levels (like nitrogen, phosphorus, and potassium) and offer recommendations for amendments.
Lawn Preparation
Remove Debris
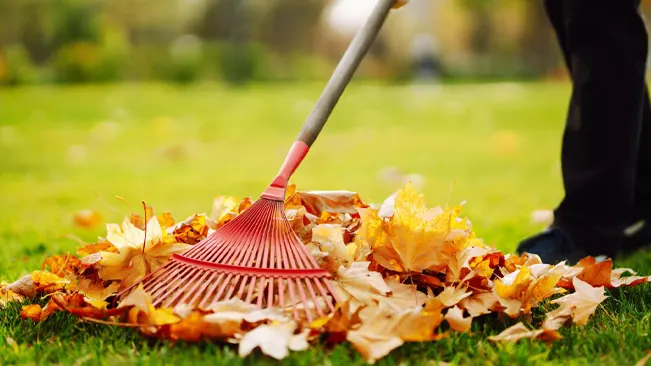
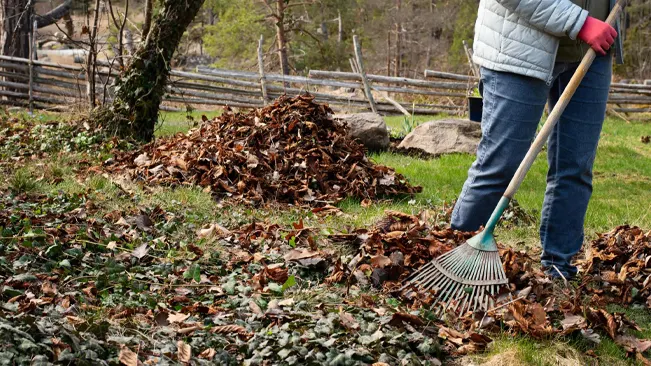
Before any new seeds touch the soil, it’s important to clear the lawn of any existing debris. This includes stones, sticks, leaves, and any other materials that could physically block the growth of new grass shoots. Using a garden rake, gently comb through the grass to gather and remove these items. This step not only cleans the surface but also helps to slightly loosen the top layer of soil, making it more receptive to new seeds.
Weed Removal
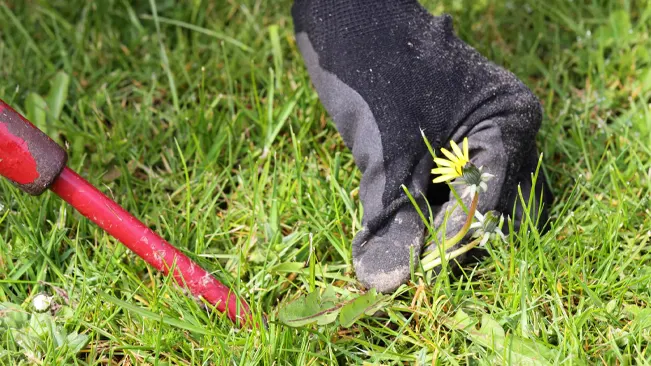
Weeds are one of the biggest competitors with grass for essential resources like nutrients, water, and sunlight. Removing them is a critical step in preparing your lawn for renovation. For smaller lawns or fewer weeds, hand weeding might be the most effective method, allowing you to get to the root of the problem—literally. For more extensive weed issues, a suitable herbicide might be necessary. When choosing a weed killer, opt for one that does not leave a residual effect that could harm the new grass seeds. Always follow the product instructions and local environmental guidelines to ensure safe and effective application.
Old Grass Removal
In some cases, particularly where the lawn is extensively damaged or overrun by invasive weeds, it might be necessary to remove the old grass entirely. This can create a clean slate for new grass to grow without having to compete with established plants. A sod cutter can be rented for this purpose, allowing for the removal of grass and roots in strips. Alternatively, a non-selective herbicide can be applied to kill off the existing vegetation. After the old grass has died, it should be removed to expose the soil beneath. Remember, the use of chemicals should be a last resort, and it’s essential to follow all safety guidelines and local regulations regarding herbicide use.
Loosening the Soil
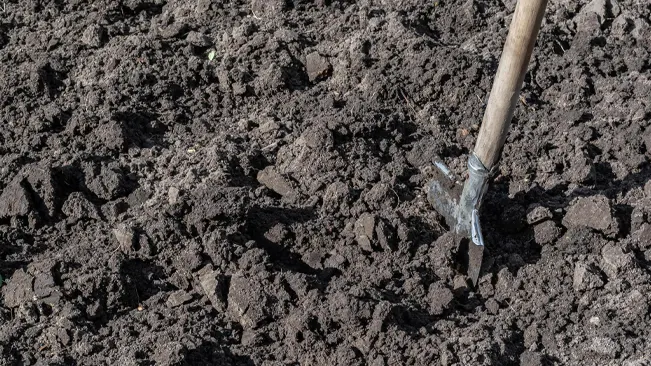
Compacted soil can hinder the growth of new grass by making it difficult for roots to penetrate the ground and access water and nutrients. Use a garden fork or a mechanical aerator to loosen the top 2-4 inches of soil. This aeration process improves soil structure, allowing for better air, water, and nutrient movement.
Leveling and Grading
Uneven ground can lead to poor water distribution, with some areas becoming waterlogged and others too dry. Use a landscaping rake to level the soil, filling in low spots and smoothing out high areas. Aim for a gentle slope away from buildings to encourage proper drainage.
Soil Amendments

Based on your earlier soil assessment, you might need to amend your soil to improve its fertility and structure. This could involve adding organic matter like compost to enrich the soil, sand to improve drainage in clay-heavy soils, or specific nutrients to address deficiencies. If your soil’s pH is not in the optimal range for grass growth, this is also the time to add lime (to raise pH) or sulfur (to lower pH).
Tools and Materials for Lawn Renovation
Tools
- Lawnmower: A mower with a bagging option is essential for the initial step of cutting the lawn short and collecting the clippings, which helps to clear the way for seeding and reduces potential disease spread.
- Garden Rake: This tool is invaluable for removing debris and creating a smooth, level surface. It can also be used to lightly incorporate seeds into the soil.
- Aerator (Optional): For compacted soils, an aerator can improve soil structure by creating small holes in the ground, enhancing air, water, and nutrient movement.
- Sod Cutter (Optional): If you need to remove old grass, a sod cutter can strip away the existing lawn more efficiently than manual methods.
- Seed Spreader: This comes in handy for evenly distributing grass seed over the prepared soil. You can choose between a handheld model for small areas or a push model for larger spaces.
- Watering Can or Hose with Sprinkler Attachment: Adequate watering is crucial for seed germination and establishment. A watering can might suffice for very small areas, but for most lawns, a hose with a sprinkler attachment or an automated sprinkler system will ensure even and consistent watering.
- Wheelbarrow: Useful for transporting soil, compost, and other materials across your lawn.
- Gloves and Safety Gear: Protective gloves, goggles, and a dust mask are essential for personal safety, especially when handling soil amendments, fertilizers, and any lawn care chemicals.
Materials
- High-Quality Grass Seed: Select a seed mix that is appropriate for your climate, soil type, and the amount of sunlight your lawn receives. Quality seed has a higher germination rate and will lead to a healthier lawn.
- Soil Amendments: Based on your soil test results, you might need organic matter like compost, sand for improving drainage, or specific nutrients to address soil deficiencies.
- Starter Fertilizer: This type of fertilizer is formulated to promote strong root growth in new seedlings. It’s less likely to burn young grass compared to regular fertilizers.
- Lime or Sulfur (if needed): If your soil test indicates that the pH is off, you may need lime to raise the pH or sulfur to lower it.
- Mulch or Lawn Blanket (Optional): A thin layer of straw mulch can help retain soil moisture and protect germinating seeds. A biodegradable lawn blanket can also be used for this purpose, especially on slopes to prevent erosion.
Step By Step Renovation Process
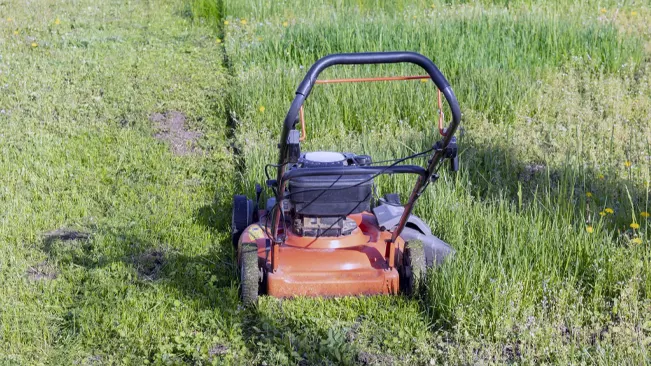
Step 1: Clearing the Lawn
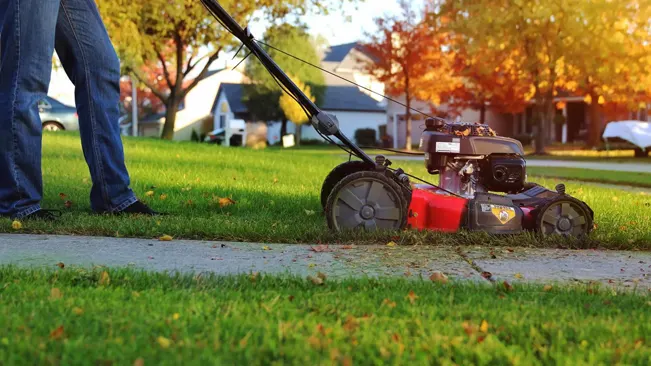
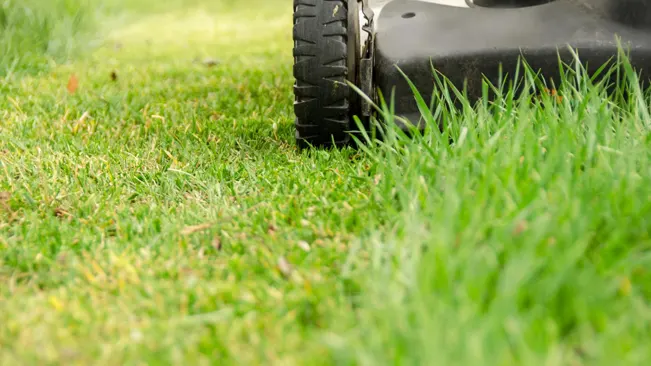
Begin by tidying up your lawn. This step might sound laborious, but it’s surprisingly simple with the right tool – your lawnmower. Ensure your mower has a bagging attachment to collect debris, saving you significant cleanup time. Adjust the mower to its lowest cutting height (you can increase it slightly if necessary) and mow the entire area. This process may create dust, so consider wearing a mask. The goal is to create a clean, even surface, ready for the next phase.
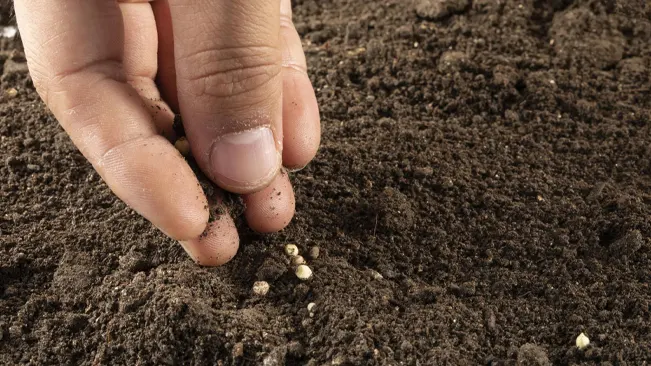
Step 2: Seeding
When it comes to the seeding stage of your lawn renovation, there are a few methods to choose from, each suited to different lawn sizes. For very small areas, hand spreading the seed is a straightforward approach, where you simply scatter the seeds across the soil with your hands. This method is direct but might result in less even coverage. For lawns that are a bit larger, a handheld rotary spreader can be a great choice, providing a more consistent seed distribution across the area. It’s an easy-to-use tool that just requires you to fill it with seed and walk over your lawn, spreading the seed as you go. For the most extensive small lawns, a walk-behind rotary spreader is the best option, ensuring thorough coverage. With this tool, you’ll want to make sure you adjust the spreader’s settings based on the recommendations provided with your grass seed to achieve optimal results.
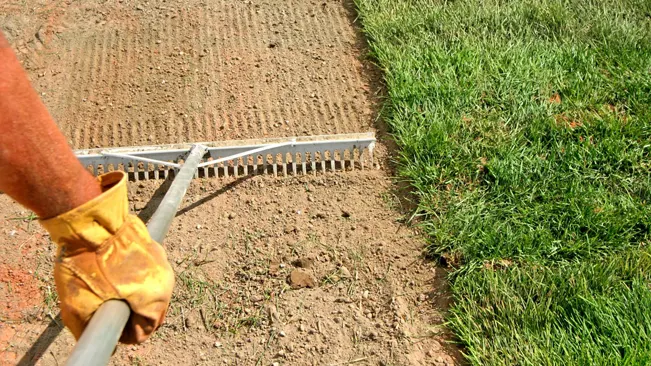
Step 3: Ensuring Seed-Soil Contact
Grass seeds need to be in contact with the soil to germinate effectively. A rake can facilitate this, but for optimal results, consider using a specialized rake like the Groundskeeper II. Its unique tines gently incorporate the seeds into the soil without much effort.
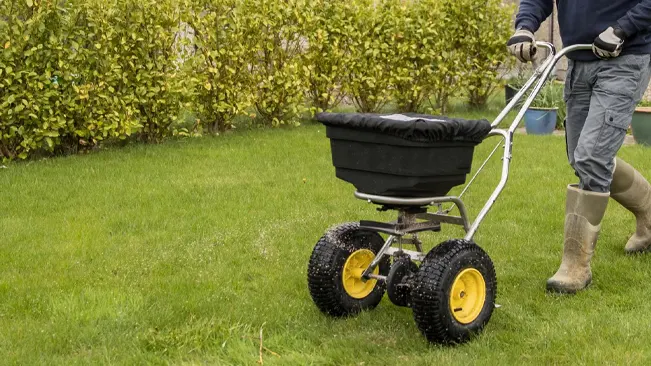
Step 4: Fertilizing
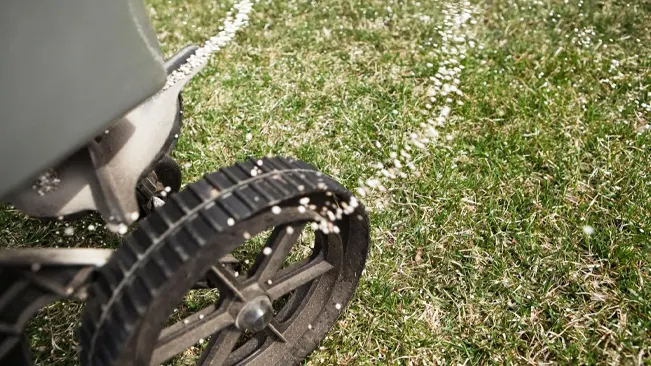
Apply a starter fertilizer to nourish your newly sown seeds. This specific type of fertilizer supports young grass without the risk of burning it. Distribute the fertilizer evenly across your lawn using a spreader, ensuring you follow the guidelines provided on the fertilizer package.
Step 5: Watering
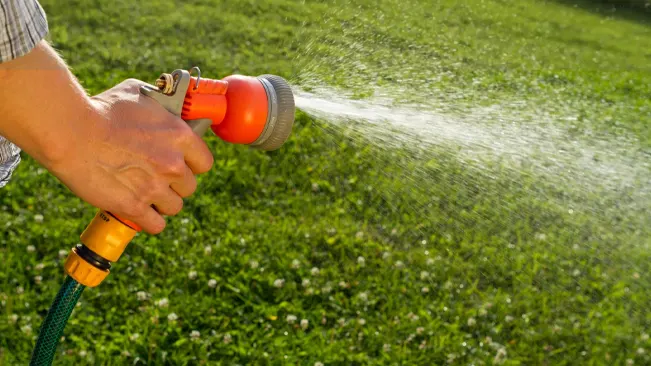
Regular watering is essential for germination and growth. While manual watering with a hose can work for very small areas, an automated solution like a sprinkler connected to a hose with a timer can make the process more efficient and consistent. Aim to keep the soil moist, usually requiring watering twice a day until the grass is established.
Proper Watering Techniques
Initially, focus on keeping the topsoil layer moist without causing waterlogging, which can suffocate the seeds and inhibit growth. This usually means watering lightly but frequently, typically twice daily. Aim for early morning and late afternoon or early evening sessions to minimize evaporation and avoid the midday heat, which can be too intense for the new seeds. For even water distribution, especially over larger areas, a sprinkler system can be invaluable. It ensures that all parts of your lawn receive adequate moisture, crucial for uniform growth.
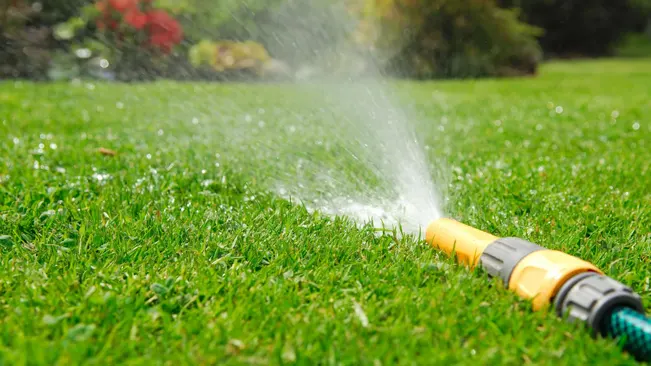
As your grass begins to establish, you should adapt your watering strategy. Reduce the frequency of your watering sessions but increase their duration, encouraging the roots to grow deeper into the soil in search of moisture. This deeper root system will make your lawn more resilient and better equipped to handle drought conditions.
Maintenance
- Mowing: Begin mowing when the grass reaches about 3 inches in height, cutting it down to about 2 inches. Mowing too soon or cutting too short can stress the young grass, so it’s essential to wait until it’s strong enough to withstand the first trim.
- Fertilizing: About 4-6 weeks after germination, consider applying a second round of starter fertilizer to provide the young grass with the nutrients it needs to continue growing strong and dense.
- Weed Control: Keep an eye out for weeds and address them promptly, ideally by hand-pulling to avoid disturbing the young grass. Avoid using herbicides until the lawn is well established, as chemicals can harm the delicate new grass.
- Disease and Pest Management: Monitor your lawn for signs of disease or pest infestation. If you notice any unusual spots, thinning areas, or discolored grass, take action quickly to identify and treat the problem.
Common Mistakes to Avoid
Cutting Grass Too Short
Mowing your lawn too short, a practice often called “scalping,” can weaken grass plants by reducing their ability to produce energy through photosynthesis. This can lead to a host of problems, including vulnerability to pests, disease, and weed invasion. It’s generally best to follow the “one-third” rule, never removing more than one-third of the grass blade length in a single mowing.
Ignoring Soil Health
Soil is the foundation of your lawn, and neglecting soil health can lead to poor lawn performance. Compacted soil, improper pH levels, and nutrient deficiencies can all hinder grass growth. Regularly aerating your lawn, testing the soil, and applying the appropriate amendments can significantly improve soil health and, consequently, lawn quality.
Overuse of Chemicals

Relying too heavily on chemical fertilizers, pesticides, and herbicides can damage your lawn and the environment. Chemicals should be used judiciously and as a last resort. Whenever possible, opt for organic and natural lawn care solutions, and always follow the recommended application rates and safety instructions.
Planting the Wrong Type of Grass
Different grass types have varying requirements for sunlight, water, and temperature tolerance. Planting a grass type unsuited to your region’s climate or your lawn’s specific conditions can result in a weak, patchy lawn. Research the best grass types for your area and consider factors like sun exposure and foot traffic when choosing your seed.
Poor Mowing Practices
Using a dull mower blade tears the grass, resulting in a jagged, uneven cut that can make your lawn more susceptible to disease. Additionally, mowing with a dirty mower can spread lawn diseases. Regularly sharpen your mower blades and clean your mower to ensure clean cuts and reduce the risk of spreading pathogens.
Related Post:
Conclusion
In conclusion, renovating a small lawn is a fulfilling endeavor that can significantly enhance the aesthetic and functional aspects of your outdoor space. By carefully assessing the current state of your lawn, planning your renovation thoughtfully, selecting the right tools and materials, and dedicating time to preparation and maintenance, you can transform a modest area into a lush, inviting garden. Remember, the key to a successful lawn renovation lies in meticulous planning, consistent care, and a touch of personal creativity. Whether you’re dealing with a tiny backyard or a modest green patch, your small lawn has the potential to become a beautiful, serene retreat that reflects your personal style and love for nature.
FAQs
- How often should I water my newly renovated lawn?
Newly renovated lawns typically require more frequent watering to establish roots. Aim for once or twice daily for the first few weeks, depending on the weather and soil conditions. Once the grass is established, gradually reduce the frequency to encourage deeper root growth. - Can I renovate my lawn without using chemicals?
Absolutely! You can use organic methods such as composting, mulching, and employing natural pest control techniques. Choosing the right type of grass that’s well-suited to your climate can also reduce the need for chemical interventions. - What are the best low-maintenance plants for a small lawn?
Low-maintenance plants for a small lawn include native grasses, ground covers like creeping thyme or sedum, and drought-resistant plants such as lavender or salvia. These plants typically require less water and care. - How do I choose between seeding and sodding?
The choice between seeding and sodding depends on your budget, time frame, and the desired instant effect. Seeding is more cost-effective but takes time to establish, while sodding offers an immediate lawn but at a higher cost. - What DIY projects can enhance my small lawn?
DIY projects such as building raised garden beds, creating a stone pathway, installing a simple water feature, or adding outdoor lighting can greatly enhance the appeal of your small lawn. These projects can be tailored to fit your space and personal style.

Joel Cunningham
Forestry AuthorI'm Joel Cunningham, an expert in pruning and weed management with over a decade of experience. My skills are rooted in formal training and extensive practice, focusing on advanced pruning techniques and efficient weed control. I'm known for my quality work, precision, and deep understanding of plant health and soil dynamics. My contributions extend to educational initiatives where I share sustainable practices and advice, establishing myself as a reliable and authoritative figure in the gardening community.


Leave your comment