What to Do After Dethatching Your Lawn: Next Steps for a Healthy Lawn
- March 20, 2024
- 1 comment
Dethatching your lawn is a crucial step in ensuring its health and vibrancy, but what you do immediately after can significantly impact its recovery and future growth. This comprehensive guide will walk you through the essential steps and care strategies to revitalize your lawn post-dethatching.
What is a Dethatcher?
A dethatcher, also known as a lawn scarifier, is a gardening tool designed to remove thatch from a lawn. Thatch is a layer of organic material, including dead grass, leaves, stems, and roots, that accumulates between the live grass and the soil surface. While a thin layer of thatch can be beneficial, acting as a mulch to retain moisture and protect roots, an excessively thick layer can prevent water, nutrients, and air from reaching the soil, potentially leading to issues like poor growth, lawn diseases, and pest infestations.
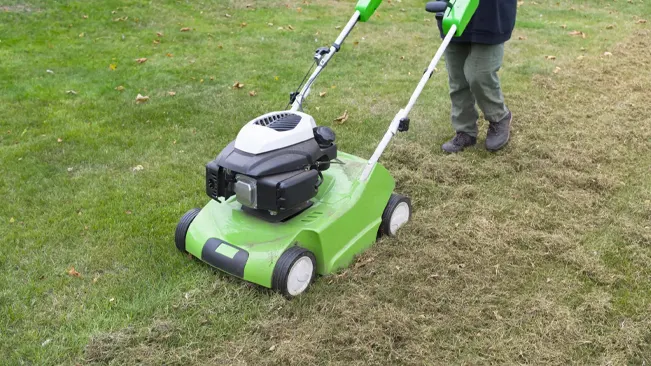
Dethatchers come in various forms, from simple manual tools resembling a rake with sharp tines to more complex motorized machines equipped with rotating blades or tines. These tools work by physically cutting through the thatch layer and pulling up the debris, allowing the underlying grass to breathe and receive necessary nutrients. The process of dethatching is typically recommended as part of a comprehensive lawn care regimen, especially for lawns that have developed a thick layer of thatch over time. It’s important to dethatch at the right time of year and under the right conditions to ensure the health and recovery of the lawn.
What To Do After Dethatching Your Lawn?
Mow the Lawn
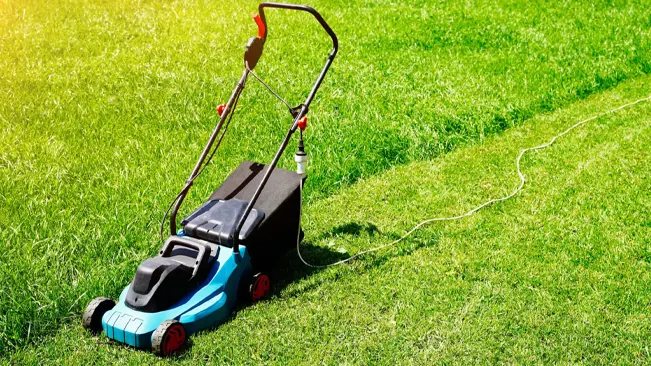
Regular mowing plays a crucial role in maintaining a healthy lawn. It’s important to adhere to the one-third rule, where you only cut one-third of the grass blade’s length at a time to avoid stress. Keeping your mower blades sharp ensures a clean cut, which is less susceptible to disease. The mowing height should be adjusted according to the season; higher during hot weather to help the lawn retain moisture, and lower during cooler months for optimal growth.
Water the Lawn
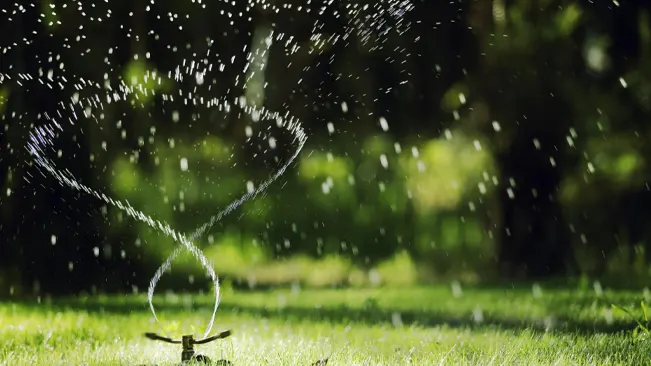
Proper watering is essential for a lush lawn. It’s best to water deeply but infrequently, encouraging the roots to grow deeper into the soil. Aiming for 1 to 1.5 inches of water per week, whether from rainfall or irrigation, is a good benchmark. Early morning is the ideal time for watering, as it reduces evaporation and minimizes the risk of diseases taking hold. Always consider local water regulations and adjust your watering practices accordingly.
Overseed the Lawn
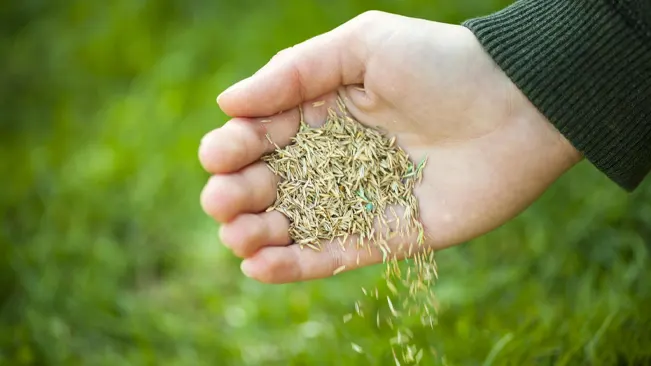
Overseeding is a process of spreading new grass seeds over your existing turf, beneficial for filling in bare spots, improving the density of your lawn, and enhancing its overall appearance. Timing is crucial and depends on the type of grass; cool-season grasses are best overseeded in early fall, while late spring is optimal for warm-season grasses. To prepare, mow the lawn shorter than usual and remove any debris. After overseeding, it’s vital to keep the soil moist to ensure successful germination and establishment of the new grass.
Fertilize the Lawn
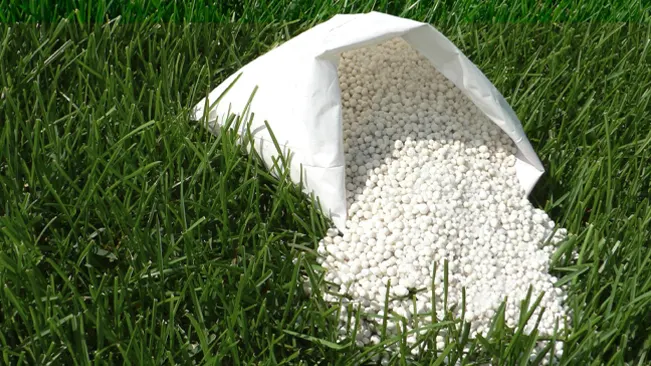
Applying fertilizer supplies your lawn with the necessary nutrients for healthy growth. The specific type and frequency of application depend on the grass type and soil condition, which can be determined by a soil test. It’s important to avoid over-fertilizing, which can harm both the lawn and the environment. Using a spreader ensures even application of the fertilizer, and following the manufacturer’s instructions for application rates and timing will yield the best results.
Topdress the Lawn
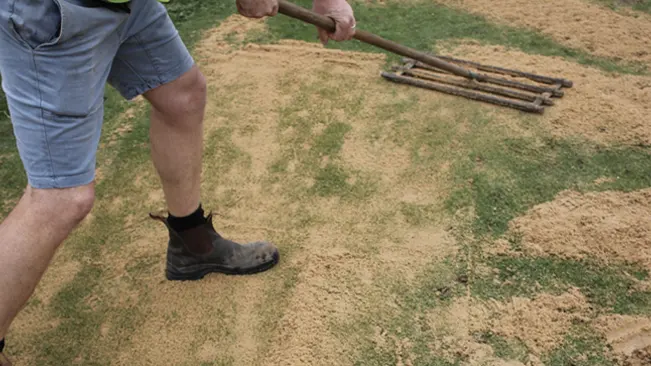
Topdressing involves spreading a thin layer of organic material, such as compost or a specialized soil blend, over the surface of your lawn. This practice can enhance soil quality, help level the lawn, and contribute to thatch reduction. It’s important to apply the topdressing material evenly and thinly, about a quarter of an inch thick, to avoid smothering the grass. Watering the lawn after topdressing helps the material to settle and integrate with the existing soil, further promoting the health and appearance of your lawn.
How to Dethatch a Lawn?
Preparing for the Process
Assess the Thatch
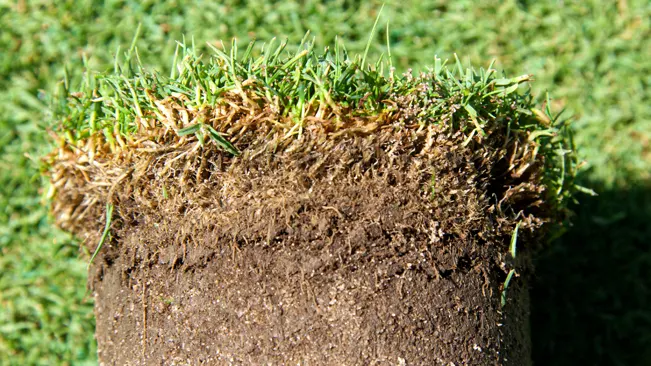
Determining the need for dethatching begins with an assessment of the thatch layer in your lawn. A thin layer of thatch, less than 1/2 inch, can be beneficial as it provides natural mulching. However, when this layer exceeds 1/2 inch, it can block water, air, and nutrients from reaching the soil, necessitating dethatching. To assess, remove a small section of your lawn to a depth of a few inches and measure the thatch layer. If it’s too thick, it’s time to plan for dethatching.
Choose the Right Time
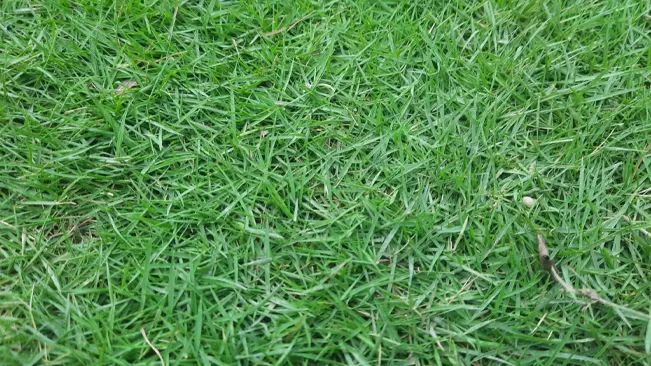
Timing is crucial for dethatching to ensure your lawn recovers well. For cool-season grasses, such as fescue or bluegrass, the ideal times are early fall or late spring when the grass is actively growing. Warm-season grasses, like Bermuda or Zoysia, are best dethatched from late spring to early summer. Avoid dethatching during periods of stress for the lawn, such as during extreme temperatures or drought.
Mow Lower
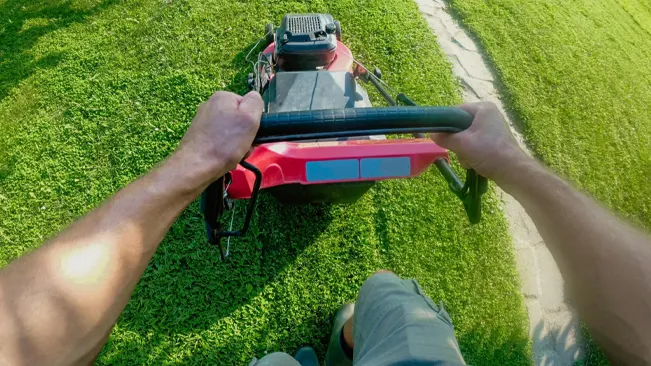
Preparing your lawn by mowing it lower than usual can make the dethatching process more efficient. This doesn’t mean scalping your lawn but rather adjusting your mower to a lower setting to reduce the grass height, making the thatch layer more accessible. This step should be done a few days before dethatching to allow the grass a brief recovery period.
Water the Lawn
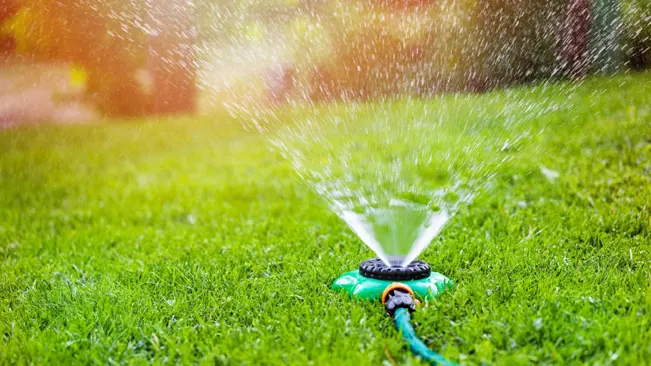
Hydrating your lawn a day or two before dethatching can soften the soil and thatch, making the process less stressful for the grass and more effective. Ensure the soil is moist but not saturated, as overly wet conditions can complicate dethatching.
Performing the Dethatching
Manual Dethatching
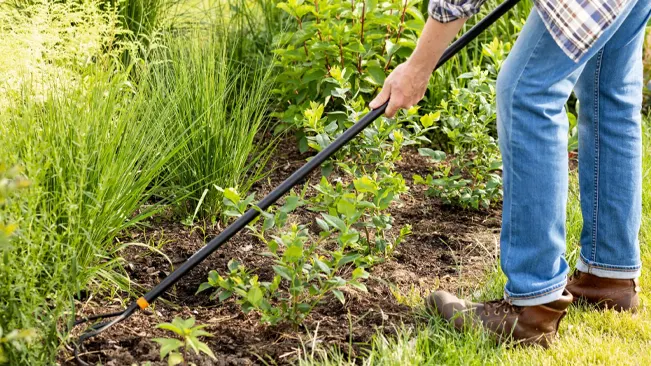
For smaller lawns or areas with light thatch, a manual dethatching rake can be sufficient. This tool has sharp, rigid tines designed to dig into the thatch and pull it away from the soil. Using a manual rake requires significant physical effort, as you’ll need to rake vigorously across the entire lawn to effectively remove the thatch.
Using a Power Dethatcher
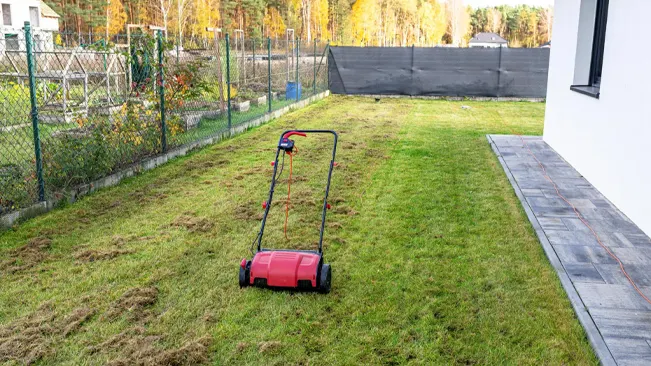
In cases of heavy thatch or larger lawns, a power dethatcher, also known as a scarifier or vertical mower, is more appropriate. These motorized machines can be rented and feature spinning blades or tines that cut into the thatch layer, pulling it up to the surface. Power dethatchers are more efficient and less labor-intensive than manual raking.
Work in Patterns
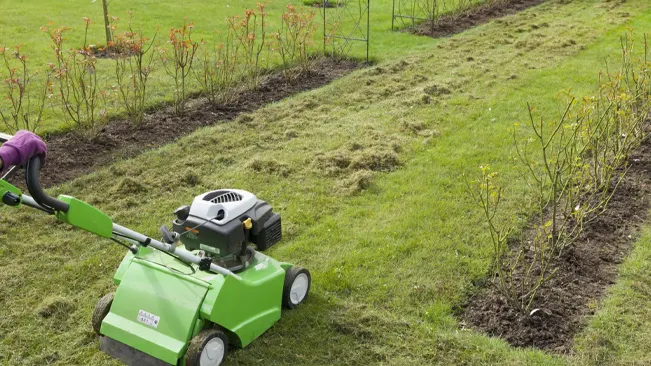
To ensure thorough dethatching, it’s advisable to work in systematic patterns across your lawn. Make one complete pass in one direction, then make a second pass perpendicular to the first. This cross-hatching pattern ensures that no area is missed and the thatch is evenly removed.
Common Mistakes to Avoid
- Overwatering: While it’s important to keep your lawn hydrated, too much water can lead to shallow root systems, fungus growth, and a host of other problems. Aim for deep, infrequent watering sessions that encourage roots to grow deeper, making your lawn more drought-resistant.
- Cutting Grass Too Short: Mowing your lawn too short, a practice often called “scalping,” can stress the grass and make it more susceptible to diseases, pests, and weed invasion. Always follow the one-third rule, cutting only one-third of the grass blade’s length at a time.
- Ignoring Soil Health: The health of your lawn starts with the soil. Neglecting soil health, including its pH balance and nutrient content, can lead to poor lawn health. Regular soil testing can guide your fertilization and treatment plans, ensuring your grass gets what it needs to thrive.
- Improper Fertilization: Over-fertilizing can burn the grass, while under-fertilizing can lead to weak growth. Using the wrong type of fertilizer for your lawn’s specific needs can also cause problems. It’s essential to fertilize according to your lawn’s needs and the local climate, preferably based on a soil test.
- Dethatching or Aerating at the Wrong Time: These processes are beneficial but only when done at the right time. Dethatching and aerating during the lawn’s dormant period or when it’s stressed from heat or drought can cause more harm than good. Schedule these activities during the growing season when your lawn can recover effectively.
- Using Dull Mower Blades: Dull blades tear the grass, resulting in jagged edges that can turn brown and make your lawn more susceptible to disease. Sharp blades make clean cuts, promoting healthier grass. Regularly sharpen mower blades to ensure clean, healthy cuts.
- Watering at the Wrong Time of Day: Watering in the evening can leave grass wet overnight, making it more prone to fungal diseases. Midday watering can lead to water loss through evaporation. The optimal time for watering is early morning, allowing water to soak deeply into the soil before the heat of the day.
- Ignoring Weeds: Weeds not only detract from your lawn’s appearance but also compete with grass for nutrients, water, and sunlight. Addressing weeds promptly, whether through manual removal, pre-emergent treatments, or post-emergent herbicides, is crucial to maintaining lawn health.
- Neglecting Lawn Equipment Maintenance: Poorly maintained lawn equipment can damage your lawn. Regular maintenance of your mower, dethatcher, and other lawn care tools ensures they work effectively and don’t harm your grass.
- Overlooking Patchy or Bare Spots: Ignoring these areas can lead to more significant problems, as they’re prime spots for weeds to take hold. Overseeding and proper lawn care practices can help these areas recover and prevent future issues.
Conclusion
In conclusion, maintaining a healthy and vibrant lawn involves more than just regular mowing and watering. It’s essential to avoid common mistakes such as overwatering, cutting the grass too short, neglecting soil health, improper fertilization, and incorrect timing for dethatching and aeration. Additionally, using sharp mower blades, watering at the right time of day, addressing weeds promptly, maintaining your lawn care equipment, and dealing with patchy or bare spots are all crucial steps in lawn care. By understanding and avoiding these pitfalls, you can ensure your lawn remains a lush, welcoming space that enhances your home’s curb appeal and provides a beautiful outdoor area for enjoyment. Remember, a healthy lawn is the result of consistent care and attention to detail, and avoiding common mistakes is key to achieving that goal.
FAQs
- How often should I water my lawn?
Typically, your lawn needs about 1 to 1.5 inches of water per week, from rainfall or irrigation. It’s best to water deeply and infrequently, which encourages deeper root growth. - What’s the best time of day to water my lawn?
Early morning is the ideal time to water your lawn. This allows the water to soak deeply into the soil before the heat of the day, reducing evaporation and minimizing the risk of fungal diseases. - Why is my lawn turning yellow or brown, even though I water regularly?
Yellowing or browning can be due to various reasons, including overwatering, nutrient deficiencies, pests, diseases, or even heat stress. It’s essential to assess your lawn care routine and possibly conduct a soil test to determine the underlying cause. - How often should I mow my lawn?
The frequency of mowing depends on the growth rate of your grass, which is influenced by the season, weather, and watering practices. A good rule of thumb is to cut no more than one-third of the grass blade’s length at a time, so the mowing frequency might adjust based on how quickly your lawn grows. - Do I really need to dethatch my lawn? How do I know when it’s time?
Dethatching might be necessary if the thatch layer exceeds 1/2 inch. You can check by removing a small section of turf and measuring the thatch layer. Excessive thatch can block water, nutrients, and air from reaching the soil, so dethatching can help maintain lawn health. - When is the best time to fertilize my lawn?
The best time to fertilize depends on the type of grass you have. Cool-season grasses benefit from fertilization in early spring and fall, while warm-season grasses are best fertilized in late spring through summer. Always follow the recommendations on the fertilizer package and consider a soil test to tailor fertilization to your lawn’s needs. - How do I choose the right type of grass seed for overseeding?
Choose a grass seed that matches your existing lawn and is suitable for your region’s climate and your yard’s specific conditions (such as sun exposure and soil type). Your local garden center or extension service can provide recommendations based on your needs. - Can I use a regular rake for dethatching?
While a regular garden rake might remove some surface debris, a specialized dethatching rake or a power dethatcher is much more effective for penetrating the thatch layer and removing it from your lawn. - Is it necessary to aerate my lawn? If so, how often?
Aeration is beneficial if your soil is compacted, which can be common in high-traffic areas. Aerating once a year, typically in the fall for cool-season grasses and late spring for warm-season grasses, can improve water and nutrient uptake. - How can I deal with persistent weeds in my lawn?
Consistent lawn care practices like proper mowing, watering, and fertilization can reduce weed occurrence. For persistent weeds, consider manual removal or the application of appropriate herbicides, being mindful to choose a product that won’t harm your grass type.

Joel Cunningham
Forestry AuthorI'm Joel Cunningham, an expert in pruning and weed management with over a decade of experience. My skills are rooted in formal training and extensive practice, focusing on advanced pruning techniques and efficient weed control. I'm known for my quality work, precision, and deep understanding of plant health and soil dynamics. My contributions extend to educational initiatives where I share sustainable practices and advice, establishing myself as a reliable and authoritative figure in the gardening community.





Very good recommendations, thanks
Carlos marin
March 23, 2024 12:49 pm