TroyBilt 146 EC Cultivator Review
- February 19, 2024
- 0 comment
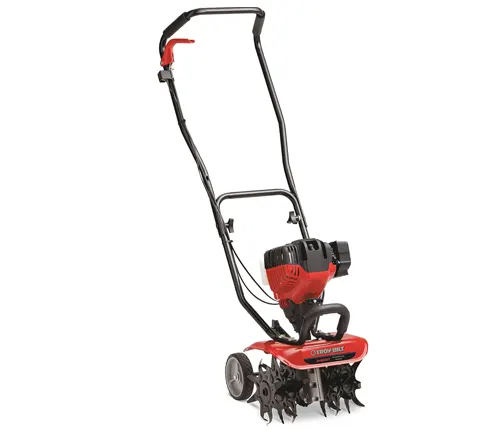
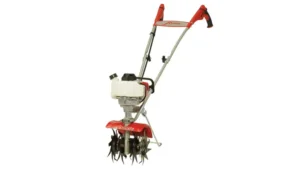
The TB146 EC Cultivator is a powerhouse for garden enthusiasts looking to maintain or prepare their soil for planting. Proper setup and maintenance are crucial to its performance and longevity. This article will guide you through the unboxing, assembly, and operation of your TB146 EC Cultivator, ensuring you get the most out of this essential gardening tool.
Specifications
- Brand Troy-Bilt
- Color Red
- Power Source gas-powered
- Material Alloy Steel
- Item Weight 0.01 Ounces
Unboxing and Assembly A Step-by-Step Guide to Setting Up Your TB146 EC Cultivator
Unboxing with Care

Start your journey with the TB146 EC Cultivator by carefully opening the box, using scissors or a box cutter, taking care not to damage the contents. Once opened, it’s wise to have an extra set of hands to help lift out the cultivator, as it can be heavy and awkward to maneuver on your own. This initial step is crucial in ensuring the cultivator and its components remain in perfect condition, ready for assembly.
Familiarize Yourself with the Fast Assembly Guide
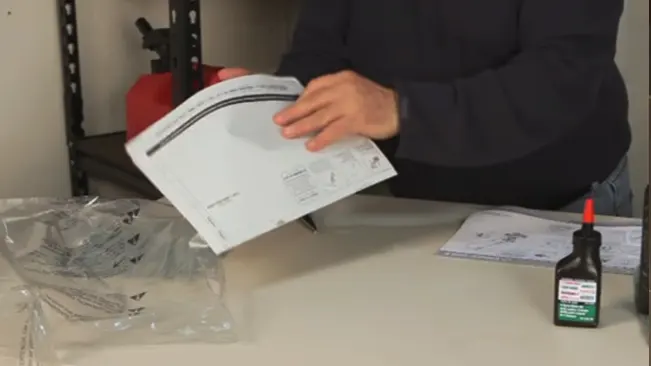
Inside the box, you’ll find the fast assembly guide, either attached to the cultivator or prominently placed. This guide is your roadmap to a seamless setup process, offering illustrated step-by-step instructions. Taking a moment to read through this guide thoroughly will simplify the assembly process, making it efficient and hassle-free.
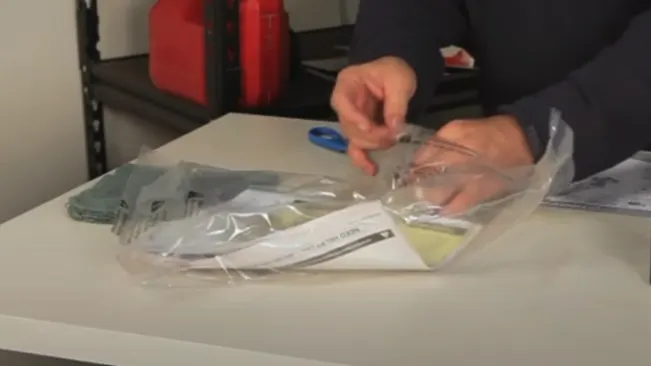
Parts Pack Contents
Upon opening the parts pack, lay out all components and cross-reference them with the provided list in the guide. This ensures that no essential parts are missing and you’re fully prepared for assembly. Familiarizing yourself with each part and its function will not only smooth the assembly process but also enhance your understanding of how the cultivator operates.
While the fast assembly guide offers a quick setup overview, the owner’s manual delves into the nitty-gritty of each step. It provides detailed instructions, maintenance tips, and troubleshooting advice, making it an essential resource. If this is your first time assembling a cultivator, or you want to ensure thoroughness, investing time in the owner’s manual can significantly enhance your setup experience and the long-term performance of your cultivator.
Assembly
Begin assembling your TB146 EC Cultivator by closely following the fast assembly guide’s instructions, consulting the owner’s manual for any additional details or clarifications. The assembly process is designed to be straightforward, typically requiring only basic tools. Having a set of wrenches and screwdrivers on hand can be helpful, ensuring you’re equipped for any minor adjustments needed during assembly.
After assembly, it’s imperative to conduct final checks. Go over all fasteners to ensure they’re tight and secure, as any looseness can lead to inefficiency or damage. Also, verify that all parts are correctly aligned and the cultivator stands stable and level on the ground. These final steps are vital in guaranteeing the safety, efficiency, and longevity of your TB146 EC Cultivator, setting you up for success in your gardening endeavors.
Wheel Assembly Ensuring Mobility and Versatility
The wheel assembly of your TB146 EC Cultivator plays a pivotal role in ensuring the machine’s ease of mobility and adaptability to different soil conditions. Start by identifying the wheel components from the parts pack, which usually includes the wheels, assembly pins, and locking mechanisms. Carefully align the wheels with the slots or brackets on the cultivator’s body, following the model-specific instructions found in the fast assembly guide or the owner’s manual. Once aligned, insert the assembly pins through the wheels and into the frame, securing them in place with any provided locking mechanisms such as retaining clips or lock pins, to prevent the wheels from detaching during operation.
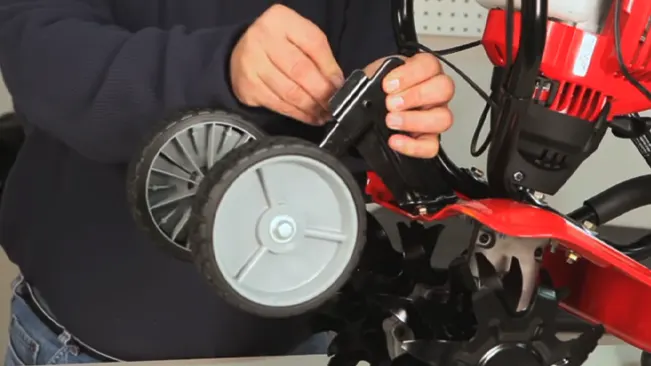
Adjusting the wheel height is essential for adapting to various terrains and achieving the desired depth of cultivation. Begin by assessing the soil type and cultivation needs to determine the optimal wheel height. Loosen the adjustment mechanism, which could be a knob, lever, or pin, to enable height modification. Carefully adjust the wheels to the required height, ensuring they are set to meet the specific demands of your gardening project. After setting the desired height, firmly tighten the adjustment mechanism to maintain the chosen setting, ensuring stability and consistency in your cultivation efforts. This two-step process of inserting and adjusting the wheel assembly enhances the functionality and versatility of your TB146 EC Cultivator, making your gardening tasks more manageable and efficient.
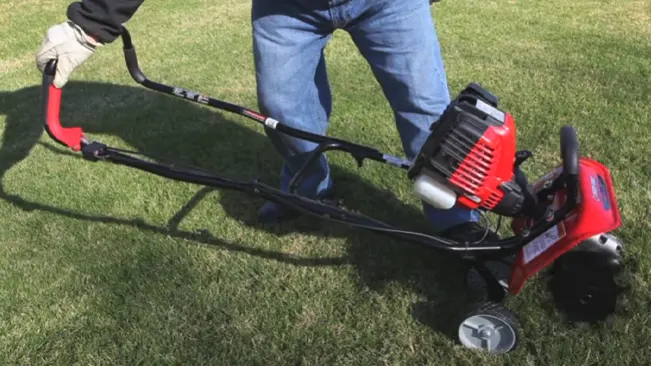
Handlebar Adjustment
Adjusting the handlebar of your TB146 EC Cultivator is a key step in ensuring comfortable and safe operation. To start, you’ll need to raise the handlebar to a position that suits your height and comfort. This usually involves loosening the knobs or levers located on each side of the cultivator’s handlebar. Once loosened, gently lift the handlebar, aligning it with the lower part of the unit or to the angle that best fits your posture and ensures operational ease. After finding the ideal position, retighten the knobs or levers to secure the handlebar firmly in place. It’s important to make sure the handlebar is locked securely to avoid any unexpected movement while the cultivator is in use.
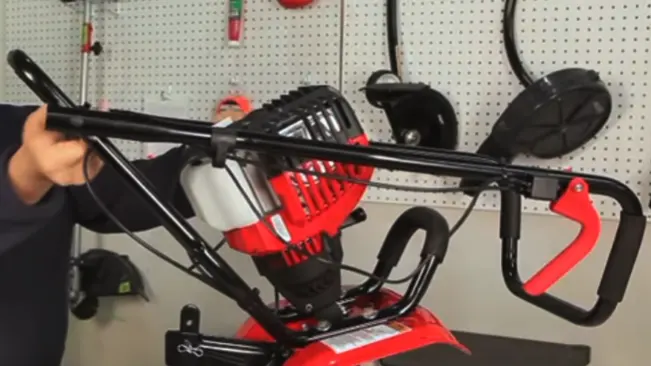
In addition to adjusting the height and angle of the handlebar, it’s crucial to pay attention to the safety of any wires that may run along or near the handlebar assembly. During the adjustment process, ensure that none of the wires are pinched, stretched, or entangled. This not only prevents damage to the wires but also ensures that all electronic functions of the cultivator remain intact and operational. Proper wire management contributes to the overall safety and functionality of the cultivator, preventing potential hazards and ensuring a smooth gardening experience.
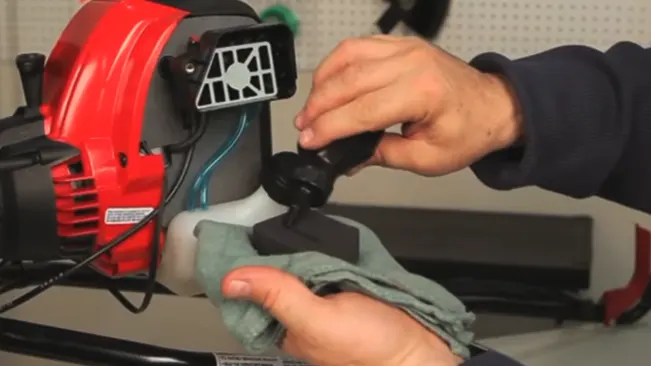
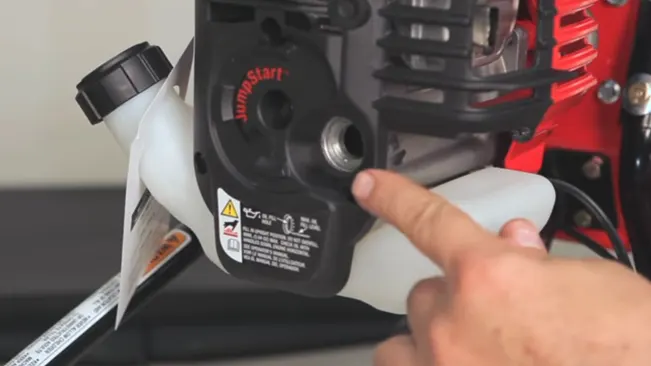
Engine Preparation
Preparing the engine of your TB146 EC Cultivator is essential for its performance and longevity. Start by adding oil to the new engine, which is a critical step for ensuring the smooth operation and protection of the engine components. Locate the oil bottle that came with your cultivator, remove the cap, and carefully pour the oil into the engine, following the instructions provided in the owner’s manual. It’s important to add the oil slowly to avoid overfilling and to ensure that the oil is distributed evenly within the engine.

After adding oil, it’s crucial to check the oil levels to ensure they are within the recommended range. This can typically be done by using the oil dipstick or checking the oil fill plug, depending on your model’s design. The oil level should be just at the bottom of the fill plug threads or within the markings on the dipstick. Adjust the oil level if necessary to maintain proper lubrication and prevent engine damage. Once the oil level is set, you can move on to fueling the cultivator. Carefully add fresh unleaded gasoline to the fuel tank, taking care not to overfill it to avoid spills and potential fire hazards. Replace the fuel cap securely after filling. Proper engine preparation, including adding oil, checking oil levels, and fueling, is key to the efficient and safe operation of your TB146 EC Cultivator, ensuring it’s ready to tackle your gardening tasks.
Starting the Engine
Starting the engine of the TB146 EC gas cultivator requires a few key steps, particularly in colder conditions. If the temperature drops below 40 degrees, it’s crucial to adjust the cold-weather start lever to ensure the engine is ready for ignition. This is followed by priming the engine, usually by pressing the primer bulb about ten times, to facilitate fuel flow and prepare the engine for starting.
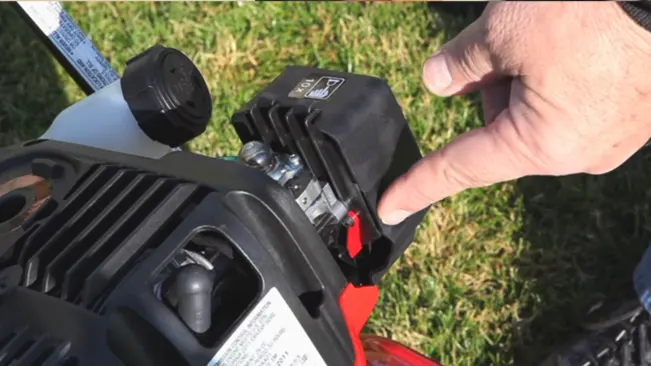
After priming, the next step is to initiate the starting procedure, which often involves pulling the start rope. This action should be done carefully and with the correct technique to successfully start the engine. For precise guidance and additional details, consulting the owner’s manual or the manufacturer’s official website is highly recommended, as these sources provide tailored instructions for the TB146 EC model.
Pros and Cons of TB146 EC Cultivator
Pros
- Superior performance in soil mixing
- Lightweight and maneuverable
- 4-cycle engine eliminates gas and oil mix
- High-quality construction
Cons
- Debris cleaning is challenging due to internal cotter pin placement
- Awkward pull-start angle
- Wheels may lack stability on uneven terrain
Maintenance of TB146 EC Cultivator
Cleaning the air filter
Start with the air filter, a key component that protects the engine from ingesting harmful debris and dust. To clean it, first remove the filter housing cover and take out the foam filter. Wash it gently in soapy water and then rinse. Once the filter is dry, apply a few drops of oil and squeeze it to distribute the oil evenly. This helps in trapping dust particles more effectively. Reinstall the cleaned and oiled filter and secure the housing cover back in place.
Checking and changing the engine oil
Engine oil plays a vital role in the smooth operation of your cultivator, lubricating moving parts and reducing wear. Check the oil level before each use, ensuring it’s at the recommended level. To change the oil, warm up the engine slightly to help the oil drain more easily. Then, remove the oil fill plug and tilt the cultivator to drain the old oil into a container. Once drained, refill with fresh oil according to the specifications in the owner’s manual, being careful not to overfill.
Tine replacement
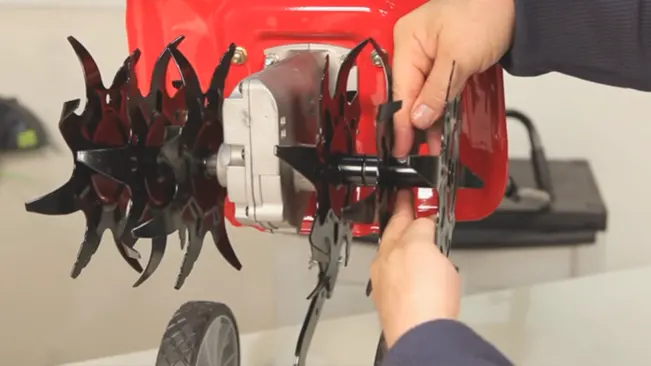
Is another important aspect of maintenance. Over time, tines can become worn or damaged, affecting the cultivator’s efficiency. To replace them, remove the locking pin and slide the old tines off the shaft. Clean any debris from the shaft, then slide on the new tines, ensuring they are properly aligned with the shaft notches. Secure the tines in place with the locking pin. Regularly performing these maintenance tasks will keep your TB146 EC Cultivator running smoothly, ensuring it’s ready for your gardening projects.
Conclusion
The TB146 EC cultivator stands out for its ability to mix and turn soil effectively, boasting a lightweight design that enhances maneuverability. Equipped with a 4-cycle engine, it offers the convenience of not needing a gas and oil mix, coupled with a high-quality build. However, maintenance challenges such as debris removal and the awkward angle of the pull-start mechanism are notable drawbacks. Overall, the TB146 EC is a commendable tool for garden enthusiasts, with its pros outweighing the cons for most soil cultivation tasks.
FAQS
- Can the TB146 EC cultivator be used on hard soil?
It’s designed for lighter soil cultivation and may not be suitable for very hard or compacted soil. - Do I need to mix fuel for the TB146 EC cultivator?
No, it has a 4-cycle engine that does not require a gas and oil mix. - How do I clean debris from the tines?
Debris removal can be tricky due to the internal placement of cotter pins, so refer to the manual for guidance. - Is the TB146 EC suitable for cold weather use?
Yes, it has a cold-weather start lever for temperatures below 40 degrees. - Can the wheel height be adjusted?
Yes, the wheel height is adjustable to suit different soil conditions and depths.

Joel Cunningham
Forestry AuthorI'm Joel Cunningham, an expert in pruning and weed management with over a decade of experience. My skills are rooted in formal training and extensive practice, focusing on advanced pruning techniques and efficient weed control. I'm known for my quality work, precision, and deep understanding of plant health and soil dynamics. My contributions extend to educational initiatives where I share sustainable practices and advice, establishing myself as a reliable and authoritative figure in the gardening community.


Leave your comment