How to Propagate Jade Plants
- February 12, 2024
- 0 comment
Jade plants, known for their lush, green leaves and sturdy appearance, are a popular choice for indoor gardening. They not only add a touch of greenery to your space but are also known for being easy to care for. One of the most exciting aspects of jade plants is how easily they can be propagated, allowing you to grow new plants from an existing one. This guide is designed to help beginners understand the simple steps to propagate jade plants.
Different Varieties of Jade Plants
Jade plants (Crassula ovata) come in a variety of types, each with its unique characteristics. These succulents are popular for their ease of care and distinctive appearance. Here are some common and interesting varieties:
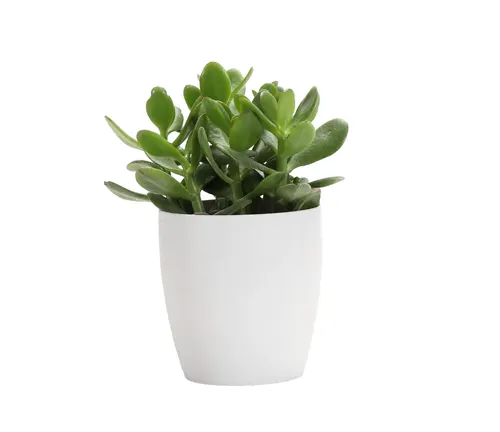
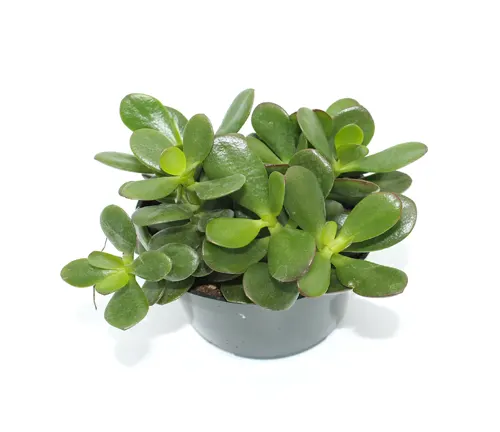
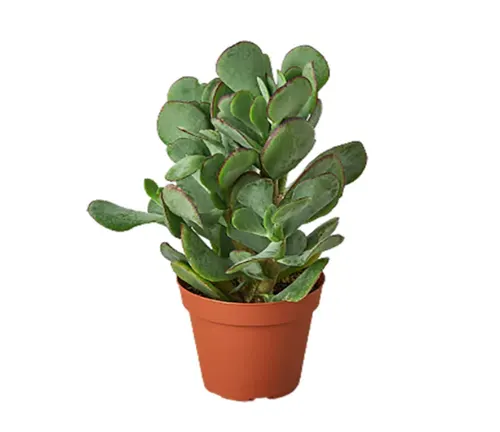
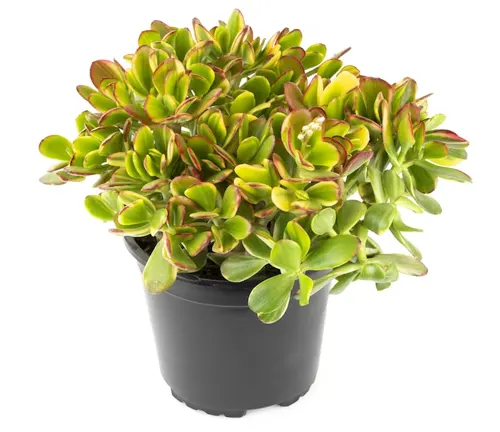
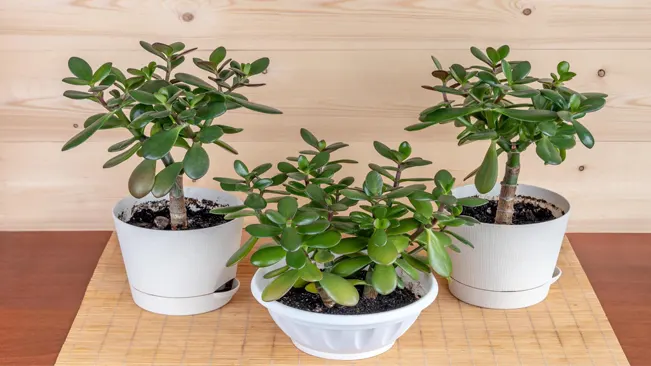
Classic Jade Plant (Crassula ovata)
The most common type, known for its thick, woody stems and oval-shaped, glossy green leaves. Sometimes the leaves have a red tinge on the edges, especially when exposed to sunlight.
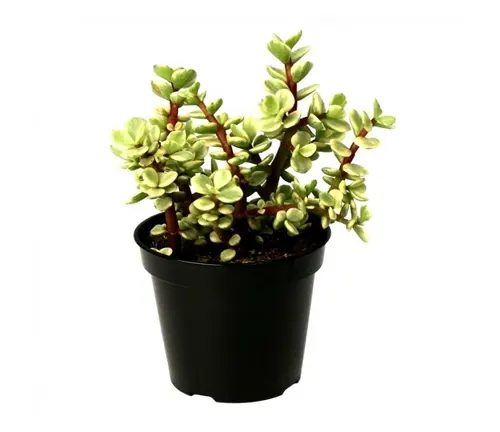
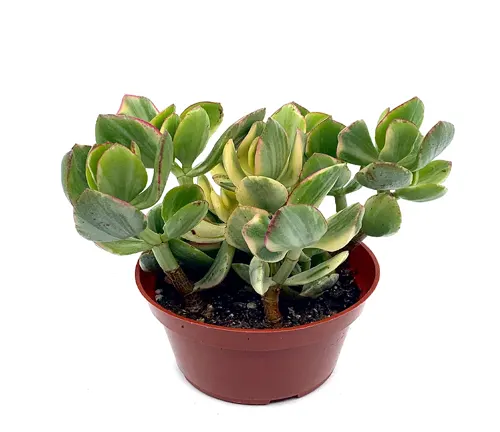
Variegated Jade Plant (Crassula ovata ‘Variegata’)
This variety has leaves with creamy white and green stripes. It requires a bit more sunlight to maintain the variegation.
Dwarf Jade Plant (Crassula ovata ‘Minima’)
A smaller version of the classic Jade, this plant is ideal for limited spaces. It has a compact growth habit with smaller leaves.
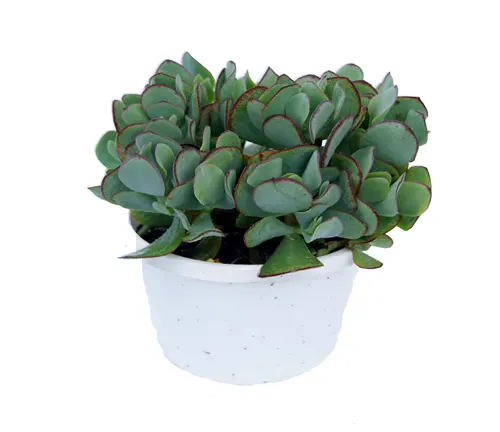
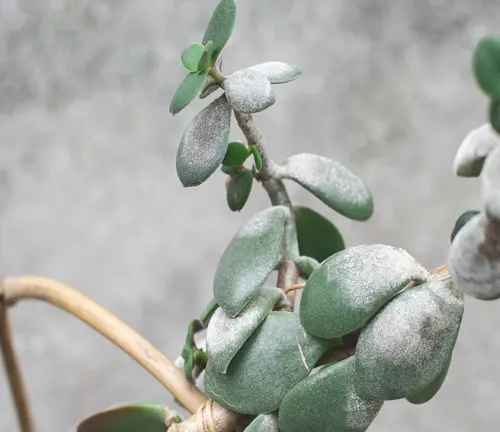
Silver Jade Plant (Crassula arborescens)
Known for its silvery-blue leaves with a red margin, the Silver Jade is a striking variety. Its leaves are rounder and flatter compared to the classic Jade.
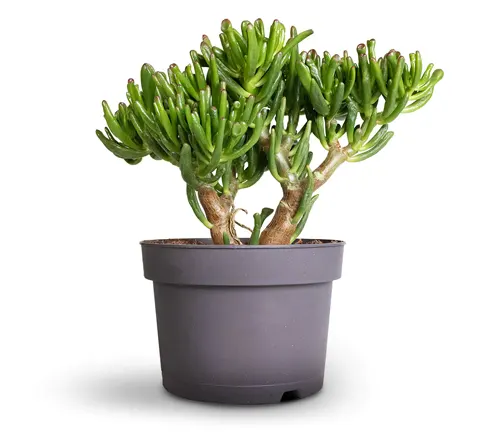
Gollum Jade (Crassula ovata ‘Gollum’)
This variety is characterized by its odd, tubular leaves with a reddish tint. The leaves look like little green fingers or trumpets.
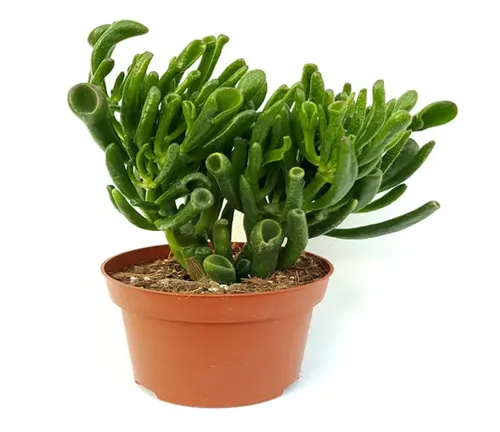
Hobbit Jade (Crassula ovata ‘Hobbit’)
Similar to the Gollum Jade, but the leaves are more curled and twisted with a reddish tip, resembling a fictional character’s ear.
Crosby’s Compact Jade (Crassula ovata ‘Crosby’s Compact’)
A smaller, more compact variety with dense, smaller leaves. It’s well-suited for smaller spaces and grows slower than the classic Jade.
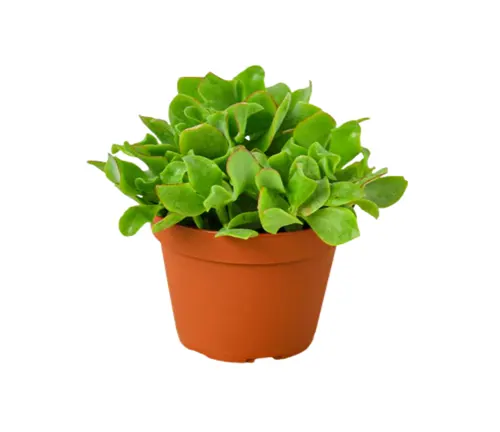
Lemon & Lime Jade (Crassula ovata ‘Lemon & Lime’)
This variety stands out with its yellow-green leaves that can become more yellow under bright light.
Blue Bird Jade (Crassula arborescens ‘Blue Bird’)
Known for its blue-green leaves with a pinkish-red edge. It’s a visually striking variety with flat, round leaves.
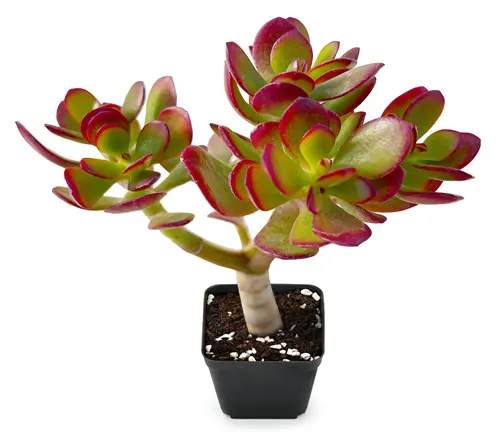
Tricolor Jade (Crassula ovata ‘Tricolor’)
A variegated type with green, white, and pink stripes on the leaves. It requires more light to maintain its colorful appearance.
Ripple Jade (Crassula arborescens undulatifolia)
This variety has wavy, blue-green leaves. It’s a less common type but quite eye-catching due to its unique foliage.
Different Types of Propagating Jade Plants
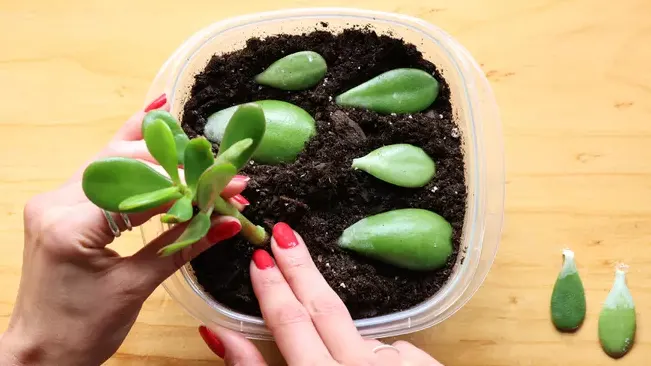
Leaf Cuttings
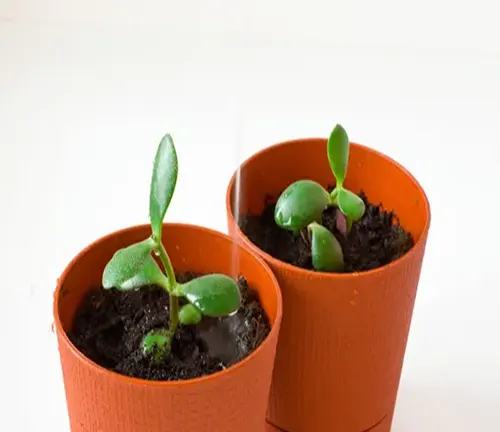
How it’s done: Gently twist a healthy leaf from the stem, ensuring you get the entire leaf, including the base. Allow the leaf to callous over for a few days, and then place it on top of well-draining soil. Mist the soil occasionally to keep it slightly moist. In time, roots and a new plant will emerge from the base of the leaf.
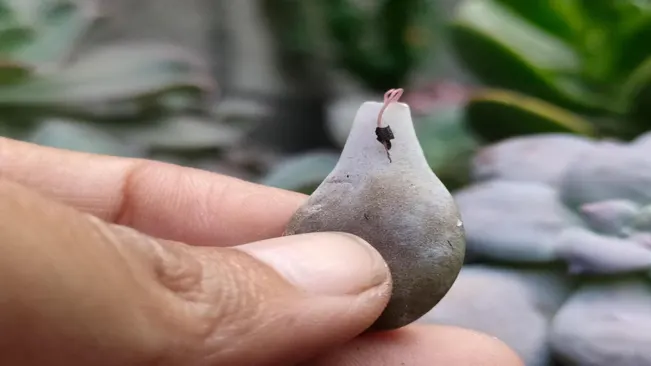
Ideal for: Small-scale propagation and experimenting with propagation techniques.
Stem Cuttings
How it’s done: Cut a 3-4 inch piece of stem from a healthy jade plant using a clean, sharp knife or scissors. Let the cutting dry for a few days to form a callus over the cut area. Plant the calloused end in well-draining soil. Water sparingly until roots form and new growth appears.
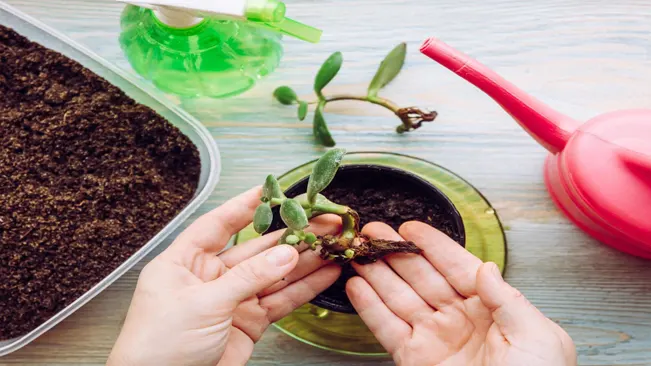
Ideal for: Quickly growing a new plant that resembles the parent plant in size and shape.
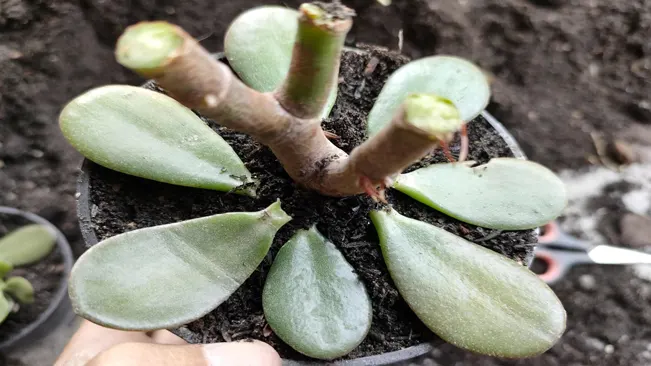
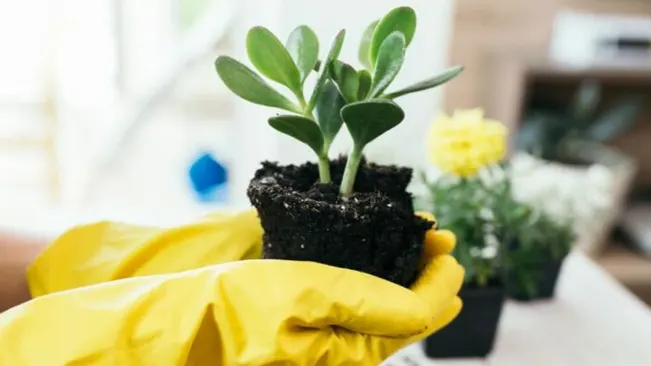
Division
How it’s done: This method involves separating a part of the plant that has developed its own root system. Gently remove the parent plant from its pot and identify a section that can be separated. Use a clean knife to divide the plant, ensuring each section has roots. Replant each section in its own pot with suitable soil.
Ideal for: Mature jade plants that have grown too large for their pots or have developed multiple stems.
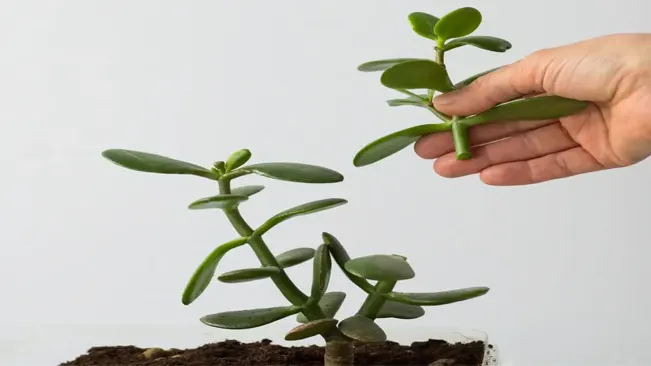
Beheading
How it’s done: This drastic-sounding method involves cutting off the top of a leggy jade plant. Cut the top portion with a clean cut, leaving a few inches of stem on the base. Let the top cutting callous and then plant it in soil. The base will often sprout new growth from where the cut was made.
Ideal for: Revitalizing leggy, overgrown jade plants and encouraging fuller growth.
Air Layering (Less Common)
How it’s done: This method is less commonly used for jade plants but can be effective. Make a small wound on a healthy stem, apply rooting hormone, and then wrap moist sphagnum moss around the wounded area. Cover with plastic to retain moisture. Roots should develop at the wound site, after which you can cut and plant the new rooted section.
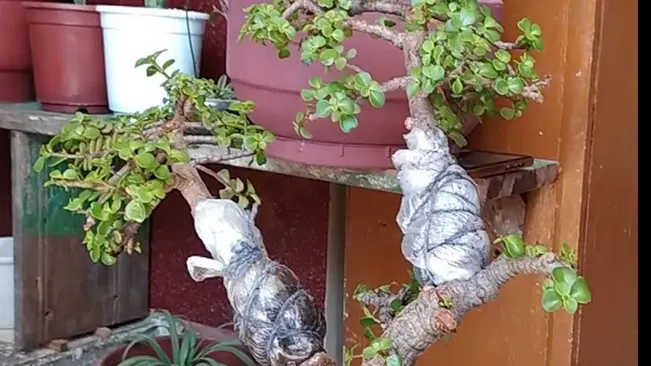
Ideal for: Large jade plants where other methods are not feasible.
After Care and Maintenance
Light Requirements
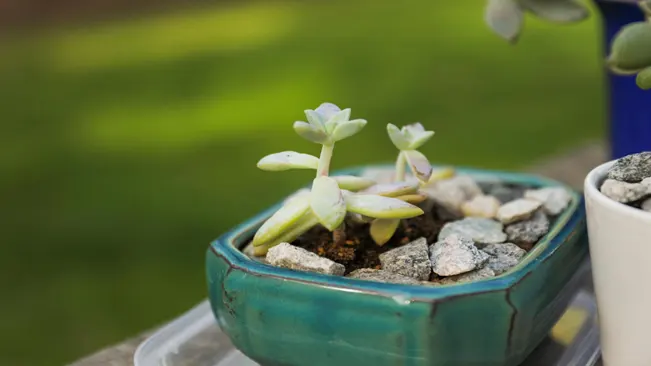
New Cuttings
Initially, keep your new jade plant cuttings in bright, indirect light. Direct sunlight can be too harsh for young plants.
Mature Plants
Once established, jade plants thrive in bright light, with some direct sun. However, gradually acclimate them to avoid sunburn.
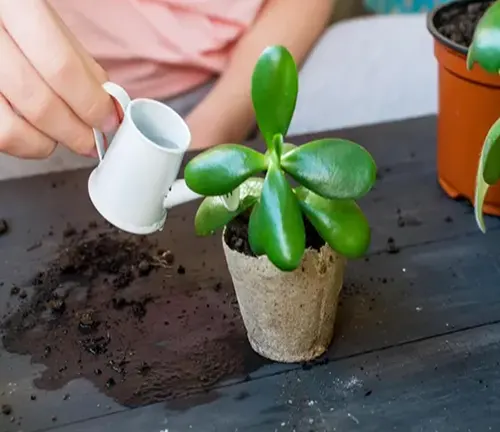
Watering
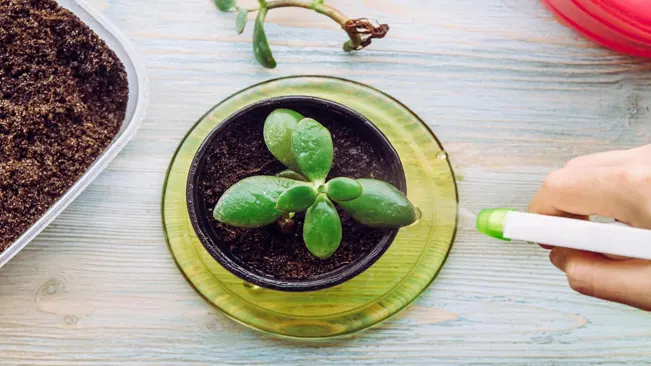
New Cuttings
Water sparingly. The soil should be allowed to dry out between waterings to prevent rot. For leaf cuttings, a light mist can be sufficient until roots develop.
Established Plants
Water deeply, then allow the soil to completely dry out before watering again. Overwatering is a common mistake and can lead to root rot.
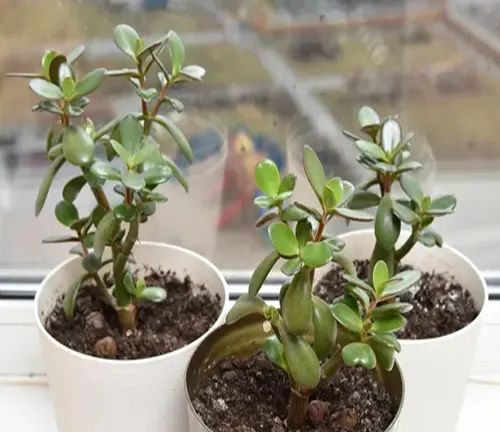
Soil and Potting
Use a well-draining potting mix, ideally one formulated for cacti or succulents. Ensure the pot has drainage holes to prevent water from accumulating at the bottom. Repot every few years or when the plant outgrows its pot. This is also a good time to refresh the soil.
Well-Draining Potting Mix
Use a potting mix specifically designed for succulents and cacti. These mixes typically contain a combination of potting soil, coarse sand, and perlite or pumice, promoting good drainage. Avoid using regular garden soil as it tends to retain moisture, increasing the risk of root rot.
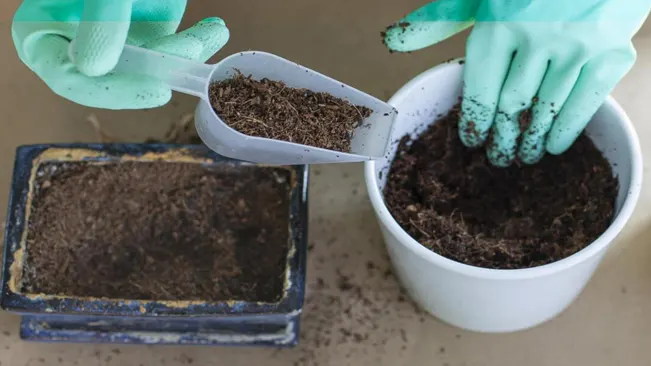
- Amend Standard Potting Soil (If Necessary): If a succulent mix is not available, you can amend regular potting soil with additional perlite, coarse sand, or pumice to improve drainage.
Choosing the Right Pot
Select a pot with adequate drainage holes. This is crucial to allow excess water to escape, preventing waterlogging. Terracotta or clay pots are ideal as they are porous and allow the soil to dry out more evenly.
Pot Size
Choose a pot that is only slightly larger than the root ball of the jade plant. Oversized pots can hold excess soil moisture, leading to root rot. Jade plants prefer to be somewhat root-bound, so avoid repotting too frequently or into a much larger pot.
- Repotting Frequency: Repot jade plants every 2-3 years, or when they become top-heavy or outgrow their current pot. The best time to repot is during the spring or early summer when the plant is in its active growing phase.
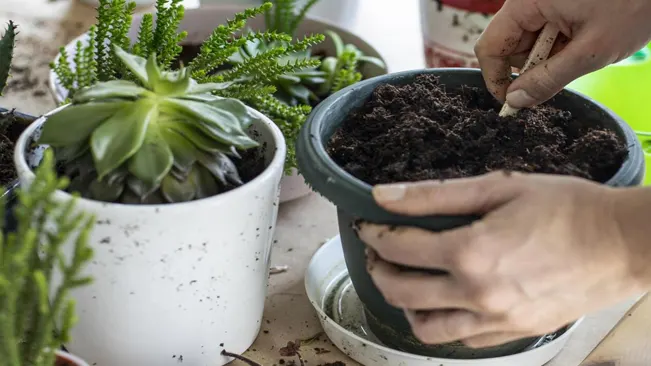
Repotting Process
Gently remove the plant from its current pot and shake off loose soil. Inspect the roots and trim any that are dead or rotting. Place a layer of fresh succulent mix in the new pot and position the plant so that its surface is at the same level as it was in the previous pot. Fill in around the roots with more soil mix and gently firm it down.
Soil Refreshment
When repotting, take the opportunity to refresh the soil. This replenishes nutrients that the plant has depleted and improves soil structure and drainage.
After Repotting Care
Water the plant lightly after repotting to help settle the soil. Avoid fertilizing immediately after repotting to prevent burning the roots. Wait for about a month before applying fertilizer.
Temperature and Humidity
Jade plants prefer room temperatures (65-75°F or 18-24°C) and can tolerate cooler temperatures down to 50°F (10°C). Protect them from frost, as they are not cold-hardy. They do not require high humidity and do well in typical household environments.
Fertilizing
Feed your jade plant with a balanced, water-soluble fertilizer, diluted to half strength, during the growing season (spring and summer). Avoid fertilizing in the winter when the plant’s growth naturally slows down.
- Type of Fertilizer: Use a balanced, water-soluble fertilizer. Look for a formula that has equal parts nitrogen, phosphorus, and potassium (e.g., 10-10-10 or 20-20-20).
- Dilution is Key:Dilute the fertilizer to half the strength recommended on the package. Jade plants are susceptible to fertilizer burn if the concentration is too high.
- Fertilizing Schedule: Apply the diluted fertilizer during the growing season, which is typically in the spring and summer. Fertilize once every 1-2 months during this period.
- Avoid Over-Fertilizing: Over-fertilizing can harm your jade plant, leading to problems like salt buildup in the soil and leaf burn.
- Winter Care: Refrain from fertilizing in the winter. Jade plants usually go into a dormant state during the colder months, and their growth slows down.
- Water Before Fertilizing: Water your jade plant before applying fertilizer. This prevents the fertilizer from burning the roots and helps in its even distribution.
- Observing the Plant: Monitor your plant’s response after fertilizing. Healthy growth indicates that your fertilization routine is working. If the plant shows signs of distress, adjust the frequency or concentration of the fertilizer.
- Repotting and Fertilizing: If you’ve recently repotted your jade plant in fresh soil, you can skip fertilizing for a few months since the new soil often has nutrients.
- Type of Plant and Fertilizer Response: Younger, actively growing plants may benefit more from fertilization compared to older, established plants.
- Organic Options: If you prefer organic options, consider using fish emulsion or seaweed extract, diluted according to the product’s instructions.
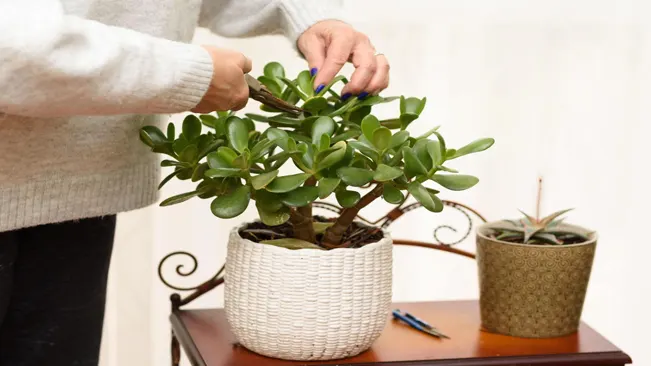
Pruning
Prune as needed to shape the plant or to remove any dead or damaged leaves or stems. Pruning can also encourage fuller growth and can be used to manage the size of the plant.
Why Prune Jade Plants?
- Health: Pruning helps remove dead or dying foliage, which can be a breeding ground for pests and diseases.
- Shape: It allows you to shape the plant, keeping it compact and aesthetically pleasing.
- Encourage Growth: Pruning stimulates new growth, leading to a fuller and bushier plant.
- Size Management: It helps control the size of the plant, important for jade plants as they can become quite large over time.
When to Prune
- Best Time: The ideal time to prune jade plants is in the spring or early summer when the plant is actively growing.
- Frequency: Pruning can be done annually or as needed, depending on the plant’s growth and your desired shape.
How to Prune
- Tools: Use sharp, clean pruning shears or scissors. Sterilize them before use to prevent the spread of disease.
- Assess the Plant: Look for any dead, damaged, or diseased branches. Also, identify areas where you want to encourage more growth.
- For Overgrown Branches: Cut back long, overgrown branches to a side shoot or leaf node. This encourages the plant to branch out from that point.
- Shaping: To create a desired shape, prune selectively, cutting back to a leaf or junction that points in the direction you want new growth to follow.
- Thinning: If the plant is too dense, thin out some of the branches to allow light and air to reach the inner parts of the plant.
- Cutting Angles: Make your cuts at a 45-degree angle, which promotes healing and new growth.
- Avoid Over-Pruning: Do not remove more than one-third of the plant at a time. Over-pruning can stress the plant.
Pest and Disease Management
Keep an eye out for common pests such as aphids, mealybugs, and spider mites. Use insecticidal soap or neem oil to treat infestations. Avoid overwatering to prevent root rot and fungal diseases.
Common Pests
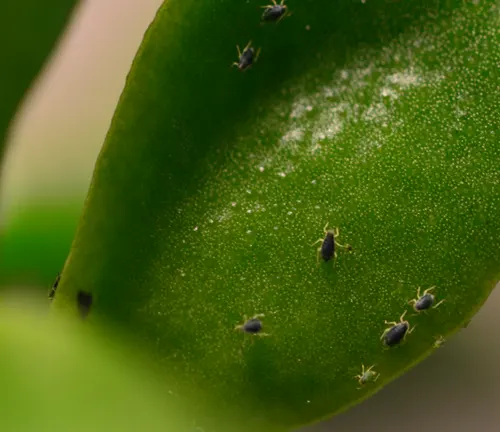
Aphids
Identification: Small, soft-bodied insects, often green or black, usually found on the undersides of leaves or stems.
Treatment: A strong jet of water can dislodge aphids. Insecticidal soaps or neem oil sprays are effective in controlling aphids. Apply as per instructions, usually every 7-10 days until the infestation clears.
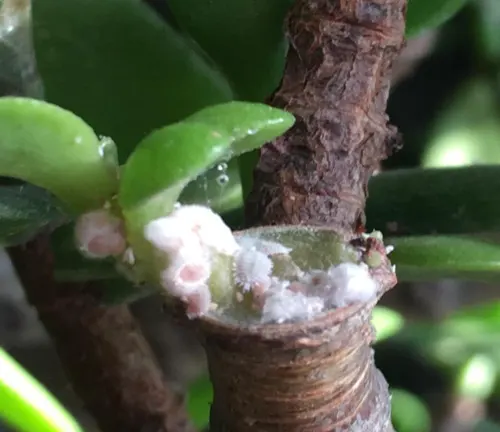
Mealybugs
Identification: Small, white, cottony pests that cluster in leaf axils, on the undersides of leaves, or along stems.
Treatment: Dab individual mealybugs with a cotton swab dipped in rubbing alcohol. Insecticidal soap or neem oil can also be used for larger infestations.
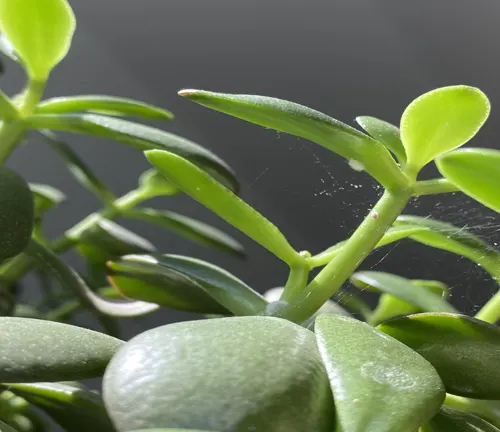
Spider Mites
Identification: Tiny spider-like pests, often red or brown, that leave fine webs on the plant. They cause yellowing or speckling on leaves.
Treatment: Increase humidity around the plant as mites thrive in dry conditions. Use a miticide or neem oil spray to control infestations.
Disease Management
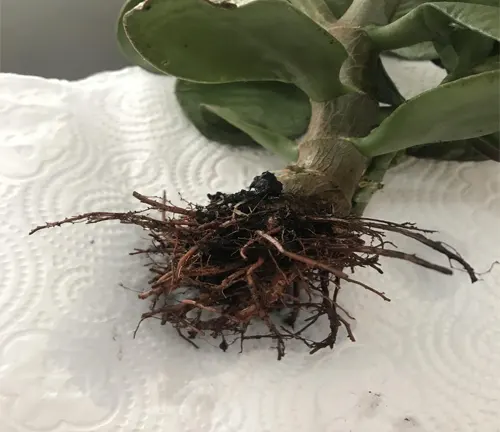
Root Rot
Cause: Typically caused by overwatering, leading to soggy soil conditions.
Prevention: Ensure the soil is well-draining and only water when the soil is dry to the touch. Use pots with drainage holes.
Treatment: If root rot is suspected, remove the plant from the pot, trim away any black, mushy roots, and repot in fresh, dry soil. Reduce watering frequency.
Fungal Diseases
Common Types: Powdery mildew, rust, and leaf spot are typical fungal issues.
Prevention: Provide good air circulation around the plant and avoid wetting the leaves when watering.
Treatment: Prune affected areas. Use a fungicide specifically labeled for the type of fungus present. For mild cases, neem oil or a baking soda solution (1 teaspoon baking soda mixed with 1 quart of water) can be effective.
General Tips for Pest and Disease Control
- Regular Inspection: Regularly check your jade plants for signs of pests or disease. Early detection makes management easier.
- Quarantine New Plants: Keep new plants isolated for a few weeks to prevent the spread of any undetected pests or diseases.
- Cleanliness: Keep the area around your plants clean and free of debris. Wipe the leaves with a damp cloth to remove dust.
- Healthy Plants: A healthy, well-cared-for jade plant is less likely to succumb to pests and diseases. Proper light, water, and nutrition are key.
Conclusion
Propagating jade plants is a rewarding and straightforward process. With a little patience and the right care, you can grow beautiful new plants from cuttings. It’s a great way to expand your plant collection or share with friends and family.
FAQs (Frequently Asked Questions)
- What is the best time of year to propagate a jade plant?
The ideal time to propagate jade plants is during the warmer months, typically in spring or early summer. This period offers the best growing conditions for new cuttings. - How do I take a cutting for propagation?
Select a healthy stem or a leaf from the jade plant. Use a clean, sharp knife or scissors to make a clean cut. For stem cuttings, a length of 2-4 inches is usually sufficient. - Do I need to let the cutting dry before planting?
Yes, it’s important to let the cutting dry and callous over for a few days to a week. This process helps prevent rot when the cutting is planted. - What type of soil is best for jade plant propagation?
Use a well-draining potting mix, ideally a cactus or succulent mix. These mixes are formulated to provide the right drainage and aeration for succulents like jade plants. - How do I plant a jade cutting?
Once the cut end has calloused, plant the cutting in the prepared soil. Insert the cut end into the soil and lightly press the soil around it to provide support. - How much water does a new jade cutting need?
Water sparingly at first. The soil should be kept slightly moist but not wet. Overwatering can cause rot, especially in a new cutting without established roots. - Do jade cuttings need sunlight to root?
They need bright, indirect light. Avoid direct sunlight initially, as it can be too intense and burn the young cutting. - How long does it take for a jade cutting to root?
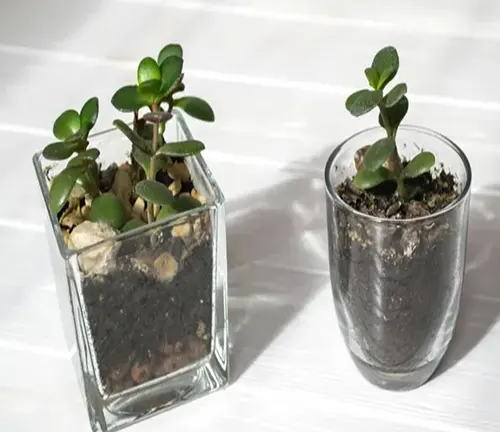
It typically takes a few weeks to a month for a jade cutting to establish roots. Be patient and avoid disturbing the cutting during this time. - Can I propagate a jade plant in water?
While it’s more common to propagate jade plants in soil, water propagation is possible. Place the cut end of the stem or leaf in water, ensuring only the bottom part is submerged. Change the water regularly to prevent algae growth. - How do I know if my jade cutting has rooted successfully?
You can gently tug on the cutting after a few weeks. If there’s resistance, it’s likely that roots have formed. Another sign of successful rooting is new growth on the cutting.

Kristine Moore
Forestry AuthorI'm Kristine Moore, a seasoned garden landscaping professional with over 30 years of experience. My extensive career has been dedicated to transforming outdoor spaces into stunning, sustainable landscapes. With a deep understanding of horticulture, design principles, and environmental stewardship, I have become a respected figure in the field, known for creating harmonious, visually appealing, and eco-friendly gardens. My commitment to excellence and continuous learning in landscaping trends and techniques has solidified my reputation as an expert in garden design and implementation.


Leave your comment