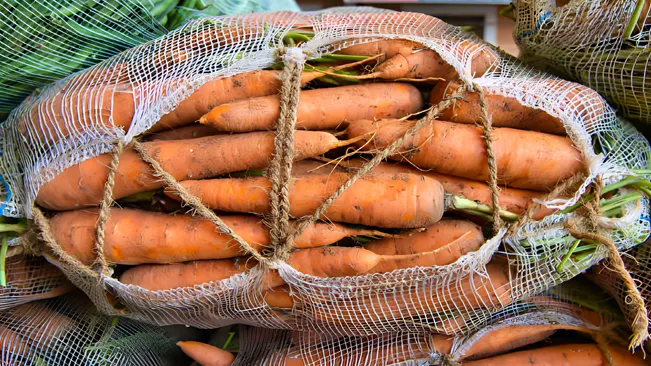
How to Plant Carrots
- February 8, 2024
- 0 comment
Carrots, with their vibrant color and sweet flavor, are a staple in many culinary dishes and beloved by gardeners for their ease of growth and versatility. Whether you’re an experienced gardener or a beginner looking to cultivate your own carrots, this guide will walk you through the step-by-step process of planting and caring for these nutritious root vegetables.
Nutritional Benefits of Carrots
| Nutrient | Amount per 100g | Benefits |
|---|---|---|
| Calories | 41 kcal | Provides energy for bodily functions |
| Carbohydrates | 9.6 g | Main source of energy for the body |
| Fiber | 2.8 g | Promotes digestive health and regulates bowel movements |
| Protein | 0.9 g | Essential for growth, repair, and maintenance of cells |
| Fat | 0.2 g | Source of essential fatty acids |
| Vitamin A | 835 μg (from β-carotene) | Essential for vision, immune function, and skin health |
| Vitamin C | 5.9 mg | Boosts immune system and promotes collagen production |
| Vitamin K | 13.2 μg | Supports bone health and blood clotting |
| Potassium | 320 mg | Regulates blood pressure and muscle function |
| Calcium | 33 mg | Essential for bone health and muscle function |
| Iron | 0.3 mg | Required for oxygen transport in the blood |
| Beta-carotene | 8285 μg | Acts as an antioxidant and promotes eye health |
Choosing the Right Carrot Variety
Before diving into the planting process, it’s essential to select the right carrot variety for your garden. Carrots come in various shapes, sizes, and colors, ranging from traditional orange to purple and even white. Consider factors such as soil type, climate, and intended use (fresh eating, juicing, or storage) when choosing your carrot seeds.
- Nantes: Sweet and tender, ideal for fresh consumption.
- Imperator: Long and slender, great for slicing.
- Danvers: Rich flavor, suitable for cooking.
- Chantenay: Perfect for roasting and juicing.
- Mini Carrots: Sweet, bite-sized, excellent for snacking.
- Baby Carrots: Tender and versatile, can be eaten raw or cooked.
- Purple Carrots: Contains antioxidants, with a slightly earthy flavor.
- Yellow Carrots: Sweet, mild, and rich in beta-carotene.
- White Carrots: Mild flavor, used in specialty dishes.
- Red Carrots: Contains lycopene, adding a splash of color to dishes.
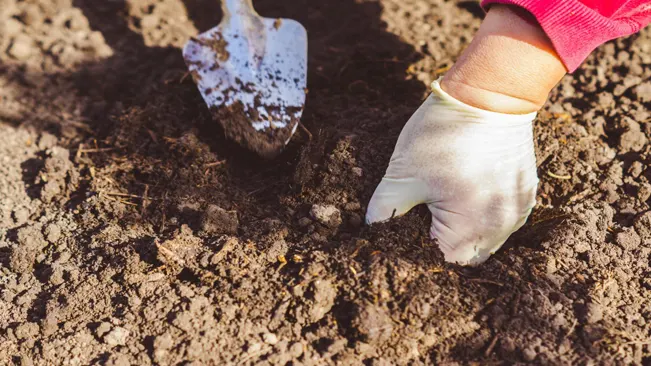
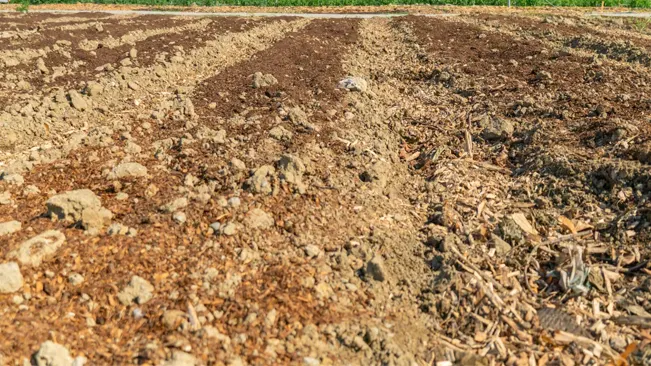
Preparing the Soil
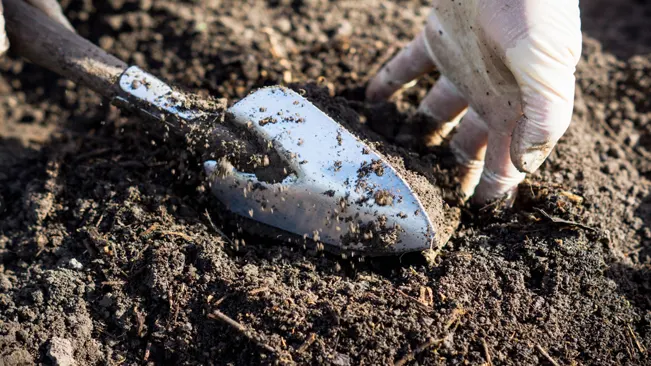
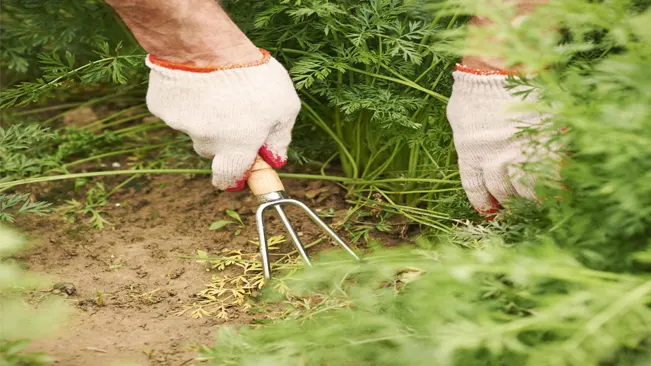
Carrots thrive in loose, well-draining soil that is free from rocks and debris. Begin by selecting a sunny spot in your garden with at least 6-8 hours of sunlight per day. Loosen the soil to a depth of 12 inches using a garden fork or tiller, removing any weeds and large clumps along the way. Incorporate compost or aged manure into the soil to improve fertility and structure, ensuring that the pH level is between 6.0 and 6.8 for optimal carrot growth.
Choose the Right Location
Select a sunny spot in your garden that receives at least 6-8 hours of sunlight per day. Carrots prefer full sun but can tolerate partial shade.
Clear the Area
Remove any weeds, rocks, or debris from the planting area. Weeds can compete with carrots for nutrients and water, so it’s essential to clear them out before planting.
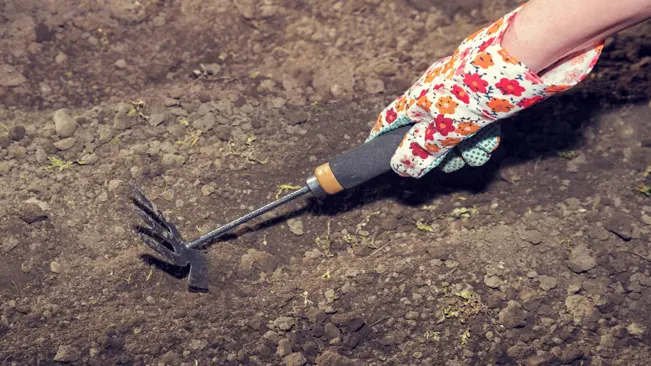
Loosen the Soil
Use a garden fork, shovel, or tiller to loosen the soil to a depth of 12 inches. Carrots require loose, friable soil to grow straight and develop properly. Avoid compacted soil, as it can hinder root development and cause misshapen carrots.
Remove Clumps
Break up any large clumps of soil and remove them from the planting area. Carrots prefer a fine, crumbly soil texture, so it’s essential to eliminate any large chunks that could impede root growth.
Incorporate Organic Matter
Mix in plenty of organic matter such as compost, aged manure, or leaf mold to improve soil fertility and structure. Organic matter helps retain moisture, provides essential nutrients, and promotes beneficial microbial activity in the soil.

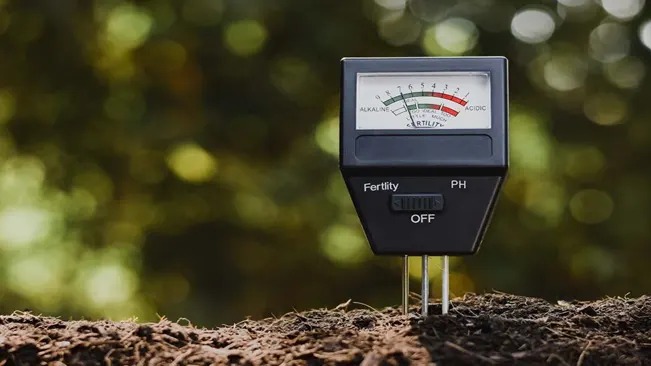
Adjust Soil pH
Test the soil pH using a soil testing kit, and adjust it if necessary to fall within the optimal range for carrot growth, which is between 6.0 and 6.8. You can raise pH by adding lime or lower pH by adding sulfur or peat moss.
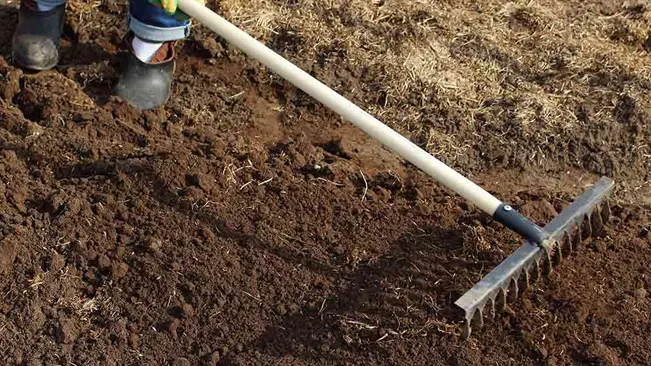
Level the Soil
Smooth the soil surface with a rake to create a level planting bed. This will ensure even germination and growth of carrot seeds.
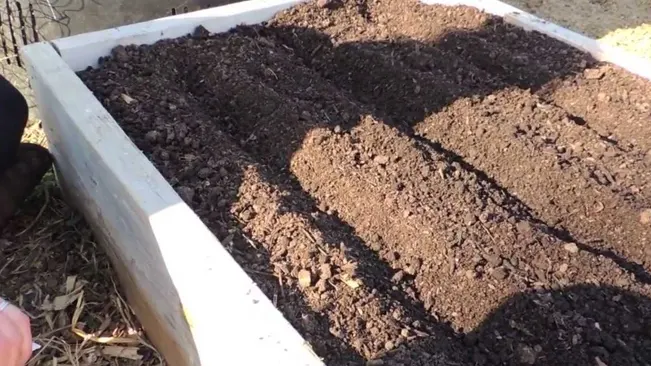
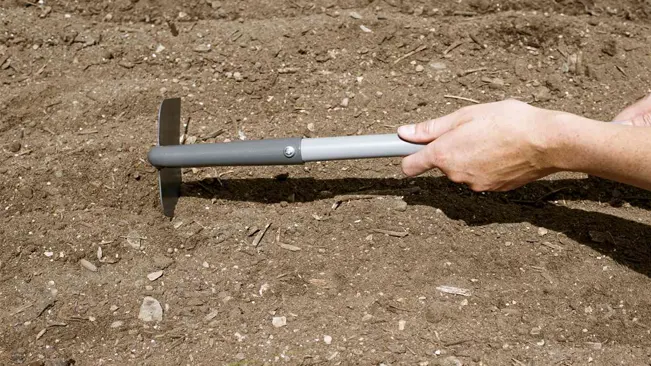
Create Furrows
Using a hoe or garden tool, create shallow furrows in the soil spaced about 12-18 inches apart. The depth of the furrows should be approximately 1/4 to 1/2 inch deep, depending on the size of the carrot seeds.
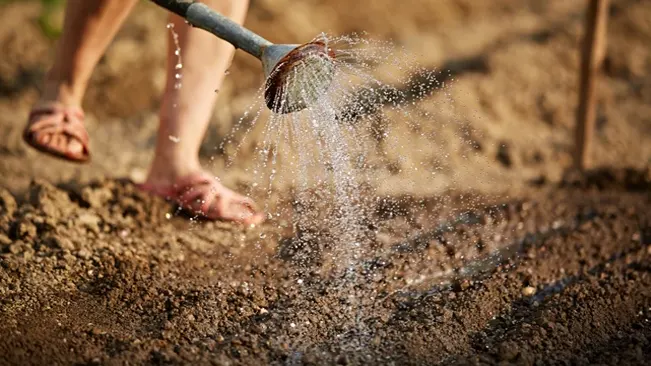
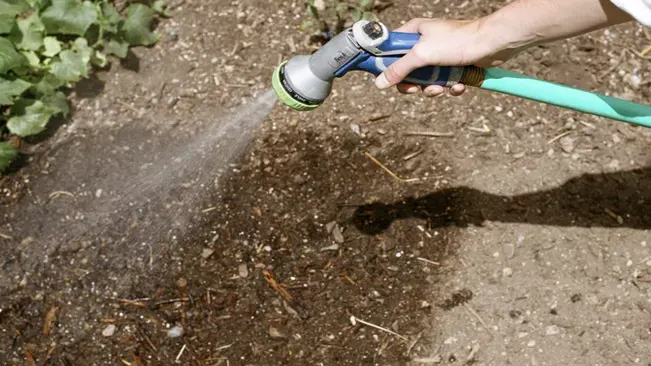
Water the Soil
Before planting, thoroughly water the soil to ensure it is evenly moist. This will provide a conducive environment for seed germination and root development.
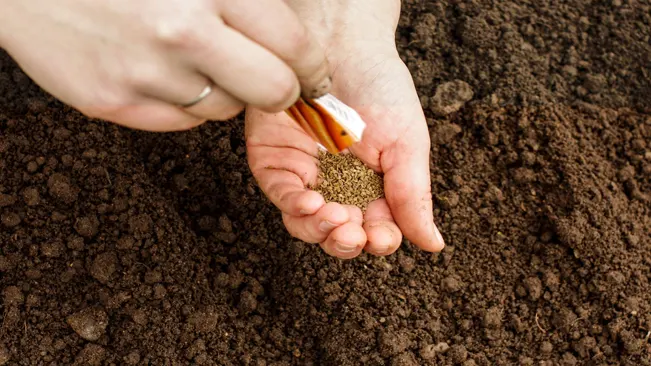
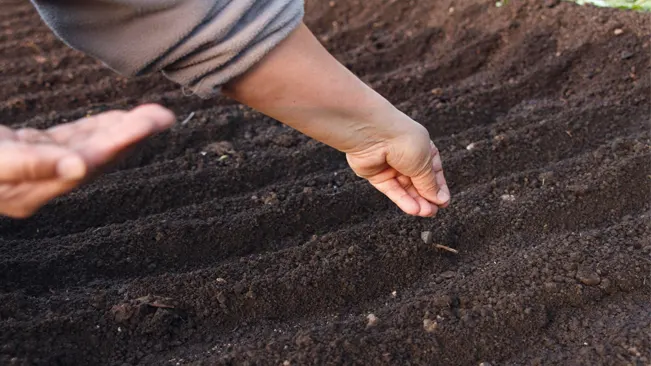
Planting Seeds
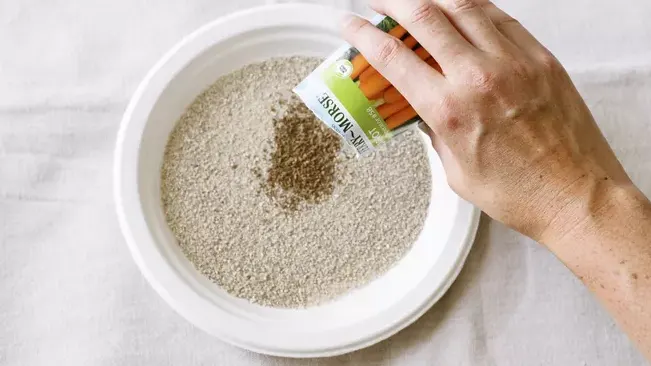
Carrot seeds are tiny and delicate, making them prone to uneven distribution if not handled carefully. To ensure even spacing and uniform growth, mix carrot seeds with sand or vermiculite before sowing. Create furrows in the soil about 1/4 inch deep and gently sprinkle the seed mixture along the rows, leaving about 2 inches of space between seeds. Cover the seeds lightly with soil and water gently to settle them in place.
Prepare the Seed Mixture
Carrot seeds are small and can be difficult to sow evenly. To ensure proper distribution, mix the carrot seeds with sand or vermiculite. This will help to space them out more evenly when sowing.
Prepare the Planting Area
Choose a sunny location in your garden with well-draining soil. Loosen the soil to a depth of at least 12 inches using a garden fork or tiller. Remove any weeds, rocks, or large clumps of soil that may interfere with carrot growth.
Create Furrows
Use a garden rake or hoe to create furrows in the soil about 1/4 inch deep. Space the furrows about 12 inches apart to allow room for the carrot roots to grow.
Sow the Seeds
Gently sprinkle the seed mixture along the furrows, ensuring even distribution. Aim for a spacing of about 2 inches between seeds. Avoid clumping the seeds together, as this can lead to overcrowding and stunted growth.
Cover and Water
Lightly cover the seeds with a thin layer of soil, about 1/4 inch deep. Use a rake or the back of a garden hoe to gently pat down the soil to ensure good seed-to-soil contact. Water the area gently using a watering can or hose with a gentle spray nozzle. Avoid using a heavy stream of water, as this can dislodge the seeds.
Maintain Moisture
- Keep the soil consistently moist after planting to encourage germination. Check the moisture level of the soil regularly and water as needed to keep it damp but not waterlogged. Avoid letting the soil dry out completely, as this can delay or inhibit seed germination.
Thin Seedlings
Once the seedlings emerge and develop their first true leaves, thin them to ensure proper spacing. Use scissors or small garden shears to snip off excess seedlings at ground level, leaving about 2-4 inches between plants. Thinning is important to prevent overcrowding and competition for nutrients, allowing the remaining seedlings to grow into healthy, robust carrots.
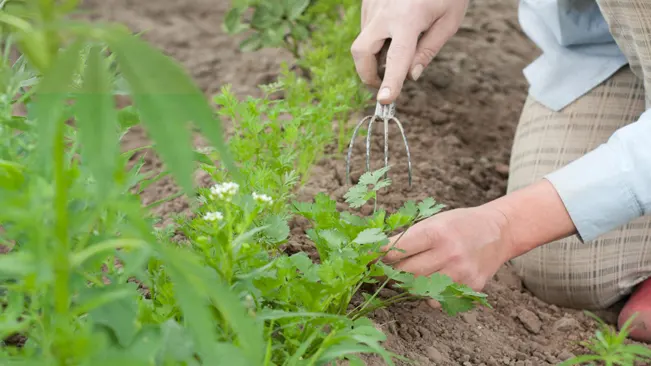
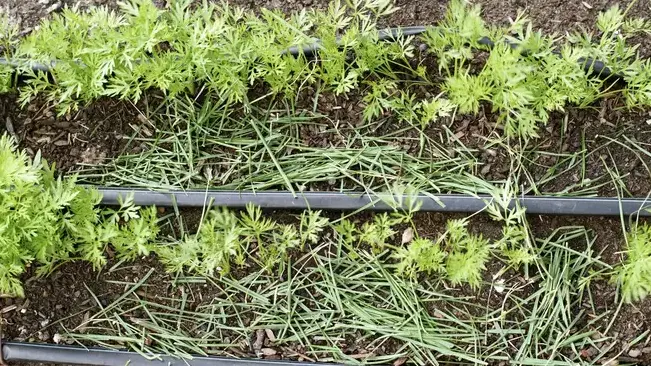
Mulch and Weed Control
Apply a layer of organic mulch such as straw, hay, or shredded leaves around the base of the carrot plants to help retain soil moisture, suppress weed growth, and regulate soil temperature. Keep the garden bed free from weeds by pulling them by hand or using a hoe to remove them gently. Weeds can compete with carrots for nutrients and water, so it’s important to keep them in check throughout the growing season.
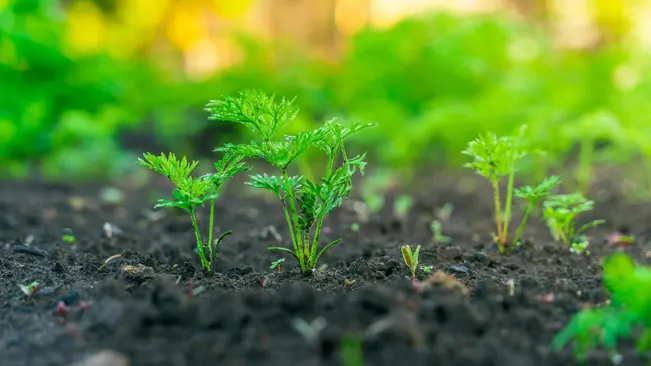
Caring for Seedlings
Once the seeds are planted, it’s crucial to keep the soil consistently moist until germination occurs, which typically takes 1-3 weeks. Avoid overwatering, as this can cause the seeds to rot before they have a chance to sprout. Once the seedlings emerge, thin them to a spacing of 2-4 inches apart to prevent overcrowding and competition for nutrients. Mulch around the seedlings to retain soil moisture and suppress weed growth.
- Maintain Soil Moisture: Keep the soil consistently moist after planting until germination, which usually takes 1-3 weeks. Avoid overwatering to prevent seed rot.
- Thinning Seedlings: Once seedlings emerge, thin them to 2-4 inches apart to prevent overcrowding and competition for nutrients.
- Mulching: Apply mulch around seedlings to retain soil moisture and suppress weed growth.
Providing Adequate Nutrition
Carrots are heavy feeders and require regular fertilization to thrive. Side dress the plants with a balanced fertilizer high in potassium and phosphorus every 3-4 weeks throughout the growing season. Avoid excessive nitrogen, as this can encourage lush foliage growth at the expense of root development. Additionally, ensure adequate soil moisture, as inconsistent watering can cause carrots to become tough and woody.
- Fertilization: Use a balanced fertilizer high in potassium and phosphorus every 3-4 weeks. Avoid excessive nitrogen to prevent lush foliage growth at the expense of root development.
- Soil Moisture: Ensure consistent watering to prevent carrots from becoming tough and woody.
Pest and Disease Management
While carrots are relatively pest and disease-resistant, they may still fall victim to common garden pests such as carrot rust fly and aphids. Monitor your plants regularly for signs of infestation, and take appropriate measures such as handpicking pests or using organic insecticidal soaps to control their populations. Rotate carrot crops annually to prevent the buildup of soil-borne diseases such as carrot root rot.
- Pest Monitoring: Regularly check carrot plants for common pests like carrot rust fly and aphids.
- Control Measures: Use organic insecticidal soaps or handpick pests to manage infestations.
- Crop Rotation: Rotate carrot crops annually to prevent soil-borne diseases like carrot root rot.
Harvesting and Storage of Carrots
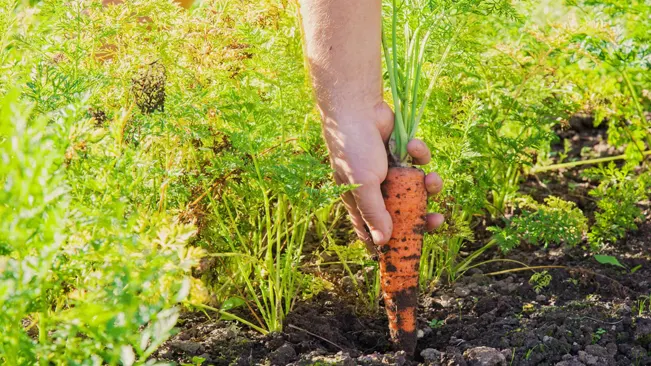
Carrots are typically ready for harvest 60-80 days after sowing, depending on the variety and growing conditions. To harvest, gently loosen the soil around the base of the plant and pull the carrots straight up, taking care not to damage the roots. Trim the tops to within an inch of the crown and brush off any excess soil. Store freshly harvested carrots in the refrigerator, where they can last for several weeks in a perforated plastic bag or container.
Timing of Harvesting Carrots
Carrots are usually ready for harvest 60-80 days after sowing, although this can vary depending on the variety and growing conditions. Check the maturity of the carrots by gently pulling back the soil around the shoulders of the roots to assess their size and color.
Harvesting Technique
When harvesting carrots, gently loosen the soil around the base of the plant using a garden fork or trowel. Grasp the foliage near the top of the carrot and pull it straight up from the ground. Take care not to yank or twist the carrot, as this can cause damage to the roots.
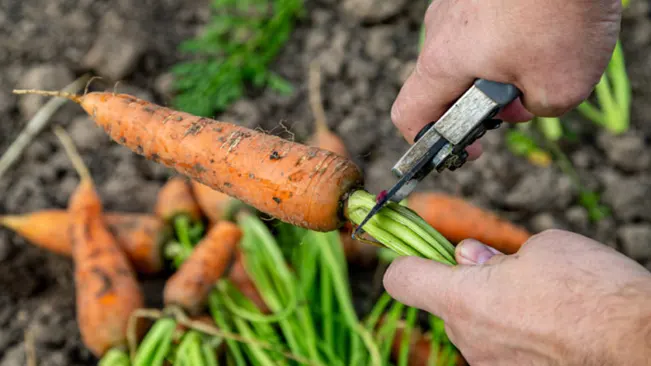
Trimming
After harvesting, trim the tops of the carrots to within an inch of the crown using scissors or garden shears. Removing the foliage helps to prolong the shelf life of the carrots and prevents them from drying out.
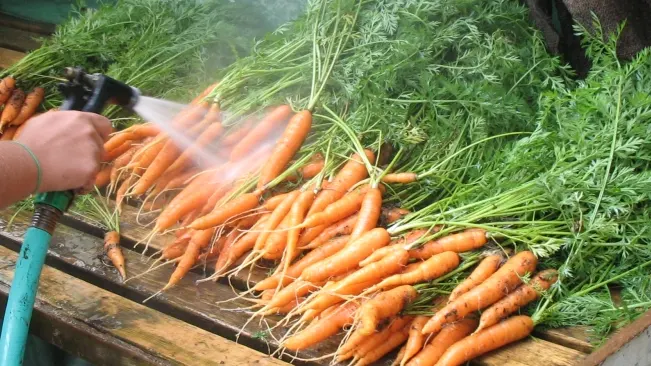
Cleaning
Brush off any excess soil clinging to the carrots using your hands or a soft brush. Avoid washing the carrots until you’re ready to use them, as excess moisture can promote rotting during storage.
Storage
Freshly harvested carrots can be stored in the refrigerator for several weeks. Place them in a perforated plastic bag or container to allow for air circulation, which helps to prevent moisture buildup and prolongs freshness. Alternatively, you can store carrots in a root cellar or cool, dark place with good ventilation.
Conclusion
Growing carrots at home can be a rewarding experience that allows you to enjoy the freshest, most flavorful produce right from your garden. By following these simple steps and providing proper care and maintenance, you can cultivate a bountiful crop of carrots to enjoy in your favorite dishes year-round. So roll up your sleeves, grab your gardening tools, and get ready to harvest the fruits (or in this case, roots) of your labor!
FAQs (Frequently Asked Questions)
- When is the best time to plant carrots?
Carrots are cool-season crops and can be planted as soon as the soil can be worked in the spring. In most regions, this is typically 2-3 weeks before the last frost date. Carrots can also be planted in late summer for a fall harvest. - How deep should I plant carrot seeds?
Carrot seeds should be planted about 1/4 to 1/2 inch deep in the soil. Planting them too deep can delay germination, while planting them too shallow may result in poor seed-to-soil contact. - Do carrots need a lot of sunlight?
Yes, carrots require full sunlight to thrive. Choose a planting location that receives at least 6-8 hours of direct sunlight per day for optimal growth and development. - How often should I water carrot seeds?
Keep the soil consistently moist after planting carrot seeds to encourage germination. Water lightly, but avoid overwatering, as this can cause the seeds to rot. Once seedlings emerge, water deeply and regularly to ensure even soil moisture. - How do I prevent carrot roots from becoming forked or misshapen?
To prevent forked or misshapen roots, ensure that the soil is loose, well-draining, and free from rocks and debris. Avoid compacted soil, which can restrict root growth and cause deformities. - Can I grow carrots in containers?
Yes, carrots can be grown in containers as long as the containers are deep enough to accommodate the long taproots of the plants. Choose a potting mix specifically formulated for containers and ensure adequate drainage to prevent waterlogged soil. - How long does it take for carrot seeds to germinate?
Carrot seeds typically germinate within 1-3 weeks, depending on soil temperature and moisture levels. Warmer soil temperatures can promote faster germination, while cooler temperatures may slow the process. - Should I thin carrot seedlings?
Yes, thinning carrot seedlings is essential to prevent overcrowding and competition for nutrients. Thin the seedlings to a spacing of 2-4 inches apart once they have developed their first true leaves. - What pests and diseases should I watch out for when growing carrots?
Common pests that may affect carrots include carrot rust fly, aphids, and nematodes. Diseases such as carrot root rot and leaf blight can also pose problems. Monitor your plants regularly and take appropriate measures to control pest and disease infestations. - When are carrots ready to harvest?
Carrots are typically ready to harvest 60-80 days after planting, depending on the variety and growing conditions. You can check the maturity of the carrots by gently pulling back the soil around the shoulders of the roots to assess their size and color.

Kristine Moore
Forestry AuthorI'm Kristine Moore, a seasoned garden landscaping professional with over 30 years of experience. My extensive career has been dedicated to transforming outdoor spaces into stunning, sustainable landscapes. With a deep understanding of horticulture, design principles, and environmental stewardship, I have become a respected figure in the field, known for creating harmonious, visually appealing, and eco-friendly gardens. My commitment to excellence and continuous learning in landscaping trends and techniques has solidified my reputation as an expert in garden design and implementation.


Leave your comment