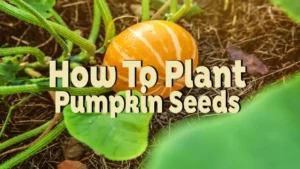
How to Plant Pumpkin Seeds
- February 9, 2024
- 0 comment
As the leaves begin to change and the air grows crisp, the thought of home-grown pumpkins becomes particularly appealing. Whether it’s the allure of homemade pumpkin pie, the tradition of jack-o’-lantern carving, or the simple joy of fall decorations, growing your own pumpkins can be an immensely rewarding endeavor. This beginner’s guide will walk you through the essential steps of planting pumpkin seeds, setting you on the path to a successful harvest.
Pumpkin Nutrition Benefits
| Benefit Category | Details |
|---|---|
| Nutritional Value | – High in vitamins, particularly Vitamin A, which supports vision and immune function. <br> – Contains Vitamin C, which aids in immune support and skin health. <br> – Rich in potassium, contributing to heart health. <br> – Provides fiber, which aids in digestion and helps with weight management. <br> – Low in calories, making it a diet-friendly food option. |
| Health Benefits | – Antioxidant-rich, helping to reduce the risk of chronic diseases. <br> – Can improve heart health due to its potassium, fiber, and antioxidant content. <br> – Supports eye health due to high levels of Vitamin A and beta-carotene. <br> – May boost the immune system with its vitamins and nutrients. <br> – Can aid in weight loss as a low-calorie, high-fiber food. |
| Skin Health | – Vitamin C and E in pumpkins can help protect the skin against damage from the sun and other environmental factors. <br> – The beta-carotene in pumpkins is converted into Vitamin A in the body, which can help heal the skin. |
| Versatility in Cooking | – Can be used in a variety of dishes, from soups and stews to pies and cakes. <br> – Pumpkin seeds are edible and can be roasted for a healthy snack. <br> – Pumpkin puree can be used as a baking ingredient or to thicken sauces. |
| Other Uses | – Pumpkins are widely used for decorative purposes, especially during Halloween and Thanksgiving. <br> – Pumpkin seed oil is used for culinary and cosmetic purposes. <br> – The flesh and seeds of pumpkins are used in traditional medicines in some cultures. |
When to Plant: Timing is Key
The secret to a bountiful pumpkin harvest lies in the timing. Pumpkins require a long, warm growing season to flourish. The ideal time to plant pumpkin seeds is after the last frost of spring when the soil is warm. In most regions, this means planting in late spring or early summer, ensuring your pumpkins will be ready to harvest by fall.
Different Varieties of Pumpkins
- Jack-o’-Lantern Pumpkins: Classic large, round, bright orange pumpkins used for Halloween carving.
- Sugar Pie Pumpkins: Small, sweet pumpkins ideal for pies, soups, and baked goods.
- Miniature Pumpkins: Tiny decorative pumpkins in colors like orange, white, and striped.
- White Pumpkins: Creamy white pumpkins used for unique fall decorations.
- Cinderella Pumpkins: Flattened, vibrant orange pumpkins resembling Cinderella’s carriage, used for decoration and cooking.
- Jarrahdale Pumpkins: Blue-gray Australian pumpkins valued for ornamental and culinary uses.
- Lumina Pumpkins: Smooth, white pumpkins used for striking Halloween displays.
- Fairytale Pumpkins: Squat, reddish-brown pumpkins with deep ribbing, used for decorations and cooking.
- Atlantic Giant Pumpkins: Enormous pumpkins grown for competitive displays.
- Red Kuri Squash (Hokkaido Pumpkins): Small, reddish-orange squash with sweet, nutty flesh, versatile in cooking.
Choosing the Right Spot
Pumpkins are sun worshippers and need plenty of it. Choose a planting site that receives at least six hours of direct sunlight each day. The soil should be rich, well-drained, and slightly acidic to neutral (pH 6.0-7.0). Since pumpkin vines can spread extensively, select a location that offers ample space for them to grow.
Sunlight
Pumpkins are sun-loving plants and require a minimum of six hours of direct sunlight per day for optimal growth and fruit development. Choose a spot in your garden that receives ample sunlight throughout the day, preferably in an open area with no shading from trees or buildings.
Soil Quality
Pumpkins thrive in rich, well-drained soil. The soil should be loose, crumbly, and fertile, allowing for good root development and water drainage. Conduct a soil test to ensure that the pH level is slightly acidic to neutral, ideally between 6.0 and 7.0. You can amend the soil with organic matter such as compost or well-rotted manure to improve its texture and fertility.
Space
Pumpkins are vigorous vining plants that require plenty of space to spread and grow. Choose a planting site with ample room for the vines to sprawl without overcrowding neighboring plants. Keep in mind that pumpkin vines can extend several feet in all directions, so avoid planting them too close to other garden beds or structures.
Air Circulation
Good air circulation is essential for preventing diseases and promoting healthy growth in pumpkin plants. Avoid planting pumpkins in low-lying areas or locations prone to poor air movement, as this can increase the risk of fungal infections and other issues. Planting pumpkins on raised beds or mounds can improve air circulation around the plants.
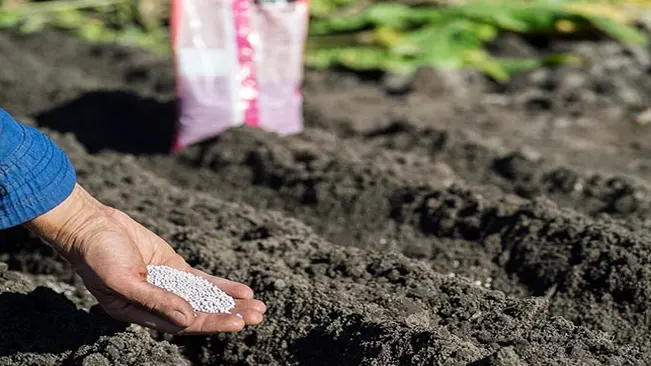
Soil Preparation: The Foundation of Growth
Preparing the soil is critical for pumpkin plants. They thrive in nutrient-rich soil, so work in plenty of compost or aged manure before planting. Consider creating raised beds or mounds to improve drainage and soil warmth. These mounds should be spaced 4-6 feet apart to give each plant room to spread.
- Nutrient-rich Soil: Pumpkins, like many other plants, require fertile soil to grow well. Nutrient-rich soil provides the essential elements needed for healthy plant growth, including nitrogen, phosphorus, and potassium, among others. Incorporating compost or aged manure into the soil before planting can enrich the soil with these nutrients, providing an ideal environment for pumpkin plants to thrive.
- Compost or Aged Manure: Compost and aged manure are organic materials that are rich in nutrients and beneficial microorganisms. Adding them to the soil not only improves its nutrient content but also enhances its structure and water retention capacity. This helps create a healthy soil environment that promotes root development and overall plant growth.
- Raised Beds or Mounds: Creating raised beds or mounds is a common technique used in gardening to improve soil drainage and warmth. Poor drainage can lead to waterlogged soil, suffocating plant roots and promoting diseases. By elevating the planting area, excess water can drain away more efficiently, reducing the risk of waterlogging. Additionally, raised beds and mounds can also help warm the soil more quickly in the spring, providing an earlier start for planting and encouraging faster growth.
- Spacing: Proper spacing between pumpkin plants is essential to allow them ample room to spread and grow. Spacing the mounds or raised beds 4-6 feet apart ensures that each plant has sufficient space to develop a robust root system and produce healthy vines and foliage. Crowded plants may compete for resources and sunlight, leading to stunted growth and reduced yields.
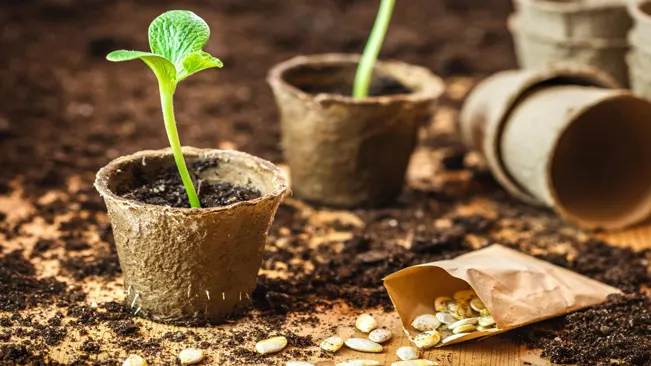
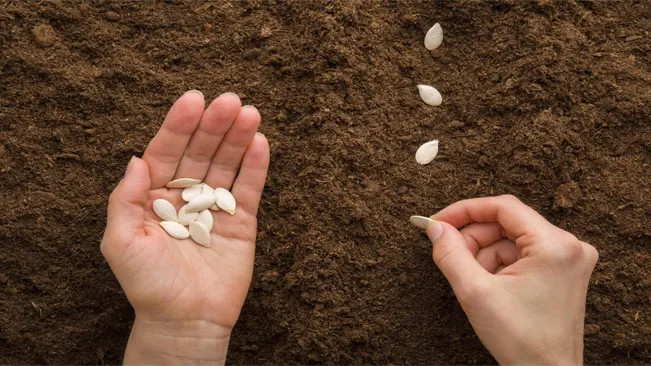
Planting the Seeds
When the conditions are right, it’s time to plant your pumpkin seeds. Plant 2-3 seeds per mound, burying them 1 inch deep into the soil. If you’re planting multiple rows, ensure there’s at least 6 feet of space between them to accommodate the sprawling vines. Water the newly planted seeds well, and keep the soil consistently moist until germination, which usually occurs within 7-10 days.
Step-by-Step Guide to Planting Pumpkin Seeds:
Preparation
Choose a sunny spot in your garden as pumpkins require full sun to grow. The area should be well-draining to prevent water from pooling around the seeds.
Soil Mounds
Create small mounds of soil, each about 2-3 feet in diameter, to provide good drainage. These mounds will be the planting beds for your pumpkin seeds.
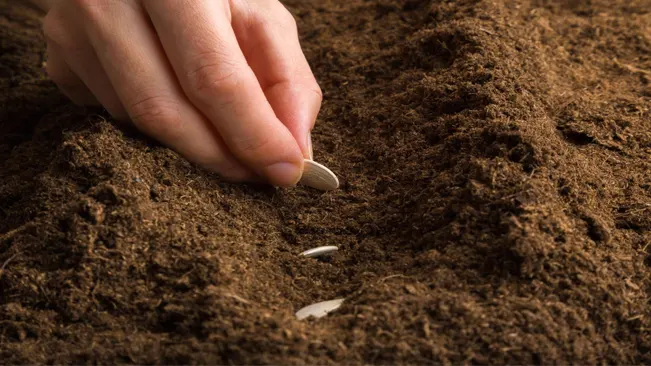
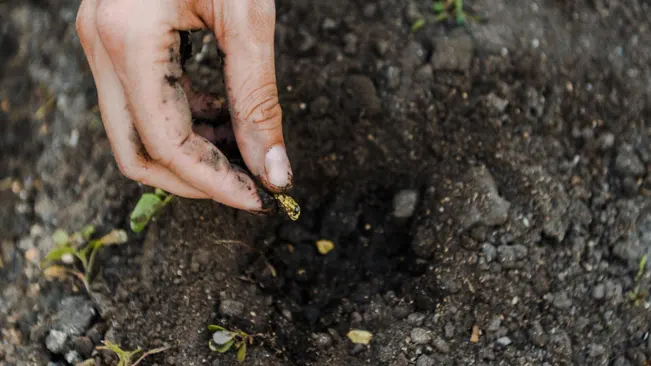
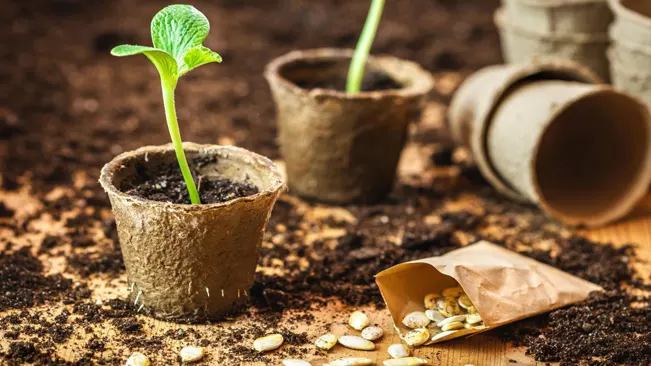
Sowing the Seeds
In each mound, plant 2-3 pumpkin seeds about 1 inch deep. This depth ensures the seeds have enough soil cover to retain moisture but are not so deep that they struggle to emerge.
Spacing
If you’re planting multiple rows of pumpkins, maintain a distance of at least 6 feet between the rows. This spacing is crucial as pumpkin plants are vine growers and need ample space to spread out.
Watering and Moisture Maintenance
After planting the seeds, water the mounds thoroughly. This initial watering is vital to settle the seeds into the soil and provide the moisture needed to kickstart germination.
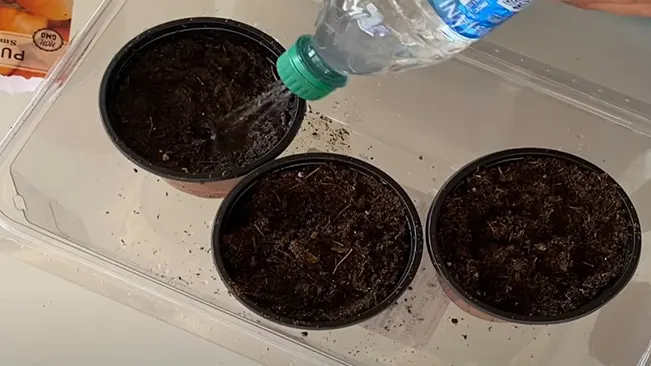
Keep the soil consistently moist, but not waterlogged, during the germination period. The soil should feel damp to the touch but not saturated.
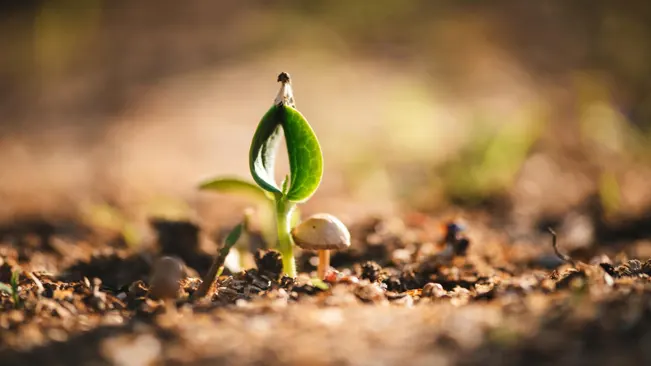
Germination
With proper care, you should see the first sprouts breaking through the soil within 7-10 days. This is an indication that your pumpkin seeds have successfully germinated and are on their way to growing into healthy pumpkin plants.
Thinning
Once the seedlings have sprouted and grown a few inches tall, thin them out, leaving the strongest plant in each mound. This practice ensures that the remaining plant has enough resources and space to grow optimally.
Care and Maintenance
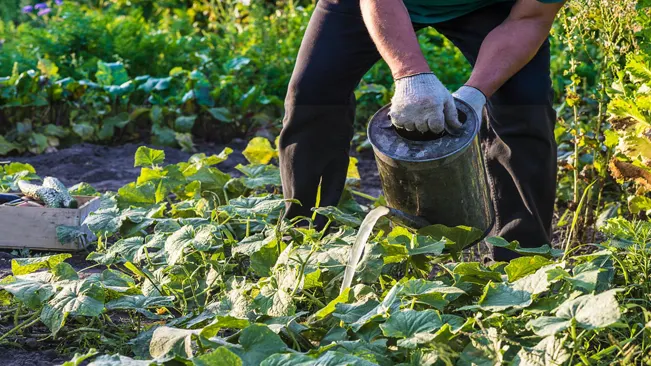
As your pumpkin plants grow, they’ll require regular care to ensure a healthy crop. Water the plants deeply once a week, providing enough moisture to soak the soil around the roots. Avoid wetting the leaves to reduce the risk of disease. A layer of mulch around the plants can help retain soil moisture and suppress weeds.
Watering
Pumpkin plants need consistent moisture to thrive, especially during the growing season. Deep watering once a week is recommended, ensuring the soil around the roots gets thoroughly soaked. However, it’s essential to avoid wetting the leaves excessively, as this can increase the risk of fungal diseases. Watering at the base of the plant or using a drip irrigation system can help minimize leaf moisture.
Mulching
Applying a layer of mulch around the base of pumpkin plants offers several benefits. Mulch helps retain soil moisture by reducing evaporation, which is particularly beneficial during hot and dry periods. Additionally, mulch helps suppress weed growth, which can compete with pumpkin plants for nutrients and water. Organic mulches like straw, shredded leaves, or grass clippings are commonly used.

Fertilizing
Pumpkins are heavy feeders and benefit from regular fertilization throughout the growing season. A balanced, all-purpose garden fertilizer can be applied every 2-4 weeks to provide essential nutrients for plant growth. Once flowers and fruits start to form, consider switching to a fertilizer with a higher phosphorus content. Phosphorus is crucial for promoting healthy fruit development and can enhance overall yield and quality.
Pollination: The Key to Fruit
Pumpkins require pollination to produce fruit. If you notice a lack of fruit despite healthy plants, you may need to assist with pollination. This can be done by transferring pollen from male flowers to female flowers using a small brush or even your fingertip.
- Pollination is Essential: Pumpkins, like many other fruit-bearing plants, require pollination to produce fruit. Without successful pollination, the female flowers of the pumpkin plant will not develop into pumpkins.
- Natural Pollinators: In nature, pollination is often carried out by insects such as bees, butterflies, and beetles. These pollinators transfer pollen as they move from flower to flower in search of nectar and pollen, inadvertently facilitating the pollination process.
- Male and Female Flowers: Pumpkin plants have separate male and female flowers. Male flowers typically appear first and produce pollen, while female flowers develop later and contain the ovary that will become the pumpkin fruit if pollinated.
- Identifying Female Flowers: Female pumpkin flowers can be distinguished by the small, immature fruit (ovary) located at the base of the flower. Male flowers lack this structure and only have a slender stalk (peduncle) beneath the flower.
- Pollination Assistance: In some cases, environmental factors or a lack of natural pollinators may hinder the pollination process. Gardeners can assist with pollination by manually transferring pollen from male flowers to female flowers using a small brush, cotton swab, or even their fingertip.
- Timing is Important: Pollination should ideally occur when both male and female flowers are fully open and receptive. Male flowers tend to open earlier in the day and may only remain open for a short period, so timing is crucial for successful pollination.
- Cross-Pollination: Pumpkins can also be cross-pollinated by insects carrying pollen from other pumpkin plants or related species. While not always necessary for fruit production, cross-pollination can enhance genetic diversity and may result in more robust fruit development in some cases.
- Factors Affecting Pollination: Various factors can affect pollination success, including weather conditions, the presence of pollinators, and the health of the pumpkin plant itself. Providing a favorable environment for both the plant and pollinators can help ensure adequate pollination.
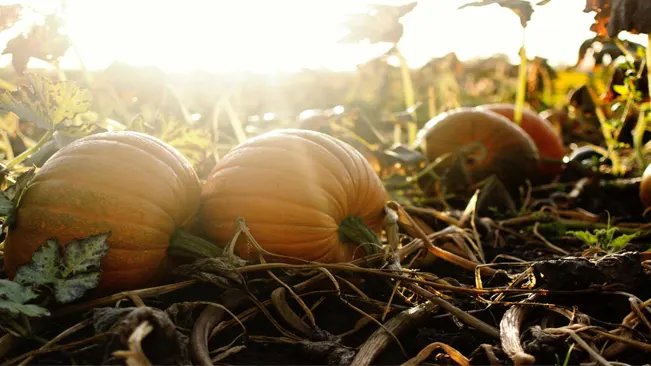
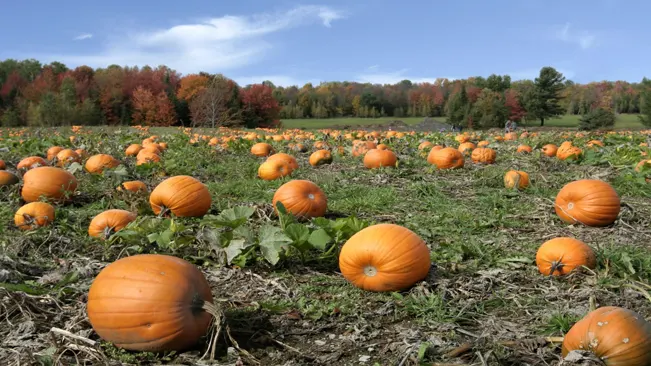
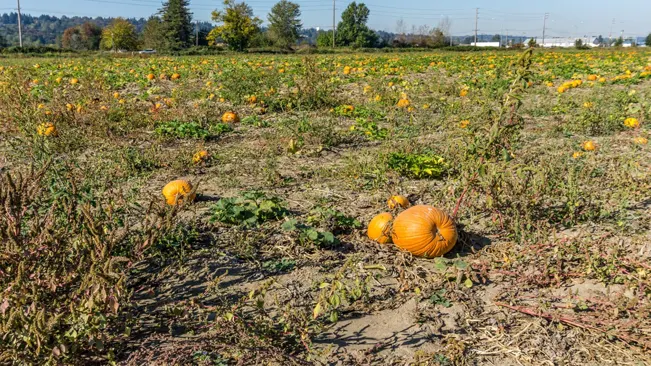
Harvesting Your Pumpkins
The anticipation of harvest is a thrilling part of growing pumpkins. Pumpkins are ready to harvest when they have reached their expected color and the rind is hard. Use a sharp knife to cut the pumpkin from the vine, leaving several inches of stem attached. Allow your pumpkins to cure in the sun for a week to harden the skin, which helps them store longer.
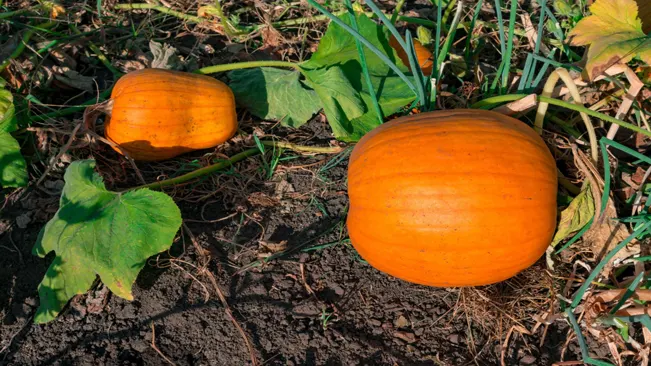
- Observation: Keep a close eye on your pumpkins as they grow. Monitor their color and size to determine when they’re ready for harvest.
- Check for Maturity: Pumpkins are ready for harvest when they have reached their expected color. Depending on the variety, this can range from deep orange to other hues like white or green.
- Assess Rind Hardness: Gently press your fingernail against the pumpkin’s skin. If it feels hard and resists puncture, it’s likely mature and ready to be harvested.
- Inspect Stem: Ensure that the stem attached to the pumpkin is sufficiently dry and brown. This indicates that the pumpkin has finished growing and is ready for harvest.
- Tools Preparation: Equip yourself with a sharp knife or pruning shears for a clean and precise cut.
- Cutting the Pumpkin: Use your chosen tool to carefully sever the pumpkin from the vine. Leave several inches of stem attached to the pumpkin. Cutting too close to the fruit can lead to premature rotting.
- Handle with Care: Handle the pumpkins gently to avoid bruising or damaging them during harvest.
- Curing Process: After harvesting, place the pumpkins in a sunny spot for about a week. This curing process helps harden the skin and enhances their ability to store well.
- Storage: Once cured, store your pumpkins in a cool, dry place. Properly cured and stored pumpkins can last several months.
- Enjoy the Fruits of Your Labor: Use your freshly harvested pumpkins for cooking, carving, or decorative purposes, and relish in the satisfaction of a successful harvest.
Conclusion
Planting pumpkin seeds is a journey that requires patience, care, and a bit of gardening know-how. By following these steps, you’re well on your way to adding the beauty and bounty of pumpkins to your autumn landscape. Whether it’s for pies, carvings, or simply to celebrate the season, the fruits of your labor will bring joy and satisfaction to your fall festivities.
FAQs (Frequently Asked Questions)
- When is the best time to plant pumpkin seeds?
The ideal time to plant pumpkin seeds is typically after the last frost date in your area, when the soil has warmed up to around 60°F (15°C). - How deep should I plant pumpkin seeds?
Pumpkin seeds should be planted about 1 inch deep in the soil. Ensure good soil contact to promote germination. - What spacing should I use between pumpkin seeds?
Allow about 2 to 3 feet (60 to 90 centimeters) between each pumpkin hill or planting mound. If planting in rows, space the seeds about 2 to 3 feet apart within the row. - Do pumpkin seeds need special soil conditions?
Pumpkins thrive in well-draining, fertile soil with a pH level between 6.0 and 7.5. Amending the soil with organic matter like compost can improve soil structure and fertility. - How much sunlight do pumpkin seeds require?
Pumpkin plants require full sun, meaning they need at least 6 to 8 hours of direct sunlight daily for optimal growth and fruit production. - How often should I water pumpkin seeds?
Keep the soil consistently moist but not waterlogged. Water pumpkin seeds regularly, especially during dry spells or when the plants are flowering and setting fruit. - Should I fertilize pumpkin seeds?
It’s beneficial to fertilize pumpkin plants with a balanced fertilizer (such as 10-10-10) before planting and then again when the vines start to develop. Avoid excessive nitrogen, as it can promote lush foliage at the expense of fruit production. - Can I start pumpkin seeds indoors?
Yes, you can start pumpkin seeds indoors about 2 to 4 weeks before the last frost date in your area. Use biodegradable pots to minimize root disturbance when transplanting. - How long does it take for pumpkin seeds to germinate?
Under optimal conditions, pumpkin seeds typically germinate within 7 to 14 days after planting. - How do I prevent pests and diseases when planting pumpkin seeds?
To prevent pests and diseases, practice crop rotation, keep the garden clean from debris, and monitor plants regularly for signs of pests or diseases. Additionally, using organic pest control methods and proper watering techniques can help maintain plant health.

Kristine Moore
Forestry AuthorI'm Kristine Moore, a seasoned garden landscaping professional with over 30 years of experience. My extensive career has been dedicated to transforming outdoor spaces into stunning, sustainable landscapes. With a deep understanding of horticulture, design principles, and environmental stewardship, I have become a respected figure in the field, known for creating harmonious, visually appealing, and eco-friendly gardens. My commitment to excellence and continuous learning in landscaping trends and techniques has solidified my reputation as an expert in garden design and implementation.


Leave your comment