How to Plant Walnut Seeds: Step-by-Step Guide to Growing Walnut Trees
- February 21, 2024
- 0 comment
Walnuts, known for their rich nutritional profile and distinct taste, are a favorite among gardeners and health enthusiasts alike. Growing walnut trees from seeds can be a rewarding experience, offering both a supply of nuts and a majestic addition to your landscape. This guide will walk you through the process of planting walnut seeds, from preparation to germination.
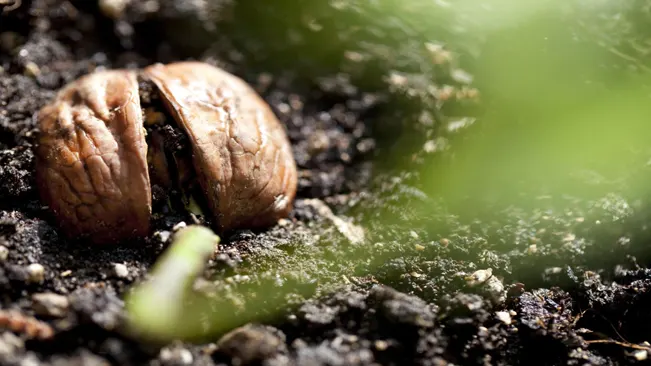
Nutritional Benefits of Walnut
| Benefit | Description |
|---|---|
| Nutritional Value | Walnuts are rich in essential nutrients, including omega-3 fatty acids, antioxidants, vitamins (particularly Vitamin E), and minerals like magnesium and zinc. |
| Heart Health | The omega-3 fatty acids and antioxidants in walnuts can improve heart health by reducing bad cholesterol levels and inflammation, lowering the risk of heart disease. |
| Brain Health | Nutrients in walnuts, such as omega-3 fatty acids and vitamin E, may enhance cognitive function and reduce the risk of neurodegenerative diseases. |
| Weight Management | Walnuts are a good source of protein and fiber, which can promote satiety and help in weight management. |
| Anti-inflammatory | Walnuts contain compounds that have anti-inflammatory properties, beneficial in reducing inflammation in various chronic conditions. |
| Antioxidant Properties | High in antioxidants, walnuts can help combat oxidative stress and reduce the risk of certain cancers and aging-related health issues. |
| Improved Digestive Health | The fiber in walnuts helps promote a healthy digestive system, aiding in digestion and preventing constipation. |
| Skin Health | The nutrients in walnuts, especially antioxidants and vitamins, can contribute to healthier skin, protecting against sun damage and aging. |
| Diabetes Management | Regular consumption of walnuts may help in managing blood sugar levels, making them beneficial for individuals with diabetes. |
| Reproductive Health | Some studies suggest that walnuts can improve reproductive health in men by enhancing sperm quality. |
Materials Needed
- Walnut seeds
- Potting soil
- Containers or pots
- Water
- Gloves (optional)
Selecting the Right Seeds
Choose high-quality walnut seeds from a reputable source. Fresh seeds with no cracks or holes are ideal. Remember, different walnut varieties grow better in different climates, so select a type suited to your region.
Source Reputation
- The source of your walnut seeds is crucial. Opt for seeds from a reputable nursery or seed supplier known for quality. Seeds from reliable sources are more likely to be healthy and genetically robust, increasing your chances of successful germination and growth.
Seed Quality

- Appearance: Good quality walnut seeds should be intact, with no cracks or holes. Damaged seeds may have been compromised by pests or diseases, which can affect germination and the health of the seedling.
- Freshness: Fresher seeds have higher germination rates. Seeds that are too old may have lost their viability. If possible, find out the harvest date of the seeds.
Variety Suitability
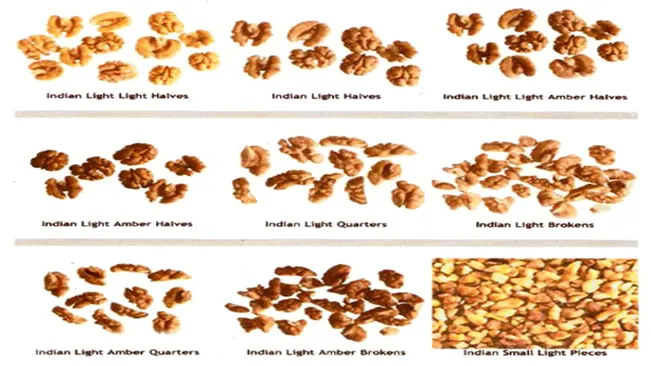
- Climate Compatibility: Different walnut varieties have different climate preferences. For example, some varieties require a certain number of chill hours (cold temperatures) to break dormancy and germinate. Ensure the variety you choose is suited to the climatic conditions of your region.
- Soil Preference: While walnuts generally prefer deep, fertile, and well-drained soil, some varieties may be more adaptable to varying soil conditions. Check the soil preference for the specific variety you’re considering.
Stratification Process
Walnut seeds require a stratification period to break dormancy. This process involves exposing the seeds to cold, moist conditions for several months.
Why Stratification is Necessary for Walnut Seeds
Walnut seeds are programmed to undergo a winter-like period before they are ready to germinate. This process ensures that the seeds don’t sprout prematurely in conditions that are not conducive to their survival, such as in the middle of winter.
Steps in the Stratification Process
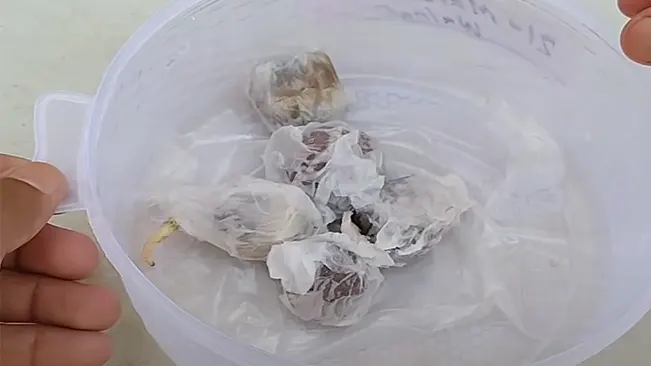
- Moisture Preparation: The first step involves preparing a moist medium that will surround the seeds. This medium can be slightly moist sand or peat moss. The moisture level should be enough to feel damp but not so wet that it can be wrung out. The goal is to mimic the moist soil conditions a seed would naturally experience underground during winter.
- Mixing Seeds with Medium: The walnut seeds are then mixed thoroughly with this moist medium. This ensures that each seed is in contact with moisture, which is essential for breaking dormancy.
- Bagging and Storing: The mixture of seeds and moist medium is then placed in a plastic bag. This bag acts as a miniature environment, maintaining the necessary moisture level and temperature. It’s important to leave some air in the bag and occasionally check for any signs of mold or excessive water.
- Refrigeration: The bag is stored in a refrigerator, which provides the cold conditions required for stratification. It’s crucial to use a refrigerator and not a freezer, as the seeds need cold, not freezing temperatures. This mimics the cold of winter without the damaging effects of freezing.
- Duration: The duration of this cold, moist treatment typically ranges from 90 to 120 days. This period varies based on the walnut variety and the conditions under which they are stratified.
After Stratification
Once the stratification period is over, the seeds are ready to be planted. They should be planted in well-draining soil, as they are now primed to germinate and grow into walnut trees.
Preparing to Plant
Use Well-Draining Potting Soil
- Importance: Walnut seeds, like many plants, require well-draining soil to prevent waterlogging, which can lead to root rot and fungal diseases. Good drainage ensures that excess water can escape, allowing the roots to absorb the necessary moisture without being submerged.
- Soil Composition: A mix that includes loam, sand, and organic compost is ideal. This combination provides a balance of drainage, aeration, and nutrient content. The compost adds organic matter, essential for young plants’ growth and health.
Ensure Containers Have Drainage Holes
- Purpose: Drainage holes at the bottom of containers are a must. They allow excess water to flow out, which is crucial for maintaining the right soil moisture level.
- Container Selection: When selecting pots or containers, choose those that already have drainage holes. If you have a container without holes, you can drill a few at the bottom. Make sure they’re large enough to allow water to drain freely but not so large that soil washes out.
If Planting Directly in the Ground
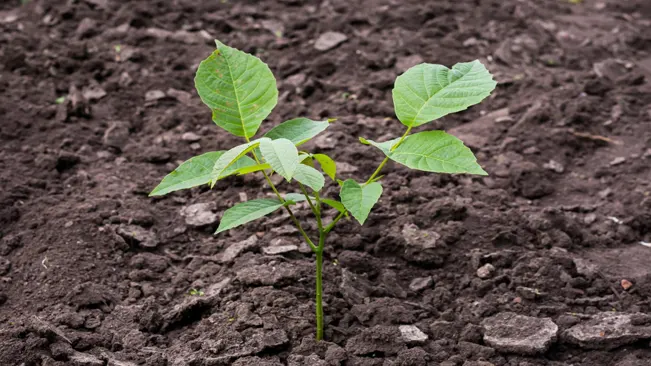
- Location: Walnut trees thrive in areas that receive full sunlight for most of the day. They need ample sunlight for optimal growth and nut production.
- Soil Quality: Look for an area with deep, fertile soil. Deep soil allows roots to grow extensively and access nutrients and moisture. Fertile soil, rich in organic matter, provides the necessary nutrients for the growing tree.
- Soil Preparation: Before planting, it’s advisable to till the soil to a good depth to loosen it, ensuring that the roots can penetrate easily. You can improve soil quality by mixing in organic compost or well-rotted manure, which will add nutrients and enhance soil structure.
Planting the Seeds
Depth of Planting
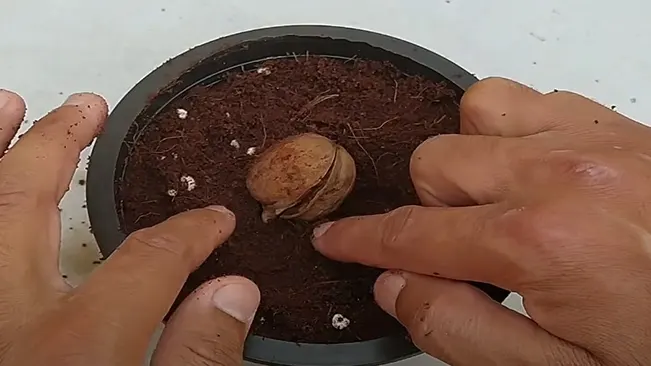
- Planting the walnut seeds at the correct depth is crucial for successful germination. Seeds should be planted about 1-2 inches deep in the soil. This depth ensures that the seed has enough soil cover to retain moisture and protection, yet is not so deep that the emerging seedling struggles to reach the surface.
Soil Preparation
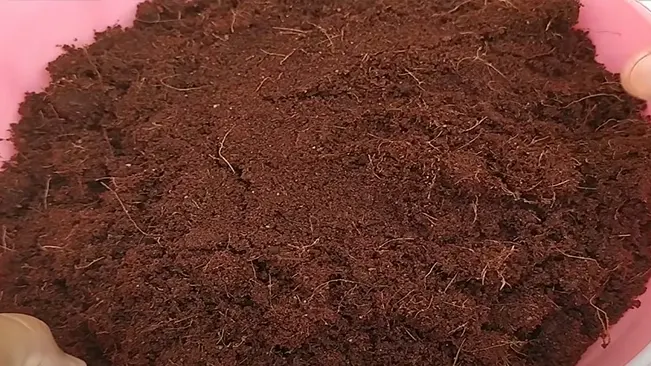
- Before planting, ensure the soil is well-prepared. This means it should be loose, well-drained, and rich in organic matter. If the soil is heavy or clayey, consider amending it with organic compost to improve drainage and aeration.
Spacing
- Room for Growth
Walnut trees can grow quite large, so it’s essential to give them enough space. When planting seeds directly in the ground, space them several feet apart — typically, 8-10 feet is a good rule of thumb. This spacing prevents competition for nutrients, water, and sunlight as the trees grow. - Planning for the Future
Consider the mature size of the walnut trees. They can spread wide and grow tall, so avoid planting near structures, power lines, or other trees. If starting in pots, remember that these seedlings will eventually need to be transplanted into the ground or into larger pots.
Watering
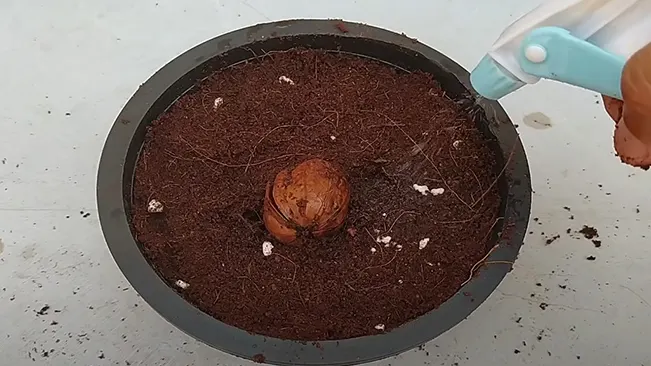
- Initial Watering
After planting the seeds, water the soil gently but thoroughly. The goal is to moisten the soil around the seed without causing waterlogging, which can lead to rot. - Ongoing Water Management
Keep the soil consistently moist during the germination period. Avoid letting the soil dry out completely, but also be cautious of overwatering. - Signs of Germination
Regularly check for signs of sprouting, which may take several weeks. Once seedlings emerge, monitor the soil moisture closely, as young plants are particularly sensitive to both drought and waterlogging.
Germination and Early Care
Keeping the Soil Consistently Moist but Not Waterlogged
- Importance of Moisture: Walnut seeds need a consistent level of moisture to germinate successfully. The moisture softens the outer shell and provides the necessary hydration for the embryonic plant inside to start growing.
- Avoiding Waterlogging: Over-watering can be detrimental as it may lead to fungal growth or rot, which can kill the seed or young seedling. Waterlogged soil also lacks sufficient oxygen, which is crucial for seed germination.
- How to Maintain Moisture: Water the soil regularly, ensuring it feels damp to the touch but not soaked. Using a spray bottle or a gentle shower setting on a garden hose can prevent over-watering. Additionally, mulching can help retain soil moisture.
Germination Can Take Several Weeks
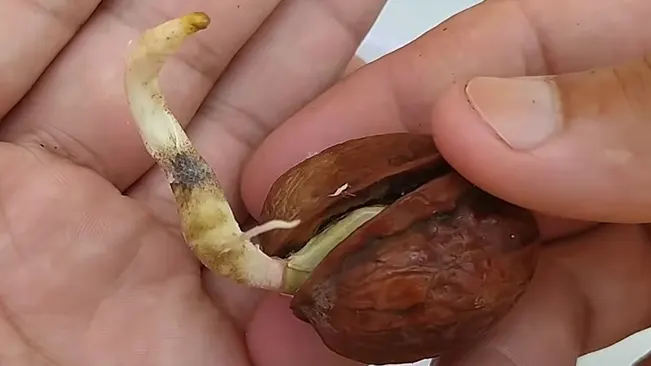
- Timeframe: Walnut seeds typically take several weeks to germinate. This timeframe can vary based on factors like seed quality, soil conditions, and stratification effectiveness.
- Patience is Key: It’s important not to get discouraged if you don’t see immediate results. Consistent care and patience are vital during this waiting period.
Ensuring Adequate Sunlight After Seedlings Emerge
- Light Requirements: Once the walnut seedlings emerge, they require adequate sunlight for healthy growth. Sunlight is crucial for photosynthesis, which is how the plant gets its energy.
- Ideal Sunlight Conditions: Place the seedlings in a location where they can receive at least 6-8 hours of sunlight per day. However, be mindful of too much direct sunlight, especially in hotter climates, as it can stress young plants.
- Adjusting Positioning: If you’ve started the seeds indoors or in a less sunny spot, gradually acclimate the seedlings to more sunlight. This can be done by slowly increasing their time outdoors each day over a week or so.
Transplanting (If Necessary)
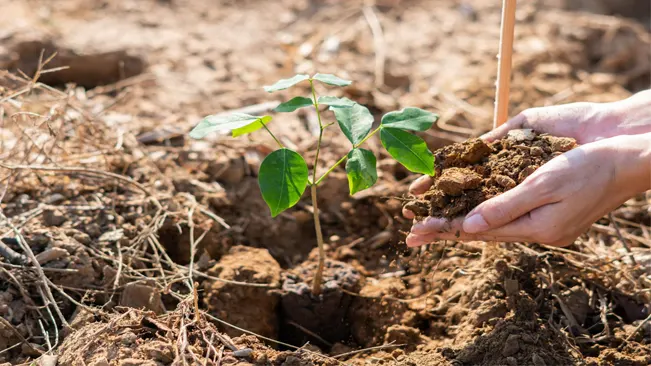
If you started your walnut seeds in pots, you’ll need to transplant them into the ground once they’re strong enough. Choose a permanent location with enough space for the tree to grow.
Ongoing Care
Watering Young Trees
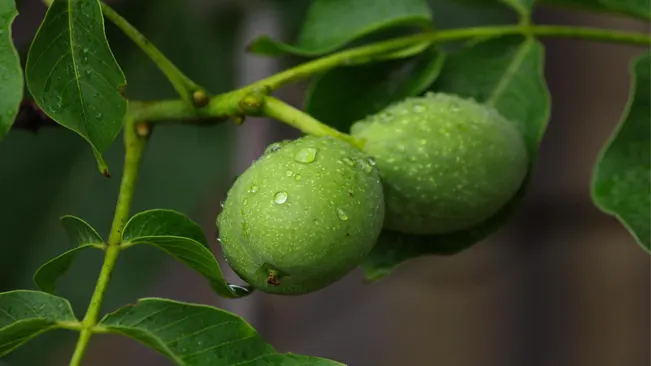
- Frequency and Amount: Young walnut trees require consistent moisture to establish their root systems. In the initial years, it’s crucial to water them regularly, especially during dry spells. The amount of water needed depends on soil type and weather conditions, but a general rule is to provide about 1-2 inches of water per week.
- Deep Watering Technique: It’s better to water deeply and less frequently rather than shallow and often. Deep watering encourages deeper root growth, which is vital for the tree’s stability and drought resistance.
- Monitoring Moisture Levels: To avoid over or under-watering, check the soil moisture regularly. The soil should be moist but not waterlogged. Using a soil moisture meter can be helpful.
Mulching
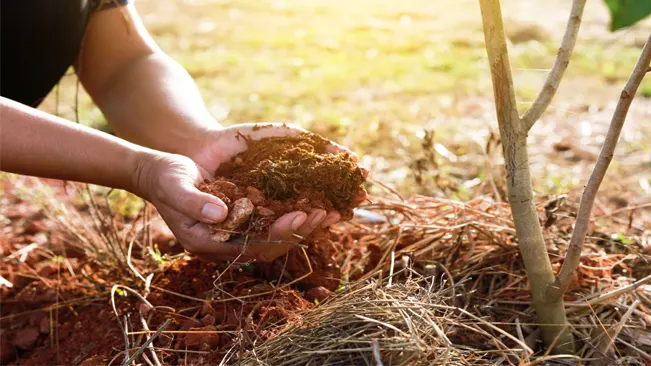
- Purpose of Mulch: Mulching around the base of walnut trees serves multiple purposes. It helps retain soil moisture, suppresses weed growth, and provides a barrier against temperature extremes.
- Type of Mulch: Organic mulches like wood chips, bark, or straw are ideal. They not only serve the immediate purpose but also gradually break down, improving soil fertility.
- Application: Apply a 2-4 inch layer of mulch around the base of the tree, but keep it a few inches away from the trunk to prevent rot and pest infestation.
Pruning
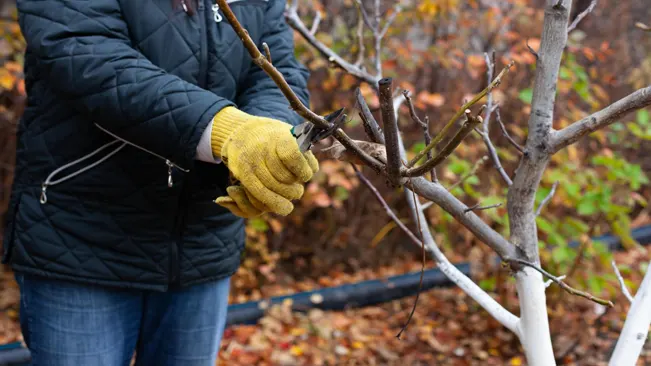
- Timing: The best time to prune walnut trees is late winter or early spring, before the sap starts flowing and new growth begins. Avoid heavy pruning in the fall, as it can stimulate new growth that might not harden off before winter.
- Shaping the Tree: Pruning is essential for shaping the tree, removing dead or diseased wood, and encouraging strong, healthy growth. For young trees, focus on establishing a strong central leader (main trunk) and well-spaced branches.
- Technique: Use clean, sharp tools. Make cuts at a 45-degree angle, about 1/4 inch above a bud or branch, to promote healthy regrowth. Avoid leaving large stubs, as they can lead to disease.
Additional Tips
- Pest and Disease Management: Regularly inspect the tree for signs of pests or diseases. Implement appropriate control measures promptly if needed.
- Fertilization: While walnut trees don’t require heavy fertilization, a balanced fertilizer can be applied in the early spring to support growth, especially if the soil is poor.
- Protection from Animals: Young trees can be vulnerable to damage from animals. Use tree guards or fencing if necessary to protect the trunk and lower branches.
Conclusion
Planting walnut seeds is a process that requires patience and care, but the reward of harvesting your own walnuts is well worth the effort. By following these steps, you can successfully grow walnut trees and enjoy their numerous benefits for years to come.
FAQs (Frequently Asked Questions)
- What is the best time of year to plant walnut seeds?
Walnut seeds should be planted in the fall or early winter, after they have gone through stratification (cold treatment), which simulates natural winter conditions. - Do walnut seeds need to be stratified before planting?
Yes, walnut seeds require a stratification period of cold, moist conditions for about 90-120 days to break dormancy and encourage germination. - How deep should I plant walnut seeds?
Plant walnut seeds about 1-2 inches deep in the soil. This depth allows for proper germination and root development. - How much space is needed between walnut seedlings?
Space walnut seedlings at least 20-30 feet apart. Walnut trees grow large and need ample space for root and canopy growth. - Can I grow a walnut tree in a pot?
Yes, you can start a walnut seed in a pot, but it will need to be transplanted into the ground as it grows due to its large size and root system. - How long does it take for a walnut seed to germinate?
Walnut seeds can take several weeks to a few months to germinate, depending on the conditions. - Do walnut trees require full sun?
Yes, walnut trees thrive in full sun with at least 6-8 hours of direct sunlight per day. - How often should I water a newly planted walnut seed?
Keep the soil consistently moist but not waterlogged. Young trees typically require more frequent watering, about 1-2 inches per week, especially during dry periods. - When should I transplant a walnut seedling from a pot to the ground?
Transplant when the seedling is strong enough and the weather is mild, typically in late winter or early spring. - Can I plant any walnut seed, or are specific types better for growing trees?
It’s best to use seeds from a reputable source and select a variety that is suited to your climate. Some seeds, like those from store-bought walnuts, may not be viable or suitable for your region.
Now that you know the steps, you’re ready to start planting your walnut seeds. Watch them grow and thrive into majestic walnut trees. Happy planting!

Kristine Moore
Forestry AuthorI'm Kristine Moore, a seasoned garden landscaping professional with over 30 years of experience. My extensive career has been dedicated to transforming outdoor spaces into stunning, sustainable landscapes. With a deep understanding of horticulture, design principles, and environmental stewardship, I have become a respected figure in the field, known for creating harmonious, visually appealing, and eco-friendly gardens. My commitment to excellence and continuous learning in landscaping trends and techniques has solidified my reputation as an expert in garden design and implementation.


Leave your comment