How To Plant Iris Flower
- April 5, 2024
- 0 comment
Iris flowers, with their striking beauty and diverse color palette, are a favorite among gardeners worldwide. These hardy perennials are known for their unique flower structure and sword-like foliage, making them an eye-catching addition to any garden. Whether you’re a seasoned gardener or a beginner, planting irises can be a rewarding experience. Here’s a comprehensive guide to help you plant and care for these beautiful blooms.
List How To Plant Iris Flower
- Understanding Iris Varieties
- Choosing the Right Location
- When to Plant
- Planting Iris Rhizomes
- Care and Maintenance
- After Blooming Care
Understanding Iris Varieties
Understanding the different varieties of irises is crucial for successful cultivation, as each type brings its own unique beauty and requirements. Let’s delve deeper into some of the most popular iris varieties
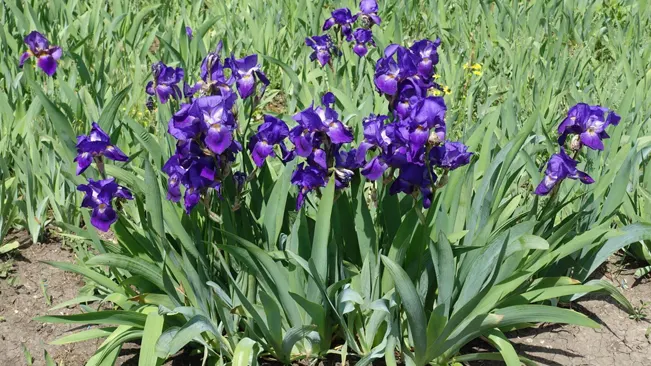
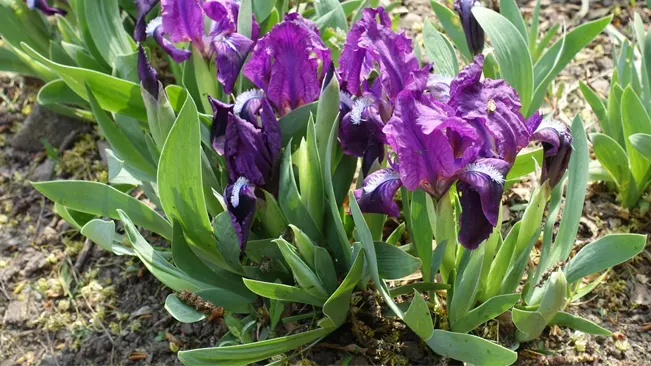
Bearded Iris
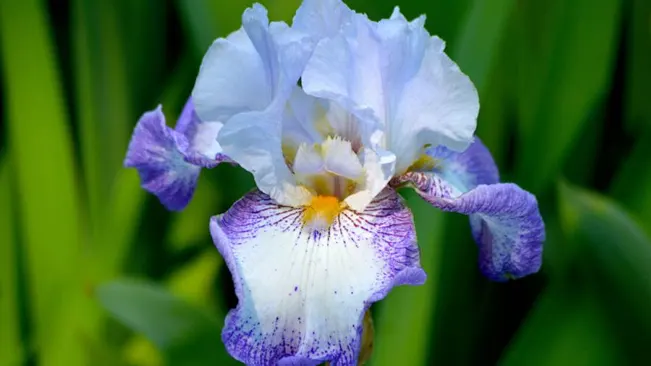
- Characteristics: Bearded irises are easily recognizable by the fuzzy “beards” on each of the falls (the downward-facing petals). They come in a wide range of colors and sizes, from dwarf varieties that are under a foot tall to tall varieties that can exceed four feet.
- Care: These irises prefer well-drained soil and plenty of sunlight. The rhizomes should be planted so they are partially exposed, as burying them too deeply can inhibit blooming.
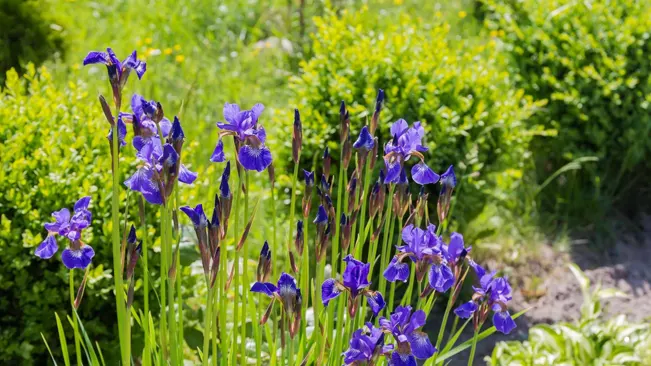
Siberian Iris
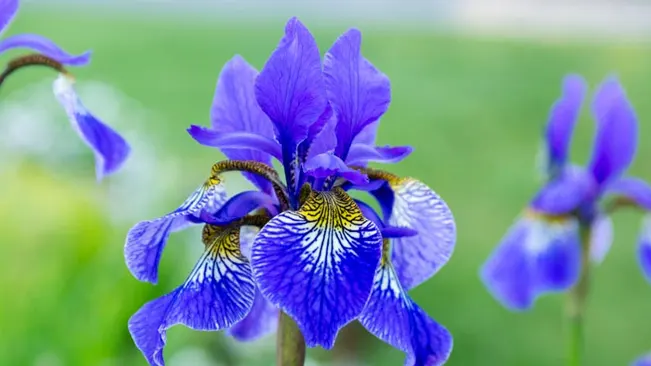
- Characteristics: Siberian irises have slender, grass-like foliage and produce dainty, often blue or purple flowers. They are known for their elegant form and can grow up to 4 feet tall.
- Care: Unlike bearded irises, Siberian irises can tolerate moister soil conditions and are more tolerant of partial shade. They are hardy and less susceptible to iris borer pests than their bearded counterparts.
Japanese Iris
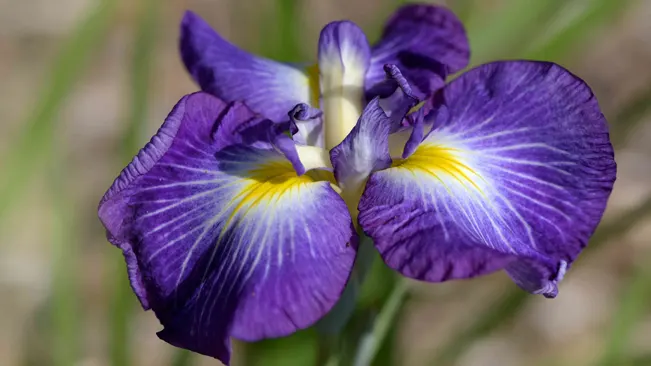
- Characteristics: Japanese irises have large, flat blooms that can span up to 8 inches across. They typically bloom later in the season than other irises and are available in a range of colors, including shades of blue, purple, pink, and white.
- Care: These irises thrive in moist, acidic soil and can even be grown at the water’s edge in a garden pond setting. They require a bit more maintenance, including regular watering and fertilization, to bloom at their best.
Choosing the Right Location
Choosing the right location is crucial for the successful cultivation of iris flowers, as their health and blooming are significantly influenced by the environment in which they are planted. Here are more details to help you ensure your irises flourish:
Sunlight Requirements
- Full Sun: Irises perform best in full sun conditions. They need at least 6 hours of direct sunlight each day to ensure vigorous growth and abundant blooms. In regions with very hot summers, some afternoon shade might be beneficial, especially for darker-colored varieties, to prevent bloom fading.
- Light Intensity: The intensity of the sunlight can affect the flowering patterns. In cooler climates, maximizing sunlight exposure is essential, while in hotter regions, protecting irises from the harsh afternoon sun can prevent potential damage.
Soil Considerations
- Drainage: Good drainage is perhaps the most critical factor in choosing a location for irises. They are prone to root rot if waterlogged, so the site should allow water to drain away quickly.
- Soil Type: While irises are adaptable to a range of soil types, they prefer a neutral to slightly acidic pH (around 6.8 to 7.0). If your soil is very acidic or alkaline, it may be necessary to amend it with lime or sulfur, respectively, to reach the desired pH.
- Improving Soil Structure: If you have heavy clay soil, incorporating organic matter like compost, well-rotted manure, or leaf mold can improve soil structure and drainage. For very sandy soils, organic matter can help retain moisture and nutrients.
When to Plant
Planting irises at the right time ensures that they have a strong root system in place before the onset of winter. This root establishment is crucial for the irises to survive and thrive in the coming year. If planted too late, irises might not have enough time to establish, making them vulnerable to winter damage. Conversely, planting too early might expose them to hot, dry conditions unfavorable for new, tender roots.

Late Summer to Early Fall: The Ideal Window
- Milder Temperatures: The cooler temperatures of late summer and early fall are less stressful on the newly planted rhizomes, reducing the risk of heat stress and dehydration.
- Moisture Balance: This period usually comes with more consistent rainfall, providing a good moisture balance for the new plants without the risk of waterlogging or dry spells.
- Root Establishment: Planting during this window gives the iris rhizomes enough time to develop a robust root system before the ground freezes, which is crucial for nutrient uptake and overall health.
Adjusting for Climate Variations
- Warmer Climates: In areas with milder winters, the planting window can extend into the later fall months. The extended growing season in these regions allows irises more time to establish. However, it’s still essential to plant at least 4-6 weeks before the first expected frost to ensure proper root development.
- Cooler Climates: In cooler regions, it’s important to plant irises at the earlier end of the recommended window. This ensures that they have plenty of time to establish before the ground freezes.
Planting Iris Rhizomes
Preparing the Soil
- Why it’s important: Iris plants thrive in well-drained soil. Preparing the soil properly ensures that water doesn’t pool around the rhizomes, which can cause rot.
- How to do it effectively: Start by loosening the soil to a depth of 12-15 inches. This depth encourages the roots to grow deeply, stabilizing the plant and helping it access nutrients and moisture. Adding 2-4 inches of compost not only improves drainage but also adds essential nutrients to the soil, creating an ideal growing environment for irises.
Planting Depth and Spacing
- Importance of correct depth: Planting iris rhizomes at the correct depth is crucial. If planted too deep, the rhizome might rot; too shallow, and it might not establish properly. The ideal depth allows the top of the rhizome to be slightly exposed to the air, ensuring it gets enough sunlight to foster growth.
- Reasoning for spacing: Spacing the rhizomes 12-24 inches apart allows each plant enough space to grow without competing for nutrients, sunlight, and water. It also ensures good air circulation around the plants, reducing the risk of disease.
Orientation
- Correct orientation: The way you position the rhizome in the ground affects the plant’s future growth. The rhizome should be placed with the roots spread out below and the top (where the leaves grow) facing upwards. This orientation ensures that the plant can easily push its shoots up into the sunlight while the roots grow downward to anchor the plant and absorb nutrients and moisture from the soil.
Care and Maintenance
Watering

- Establishment Phase: During their first growing season, irises need consistent moisture to help establish their roots. Water them deeply to encourage deep root growth, which strengthens the plant against drought in later years.
- Mature Plants: Once established, irises require less water. Their drought-tolerant nature means they can survive with natural rainfall in many climates. However, during prolonged dry spells, a deep watering is beneficial, especially when the irises are forming buds and blooming.
- Avoiding Overwatering: Overwatering can be more detrimental than under-watering, leading to root rot. Ensure the planting site is well-drained, and water only when the top inch of soil feels dry to the touch.
Fertilizing
- Nutrient Needs: Irises aren’t heavy feeders, but they do benefit from the right nutrients at the right time. A low-nitrogen fertilizer or bone meal is ideal because high nitrogen levels can encourage leaf growth at the expense of flowers and increase the risk of rhizome rot.
- Timing: Fertilize early in the spring when new growth appears and again about a month after blooming to replenish nutrients used during flowering. Avoid fertilizing late in the season, as this can stimulate new growth that won’t harden off before winter.
Dividing
- Why Divide: Over time, iris clumps become crowded, leading to diminished blooming. Dividing the clumps rejuvenates them, giving each rhizome more space and resources to grow and bloom.
- How to Divide: Carefully dig up the clump and gently separate the rhizomes. Replant only the healthy ones, discarding any that are soft, diseased, or excessively old. Each replanted piece should have at least one fan of leaves and a healthy set of roots.
- Aftercare: After dividing and replanting, water the irises well to help them settle in their new locations. Keep the soil moist but not waterlogged to encourage them to re-establish.
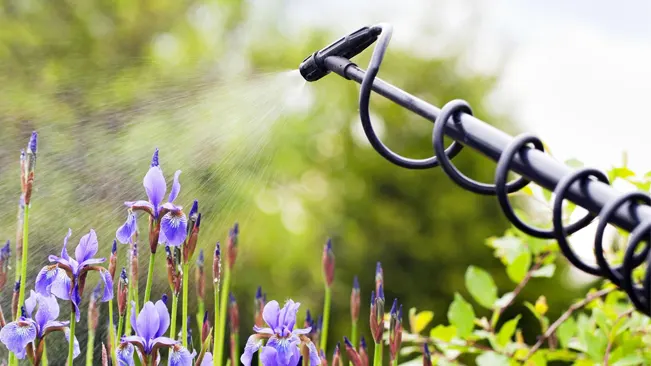
Pest and Disease Management
- Common Issues: Iris borers, soft rot, and fungal diseases like leaf spot can affect irises. Good cultural practices are your first line of defense.
- Preventive Measures: Keep the garden area clean of debris and spent foliage, especially in fall and spring, to minimize places where pests and diseases can overwinter. Ensure good air circulation around plants to reduce humidity and the risk of fungal diseases.
- Monitoring and Treatment: Regularly inspect your irises for signs of trouble, such as holes in the leaves (iris borers) or soft, mushy areas on the rhizomes (soft rot). Early detection is key to managing these problems. Remove and destroy affected parts or plants to prevent the spread of disease. In the case of severe infestations or diseases, specific insecticides or fungicides may be necessary.
After Blooming Care
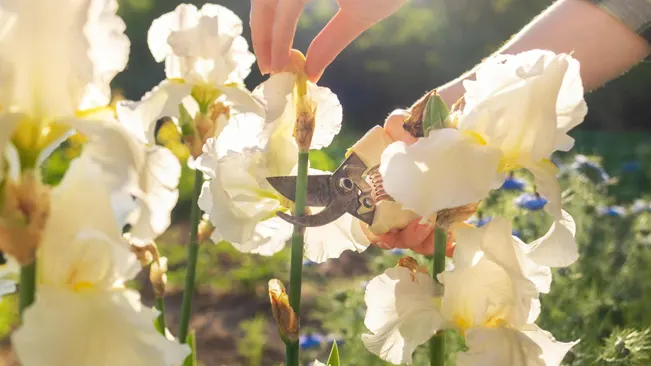
- After the iris blooms have faded, cut back the flower stalks to the base to prevent seed formation. Leave the foliage in place, as it will continue to gather sunlight and strengthen the rhizome for the next year. Cut back the leaves to the ground in late fall after they’ve died back.
Related Growing Guides:
Conclusion
Planting and caring for iris flowers can bring great joy and color to your garden. By following these steps, you’ll ensure your irises have a strong start and continue to beautify your garden for years to come. Remember, the key to healthy irises is well-drained soil, adequate sunlight, and proper care.
FAQs (Frequently Asked Questions)
- When is the best time to plant iris rhizomes?
- The ideal time to plant iris rhizomes is in late summer to early fall. This allows the plants enough time to establish their root systems before the cold winter months.
- The ideal time to plant iris rhizomes is in late summer to early fall. This allows the plants enough time to establish their root systems before the cold winter months.
- How deep should I plant iris rhizomes?
- Iris rhizomes should be planted so that their tops are just slightly below the surface of the soil, no more than an inch deep. This helps prevent rot and allows the rhizomes to receive adequate sunlight.
- Iris rhizomes should be planted so that their tops are just slightly below the surface of the soil, no more than an inch deep. This helps prevent rot and allows the rhizomes to receive adequate sunlight.
- What type of soil is best for irises?
- Irises thrive in well-drained, moderately fertile soil. They do not do well in areas where water stands. If you have heavy or clay soil, consider adding sand or compost to improve drainage.
- Irises thrive in well-drained, moderately fertile soil. They do not do well in areas where water stands. If you have heavy or clay soil, consider adding sand or compost to improve drainage.
- How much sunlight do irises need?
- Irises require at least half a day of direct sunlight to bloom well. Full sun is preferable, especially for bearded irises.
- Irises require at least half a day of direct sunlight to bloom well. Full sun is preferable, especially for bearded irises.
- How often should I water my newly planted irises?
- After planting, water your irises to settle the soil around the rhizomes. Afterward, water them only as needed to keep the soil slightly moist until they are established. Irises do not like to be over-watered.
- After planting, water your irises to settle the soil around the rhizomes. Afterward, water them only as needed to keep the soil slightly moist until they are established. Irises do not like to be over-watered.
- Do I need to fertilize my irises?
- Yes, but sparingly. Use a low-nitrogen fertilizer or bone meal in early spring and again a month after blooming, if necessary. Avoid high-nitrogen fertilizers, as they can encourage rot.
- Yes, but sparingly. Use a low-nitrogen fertilizer or bone meal in early spring and again a month after blooming, if necessary. Avoid high-nitrogen fertilizers, as they can encourage rot.
- How far apart should I space iris rhizomes?
- Space iris rhizomes about 12 to 24 inches apart. This allows enough room for growth and air circulation, which helps prevent disease.
- Space iris rhizomes about 12 to 24 inches apart. This allows enough room for growth and air circulation, which helps prevent disease.
- How do I prevent iris borer and other pests?
- Keep the area around your irises clean of debris and spent foliage, especially in the fall. This reduces the places where pests can overwinter. If you notice damage, inspect your plants and treat them with appropriate measures.
- Keep the area around your irises clean of debris and spent foliage, especially in the fall. This reduces the places where pests can overwinter. If you notice damage, inspect your plants and treat them with appropriate measures.
- When and how should I divide my iris plants?
- Iris clumps should be divided every 3-5 years, usually in late summer after they have bloomed. Gently lift the clump, separate the rhizomes, and replant the healthiest ones with at least one fan of leaves attached.
- Iris clumps should be divided every 3-5 years, usually in late summer after they have bloomed. Gently lift the clump, separate the rhizomes, and replant the healthiest ones with at least one fan of leaves attached.
- What should I do with the iris foliage after blooming?
- After the blooms have faded, trim the flower stalks down to the base of the plant but leave the leaves intact. The foliage continues to photosynthesize and store energy for the next year’s growth. Trim the leaves down to the ground in late fall when they naturally begin to die back.

Kristine Moore
Forestry AuthorI'm Kristine Moore, a seasoned garden landscaping professional with over 30 years of experience. My extensive career has been dedicated to transforming outdoor spaces into stunning, sustainable landscapes. With a deep understanding of horticulture, design principles, and environmental stewardship, I have become a respected figure in the field, known for creating harmonious, visually appealing, and eco-friendly gardens. My commitment to excellence and continuous learning in landscaping trends and techniques has solidified my reputation as an expert in garden design and implementation.


Leave your comment