How to Start a Garden: 10 Easy Steps for Beginners
- June 11, 2024
- 0 comment
Starting a garden might seem overwhelming at first, but trust me, it’s simpler than you’d imagine! As someone who was once intimidated by the idea of planting my first seeds, I learned that a little planning can lead to a thriving green space. This step-by-step guide will break down everything you need to know, making it perfect for beginners who want to create their own garden with ease.
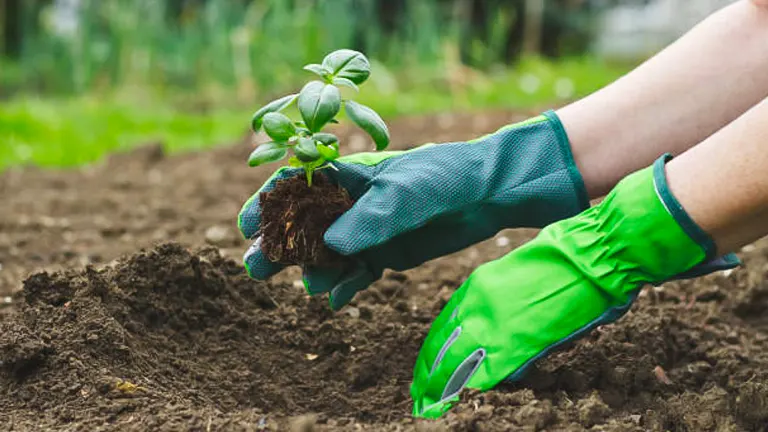
Whether you’re working with a sunny windowsill or a small backyard, there are countless ways to transform your space into a lush, flourishing garden. With just a little effort, you’ll be on your way to a rewarding gardening experience. Ready to dig in? Let’s start your gardening journey today!
List of Guides on How to Start a Garden
- Choose the Right Location
- Decide What to Grow
- Clear the Ground
- Test and Improve Your Soil
- Plan Your Garden Beds
- Invest in Basic Gardening Tools
- Choose the Right Planting Time
- Plant with Care
- Master Basic Maintenance
- Enjoy and Expand Your Garden
Related Articles You Might Like.
- Best Gardening Tools
- How to Build a Raised Garden Beds Easily and Effectively: Step-by-Step Guide
- How to Build a Simple Garden Path: Affordable DIY Ideas for Beginners
10 Easy Steps on How to Start a Garden
Step 1: Choose the Right Location
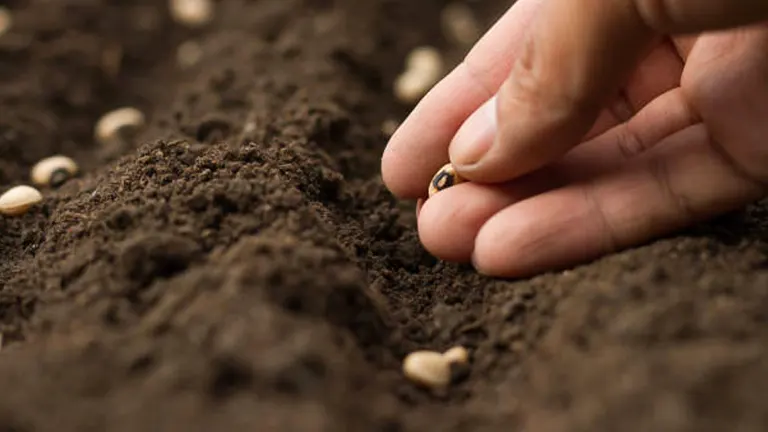
The success of your garden starts with picking the perfect spot. Based on my experience, plants thrive best with six to eight hours of direct sunlight daily, so take a close look at your yard to identify the sunniest areas. A location close to a water source is also a game-changer, as it makes daily watering and maintenance so much easier. Pay attention to the soil in your chosen area. Healthy soil should be rich, loamy, and well-draining to give your plants the best foundation for growth. Don’t forget to consider microclimates in your yard. For example, a spot near a south-facing wall can provide added warmth and protect plants from strong winds, helping to extend your growing season. Choosing the right location can set your garden up for success from the start.
Professional Tips:
- Spend a day observing and recording the sun’s path across your potential garden spot to ensure consistent sunlight.
- Install a simple irrigation system, like a drip line or soaker hose, to make watering effortless and efficient.
- Conduct a thorough soil test not just for pH and nutrient levels but also to check for contaminants that might affect plant health.
- If your area experiences strong winds, position your garden near a natural windbreak or build a simple fence to protect delicate plants.
Step 2: Decide What to Grow
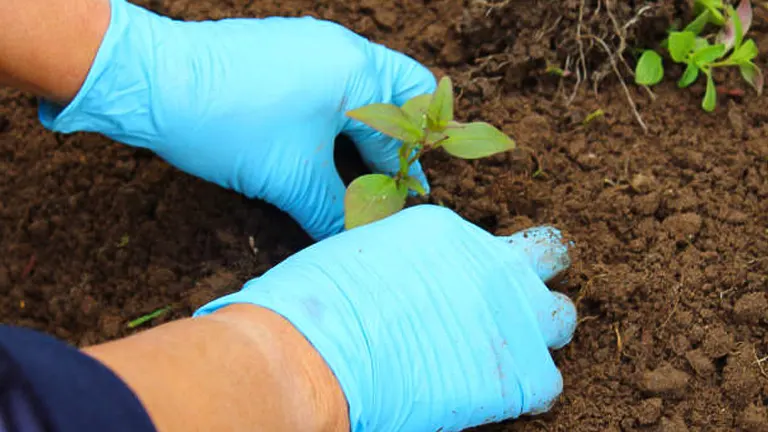
What you plant in your garden should reflect your interests and the practicalities of your region’s climate and soil conditions. For beginners, choosing plants that are less demanding and known for their resilience can lead to better outcomes:
- Flowers: Sunflowers, marigolds, and pansies are great starter plants that add color and are easy to manage.
- Vegetables: Lettuce, radishes, and cherry tomatoes offer quick gratification and are straightforward to grow. Understanding the local growing seasons and when different plants thrive can also help in planning your planting calendar.
Step 3: Clear the Ground
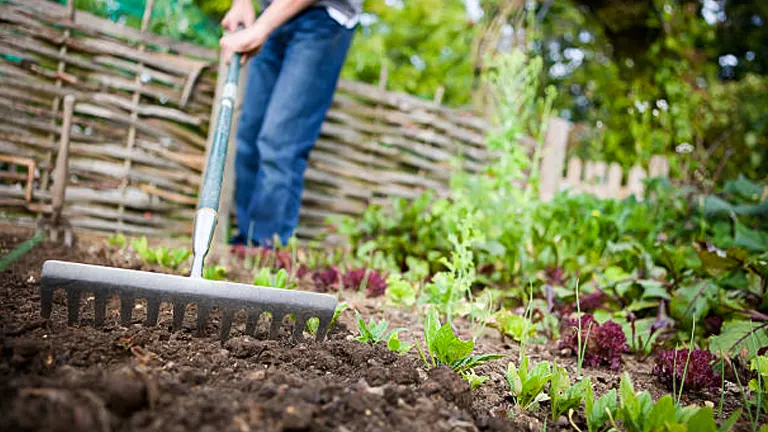
Preparing your garden bed by removing weeds and grass is a vital step for healthy plant growth. When I cleared my first garden bed, I realized how important it was to start with a clean slate it made planting and maintenance so much easier. While it might feel labor-intensive, this effort pays off in the long run.
One effective, low-effort method is to cover the area with cardboard and a layer of mulch several months before planting. This natural technique smothers existing vegetation and enriches the soil as the cardboard and mulch decompose. It’s an eco-friendly way to ensure your garden bed is ready to support thriving plants.
Professional Tips:
- For a chemical-free way to kill weeds and pathogens, try solarization. Cover the soil with clear plastic during the hottest weeks of summer to trap heat and eradicate unwanted seeds and organisms.
- If you prefer immediate results, consider using organic herbicides that break down quickly in the environment. These can help control weed growth without the long-term impact of traditional chemicals.
- Enhance soil aeration and drainage by double digging. This method involves removing the top layer of soil, loosening the soil beneath, and then replacing the top layer. It’s particularly useful for heavy soils.
- Encourage natural helpers like birds or beneficial insects that feed on weed seeds and pests. Installing a bird feeder nearby or planting flowers that attract beneficial insects can help keep your garden weed-free naturally.
Step 4: Test and Improve Your Soil
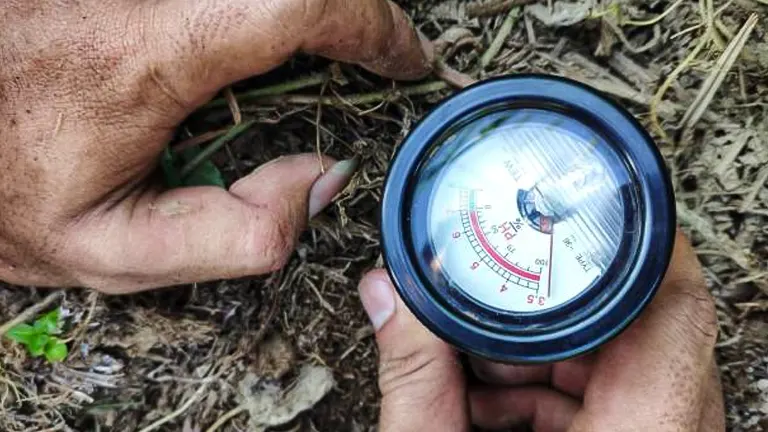
Healthy soil is the backbone of a productive garden. Before planting anything, it’s wise to test your soil to understand its condition:
- Soil Testing: You can get a simple test kit from your local garden center or cooperative extension service. This will tell you about the pH level and nutrient makeup of your soil.
- Amending Soil: Based on the test results, you might need to enrich your soil. Adding organic matter like compost or aged manure can dramatically improve soil fertility and texture.
By starting with these foundational steps, you are setting yourself up for a successful gardening experience. Each step is designed to build your confidence and skills as a beginner gardener, ensuring that your garden not only survives but thrives.
Step 5: Plan Your Garden Beds
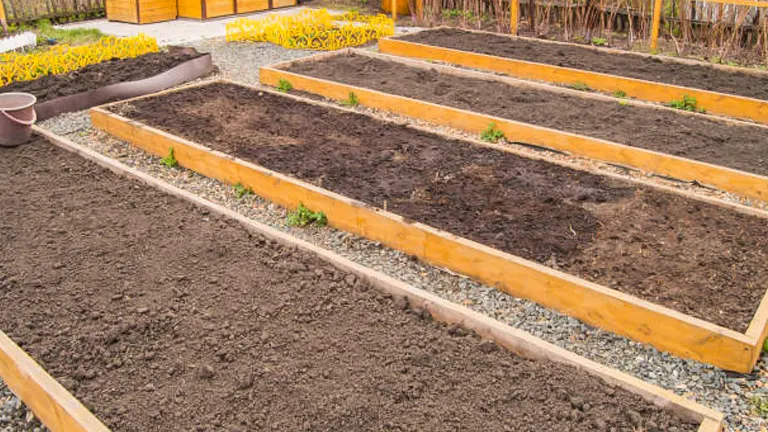
The type of garden bed you choose can significantly impact your gardening experience and success. When I started, I found that raised beds were a game-changer for managing poor soil and reducing the need to bend over a lifesaver for your back! Raised beds offer excellent drainage and allow you to control soil quality more easily.
Consider plant placement in terms of height and sun exposure to ensure all plants receive adequate light without shading each other.
Step 6: Invest in Basic Gardening Tools
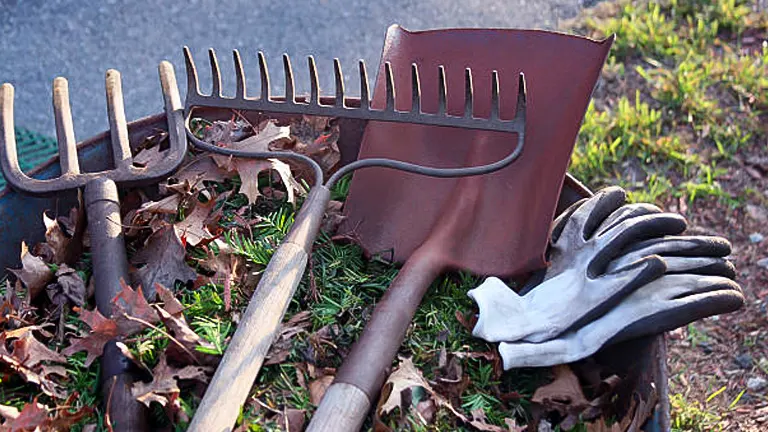
Equipping yourself with the right tools is essential for efficient and enjoyable gardening. Each tool serves a specific purpose that can greatly ease your gardening tasks and enhance plant health.
- Spade: Look for a sturdy spade with a sharp edge, perfect for cutting through sod and digging holes for planting. A good spade should have a comfortable handle and a durable metal blade that resists rust and soil adhesion.
- Garden Fork: This tool is invaluable for breaking up compacted soil, aerating tight spaces, and turning compost. Choose a fork with strong, sharp tines capable of penetrating tough soil without bending.
- Watering Can or Hose: A watering can with a long spout provides precision and control, ideal for watering young seedlings without overwhelming them. For larger gardens, consider a hose with a variable spray nozzle that can adjust from a gentle mist for delicate plants to a stronger stream for deep watering.
- Pruning Shears: Essential for shaping plants, snipping away dead or overgrown branches, and harvesting some types of vegetables and herbs. Opt for shears with comfortable grips and sharp blades to ensure clean cuts that promote plant health.
- Gloves: Gardening gloves protect your hands from thorns, sharp objects, and dirt. Look for breathable, water-resistant materials that offer flexibility and a snug fit.
- Wheelbarrow: For larger garden projects, a wheelbarrow is essential for moving soil, compost, and garden debris. A sturdy wheelbarrow with a durable basin and an ergonomic handle design can make transporting heavy materials much easier.
Tool Care and Selection:
- Ergonomics Matter: Always choose tools that fit your hand comfortably and don’t strain your back. Tools with adjustable handles can be tailored to your height and grip strength.
- Quality Over Quantity: It’s better to invest in a few high-quality tools that last longer rather than buying cheap ones that need frequent replacement.
- Storage Solutions: Keep your tools in good condition by cleaning them after each use and storing them in a dry, organized space. Hanging them on a pegboard can prevent damage and keep them easily accessible.
- Seasonal Maintenance: Before the peak gardening season starts, oil moving parts and sharpen blades. This maintenance ensures your tools are ready to perform and extends their lifespan.
Step 7: Choose the Right Planting Time
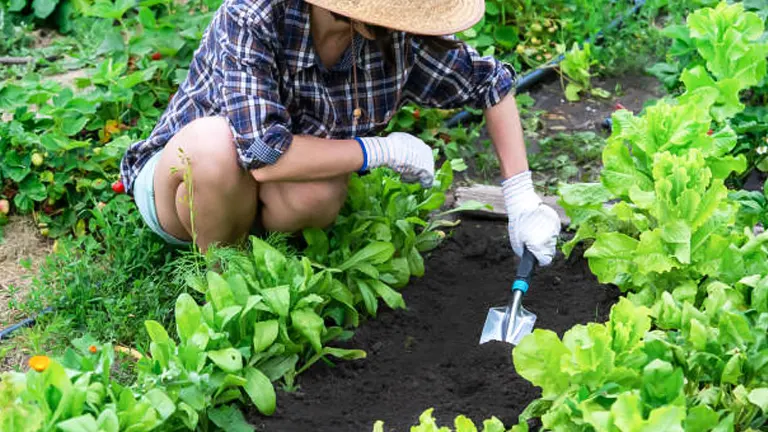
Choosing the optimal time to plant is crucial for the success of your garden. The ideal planting time varies depending on your local climate and the specific needs of each type of plant. Generally, you should aim to plant after the last expected frost of spring to avoid cold damage to new growth. For fall planting, ensure it’s done several weeks before the first expected frost to give plants enough time to establish themselves. These guidelines help protect sensitive young plants from sudden temperature drops that can be fatal.
Professional Tips:
- Use resources specific to your region to find the best planting times. Local university extension services often provide planting calendars tailored to your area’s climate.
- Keep an eye on the local weather forecasts during your planned planting season to avoid unexpected frosts that can harm young plants.
- Prepare for unexpected cold snaps by having frost covers ready. These can protect your plants from sudden drops in temperature and extend your growing season.
- Gradually introduce indoor-started seedlings to outdoor conditions by setting them outside for a few hours each day. Increase their outdoor time over a week to toughen them up before planting in the garden. This process, known as hardening off, helps prevent transplant shock.
Step 8: Plant with Care
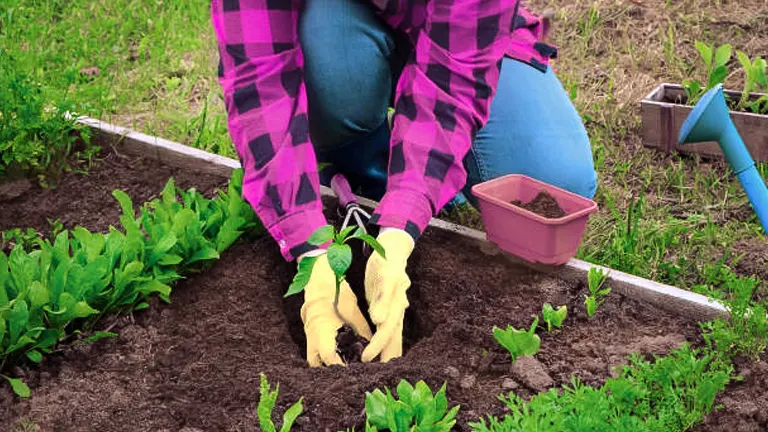
Proper planting is vital to ensure that your garden thrives. Here’s how you can give your plants the best start:
- Each type of plant has specific spacing requirements that allow it to grow without competition for sunlight, nutrients, and water. Overcrowded plants not only compete for these essentials but are also more prone to diseases due to poor air circulation. For example, leafy vegetables might need only a few inches of space, while larger fruit-bearing plants like tomatoes require much more room to flourish.
- Planting seeds or seedlings at the correct depth is crucial for their development. Seeds planted too deep may not germinate, while those planted too shallow may not establish a strong root system. Generally, the rule of thumb is to plant seeds three times as deep as their diameter. Always refer to the planting instructions on seed packets or consult with nursery experts for specific guidelines.
- Water plays a critical role immediately after planting. A thorough watering helps settle the soil around the plant roots, eliminating air pockets and ensuring that the roots are in direct contact with the soil. This initial watering should moisten the soil to a depth that matches the root length of the plant, encouraging deeper root growth and stability.
Step 9: Master Basic Maintenance
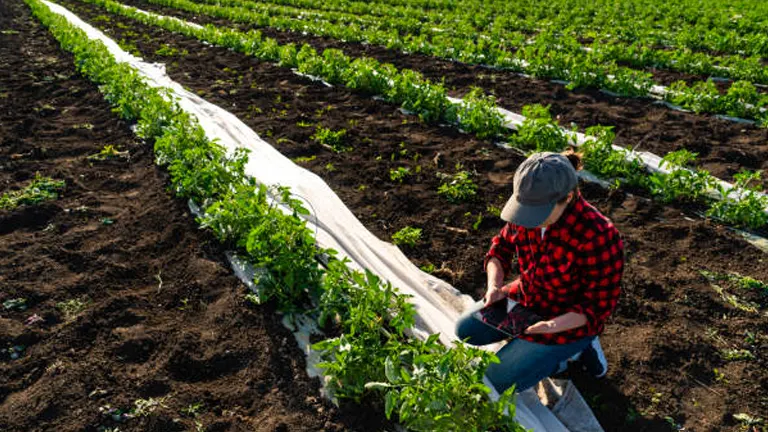
Once your garden is planted, routine care is essential to ensure healthy growth. Start by establishing a regular watering schedule. Most new gardens benefit from watering in the early morning or late evening to minimize evaporation and provide ample moisture throughout the day. Monitor your plants regularly for signs of pests or disease; early detection is key to managing potential outbreaks.
In addition to watering and monitoring, here are essential maintenance tasks:
- Weeding: Keep the garden beds free from weeds, which compete with your plants for nutrients and water.
- Mulching: Apply a layer of mulch around your plants to help retain soil moisture, regulate soil temperature, and reduce weed growth.
Step 10: Enjoy and Expand Your Garden
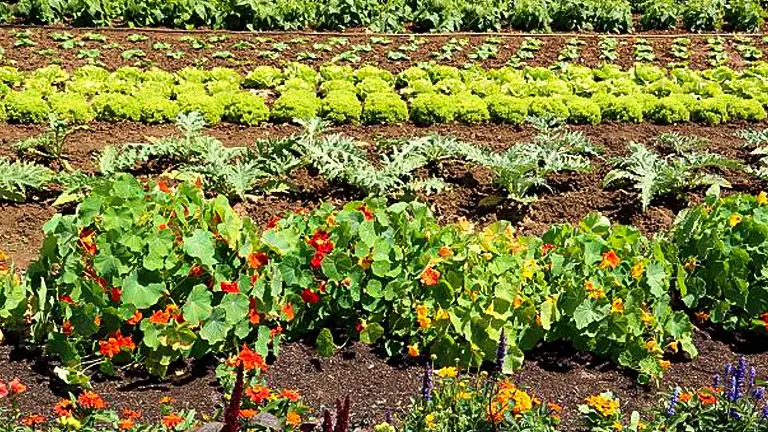
As your garden begins to flourish, take time to enjoy the fruits of your labor. Engage with other gardeners in your community or online to share tips and experiences, and consider keeping a garden journal to track the progress and growth of your plants. This can be invaluable for planning future garden expansions or modifications.
When you’re ready to expand:
- Experiment with different plant varieties or add features like a compost bin or a water feature.
- Continuously educate yourself on new gardening techniques and innovations that can enhance your experience and the productivity of your garden.
Related Post
- How to Build a Barn: A Step-by-Step Guide for Beginners
- How to Build a Sustainable Compost Bin: Easy and Eco-Friendly DIY
- How to Fertilize Bougainvillea: A Complete Guide for Stunning Blooms
- How to Fertilize Apple Trees: Essential Tips for a Bountiful Harvest
- How to Fertilize Lemon Trees: Secrets for Thriving Citrus
- How to Fertilize Avocado Tree: A Step-by-Step Guide for Lush Growth
- How to Plant Peppers in a Garden: A Comprehensive Step-by-Step Guide
Conclusion
Starting a garden is just the beginning of a rewarding journey into the world of horticulture. By following these ten steps, you’ve laid a solid foundation for a thriving garden that will bring joy and beauty to your life for years to come. Whether you cultivate a simple flower bed or a robust vegetable garden, the benefits of gardening extend well beyond the aesthetic; they enrich your environment, improve your health, and connect you with nature. Keep learning, keep growing, and let your garden be a continual source of wonder and fulfillment.
FAQs
- What are the most cost-effective plants for a beginner’s garden?
Starting with seeds is usually more cost-effective than buying young plants. Easy-to-grow and inexpensive options include marigolds, sunflowers, radishes, and lettuce. These plants are resilient, grow quickly, and can be a great confidence booster for new gardeners. - How do I choose the best spot in my yard for a garden?
Look for a spot that receives at least six hours of sunlight daily, is relatively flat, and has good drainage. If your yard has multiple suitable spots, consider accessibility—choose a location that is easy to reach for regular watering and care. - Can I start a garden if I only have a small balcony or patio?
Absolutely! Container gardening is ideal for small spaces like balconies or patios. Choose containers that are large enough for your plants’ roots and have drainage holes. Opt for compact varieties of plants specifically bred for small spaces. - What basic tools do I need to start gardening?
A few essential tools include a spade or digging fork for soil preparation, a watering can or garden hose, pruning shears for maintaining plant health, and a hand trowel for planting and weeding. - How often should I water my new garden?
Watering needs vary by plant, but a general rule is to water deeply enough to moisten the soil to about an inch below the surface. During hot weather, most gardens benefit from watering early in the morning to prevent evaporation and provide moisture throughout the day. - What common mistakes should I avoid as a beginner gardener?
Avoid overwatering, which can lead to root rot, and under-watering, which can stress plants. Also, resist the temptation to overcrowd your garden; plants need space to access nutrients and sunlight. Finally, be sure to plant at the right depth—planting too deeply or too shallowly can hinder plant growth. - How can I tell if my garden has good soil?
Good garden soil is rich in organic matter, drains well, and holds moisture without being waterlogged. You can perform a simple soil test using a kit from your local garden center to check for nutrient levels and pH balance. - When is the best time to start a garden?
The best time to start a garden depends on your local climate and the frost dates. Generally, after the last spring frost is safe for most warm-season plants, and before the first fall frost for cool-season plants. Checking a local planting calendar can provide specific guidance.
Embark on your gardening journey today! With these ten easy steps, you’re well on your way to cultivating a thriving garden that brings joy and beauty to your everyday life. Happy gardening!

Benjamin Brooks
Forestry AuthorGreetings! I'm Benjamin Brooks, and my journey over the past 15 years has revolved around the fascinating realms of content creation, expertise in snow clearing, and the intricate world of lumberjacking and landscaping. What began as a simple curiosity about the natural world and heavy machinery has evolved into a passionate profession where my love for crafting words intertwines seamlessly with my lumberjacking and garden skills.




Leave your comment