Maximizing Your Electric Hand Plane: Essential Techniques for Woodworkers
- February 22, 2024
- 0 comment
Electric hand planes are highly valuable for woodworkers, offering flexibility for a variety of tasks such as leveling studs, smoothing surfaces, and ensuring tight joins for gluing. My experience has shown that these tools have applications beyond common uses, significantly changing my project workflow.
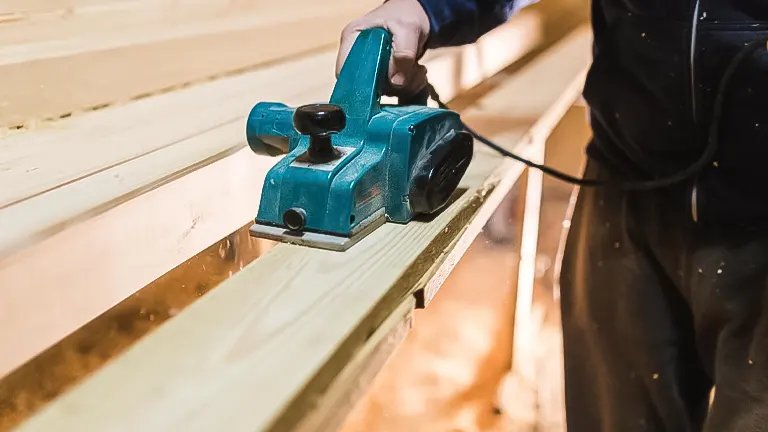
They’re not just secondary options but essential tools that can handle tasks usually reserved for more expensive equipment, making them a crucial part of any woodworking toolkit.
List on Maximizing Your Electric Hand Plane:
- Step 1: Straightening Edges for Seamless Glue-Ups
- Step 2: Adding Chamfers and Bevels
- Step 3: Cutting Simple Joinery
- Step 4: Replacing a Jointer
- Step 5: Preventing Snipe
- Step 6: Straightening Edges
- Step 7: Flattening and Correcting Twist
Understanding Your Electric Hand Plane
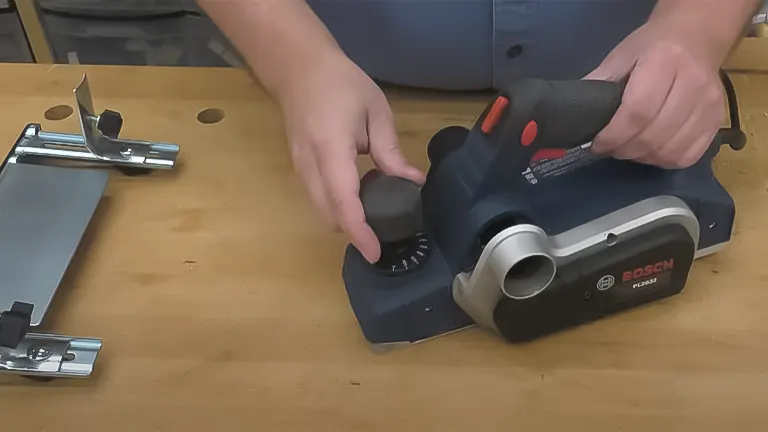
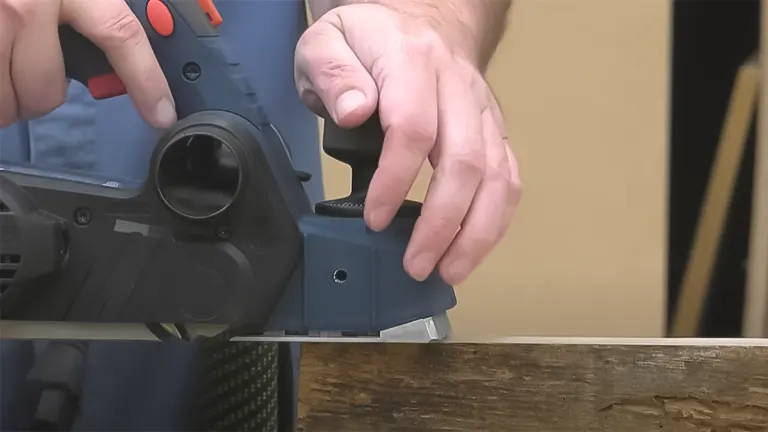
An electric hand plane transcends the definition of a mere power tool by embodying a complex device designed with features like adjustable plates for depth control, fences to enhance stability during operation, and dual dust ports that facilitate a clean working environment.
Its design, notably lacking a blade guard, serves as a constant reminder of the tool’s inherent risks, urging users to exercise caution. This necessitates strict adherence to safety protocols, including the correct handling techniques and the wearing of appropriate protective gear, to mitigate any potential hazards associated with its use.
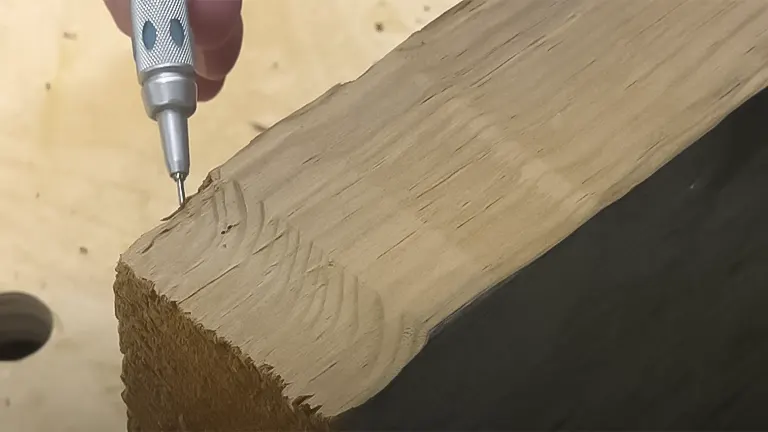
Step 1: Straightening Edges for Seamless Glue-Ups

One of the first revelations was using the electric hand plane to straighten the edges of boards. This technique is crucial for achieving seamless glue-ups. By carefully planning the edges, I ensure that they fit together perfectly, eliminating any gaps that could compromise the integrity of the final piece.
Step 2: Adding Chamfers and Bevels
Another technique I’ve embraced is using the hand plane to add chamfers or bevels to edges. This not only adds an aesthetic touch to my projects but also helps in removing sharp edges, making the final product safer and more comfortable to handle.
Step 3: Cutting Simple Joinery
Although not its primary use, the electric hand plane can be adept at cutting simple joinery, such as rabbets. This capability has come in handy for projects where precision and speed are paramount, and the tool has performed admirably, providing clean, consistent cuts.
Step 4: Replacing a Jointer
Perhaps the most significant advantage I’ve discovered is using the electric hand plane as a serviceable replacement for a larger, more expensive jointer. For those with limited space or budget, this tool offers a practical solution for flattening and straightening boards. It’s particularly useful for job site work or in a small workshop where a traditional jointer isn’t feasible.
- Safety First: Before diving into techniques, it’s critical to address safety. The absence of a guard covering the spinning blade demands respect and caution. Always wear appropriate safety gear, ensure your workspace is clear of obstructions, and keep the tool properly maintained.
Step 5: Preventing Snipe
Mastering the start and stop of cuts is essential to prevent snipe—a common issue where the tool digs in at the ends of the board. By applying pressure correctly and lifting the tool at the end of the pass, I’ve managed to avoid this problem, resulting in clean, consistent finishes.
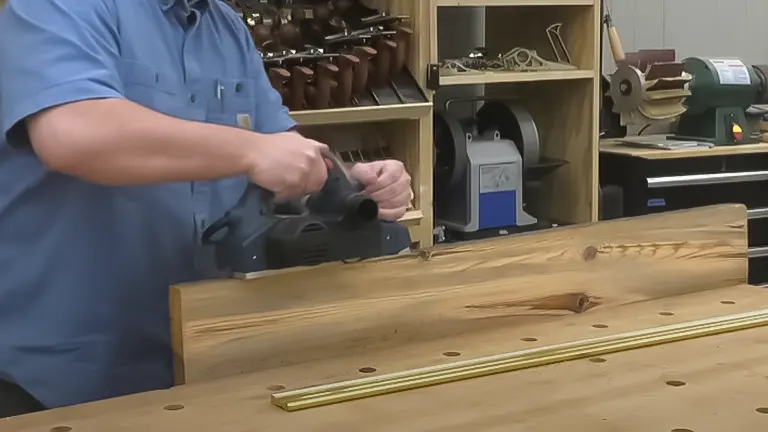
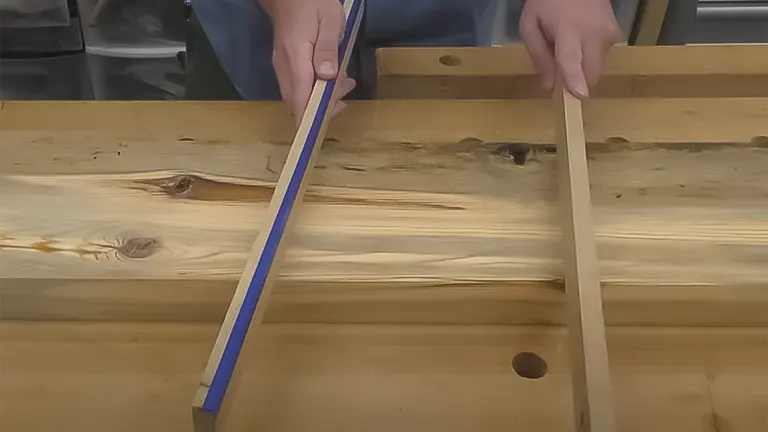
Step 6: Straightening Edges
For boards that aren’t perfectly straight, I employ a technique that involves making several passes, starting with short ones and gradually extending them to cover the entire length of the board. This approach has proven effective for correcting both crowned and hollow edges, preparing them for safe and accurate cuts on the table saw.
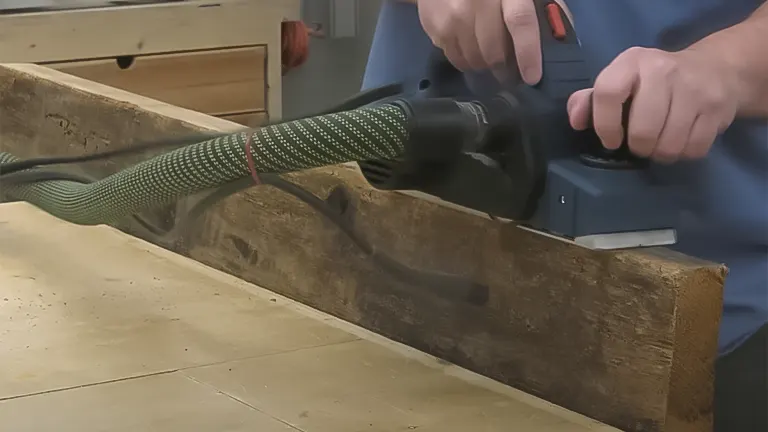
Step 7: Flattening and Correcting Twist
Flattening a board’s face and correcting any twist it may have is another area where the electric hand plane shines. By carefully removing material and checking my progress with winding sticks, I’ve been able to address both cups and twists, resulting in a flat and stable board ready for further processing.
Additional Tips Guidelines
- Master the Art of Multiple Passes: For especially tough jobs or when working with very hard woods, learn to make multiple light passes instead of trying to remove a lot of material in one go. This approach minimizes the risk of tear-out and ensures a smoother finish. It also puts less strain on both the tool and the wood.
- Maintain Blade Sharpness: Regularly check and sharpen the blades of your electric hand plane. Dull blades not only make the job harder but can also lead to poor-quality cuts and increased chances of accidents. Investing time in keeping your blades sharp will result in cleaner cuts and a more enjoyable woodworking experience.
- Use a Sacrificial Board to Prevent Tear-Out: When planing the end of a board, place a sacrificial piece of wood behind your workpiece to prevent tear-out at the exit point. This technique supports the wood fibers as the blade exits, ensuring a clean cut through to the end of your piece.
- Practice Grain Direction Planning: Always plane in the direction of the wood grain to reduce the risk of tear-out. If you’re unsure about the grain direction, take a light pass in one direction and observe the result. If it tears out, you’ll know to plane in the opposite direction. Understanding and working with the grain direction is crucial for achieving smooth finishes.
- Invest in a High-Quality Dust Extraction System: While dual dust ports on electric hand planes help manage sawdust, pairing your plane with a high-quality dust extraction system can significantly improve your working environment. It reduces cleanup time, keeps the work area clear, and minimizes health risks associated with wood dust inhalation.
Related Articles:
- How To Level Frameless Cabinets With Custom Toe Kicks
- How To Cut Plywood Cleanly Without A Track Saw
- Best Woodworking Shapers of 2024
- Must Have Tools for Woodworking: Beginner’s Guide 2024
- 10 Simple Woodworking Projects for Beginners
- Choosing the Right Wood for Your Woodworking Projects
- Best Woodworking Tools on Amazon: Must Have 2024
Conclusion
While the electric hand plane cannot replace all the functions of a jointer and thickness planer, it stands out as an incredibly useful tool for woodworkers, especially in scenarios where space, budget, or portability are concerns. Through these seven techniques, I’ve maximized the utility of my electric hand plane, enhancing my woodworking projects both in quality and efficiency. Whether you’re a seasoned woodworker or just starting, integrating these techniques into your workflow can significantly impact your craft.
FAQs
- What is an electric hand plane used for in woodworking?
An electric hand plane is a versatile tool used for trimming wood, straightening edges, flattening surfaces, adding chamfers and bevels, and even cutting simple joinery like rabbets. It’s especially useful for tasks that require quick material removal or precise adjustments to wood pieces. - How can I avoid causing snipe with an electric hand plane?
To prevent snipe, start and end your cuts with careful attention to pressure distribution. Begin with the front of the plane fully on the workpiece, shifting pressure to the back as you finish the pass. This technique helps ensure a smooth, consistent cut without digging into the wood at the ends. - Can an electric hand plane replace a jointer?
While an electric hand plane can perform many of the same functions as a jointer, such as flattening edges and surfaces, it does not replace a jointer entirely. It’s best used as a portable or budget-friendly alternative for specific tasks, particularly where precision is less critical. - What safety precautions should I take when using an electric hand plane?
Always wear safety glasses and hearing protection. Keep the work area free of obstructions, ensure all clothing and hair are secured, and maintain a firm grip on the tool with both hands during operation. Be aware of the cord’s placement to avoid tripping or snagging. - How do I straighten a warped board with an electric hand plane?
To straighten a warped board, make multiple passes, starting with shallow cuts. Focus on high spots first, gradually working your way along the board’s length to even out the surface. This may require alternating between different areas to achieve a flat result. - What’s the best way to add chamfers or bevels with an electric hand plane?
Adjust the depth of cut to a shallow setting and use a steady, guided motion along the edge of the wood to create a uniform chamfer or bevel. A fence attachment can help maintain a consistent angle throughout the cut. - How do I maintain an electric hand plane?
Regularly check and clean the blades, soleplate, and dust extraction ports. Ensure the blades are sharp and correctly aligned for the best performance. Consult the manufacturer’s manual for specific maintenance recommendations and procedures. - Can I use an electric hand plane on all types of wood?
Yes, an electric hand plane can be used on various types of wood, including hardwoods and softwoods. However, the technique may need to be adjusted based on the wood’s hardness and grain pattern to avoid tear-out or damage. - How do I control the depth of cut with an electric hand plane?
Depth of cut is controlled by adjusting the front knob or lever on the plane, which raises or lowers the front shoe. Start with a shallow depth to avoid removing too much material at once and adjust as needed for the desired result. - What should I do if my electric hand plane starts to produce uneven cuts?
Uneven cuts can be caused by dull blades, incorrect depth setting, or improper technique. Check the blade sharpness and alignment first, adjust the depth setting, and ensure you’re using a consistent pressure and motion. If issues persist, consult the manual or seek professional advice.
We’re eager to connect with fellow woodworkers! Please share your personal experiences and insights on utilizing your electric hand plane, alongside the techniques highlighted in “Maximizing Your Electric Hand Plane: Essential Techniques for Woodworkers.” Your contributions in the comments section below could greatly assist others in the woodworking community, providing valuable perspectives and aiding in making informed decisions about their tool use and project approaches.

Edward Smith
Forestry AuthorWoodworking is about more than crafting; it's a harmonious connection with nature, mastering tools, and preserving our environment. I'm here to share my knowledge and experiences with you, forging a future where we can embrace wood's beauty and utility while safeguarding our forests' health and diversity.


Leave your comment