How to Install Chain on Chainsaw
- January 25, 2024
- 0 comment
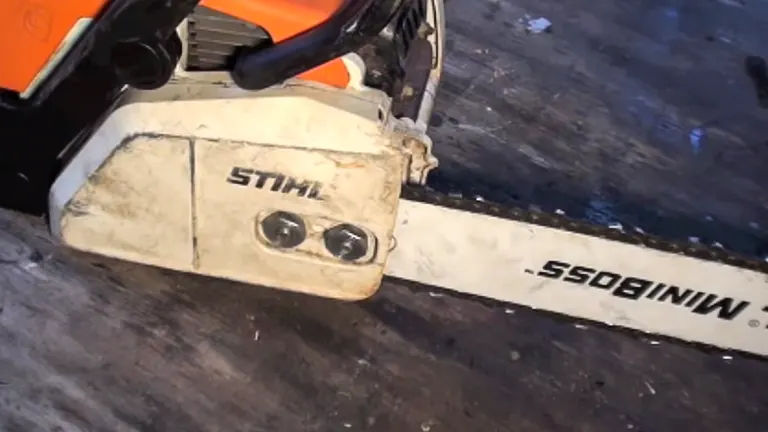
Chainsaws are powerful tools, indispensable for tasks ranging from tree trimming to firewood gathering. However, they demand respect and proper maintenance to ensure safety and efficiency. One critical aspect of chainsaw maintenance is correctly installing the chain. Incorrect installation not only leads to poor performance but can also pose significant safety risks. Today, we’re going to guide you through the correct steps to ensure your chainsaw’s chain is installed properly, ensuring optimal performance and safety.
Understanding the Basics
Before we dive into the installation process, it’s crucial to understand the anatomy of your chainsaw chain. The chain comprises several sharp cutting teeth and drive links. The cutting teeth are the workhorses, slicing through wood with precision and ease. However, they can only do their job if oriented correctly on the chainsaw’s guide bar.
Step-by-Step Guide to Installing a Chainsaw Chain
Step 1: Safety First
Before beginning any maintenance on your chainsaw, ensure the device is off, and the spark plug is disconnected. Safety gear, including gloves and protective eyewear, is strongly recommended.
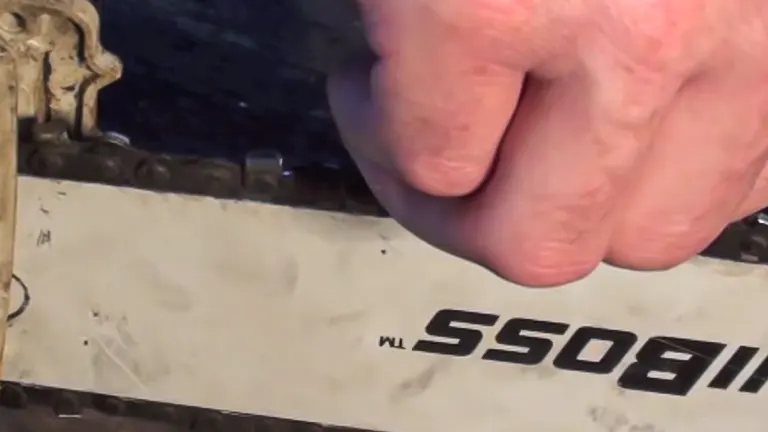
Step 2: Orientation Matters
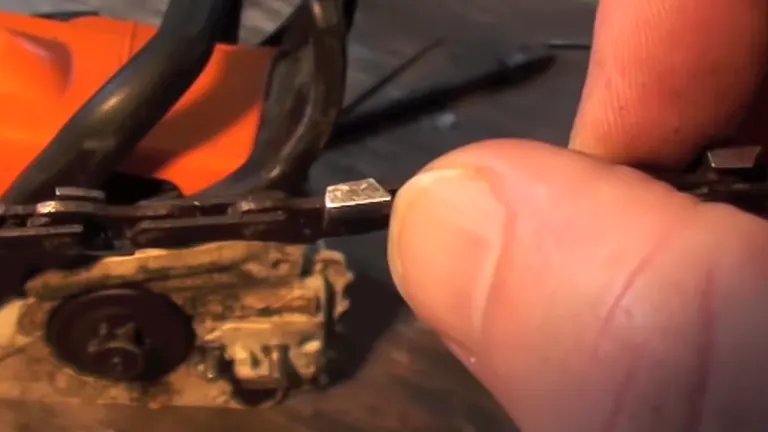
The most common mistake in chain installation is incorrect orientation. Remember, the sharp edge or the pointy part of the cutting teeth should face forward on the top of the chainsaw bar. This orientation ensures the chain cuts effectively as it moves around the bar.
Step 3: Position the Chain
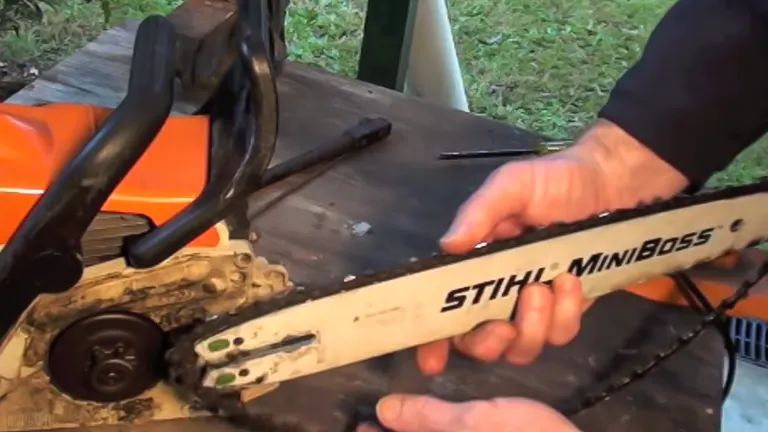
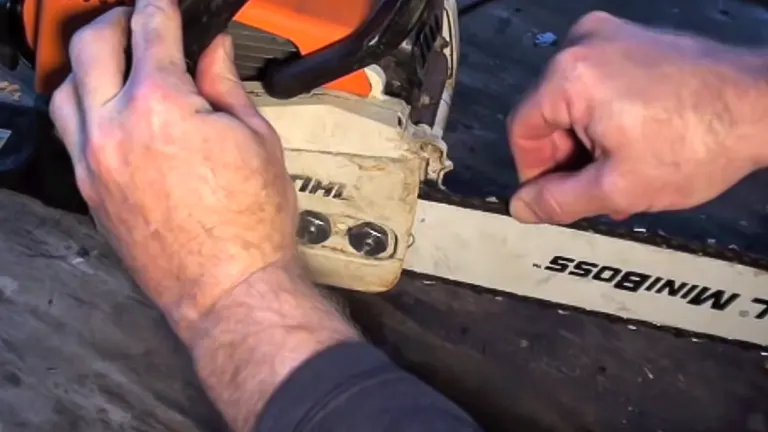
Begin by wrapping the chain around the sprocket at the rear of the chainsaw and then around the guide bar. Ensure the drive links engage with the sprocket and fit into the guide bar’s groove.
Step 4: Align the Guide Bar
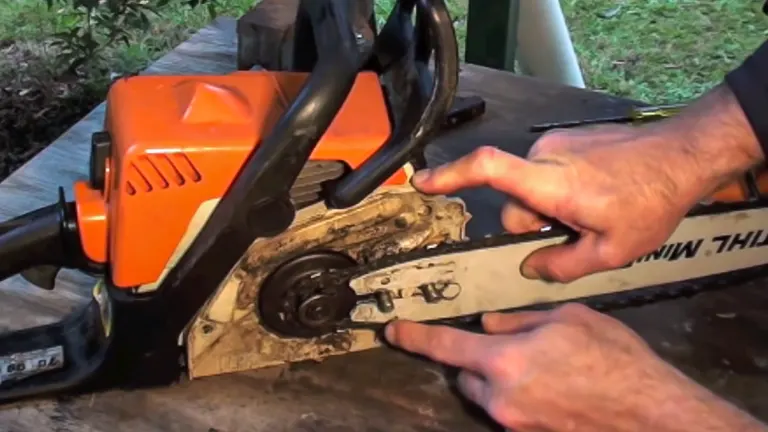
Carefully place the guide bar back onto the chainsaw, ensuring the tensioning pin aligns with the tensioning hole in the guide bar.
Step 5: Secure the Cover
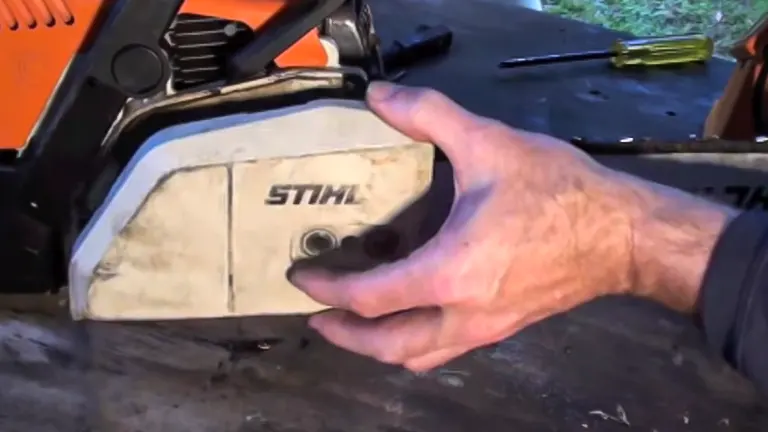
Place the side cover onto the chainsaw, being cautious not to tighten the nuts completely. This loose fit is necessary to allow for chain tension adjustment.
Step 6: Adjust the Chain Tension
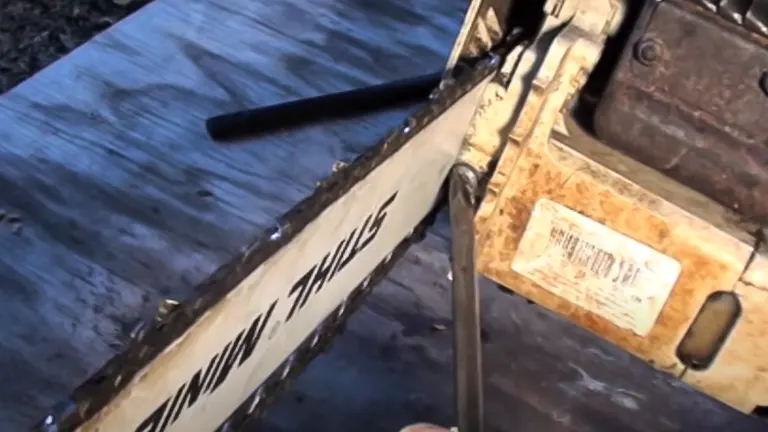
Locate the tensioning screw, often found near the base of the guide bar. Use a screwdriver to turn the screw, tightening the chain. The correct tension is achieved when the chain snaps back to the bar but can still be rotated easily by hand. Avoid over-tightening, as this can lead to premature wear or damage.
Step 7: Final Tightening
Once the chain tension is correctly adjusted, fully tighten the side cover nuts. Ensure everything is secure before proceeding.
Step 8: Check and Double-Check
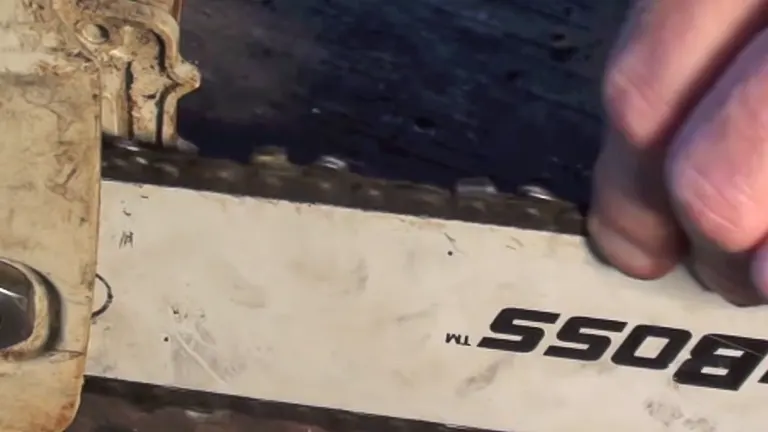
After installation, double-check the chain’s tension and ensure it moves freely around the bar. A properly installed chain will have a slight give but won’t sag from the bar.
Step 9: Test Run
With the installation complete, it’s wise to do a test run. Start the chainsaw and observe the chain’s movement and tension. If everything looks good, you’re ready to get back to work!
Conclusion
Installing a chain on your chainsaw is a task that demands precision and attention to detail. By following these steps, you ensure your chainsaw operates efficiently and safely. Remember, the pointy part of the cutting teeth must face forwards on the chain bar, and correct tension is crucial. With this knowledge in hand, you’re ready to tackle this maintenance task with confidence. Happy cutting, and remember to always prioritize safety when handling your chainsaw!
Related Articles:
- How Tight Should A Chainsaw Chain Be
- Types of Chainsaw Chains and How to Choose
- Common Reasons Your Chainsaw Is Smoking
- Top 5 Causes of a Loose or Detached Chainsaw Chain: How to Identify and Fix
- Chainsaw Safety Guide Tips
- Mastering Tree Felling Techniques: A Guide to Different Undercuts
- 5 Step Plan for Safe Tree Felling with a Chainsaw
- Avoiding Common Mistakes When Using a Chainsaw
FAQs
- Why is the direction of the chain’s teeth so crucial when installing a chainsaw chain?
The orientation of the chain’s teeth directly affects the cutting performance. If the teeth are facing backward, the chainsaw will not cut effectively, leading to increased wear and tear on the equipment and potentially dangerous situations. - How can I tell if my chainsaw chain is too tight or too loose after installation?
A chain that’s too tight won’t move freely and can overheat, causing damage to the chain and the bar. A chain that’s too loose might sag from the bar and can come off during operation, posing a severe safety risk. The ideal tension is when the chain snaps back after being pulled and can be rotated easily by hand without sagging from the bar. - What safety gear should I wear when installing a chainsaw chain?
Safety should always be your top priority. Wear thick gloves to protect your hands from sharp teeth, safety glasses to shield your eyes from debris, and sturdy footwear to protect your feet. - How often should I check the tension of my chainsaw chain?
It’s good practice to check the tension each time before you start using your chainsaw. Chains can loosen over time with use, especially new chains after the first few cuts. - What should I do if the chainsaw chain doesn’t move freely after installation?
If the chain doesn’t move freely, it might be too tight or improperly seated in the bar’s groove. Turn off the chainsaw, ensure it’s safe to work on, and then slightly loosen the tension. Make sure the chain is correctly seated in the guide bar’s groove. - Can using a dull chain affect the installation process?
While a dull chain doesn’t directly affect the installation, using a dull chain can make cutting inefficient and unsafe. Always sharpen or replace dull chains to maintain optimal performance and safety. - Is there a difference in the installation process for different brands or models of chainsaws?
The fundamental steps for installing a chainsaw chain are generally the same across different brands and models. However, the specifics of accessing the tensioning mechanism or attaching the guide bar can vary. Always refer to your chainsaw’s user manual for model-specific instructions.
Join the discussion below by sharing your experiences, tips, or reviews. Your contributions help others make informed decisions and navigate their chainsaw choices with confidence. Let’s build a community of shared knowledge for all wood-cutting enthusiasts!

David Murray
Forestry AuthorI'm David Murry, a forestry equipment specialist with a focus on chainsaw operation. With over 13 years of experience, I've honed my skills in operating and maintaining a wide range of machinery, from chainsaws to log splitters. My passion for the outdoors and commitment to sustainable forestry drive my work, which emphasizes safety, efficiency, and staying updated with industry advancements. Additionally, I'm dedicated to sharing my expertise and promoting environmental awareness within the forestry community.


Leave your comment