Untangling and Installing a Chainsaw Chain: A Step-by-Step Guide
- January 16, 2024
- 0 comment
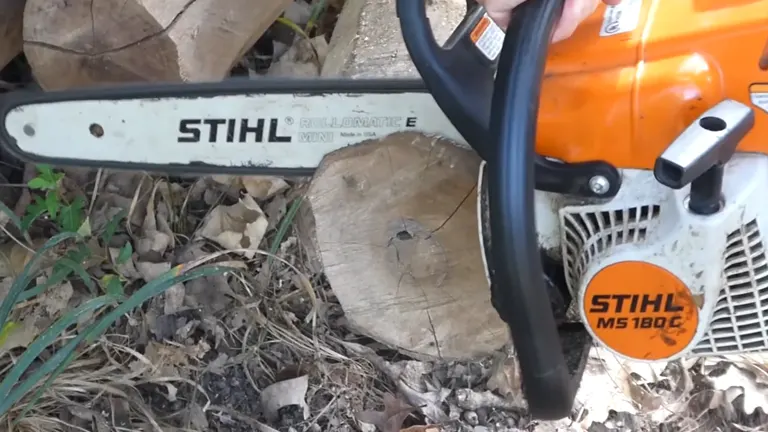
Chainsaws are invaluable tools for a variety of cutting tasks, but handling their chains can sometimes be a tricky affair, especially when installing a new one. This article provides a comprehensive guide on how to untangle and install a chainsaw chain, using a STIHL MS 180C as an example. Whether you’re a seasoned professional or a first-time user, these steps will help ensure a smooth and safe chainsaw operation.
Part 1: How to Untangle a Chainsaw Chain
Unboxing a new chainsaw chain often presents the initial challenge of untangling. This task might appear complex, but with the right approach, it’s quite manageable. The key lies in understanding the chain’s loop structure and gently manipulating it to achieve the desired state.
Step-by-Step Guide to Untangling
Step 1: Initial Assessment and Spread
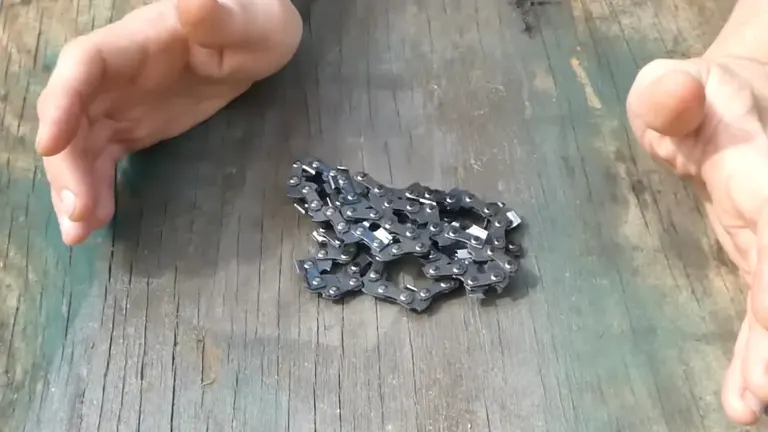
Start by carefully removing the chain from its packaging. Lay it out on a flat surface, such as a workbench or the ground, where you have sufficient space. This will give you a clear view of the chain’s current state and help in identifying the intertwined loops.
Step 2: Loop Identification
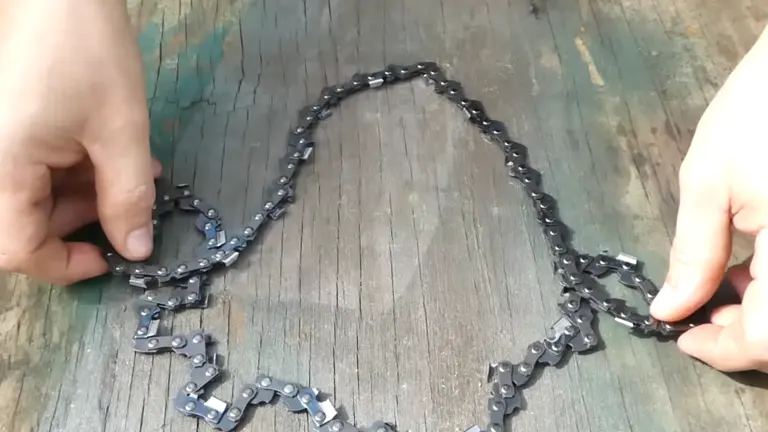
Look for the loops where the chain has crossed over itself. Typically, two main loops are formed during packaging for compactness. Your goal is to identify these loops, as they are the key to untangling the chain.
Step 3: Simplifying the Tangle
In cases where the tangle seems straightforward (with one loop over another), the solution is relatively simple. Grasp the top loop firmly and pull it gently in one direction. Simultaneously, take hold of the lower loop and pull it in the opposite direction. This action often initiates the untangling process.
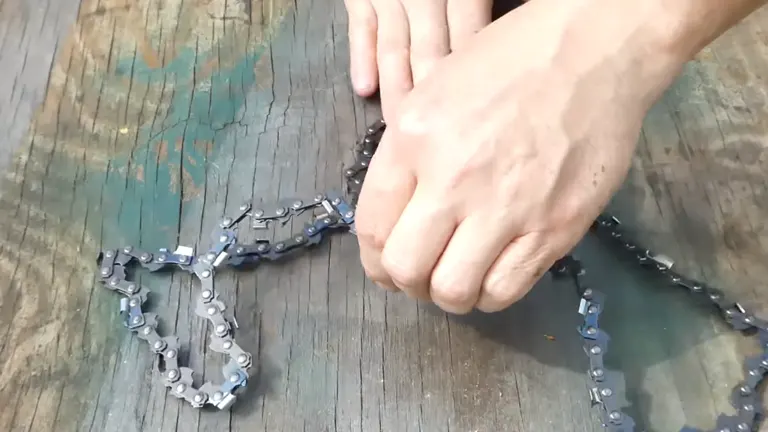
Step 4: Managing Complex Tangles

Sometimes, you might encounter more complex tangles, with multiple loops intertwined. Here, patience and a methodical approach are crucial. Focus on aligning the loops so they all pass over in the same direction. This step might require gently shifting the chain around to get a clearer view of how the loops are interlaced.
Step 5: Final Loops Adjustment
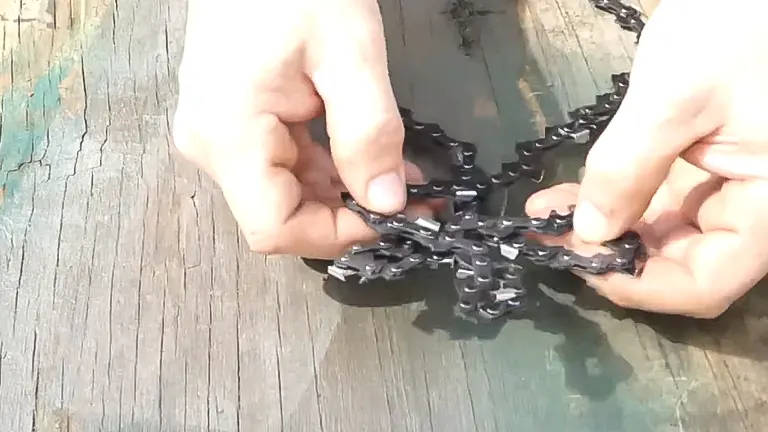
When you have reduced the tangle to two main loops, check their orientation. They should both loop over in the same direction. Carefully pass the top loop over the bottom one, gently pulling it through. This action should effectively resolve the tangle, leaving you with a neatly laid-out chain.
If you’re still having a hard time untangling chainsaw chains, you can check out this video.
Tips: Remember, patience is key. Experiment with different orientations and don’t rush the process. Over time, you’ll develop a knack for quickly identifying the most efficient way to untangle the chain.
Part 2: Installing the Chain on a Chainsaw
Installing a new chain on your chainsaw is a crucial step in ensuring efficient and safe operation. This guide, particularly focusing on the STIHL MS-180C model, provides detailed instructions and tips for properly installing a chainsaw chain.
Preparation for Installation
Release Tension

Begin by reducing the tension in the chainsaw. This is a safety precaution and facilitates easier handling of the chain and bar. On the STIHL MS-180, this is achieved by turning a screw lever. Ensure that you understand the tension mechanism specific to your chainsaw model.
Cover Removal
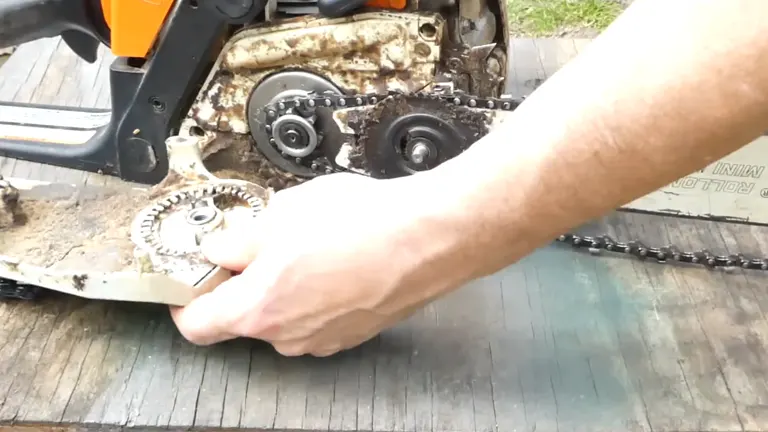
Carefully remove the chainsaw’s cover. This process can vary slightly between models, so refer to your chainsaw’s manual for specific instructions.
Old Chain Removal and Bar Inspection
Remove the old chain with care. Once removed, it’s recommended to inspect the bar. Cleaning the bar and checking for burrs are essential steps. Burrs can hinder the chain’s movement and affect cutting efficiency. Flipping the bar can also promote even wear and prolong its life.
Installing the New Chain
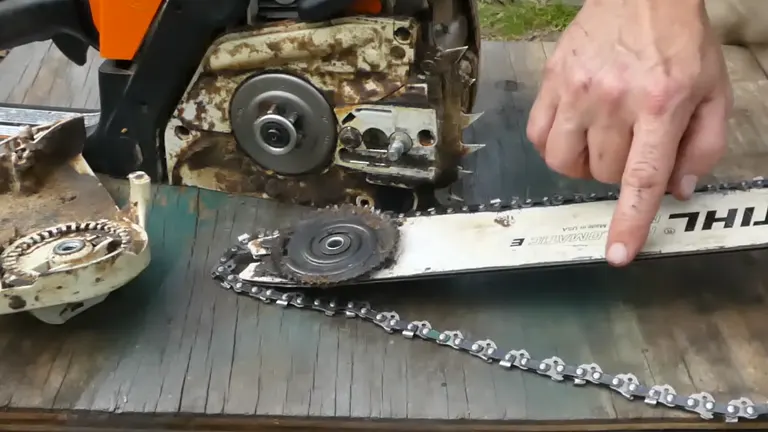
Correct Orientation
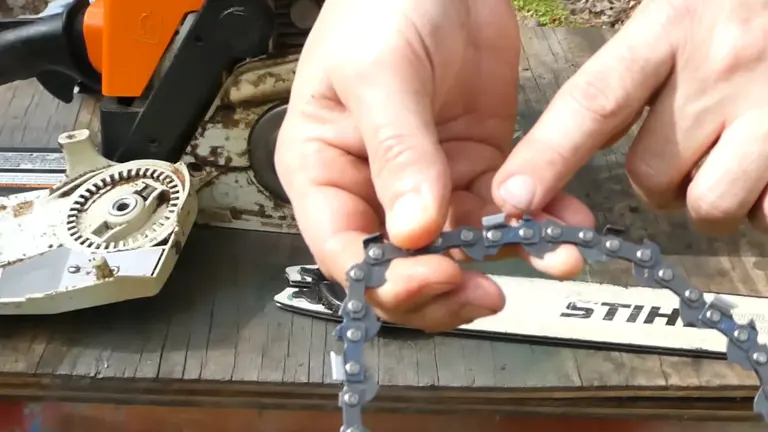
Ensure the new chain is oriented correctly. The cutting edges (or hooks) on the top of the bar should be facing forward, in the direction of the cut.
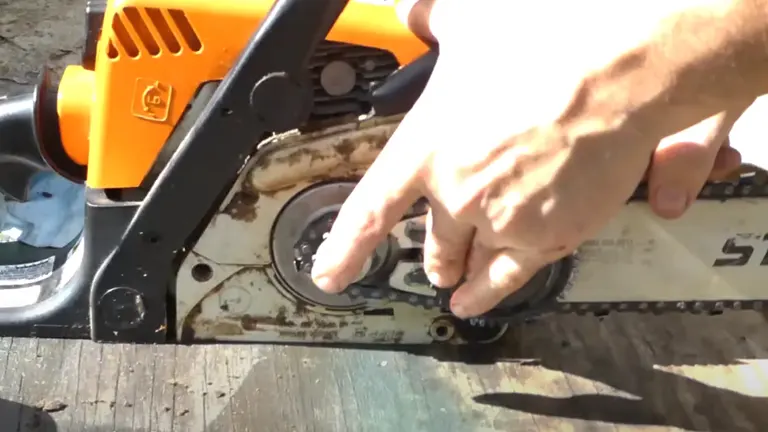
Clutch Disengagement
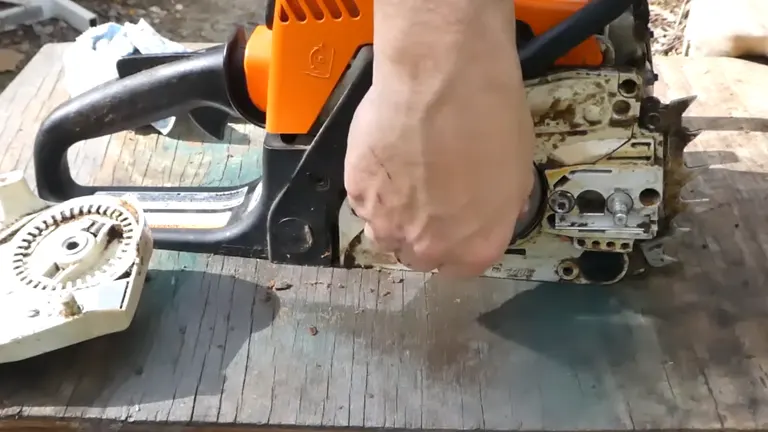
For easier installation, disengage the clutch by pushing the safety handle back. This step prevents the chain from moving while you’re installing it.
Threading the Chain
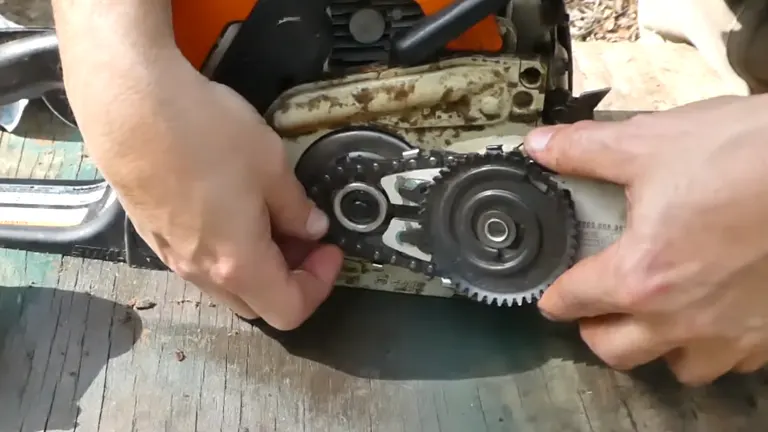
Hold the chain with slight tension and carefully align it with the bar and the drive sprocket. This step might require delicate adjustments to ensure the chain fits properly into the bar’s groove and aligns with the sprocket teeth.
Initial Tensioning
Once the chain is in place, use the chainsaw’s tensioning mechanism to apply a preliminary tightness to the chain. This should be just enough to hold the chain in place but still allow for some movement.
Finalizing the Installation
Reattach the Cover
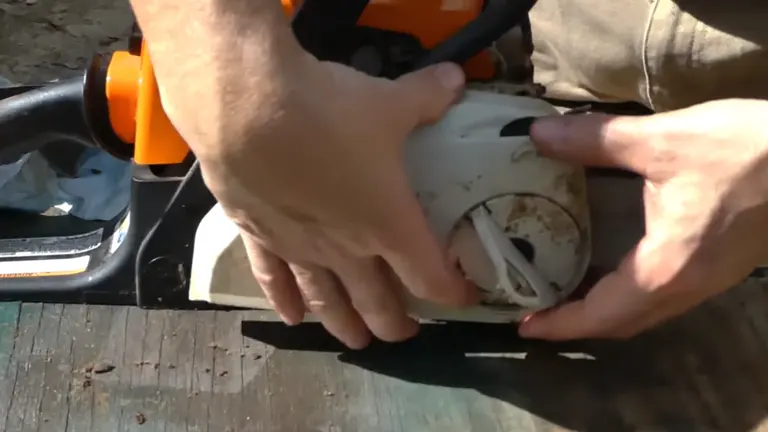
Replace the cover of the chainsaw. Ensure that it is securely fastened, as this helps maintain the correct tension and alignment of the chain.
Final Tension Adjustment
Adjust the chain tension according to your manufacturer’s guidelines. The chain should be tight enough that it doesn’t sag from the bar but loose enough to be pulled around easily by hand.
Safety Reminder
Handling chainsaw chains demands a strong focus on safety. Always equip yourself with the right protective gear, including gloves and safety glasses, to protect against potential accidents. Work in an area that is well-lit and stable, ensuring that you have a firm footing and a clear view of what you’re doing. Chainsaws are powerful and potentially dangerous tools, so it’s crucial to handle them with care and attention.
Maintenance Tips
To keep your chainsaw in top condition, regular maintenance is essential. After each use, take the time to clean your chainsaw thoroughly. Inspect the chain and the saw for any signs of wear or damage, such as cracks or dull blades, and address these issues promptly. Keeping the chain sharp is not just about efficiency; a sharp chain is also safer to use. Remember, a chainsaw that’s well cared for not only performs better but also lasts longer.
Conclusion
Following these steps should simplify the process of untangling and installing your chainsaw chain. While the basics of chain handling are generally similar across different models, there can be variations. Always consult the manufacturer’s instructions for your specific chainsaw model to ensure you’re following the correct procedures. Happy and safe cutting!
We’re eager to hear about your experiences and methods in handling chainsaw chains. If you have any unique techniques or tips, please do share them with us. Your personal insights and tricks could be extremely beneficial to others facing similar tasks. Your contribution can help create a community of informed and safe chainsaw users.
FAQs
- Can I use any type of oil for lubricating my chainsaw chain, or is there a specific kind recommended?
It’s important to use a specific chainsaw bar and chain oil for lubrication. These oils are designed to be thicker and adhere to the chain even at high speeds. Using the wrong type of oil, like motor oil, can lead to inadequate lubrication and damage to your chainsaw. - How often should I sharpen my chainsaw chain?
The frequency of sharpening depends on how often you use your chainsaw and the materials you’re cutting. As a general rule, inspect your chain for dullness every time you refuel your chainsaw. If you notice it’s not cutting as efficiently or is producing sawdust instead of chips, it’s time to sharpen it. - Is it possible to install a chainsaw chain backward, and how can I tell if I’ve done it?
Yes, it is possible to install a chain backward, and this is a common mistake. You can tell if it’s backward if the cutting edges on the top of the bar are facing away from the direction of the cut. The chain should move in a direction where the sharp edges are the first to contact the wood. - What are the risks of using a chainsaw with an improperly tensioned chain?
An improperly tensioned chain can be either too tight or too loose. A chain that’s too tight can cause excessive wear on both the chain and the chainsaw itself. A chain that’s too loose can come off the bar during operation, posing a significant safety risk. - Can I replace my chainsaw chain with a longer or shorter one than the original?
It’s crucial to use a chain that matches the specifications of your chainsaw. Using a chain that is too long or too short can lead to poor performance and can be dangerous. Always refer to your chainsaw’s manual for the correct chain size. - How do I know if my chainsaw chain is too worn out to be sharpened and needs replacing?
A chain needs replacing if the teeth are too worn down to be sharpened effectively or if there are broken or missing teeth. Also, if the chain has been sharpened several times and the depth gauges are level with the cutting teeth, it’s time for a replacement. - What is the best way to store my chainsaw chain when it’s not in use?
For optimal longevity, store your chainsaw chain in a dry, cool place away from direct sunlight and moisture. If storing for an extended period, lightly coat the chain with oil to prevent rust. Also, keep it hung or laid flat in a way that avoids any kinks or tangles in the chain. - Are there any signs that indicate my chainsaw chain is installed incorrectly?
Yes, signs include the chainsaw not cutting straight, the chain coming off the bar frequently, or unusual noise and vibration during operation. If you notice any of these issues, stop using the chainsaw immediately and check the chain installation. - How can environmental conditions affect my chainsaw chain?
Extreme temperatures can affect the tension of your chain. Cold weather can make it contract and appear tighter, while hot weather can cause it to expand and slacken. Adjust the tension accordingly and always check the tension before use. - Is there a difference in handling and maintenance for electric chainsaws compared to gas-powered ones?
While the basic principles of handling and maintenance remain the same, electric chainsaws typically require less maintenance since they don’t have a gas engine. However, you should still regularly check and maintain the chain and bar, just as you would with a gas-powered model.
Join the discussion below by sharing your experiences, tips, or reviews. Your contributions help others make informed decisions and navigate their chainsaw choices with confidence. Let’s build a community of shared knowledge for all wood-cutting enthusiasts!

David Murray
Forestry AuthorI'm David Murry, a forestry equipment specialist with a focus on chainsaw operation. With over 13 years of experience, I've honed my skills in operating and maintaining a wide range of machinery, from chainsaws to log splitters. My passion for the outdoors and commitment to sustainable forestry drive my work, which emphasizes safety, efficiency, and staying updated with industry advancements. Additionally, I'm dedicated to sharing my expertise and promoting environmental awareness within the forestry community.


Leave your comment