How to Change a Bandsaw Blade
- July 12, 2023
- 1 comment
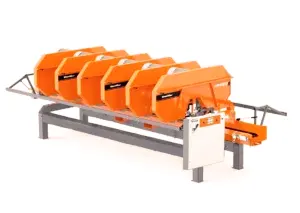
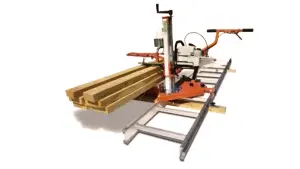
Band saws are versatile tools, expertly crafted to execute precise curved cuts in wood. However, their functionality doesn’t end there. They’re also superbly suited for the task of resawing lumber, converting large wooden pieces into thinner, more manageable ones. Depending on the task at hand, different blades are required. For resawing, a broad resaw blade—sometimes up to an impressive 1-inch in width—might be used. In contrast, the intricate task of cutting curves demands a much finer blade, often as slim as 1/8-inch.
But mastering the use of a band saw isn’t merely about knowing which blade to choose; it’s also about understanding the intricacies of the tool itself. Installing the correct blade is paramount to achieving the desired cut. Furthermore, once the blade is installed, it’s essential to ensure that it remains on its intended path, cutting straight and true.
To help both novice and seasoned users, we have curated a detailed step-by-step tutorial. This guide will walk you through the process of not only changing your band saw blade but also fine-tuning the adjustments. By following these steps, you can ensure that your band saw blade operates at peak efficiency, delivering precise cuts every time.
Step 1: Safety First
Safety should always be your priority when handling power tools. Before starting the process, disconnect the bandsaw from the power source to prevent accidental startups. Put on safety glasses to protect your eyes from small particles and debris. It’s also advisable to wear sturdy gloves, as bandsaw blades can be sharp and potentially cause cuts.
Step 2: Release the Blade Tension
Bandsaws have a tension control feature that keeps the blade under a specific tension while operating. Before removing the blade, it’s crucial to release this tension. The tension control is often a knob or lever at the top or back of the saw. Turn it to release the tension on the blade. You should notice the blade loosen within the bandsaw.
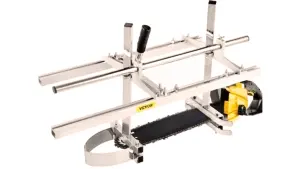
Step 3: Remove the Blade Guards
The blade guard is a safety feature that covers the blade during operation. To access the blade for removal, you’ll need to take off these guards. This usually involves unscrewing the guard plate and setting it aside. Remember to keep the screws safe to avoid losing them.
Step 4: Remove the Bandsaw Blade
With the tension released and the guards removed, you can now take out the bandsaw blade. Carefully thread the blade out of its position, making sure to avoid contact with the sharp edges. You may need to fold or coil the blade for safer handling and storage. Make sure to do this carefully to avoid potential injuries.
Step 5: Clean and Inspect the Bandsaw
With the blade removed, it’s an excellent time to clean the bandsaw. Use a brush or a cloth to remove any dust, wood debris, or residues from the blade wheels and housing. It’s also a good opportunity to inspect the bandsaw for any signs of wear or damage, such as cracks or loose components.
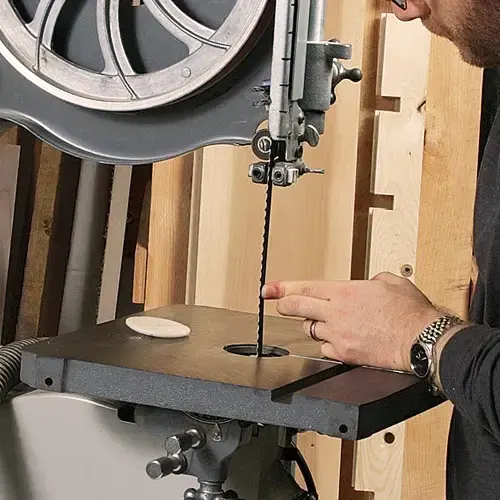
Step 6: Install the New Bandsaw Blade
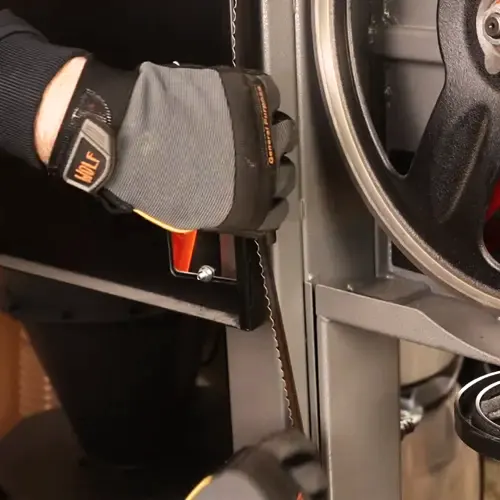
- Preparing the Blade: Before anything else, you need to safely unfold the new bandsaw blade. Remember, these blades can spring open due to their coiled nature, so keep it controlled. Don some gloves to protect your hands from any sharp edges.
- Ensuring Correct Orientation: Once unfolded, observe the blade’s teeth. They should be pointing downwards – this ensures that the blade will cut into the material and not ride over it. Additionally, the teeth should face in the direction in which the blade will rotate. This orientation is crucial for the efficient functioning of the bandsaw.
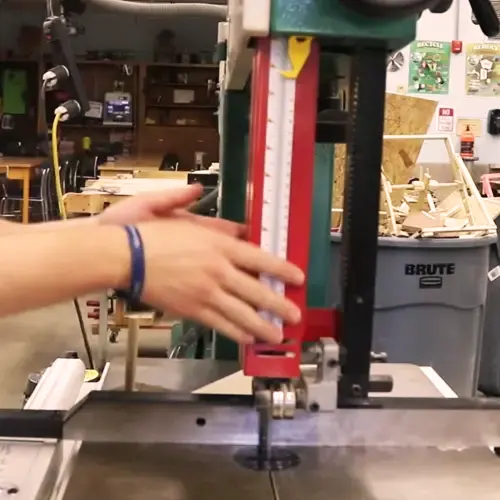
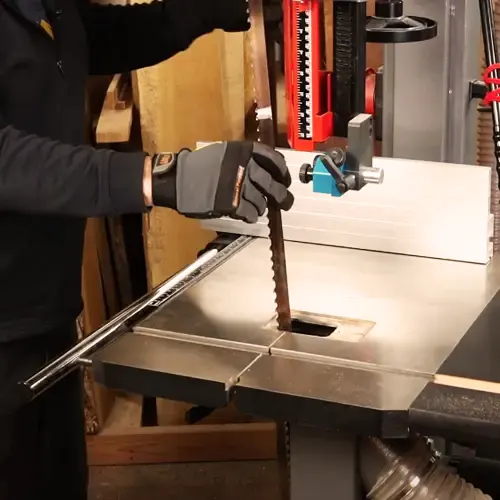
- Threading the Blade: With the correct orientation set, it’s time to introduce the blade to its new home. Carefully thread the blade through the designated slot of the bandsaw, ensuring it rests between the blade guides. These guides ensure that the blade remains stable during operation.
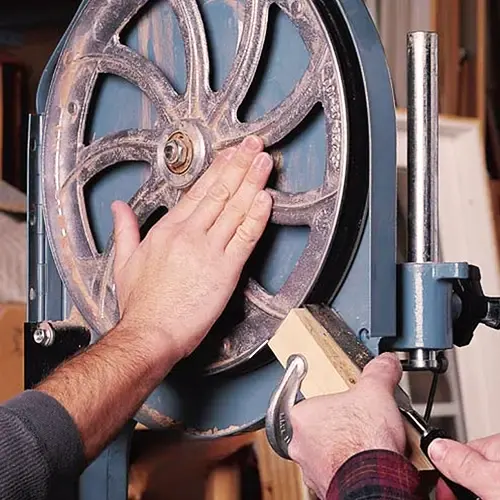
- Positioning Around the Wheels: The wheels of the bandsaw are what drive the blade. Ensure the blade sits securely around the wheels. This might require adjusting the tension of the wheels to fit the blade snugly.
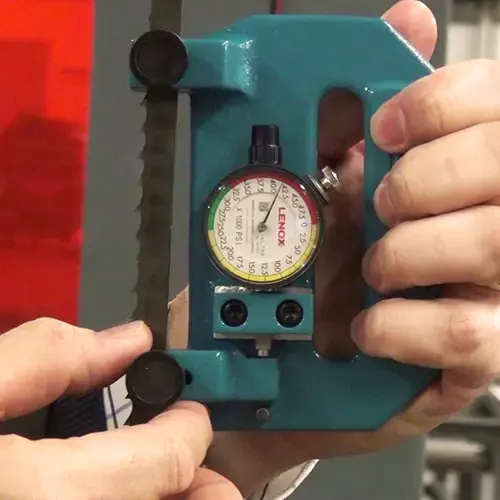
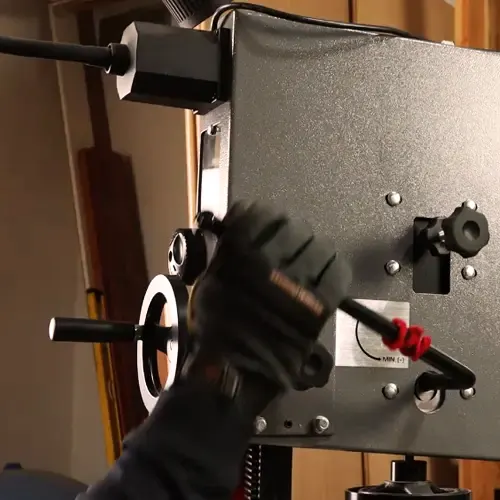
Step 7: Tension the New Blade
With the new blade in place, it’s time to restore tension using the tension control feature. Refer to your bandsaw’s user manual for the recommended tension setting for the specific blade width you’re using. Over-tensioning can lead to blade and machine damage, while under-tensioning may result in inaccurate cuts.
Step 8: Reattach the Blade Guards
Now that the new blade is installed and tensioned, replace the blade guard. Make sure it’s securely attached to avoid accidents during operation.
Step 9: Test the Bandsaw
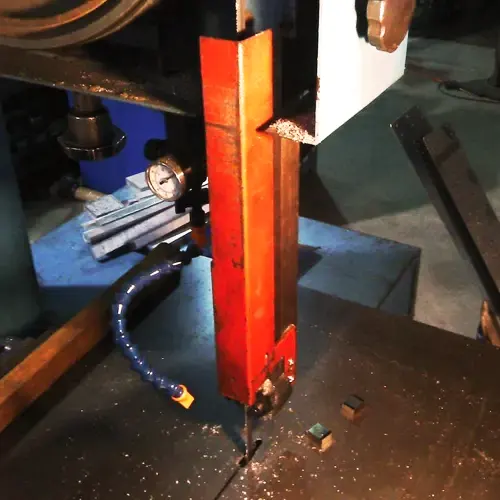
Finally, reconnect the bandsaw to the power source and conduct a test run. The bandsaw should operate smoothly, and the blade should stay on track. If you notice any vibrations or off-track movement, adjust the blade tension and guide settings.
Conclusion
Knowing how to change a bandsaw blade is a necessary skill for anyone operating this tool. Regular blade changes not only ensure consistent performance and precision but also extend the life of your bandsaw. Remember, safety should always be your top priority, and it’s essential to refer to your bandsaw’s user manual for specific instructions and recommendations. With the right approach, you’ll find that changing a bandsaw blade is a simple and straightforward task, paving the way for many successful woodworking projects.
Frequently Asked Questions
- What different types of bandsaw blades are available?
- There are various types of bandsaw blades designed for different tasks, including skip tooth, hook tooth, and regular tooth blades. These blades are used for different materials and cut types.
- How often should I change my bandsaw blade?
The frequency of blade changes depends on how often you use your bandsaw and the material you’re cutting. If you notice a decrease in performance, difficulty in cutting, or visible wear on the blade, it might be time for a change. - Why is my bandsaw blade drifting?
Blade drift can be caused by several factors including blade tension, blade sharpness, or the alignment of the bandsaw’s wheels. Regular maintenance and adjustments can help alleviate this issue. - How tight should my bandsaw blade be?
The tension required for your bandsaw blade can depend on the blade’s width and the manufacturer’s instructions. Over-tensioning can lead to blade and machine damage, while under-tensioning may result in inaccurate cuts. - Can I sharpen my bandsaw blades?
Yes, you can sharpen bandsaw blades. However, it requires specific tools and skills to do it correctly. Some users opt for professional sharpening services to ensure precision and consistency. - Can bandsaw blades be dangerous?
While bandsaws are safe tools when used correctly, their blades are sharp and can cause injury if mishandled. Always follow safety procedures when using, changing, or maintaining your bandsaw blades. - What materials can a bandsaw cut through?
Bandsaws can cut through a variety of materials, including wood, metal, and plastic. However, the type of material you can cut will depend on the bandsaw’s power and the specific blade you’re using. - How do I choose the right bandsaw blade for my project?
Choosing the right blade depends on the material you plan to cut and the type of cut you intend to make. For example, wider blades are best for straight cuts, while narrower blades are ideal for intricate or curve cuts. Similarly, blades with more teeth per inch (TPI) are better for creating a smooth finish, while blades with fewer TPI can cut faster. - What causes a bandsaw blade to break?
Several factors can lead to a bandsaw blade breaking, including excessive tension, blade overuse, improper usage, or cutting material the blade isn’t designed for. Regular maintenance and following the manufacturer’s instructions can help prevent blade breakage. - How do I maintain my bandsaw blade?
Maintaining your bandsaw blade involves regular cleaning to remove any wood debris or resin, checking and adjusting the blade tension as needed, and sharpening the blade when it becomes dull.
Empower others with your know-how! If you’re experienced in changing bandsaw blades, consider sharing your step-by-step guide in the comments section below. Your instructions could be a lifesaver for fellow woodworking enthusiasts who might be new to this process. Cover aspects like safety precautions, tools needed, proper blade tensioning, and alignment techniques. Your insights could turn a potentially daunting task into a manageable one, allowing others to change bandsaw blades with confidence and precision. Join the discussion and help make blade changes a breeze for the woodworking community!

David Murray
Forestry AuthorI'm David Murry, a forestry equipment specialist with a focus on chainsaw operation. With over 13 years of experience, I've honed my skills in operating and maintaining a wide range of machinery, from chainsaws to log splitters. My passion for the outdoors and commitment to sustainable forestry drive my work, which emphasizes safety, efficiency, and staying updated with industry advancements. Additionally, I'm dedicated to sharing my expertise and promoting environmental awareness within the forestry community.


I love that the title of the article is "How to change a bandsaw blade", and one of the steps is literally "install the bandsaw blade.". Ok, like how?
Steve Eubanks
September 17, 2023 8:58 pm