How to Fertilize Spider Plants: Proven Techniques for Unstoppable Growth
- April 22, 2024
- 0 comment
Fertilizing spider plants effectively is crucial for nurturing their growth and vitality. In this guide, we will explore the essential steps and strategies needed to maximize the health and beauty of your spider plants. We’ll discuss the best types of fertilizers to use, the ideal timing for application, and how often you should fertilize to promote lush, vibrant growth.
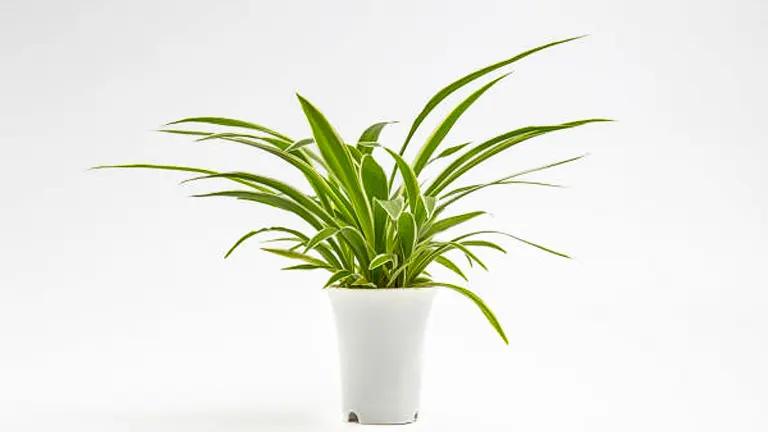
Whether you’re a new plant owner or a seasoned gardener, these insights will help you cultivate a thriving indoor garden. Ready to see your spider plants flourish? Let’s dive into the fundamentals of proper fertilization.
Table of Contents
- Understanding Spider Plants
- The Importance of Fertilization
- Choosing the Right Fertilizer
- Effective Fertilizing Techniques
- Step-by-Step Guide to Fertilizing Spider Plants
- Monitoring and Adjusting Fertilization Practices
- Advanced Tips for Optimizing Growth
- Long-Term Care and Maintenance
- Conclusion
- FAQs
Understanding Spider Plants
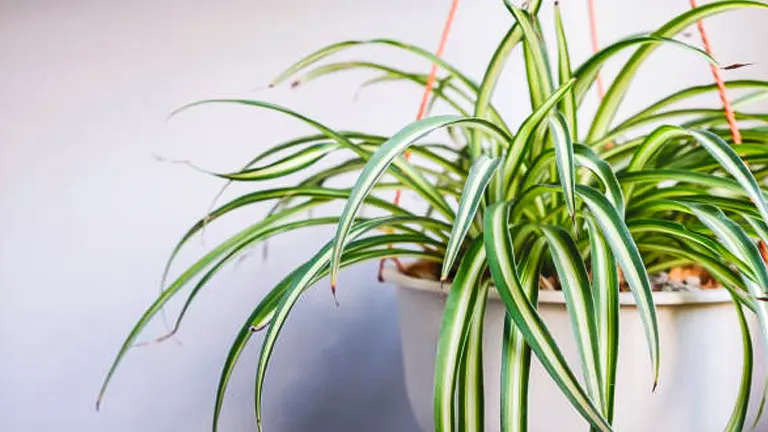
Spider plants (Chlorophytum comosum) are perennial herbs from the Asparagaceae family, widely recognized for their ornamental value and air-purifying properties. They are characterized by their long, arching leaves which are variegated with white stripes. These plants are highly adept at producing offshoots, commonly referred to as “spiderettes,” which dangle from the mother plant on slender stalks. Spider plants are not only popular for their visual appeal but also for their robustness and low maintenance requirements.
Optimal Growing Conditions
- Light Requirements: Spider plants prefer indirect, moderate to bright light. Exposure to direct sunlight should be limited as it can scorch their leaves, while too dim conditions can cause weak, leggy growth due to insufficient photosynthesis.
- Watering Needs: These plants enjoy well-drained, consistently moist soil. The watering frequency should be adjusted based on the humidity and temperature, with the top inch of soil allowed to dry out between waterings to prevent root rot, a common problem caused by excessive moisture.
- Temperature and Humidity: The ideal temperature range for spider plants is between 60-80°F (15-26°C). They can tolerate minor dips and spikes beyond this range but perform best within it. Higher humidity levels support their health and growth, but they can adapt to less humid conditions if necessary.
- Soil Preferences: Spider plants are not fussy about soil as long as it drains well. A general potting mix is suitable, but incorporating peat, vermiculite, or perlite can enhance soil structure and moisture retention.
| Condition | Specification | Impact |
|---|---|---|
| Light | Bright, indirect light | Prevents scorching, supports healthy growth |
| Watering | Once top inch of soil dries | Balances moisture retention and drainage, prevents rot |
| Temperature | 60-80°F (15-26°C) | Supports enzymatic activities and growth |
| Humidity | 50-80% | Mimics natural humidity levels, enhances photosynthesis |
| Soil Type | Loamy, well-draining, slight acidity (pH 6.0-7.2) | Optimizes nutrient uptake, prevents root diseases |
These conditions lay the foundation for robust growth, making it easier to focus on proper nutrition through fertilization, which is critical for the plant to reach its full potential.
Air Purifying Qualities
One of the most celebrated qualities of the spider plant is its ability to improve indoor air quality. Scientific studies have shown that spider plants are capable of absorbing pollutants such as formaldehyde and xylene from the air, with some studies indicating that a single plant can purify up to 80 square feet of indoor space.
| Pollutant | Removal Efficiency |
|---|---|
| Formaldehyde | Removes up to 90% |
| Xylene | Removes up to 85% |
The Importance of Fertilization
Why Fertilize?
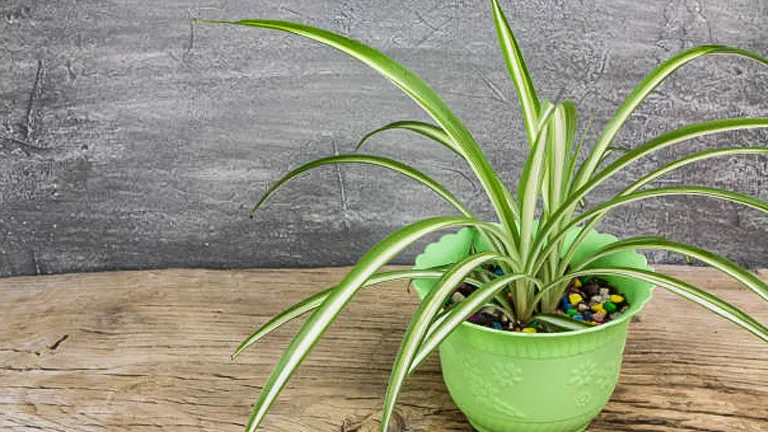
Fertilization is essential for spider plants, especially when cultivated indoors, as the confined soil environment can quickly become nutrient-depleted. Providing the right type and amount of fertilizer not only compensates for this limited natural soil environment but also significantly enhances the plant’s health and vitality.
Nutrient Needs
Spider plants require a balanced diet of macronutrients (nitrogen, phosphorus, and potassium) and micronutrients (such as calcium, magnesium, and sulfur) to perform critical biological functions. Nitrogen supports leaf growth, phosphorus strengthens the roots, and potassium enhances overall health by regulating the plant’s physiological processes.
Benefits of Fertilization
- Vigorous Growth: Adequate fertilization provides spider plants with the necessary nutrients to promote faster and denser growth, increasing the plant’s lushness and vitality. Optimal nutrient availability can accelerate growth rates significantly, often observed as quick replenishment of harvested spiderettes or rapid recovery from pruning.
- Disease and Pest Resilience: Nutritionally satisfied plants are more robust against diseases and pests. A well-fertilized spider plant can efficiently metabolize growth resources, bolstering its defense mechanisms against potential infections and infestations.
- Enhanced Reproduction: With sufficient nutrients, spider plants can reproduce more vigorously, producing a greater number of spiderettes. These offshoots tend to be healthier and more viable, thus enhancing the plant’s ability to propagate and colonize new spaces.
Identifying Nutritional Deficiencies
Nutritional deficits in spider plants can manifest through several telltale signs, which can severely impact their growth and health:
- Leaf Discoloration: Yellowing leaves, especially those closer to the soil, often indicate a nitrogen deficiency, while brown tips or spots can suggest potassium or phosphorus shortages.
- Stunted Growth and Weak Spiderettes: A lack of adequate fertilizer can lead to diminished growth rates and frail new growths (spiderettes), which may struggle to develop fully or detach prematurely.
- Fragile Roots: Insufficiently nourished roots can become weak and susceptible to diseases, often exacerbated by poor water management (either too much or too little).
Nutrient Deficiency Symptoms in Spider Plants
| Deficiency | Symptoms | Required Nutrient |
|---|---|---|
| Nitrogen | Yellow leaves, stunted growth | Nitrogen |
| Phosphorus | Dark green leaves, stunted root development | Phosphorus |
| Potassium | Browning leaf tips, curling of leaf edges | Potassium |
| Calcium | New leaves are misshapen or stunted | Calcium |
| Magnesium | Leaf chlorosis (yellowing between veins) | Magnesium |
Addressing Deficiencies
To correct these deficiencies, use a balanced, soluble fertilizer that includes micronutrients, typically administered every 4-6 weeks during active growth periods. Adjusting the pH of the soil can also enhance nutrient availability. For instance, slightly acidic to neutral pH increases the solubility of phosphorus and micronutrients.
Choosing the Right Fertilizer
Organic Versus Synthetic Fertilizers
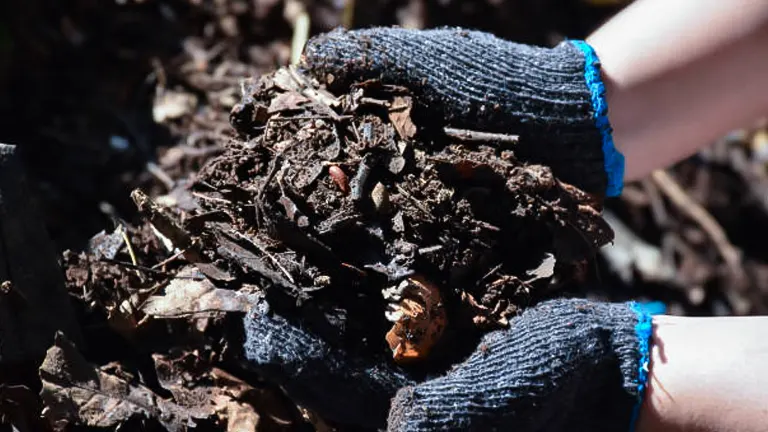
Selecting the appropriate fertilizer for spider plants involves a choice between organic and synthetic options, each with its benefits and considerations.
- Organic Fertilizers: Derived from natural materials such as plant residue, animal waste, or mineral deposits. Examples include fish emulsion, seaweed extract, and composted manure. They typically release nutrients more slowly than synthetic types, which can help avoid nutrient burn. Organic fertilizers also contribute to the soil’s structural health by improving its organic content and encouraging beneficial microbial activity.
- Synthetic Fertilizers: These are manufactured chemically to provide a quick release of nutrients and are often more concentrated than organic options. Common formulations include water-soluble granules or liquids. While they can stimulate rapid growth, they need to be applied carefully to prevent over-fertilization, which can damage the plant.
Benefits and Drawbacks
| Type | Benefits | Drawbacks |
|---|---|---|
| Organic | Improves soil structure, slow nutrient release, eco-friendly | Lower nutrient content, slower initial growth response |
| Synthetic | Rapid growth, precise nutrient composition | Potential for root burn, environmental pollution |
Recommended Fertilizers
A balanced approach is often best for spider plants:
- Balanced Liquid Fertilizer: Products with an NPK ratio of 10-10-10 provide an equal balance of nitrogen (N), phosphorus (P), and potassium (K). This type of fertilizer supports foliage development, root growth, and overall plant health. It should be diluted according to the manufacturer’s instructions and applied during the watering process to avoid direct contact with the plant’s leaves which could cause chemical burns.
- Slow-Release Granules: These fertilizers are coated to control their nutrient release over time, providing a steady supply that feeds the plant for several months. They are ideal for maintaining long-term nutrition without the need for frequent reapplication. Apply these granules near the root zone but not directly against the stem or roots to prevent damage.
- Organic Options: Utilizing organic options like compost tea or a seaweed-based spray offers a gentler, more sustainable nutrient boost. These solutions not only nourish the plant but also enhance the soil’s microbial life, which is beneficial for root development and efficient water retention.
Effective Fertilizing Techniques
Preparing for Fertilization
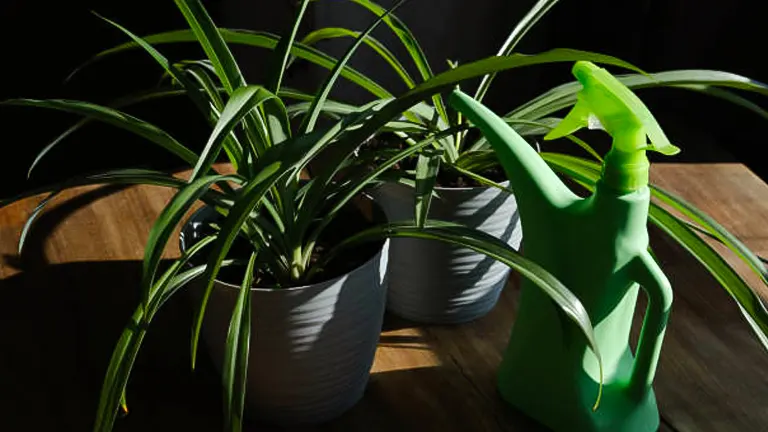
Proper preparation enhances the effectiveness of fertilizers and supports overall plant health. Start by testing the soil’s pH and nutrient content; spider plants thrive in slightly acidic to neutral conditions (pH 6.0 to 7.2). Adjust the soil based on these results to optimize nutrient uptake.
Cleaning the plant also plays a crucial role. Remove dust from the leaves with a damp cloth to unblock pores, which helps the plant efficiently process sunlight and breathe better.
Fertilizer Application Methods
The method you choose to apply fertilizer can significantly impact your spider plant’s health. Here’s how to do it right:
- Liquid Fertilizer: Mix liquid fertilizer with water using the ratio recommended on the package (often one teaspoon per gallon). Use this diluted solution to water the plants once a month during their active growth phase in spring and summer.
- Granular Fertilizer: Apply slow-release granules around the plant base, taking care not to let the granules touch the leaves to prevent burn. The nutrients will seep into the soil slowly each time you water, providing a steady dose that supports growth over time.
- Foliar Feeding: This involves spraying a diluted fertilizer solution directly onto the leaves. It’s particularly useful if the plant shows immediate signs of deficiency, as the leaves absorb nutrients quickly.
Timing Your Fertilization
Fertilizing should be matched with the plant’s growth cycles:
- During Active Growth: Fertilize every 4 to 6 weeks in the growing season (spring and summer) when the plant’s metabolic activities are high.
- During Dormancy: Cut back to once every 8 to 10 weeks throughout fall and winter. This prevents nutrient overload, which can be detrimental during a phase of reduced growth.
Step-by-Step Guide to Fertilizing Spider Plants
Step 1: Soil and Plant Preparation
- Soil Testing: Before fertilizing, test the soil to determine its pH and nutrient content. Spider plants prefer slightly acidic to neutral soil (pH 6.0-7.2). Adjust the soil pH if necessary using lime (to increase pH) or sulfur (to decrease pH).
- Clean the Plant: Ensure the plant leaves are clean to maximize photosynthesis. Wipe leaves gently with a soft, damp cloth, removing any dust or dirt.
Step 2: Select the Appropriate Fertilizer
- Type of Fertilizer: Choose an all-purpose, water-soluble fertilizer with an NPK ratio of 10-10-10 for balanced nutrition. Alternatively, for organic gardening, opt for compost tea or a seaweed-based fertilizer, which are gentler on plants.
- Formulation Choice: Decide between liquid and granular forms. Liquid fertilizers are easier to control and perfect for precise, frequent feeding, while granular types are suited for long-term, slow-release application.
Step 3: Fertilizer Mixing
- Dilution: Dilute the liquid fertilizer to half the strength recommended on the package to prevent nutrient overload and potential root burn.
- Preparation for Granules: If using granular fertilizer, no dilution is needed, but ensure even application around the soil, not directly at the plant base.
Step 4: Applying Fertilizer
- Liquid Application: Water the plant first to moisten the soil. Apply the diluted liquid fertilizer around the base of the plant, not directly on the leaves or stem to avoid burning them.
- Granular Application: Sprinkle the granules evenly around the soil’s surface, then water thoroughly to help the nutrients seep into the soil.
Step 5: Establishing a Fertilizing Schedule
- Active Growth Phase (Spring/Summer): Fertilize every 4-6 weeks. Spider plants grow most actively during these warmer months and require more frequent feeding.
- Dormant Phase (Fall/Winter): Reduce fertilizing to once every 8-10 weeks as the plant’s growth slows. This prevents the accumulation of excess nutrients, which could potentially harm the plant.
Step 6: Monitoring Plant Health
- Observation: After applying fertilizer, watch the plant’s response over the next few days to weeks. Healthy signs include new leaf growth and more vibrant coloration.
- Adjustments: If you notice signs of over-fertilization, such as salt buildup on the soil surface or leaf tip burn, flush the soil with clean water and reduce the frequency or concentration of fertilizer.
Step 7: Long-term Maintenance
- Soil Refreshment: Annually, replace the top layer of soil or repot with fresh potting mix to prevent nutrient depletion and salt buildup.
- Continuous Care: Keep checking soil moisture and pH regularly, adjusting your care routine to accommodate changes in environmental conditions or plant needs.
Monitoring and Adjusting Fertilization Practices
Observing Plant Response
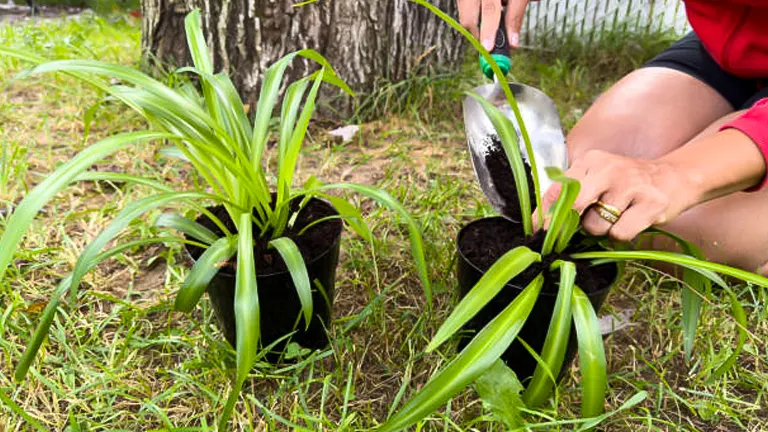
Monitor your spider plant’s reaction after fertilizing to gauge if the nutrient levels are adequate. Healthy plants should display vibrant, green leaves and robust growth. Signs of distress, such as leaf burn or wilting, indicate that adjustments are needed.
- Adjustments: If you notice signs of over-fertilization (like salt buildup on the soil, leaf scorching, or a general appearance of being ‘burnt’), reduce the frequency and concentration of your fertilizer applications.
- Soil Tests: Continue to test the soil every few months. Keeping an eye on its condition not only helps adjust feeding schedules accurately but also prevents potential issues with toxicity or nutrient deficiency.
Advanced Tips for Optimizing Growth
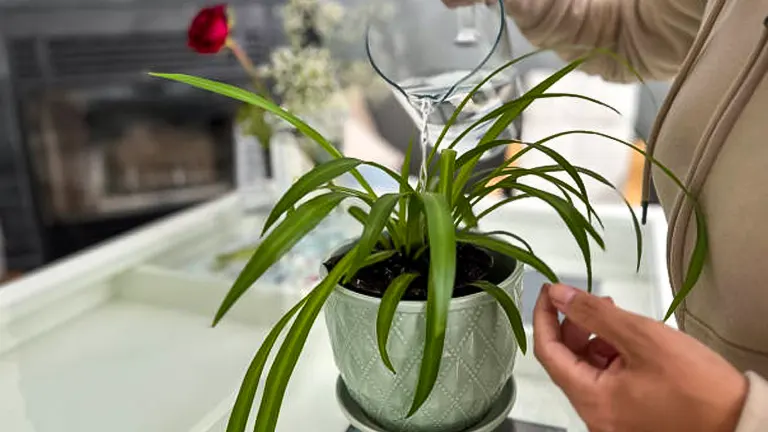
After mastering the basic fertilization techniques, you can explore more nuanced methods to further enhance your spider plant’s health and vibrancy.
Enhancing Potting Mix
The choice of potting mix is crucial as it supports the overall soil ecology, which in turn affects nutrient uptake:
- Aerate the Soil: Incorporate perlite or vermiculite into your potting mix to improve aeration and drainage. This prevents waterlogging and root rot, which are common issues in poorly drained soils.
- Add Nutrients: Mixing in compost or worm castings can enrich the soil with organic matter and beneficial microbes, promoting a healthy root system and improved nutrient absorption.
Using Spiderettes
Spiderettes are small clones of the parent spider plant and can be used to propagate new plants. Here’s how to fertilize them effectively:
- Initial Setup: Plant spiderettes in a lightweight, nutrient-rich potting mix similar to that used for mature spider plants.
- Fertilization Approach: Use a weaker, diluted fertilizer solution than you would for mature plants. This prevents nutrient overload, which can be particularly harmful to young plants still establishing their root systems.
Seasonal Adjustments
Plants’ nutritional needs change with the seasons, necessitating adjustments in your fertilization routine:
- Increase in Spring: Ramp up fertilization as the growth cycle kicks into gear with the onset of warmer weather.
- Reduce in Winter: Scale back on fertilizing as the plant enters dormancy due to cooler temperatures and reduced light levels.
Long-Term Care and Maintenance
Regular Monitoring
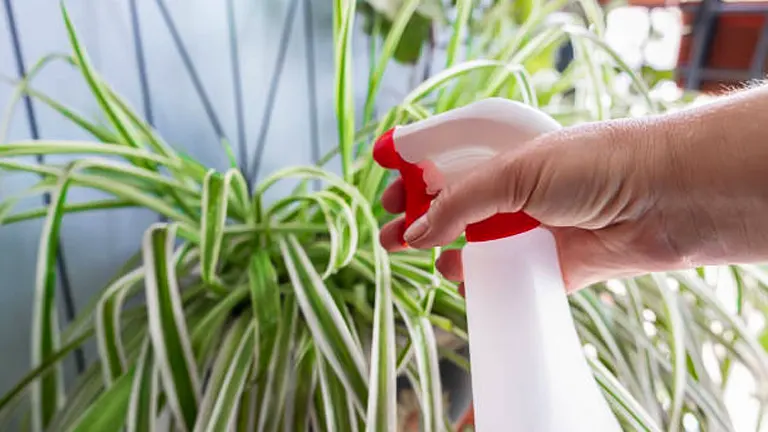
Keeping a close eye on your spider plants will help you catch and address issues before they become problematic:
- Visual Inspections: Regularly check for signs of stress, such as wilting, discoloration, or stunted growth, which could indicate fertilization or watering errors.
- Growth Tracking: Monitor growth patterns. Slower than expected growth might suggest the need for more nutrients or better lighting conditions.
Adjusting Fertilization Based on Plant Signals
Plants communicate their needs through physical signs. Adjust your practices based on these signals:
- Leaf Condition: If the leaves are pale and the growth is leggy, increase nitrogen levels to boost foliage development. Conversely, if the foliage is lush but the plant isn’t producing many spiderettes, consider reducing nitrogen in favor of phosphorus-rich fertilizers to encourage blooming and reproduction.
- Root Health: Examine the roots occasionally to ensure they are white and firm, not slimy or discolored. Adjust watering and fertilization immediately if you detect signs of root distress.
Ongoing Soil Care
Maintain soil health to ensure it continues to meet the needs of your spider plants:
- Refresh the Soil: Every year or two, refresh the potting mix to prevent nutrient depletion and salt build-up, which can occur with regular fertilization.
- pH Balancing: Periodically check the soil pH to ensure it remains slightly acidic to neutral. Use lime to raise the pH or sulfur to lower it if necessary.
Related Post
- How to Fertilize a Mango Tree Effectively: Tips and Tricks for Healthy Growth
- How to Fertilize Apple Trees: Essential Tips for a Bountiful Harvest
- How to Fertilize Lemon Trees: Secrets for Thriving Citrus
- How to Fertilize Avocado Tree: A Step-by-Step Guide for Lush Growth
- How to Fertilize Bougainvillea: A Complete Guide for Stunning Blooms
Conclusion
Fertilizing spider plants with the right balance of nutrients and care not only ensures their survival but also their flourish, transforming them into vibrant additions to any indoor space. This journey of nurturing spider plants from mere potted greens into lush, thriving beings underscores the essence of indoor gardening—a harmonious blend of science, art, and attentiveness. As each plant whispers its needs through subtle cues, the gardener’s role evolves from mere caretaker to an adept interpreter of nature’s language, ensuring that with each passing season, the spider plants reach new heights of growth and vitality. Embracing experimentation and adapting to your plants’ changing needs will make your indoor gardening experience both rewarding and enriching.
FAQs
- What type of fertilizer works best for spider plants?
Spider plants thrive on a balanced, water-soluble fertilizer with an NPK ratio of 10-10-10 or 20-20-20. Apply diluted to half strength to avoid over-fertilization. Organic options like fish emulsion or seaweed extract also promote healthy growth without chemical additives. - How often should I fertilize my spider plant during the growing season?
During the spring and summer, fertilize your spider plant once a month. This supports the active growth phase when the plant benefits most from additional nutrients. Reduce fertilization frequency during the dormant winter months to every other month. - Can over-fertilizing harm my spider plant?
Yes, over-fertilizing can lead to nutrient burn, characterized by browned leaf tips and possibly leaf drop. It’s crucial to follow recommended dilution ratios and schedules to prevent buildup of mineral salts that could damage the plant’s root system. - What signs indicate that my spider plant needs fertilizer?
Signs that your spider plant may need fertilizing include slow growth, pale or yellowing leaves, and a general lack of vitality. These symptoms suggest a nutrient deficiency that can be resolved with a balanced fertilization regimen. - Is it possible to use coffee grounds as fertilizer for spider plants?
Coffee grounds are acidic and can benefit plants if used sparingly and mixed into the soil or compost. They may help to lower the pH slightly and add organic matter to the soil, which spider plants find beneficial. - How should I apply fertilizer to my spider plant?
Fertilizer can be applied in liquid form, mixed with water, and poured around the base of the plant, ensuring it soaks into the soil. Alternatively, slow-release granules can be sprinkled on the soil surface, which gradually impart nutrients with each watering. - What is the best way to correct over-fertilization in spider plants?
If a spider plant has been over-fertilized, leach the soil by slowly running water through the pot for about 5 minutes, ensuring it drains completely. This helps to flush out excess salts. Afterwards, let the soil dry out slightly before resuming a more moderate fertilization schedule. - Can I use tap water to mix with liquid fertilizer for my spider plant?
It is preferable to use distilled or non-chlorinated water to mix with liquid fertilizer, as tap water can contain minerals and chlorine that might build up in the soil over time. If tap water is your only option, let it sit out overnight to allow chlorine to dissipate before using it to mix fertilizer.
With these proven techniques at your fingertips, you’re all set to enhance the growth and health of your spider plants. Fertilize wisely, and watch as they turn into vibrant, thriving displays of greenery in your home or garden.

Kristine Moore
Forestry AuthorI'm Kristine Moore, a seasoned garden landscaping professional with over 30 years of experience. My extensive career has been dedicated to transforming outdoor spaces into stunning, sustainable landscapes. With a deep understanding of horticulture, design principles, and environmental stewardship, I have become a respected figure in the field, known for creating harmonious, visually appealing, and eco-friendly gardens. My commitment to excellence and continuous learning in landscaping trends and techniques has solidified my reputation as an expert in garden design and implementation.


Leave your comment