How to Change Oil in Lawn Mower: Quick & Clean Techniques
- March 1, 2024
- 0 comment
Regular maintenance of your lawn mower ensures it runs smoothly and lasts longer, with changing the oil being one of the most critical tasks. Just like a car, your lawn mower’s engine needs clean oil to prevent overheating and wear. In this guide, we’ll walk you through the process step by step, ensuring your mower stays in top condition.
Understanding Your Lawn Mower
When it comes to maintaining your lawn mower, one of the first steps is understanding the type of mower you have and the specific oil requirements it has. This knowledge is crucial for ensuring that your lawn mower operates efficiently and has a long lifespan. Let’s dive into the different types of lawn mowers and how to identify the correct oil type and capacity for your mower.
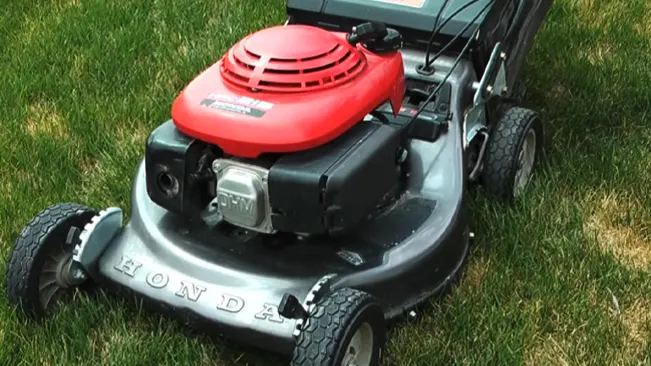
Types of Lawn Mowers
- Push Mowers: These are the most common and simplest type of lawn mowers, suitable for small to medium-sized lawns. They require the user to push them across the grass to cut it. They can be powered by gas, electricity, or even manually.
- Riding Mowers: Riding mowers are suitable for larger lawns and provide a seat for the operator to drive the mower, much like a small vehicle. These mowers offer comfort and efficiency for extensive lawn care.
- Self-Propelled Mowers: These mowers are similar to push mowers but include a drive system that propels the mower forward, requiring less effort from the user. They are ideal for medium-sized lawns with uneven terrain.
Identifying the Oil Type and Capacity
- Consult the Owner’s Manual: The best source of information about the correct oil type and capacity for your lawn mower is the owner’s manual. Manufacturers provide specific recommendations to ensure optimal performance.
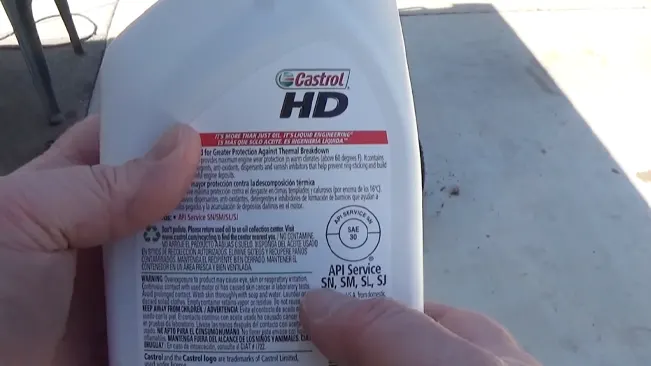
- Oil Type: Most lawn mowers use 4-stroke engine oil. The common types are SAE 30 for warmer temperatures and SAE 10W-30 for varying temperature ranges. However, some models may require synthetic oils or different specifications.
- Oil Capacity: The capacity can vary widely depending on the mower’s engine size. It can range from about 15 ounces (444 ml) to 64 ounces (1.89 liters) for larger engines. Again, refer to your mower’s manual for the exact capacity.
- Check for Specific Requirements: Some engines may have specific requirements based on their design and operational needs. For example, mowers with overhead valve engines might require a different oil type than those with side-valve engines.
Preparation for Oil Change
Gathering Necessary Tools
- Oil Pan or Container: To catch the old oil as it drains out of the mower. Make sure it’s large enough to hold the oil capacity of your mower’s engine.
- Funnel: A funnel will help you pour the new oil into the mower’s engine without spilling.
- Wrench or Socket Set: Depending on your lawn mower model, you might need a wrench or socket set to remove the drain plug.
- Gloves: Wear gloves to protect your hands from the dirty oil and any sharp edges on the mower.
- Rags or Paper Towels: Have some rags or paper towels ready for cleaning up any spills and wiping off your tools.
- New Oil: Ensure you have the correct type and amount of oil specified for your mower’s engine.
- Replacement Oil Filter (if applicable): If your mower’s engine has an oil filter, it’s a good practice to replace it during the oil change.
Safety Precautions
- Cool Down the Engine: Always allow the lawn mower engine to cool down before starting the oil change. Hot oil can cause burns, and a hot engine can be dangerous to touch.
- Work in a Well-Ventilated Area: Perform the oil change in a well-ventilated area to avoid inhaling any harmful fumes. Outdoor spaces are ideal, but if you’re in a garage, make sure the door is open for ventilation.
- Use Wheel Blocks: If you’re working on a riding mower and need to lift it, use wheel blocks to secure it in place and prevent it from rolling.
- Avoid Smoking: Never smoke or use open flames around the oil change area. Oil and gasoline are flammable, and sparks can lead to fires.
- Dispose of Old Oil Properly: Used motor oil should be disposed of responsibly. Store it in a sealed container and take it to a recycling center or automotive store that accepts used oil.
- Keep Children and Pets Away: Ensure that children and pets are kept away from the work area to prevent accidents.
Step-by-Step Oil Change Guide
Step 1: Warm Up the Engine
The process begins by warming up the engine, which is essential for thinning the oil, allowing it to drain more easily. To do this, run your lawn mower for a few minutes. Once the engine is warm—but not hot—to the touch, turn off the mower and let it cool slightly to avoid any potential burns during the oil change process.
Step 2: Locate the Oil Drain Plug or Oil Cap
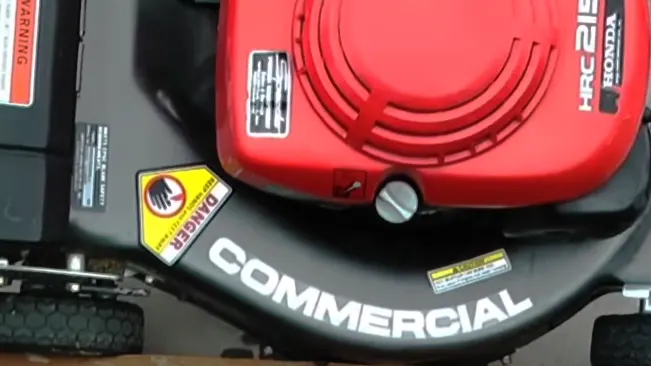
Next, you need to locate where to drain the oil, which varies depending on your mower model. For most push mowers, the oil cap is found on the top or side of the engine. When it’s time to drain the oil, you might need to tilt the mower. Ensure you tilt it in a direction that prevents oil from leaking into the air filter, which could cause damage. On riding mowers, the oil drain plug is usually situated underneath the engine, often near the base, to facilitate easy drainage.
Step 3: Drain the Old Oil
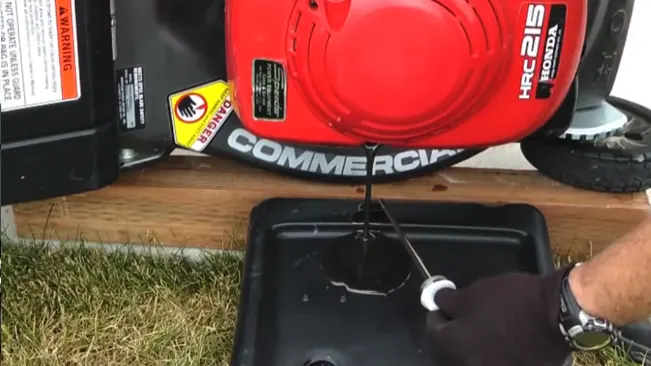
Now, it’s time to remove the old oil. Place an oil pan or a suitable container under the drain plug or oil cap to catch the draining oil. Carefully remove the cap or use a wrench to loosen the drain plug, then allow the oil to drain completely. You may need to tilt the mower slightly to ensure all the old oil is removed, but be careful to do so steadily to avoid spillage.
Step 4: Replace the Oil Filter (if applicable)
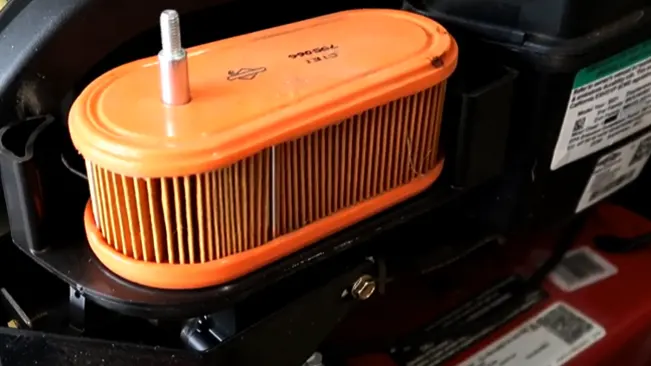
If your mower has an oil filter, changing it during the oil change is advisable. The oil filter is usually a cylindrical component located on the side of the engine. Use an oil filter wrench to unscrew the old filter—be ready for a bit of oil to spill as you remove it. Before installing the new filter, lightly lubricate its rubber gasket with new oil to ensure a proper seal. Then, hand-tighten the new filter into place and give it a slight turn with the wrench to secure it, being careful not to overtighten.
Step 5: Add New Oil
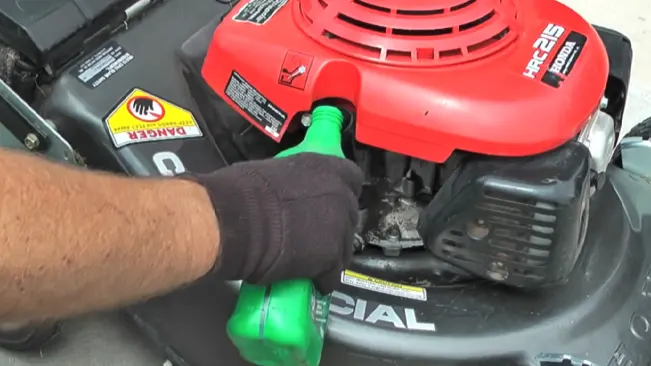
With the old oil drained and the filter replaced, you’re ready to add fresh oil. Use a funnel to prevent spills and pour the new oil into the fill hole. Be cautious not to overfill; check your mower’s manual for the correct oil amount and type. Once the oil is at the appropriate level, replace the cap securely.
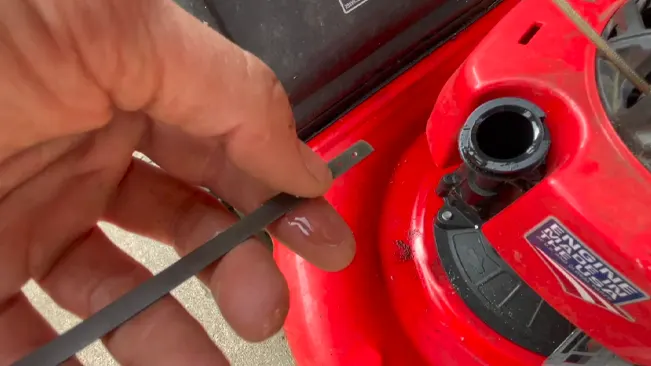
Step 6: Check Oil Level and Dispose of Old Oil
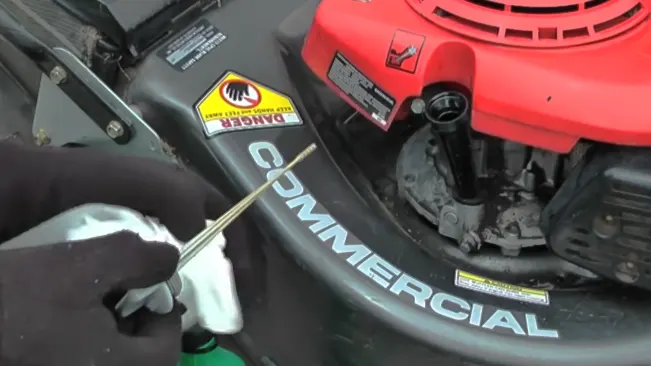
The final step involves checking the oil level and disposing of the old oil responsibly. Use the dipstick to check the oil level, wiping it clean, then reinserting it without screwing it in, and pulling it out again to check. If necessary, add more oil, but ensure not to overfill. Start the mower and let it run for a few minutes to circulate the new oil, then turn it off and check the oil level again, adjusting as needed. Finally, dispose of the old oil properly by storing it in a sealed container and taking it to a recycling center or an auto shop that accepts used oil, ensuring environmentally responsible disposal.
Troubleshooting Common Issues
Oil Leaks
To troubleshoot oil leaks, start by thoroughly cleaning the area where the oil is present. This initial step is vital for accurately identifying the source of the leak. Once the area is clean, closely inspect components like the oil filter, drain plug, or oil fill cap for any loose bolts or damaged seals. These are often the culprits behind oil leaks.
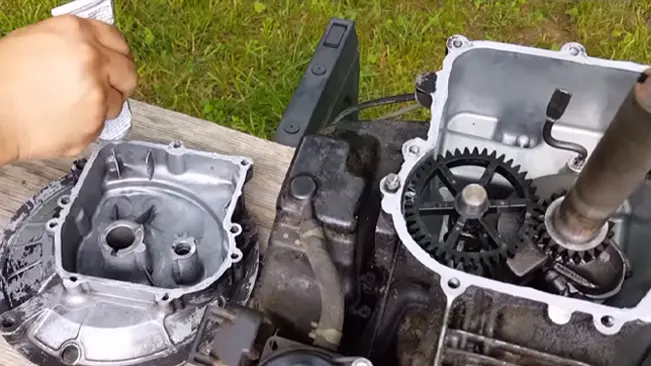
If you discover that the leak results from a loose component, tightening it might be enough to resolve the issue. However, if you find damaged seals or gaskets, these will need to be replaced to ensure a proper seal and prevent future leaks. In some instances, the problem might be more severe, such as cracks in the mower’s engine or oil compartment. Cracks can lead to significant oil leaks and may require professional repair. In the worst-case scenario, the affected part might need to be replaced entirely to restore the mower to its optimal functioning state. Addressing oil leaks not only helps in maintaining your lawn mower but also extends its lifespan by preventing oil-related damages.
Overfilling
Your lawn mower with oil can lead to a variety of problems, from reduced engine performance to potential damage. If you suspect that your lawn mower has been overfilled with oil, the first step is to address the issue by draining the excess. Begin by removing the oil cap or drain plug and carefully tilting the mower to allow the surplus oil to flow out into a prepared oil pan. This step is crucial in preventing any potential damage that overfilling might cause to your mower’s engine.
Once the excess oil has been drained, it’s important to ensure that the oil level is now within the recommended range. This is where the dipstick comes into play. Use it to accurately measure the oil level, inserting it into the mower’s oil reservoir, then removing it to check the oil mark. If necessary, add more oil gradually, checking the level frequently with the dipstick to avoid overfilling again. After you’ve adjusted the oil level, the final step is to run the engine for a few minutes. This action helps distribute the oil evenly throughout the engine, ensuring it reaches all necessary components. After running the engine, turn it off and use the dipstick one more time to recheck the oil level. This ensures that the oil is at the correct level, confirming that your lawn mower is ready for use again, with no risk of the issues that overfilling can cause.
Choosing the Wrong Oil Type
Using the incorrect type of oil in your lawn mower can lead to suboptimal performance or even damage to the engine. If you discover that the wrong oil type has been used, the first step is to drain and replace it. This involves completely draining the incorrect oil from the engine, essentially following the steps for a standard oil change to ensure that all of the unsuitable oil is removed. After draining, it’s crucial to refill the engine with the correct type of oil. To avoid repeating the mistake, always consult your lawn mower’s user manual before selecting oil. The manual provides the manufacturer’s recommended oil type, which is tailored to the specific design and operating conditions of your mower’s engine. Additionally, it’s important to consider the environmental conditions in which you’ll be using your mower. Different weather conditions can necessitate different types of oil; for example, multi-viscosity oils like SAE 10W-30 are often recommended for areas with varying temperature conditions, while a single viscosity oil like SAE 30 might be more suitable for areas with consistently warm temperatures. By ensuring you use the correct oil type, you’ll maintain the efficiency and longevity of your lawn mower’s engine.
Maintenance Care
- Peek under the hood: Check the oil level and top up if needed.
- Be an air filter friend: Make sure the air filter is clean for optimal performance.
- Sharpen your blade, happy lawn: A sharp blade ensures a clean cut for your grass.
- Pump up the tires: Maintain proper tire pressure for a smooth ride and efficient operation.
- Loose screw detective: Check for any loose parts and tighten them up to avoid potential issues.
Seasonal shout-outs:
Spring:
- Change the oil: Ensure smooth engine operation with fresh oil.
- Clean or replace the air filter: Maintain optimal performance with a clean filter.
- Consider replacing the spark plug: Enhance engine performance with a new spark plug (annually recommended).
- (Optional) Replace the fuel filter: Improve performance with a new filter at the start of the season.
Fall:
- Clean the deck: Remove debris to prevent rust and maintain good working condition.
- Stabilize fuel or remove completely: Prevent issues during extended storage.
FAQs
1. How often should I change the oil in my lawn mower?
You should change the oil at least once every mowing season or every 50 hours of use, whichever comes first. Always refer to your mower’s user manual for specific recommendations.
2. Can I use any type of oil for my lawn mower?
No, it’s essential to use the type of oil recommended by the manufacturer, which is usually specified in your mower’s user manual. Common types include SAE 30 for warmer temperatures and SAE 10W-30 for variable temperature ranges.
3. How can I tell if my lawn mower’s blade needs sharpening?
A dull blade will tear the grass instead of cutting it cleanly, leading to a ragged and unhealthy lawn. Inspect the grass after mowing; if the tips are jagged or brown, it’s likely time to sharpen the blade.
4. What should I do if my lawn mower won’t start?
First, check the basics: ensure there’s fresh fuel in the tank, the spark plug is clean and properly connected, and the air filter isn’t clogged. If these don’t solve the issue, it might be time to consult a professional.
5. Is it necessary to replace the spark plug every season?
While not always necessary, replacing the spark plug annually is a good practice to ensure reliable starting and optimal engine performance. It’s a relatively inexpensive and straightforward task that can prevent more significant issues down the line.

Joel Cunningham
Forestry AuthorI'm Joel Cunningham, an expert in pruning and weed management with over a decade of experience. My skills are rooted in formal training and extensive practice, focusing on advanced pruning techniques and efficient weed control. I'm known for my quality work, precision, and deep understanding of plant health and soil dynamics. My contributions extend to educational initiatives where I share sustainable practices and advice, establishing myself as a reliable and authoritative figure in the gardening community.


Leave your comment