How to Grow Brussels Sprouts: Complete Guide for Bountiful Crops
- February 29, 2024
- 0 comment
Brussels sprouts, belonging to the Brassica family, are a nutritious and hearty vegetable, known for their unique flavor and high nutrient content. Growing Brussels sprouts can be a rewarding endeavor for both novice and experienced gardeners. This guide provides essential steps and tips to cultivate healthy Brussels sprouts in your garden.

Nutritional Benefits of Brussels Sprouts
| Benefit | Description |
|---|---|
| High Nutritional Value | Brussels sprouts are rich in vitamins and minerals, including Vitamin K, Vitamin C, Vitamin A, folate, manganese, and potassium. |
| Rich in Antioxidants | They contain antioxidants that can reduce oxidative stress in the body, potentially lowering the risk of chronic diseases. |
| Supports Heart Health | The high fiber content can help maintain healthy cholesterol levels, which is beneficial for heart health. |
| May Help Control Blood Sugar | Brussels sprouts have a low glycemic index and high fiber content, which can aid in blood sugar regulation. |
| Contains Omega-3 Fatty Acids | They provide alpha-linolenic acid (ALA), a type of omega-3 fatty acid, which is essential for brain health and reducing inflammation. |
| Rich in Fiber | The dietary fiber in Brussels sprouts supports digestion and gut health. It can also aid in weight management by promoting a feeling of fullness. |
| Potentially Cancer-Fighting | Certain compounds found in Brussels sprouts, like sulforaphane, are being studied for their potential cancer-fighting properties. |
| Bone Health | High in Vitamin K, which is essential for bone health and prevents the weakening of bones (osteoporosis). |
| Improves Immune Function | The high Vitamin C content boosts the immune system, helping the body’s resistance against infections. |
| Reduces Inflammation | Brussels sprouts have anti-inflammatory properties, which can reduce the risk of chronic inflammation-related diseases. |
List on How To Grow Brussels Sprouts
- Choosing the Right Variety
- Soil Preparation and Planting
- Spacing and Depth
- Watering and Mulching
- Fertilization
- Harvesting
- Storage and Usage
- Pest and Disease Management
Choosing the Right Variety
When it comes to growing Brussels sprouts, choosing the right variety is essential for success. This choice largely depends on your local climate and personal taste preferences. Here’s a bit more detail about the varieties mentioned and how to select the best one for your garden:
Long Island Improved
- This is a classic and popular variety known for its reliability and traditional flavor. It’s well-suited to a wide range of climates and tends to produce a high yield of medium-sized sprouts. It’s a great choice for beginners due to its hardiness and consistent performance.
Jade Cross
- This hybrid variety is known for its disease resistance and is particularly suited for areas with harsher growing conditions. It produces small, compact, and flavorful sprouts. ‘Jade Cross’ is often recommended for its improved tolerance to less-than-ideal weather, making it a good choice for gardeners in variable climates.
Diablo
- A newer variety, ‘Diablo’ is noted for its long harvest period and high-quality sprouts. It’s a robust variety that stands well against colder temperatures, making it an excellent choice for late-season harvesting. The sprouts from ‘Diablo’ are typically uniform in size and have a strong, traditional Brussels sprout flavor.
When choosing a variety, consider the following:
- Climate Compatibility: Some varieties perform better in cooler climates, while others are bred for warmer areas. Check the variety’s temperature preferences and compare them with your local climate conditions.
- Maturity Time: Different varieties have different lengths of time from planting to harvest. Consider how long your growing season is and choose a variety that will mature within that period.
- Disease Resistance: Look for varieties that are resistant to common diseases in Brussels sprouts, like powdery mildew or clubroot, especially if these are known issues in your area.
- Space Requirements: Different varieties might have different spacing requirements. Ensure your garden space can accommodate the variety’s growth habit.
- Flavor and Size: Personal preference for the size and flavor of the sprouts should also guide your choice. Some people prefer smaller, sweeter sprouts, while others might like larger, more robust ones.
Soil Preparation and Planting
Brussels sprouts thrive in well-drained, fertile soil with a pH between 6.0 and 7.5. Enrich the soil with organic compost or well-rotted manure before planting. Sow seeds indoors about 6-8 weeks before the last frost date, or directly outdoors when soil temperatures reach about 50°F (10°C).
Soil Preparation
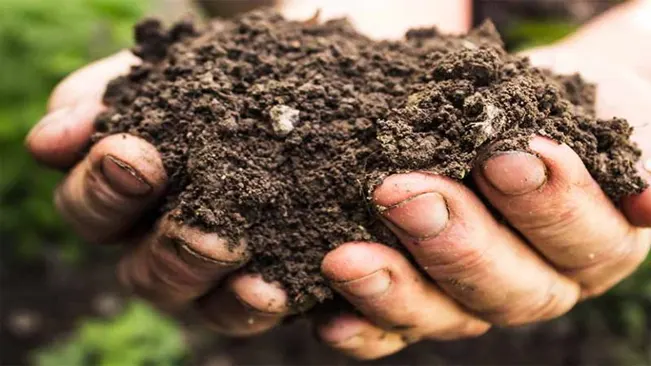
- Soil Quality: Brussels sprouts require nutrient-rich soil. This is because they are a heavy-feeding crop, meaning they absorb a lot of nutrients from the soil as they grow.
- pH Level: Maintaining a soil pH between 6.0 and 7.5 is crucial. This slightly acidic to neutral range allows the plants to absorb nutrients more efficiently. You can test your soil’s pH with a testing kit and adjust it if necessary using lime (to increase pH) or sulfur (to decrease pH).
- Organic Matter: Adding organic compost or well-rotted manure significantly improves soil fertility. This organic matter not only provides essential nutrients but also improves soil structure, enhancing its ability to retain moisture and air, which are vital for root growth.
Planting
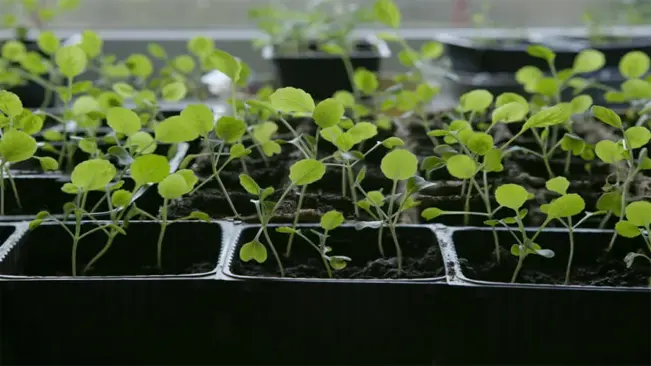
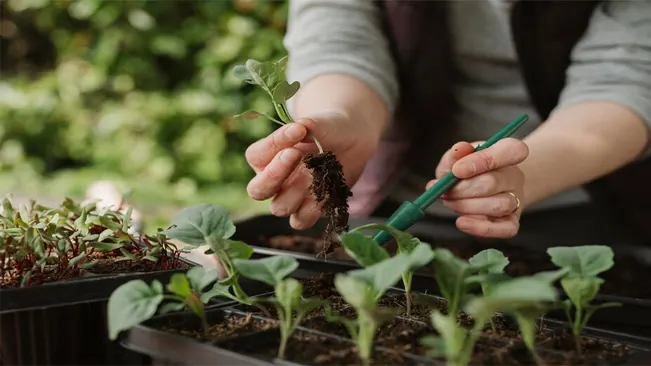
- Starting Indoors: Sowing seeds indoors is a common practice, especially in regions with short growing seasons. Starting 6-8 weeks before the last expected frost date gives the seedlings a head start. Use seed starting mix and plant the seeds about 1/2 inch deep in small pots or trays. Keep the soil moist and provide adequate light.
- Transplanting: Once the seedlings are about 4-6 inches tall and have a few sets of true leaves, they’re ready for transplanting outdoors. This is usually done after the danger of hard frost has passed.
- Direct Sowing: In areas with longer growing seasons, seeds can be sown directly in the garden. This should be done when soil temperatures reach around 50°F (10°C). Plant the seeds about 1/2 inch deep and space them according to the final spacing recommendations (usually 18-24 inches apart).
- Hardening Off: If started indoors, it’s important to harden off the seedlings before transplanting. This process involves gradually exposing the plants to outdoor conditions over a week to reduce transplant shock.
Spacing and Depth
When transplanting seedlings outdoors, space them 18-24 inches apart in rows that are 30 inches apart. Plant them deeper than they were in their seedling pots to encourage stability and root growth.
Spacing
- Brussels sprouts require ample space to grow due to their large leaf spread and the size of the mature plants. When you plant them too close together, they compete for resources like sunlight, water, and nutrients, which can lead to poor development of the sprouts. A spacing of 18-24 inches between each plant allows enough room for each Brussels sprout plant to flourish. This spacing helps in maximizing air circulation around each plant, reducing the risk of disease.
Row Spacing
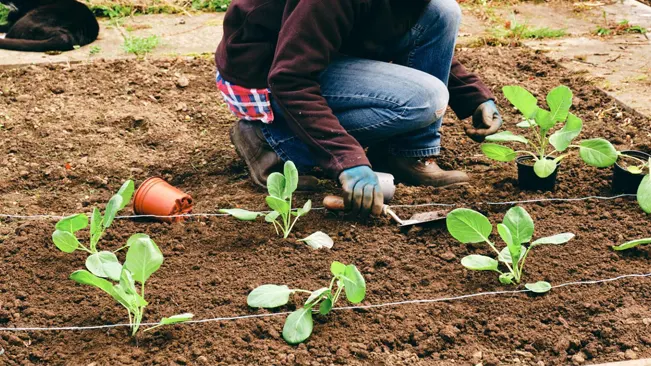
- The recommendation to space the rows 30 inches apart is to provide enough room for you to move between the rows for maintenance tasks such as weeding, watering, and harvesting. This spacing also ensures that each plant receives adequate sunlight, which is crucial for their growth and development.
Planting Depth
- When transplanting Brussels sprouts seedlings from their pots to the garden, it’s advisable to plant them slightly deeper than they were in their pots. This practice encourages the development of a stronger and more extensive root system, which is essential for the stability of the plants as they grow taller and heavier with sprouts. A robust root system also enhances the plant’s ability to absorb nutrients and water from the soil, contributing to healthier and more productive plants.
Watering and Mulching
Brussels sprouts require consistent moisture, so water them regularly, aiming for about 1-1.5 inches of water per week. Mulching with organic materials like straw or wood chips helps retain soil moisture and suppress weeds.
Watering Brussels Sprouts
- Consistent Moisture: Brussels sprouts prefer a consistent level of moisture in the soil. Inconsistent watering can lead to problems such as split or poorly formed sprouts.
- Amount of Water: The general guideline is to provide about 1 to 1.5 inches of water per week. This can vary depending on your climate and soil type. In hotter, drier climates, more frequent watering may be necessary.
- Method of Watering: Use a soaker hose or drip irrigation system for efficient watering. These methods help deliver water directly to the roots, minimizing water loss due to evaporation and preventing the foliage from getting too wet, which can invite disease.
- Monitoring Soil Moisture: It’s essential to check the soil moisture regularly. The soil should feel moist at about an inch below the surface. Over-watering can be just as detrimental as under-watering, leading to root rot or other issues.
Mulching Brussels Sprouts
- Purpose of Mulching: Mulch serves several purposes. It helps retain soil moisture, reduces the growth of weeds, and can also regulate soil temperature.
- Types of Mulch: Organic materials like straw, wood chips, or even grass clippings are excellent for mulching Brussels sprouts. These materials eventually break down and contribute to the soil’s nutrient content.
- Application of Mulch: Apply a layer of mulch around the base of the plants. The layer should be about 2 to 3 inches thick. Be careful not to pile mulch against the plant stems to avoid rot.
- Timing for Mulching: Mulching can be done soon after transplanting the seedlings into the garden. This helps to establish a healthy environment from the start.
Fertilization
Apply a balanced, slow-release fertilizer at planting and again mid-season to promote healthy growth. Avoid high nitrogen fertilizers later in the growing season as they can lead to leafy growth at the expense of sprout development.
- Choice of Fertilizer: Brussels sprouts benefit from a balanced, slow-release fertilizer. This means the fertilizer should have an equal or nearly equal ratio of nitrogen (N), phosphorus (P), and potassium (K), often indicated as N-P-K on fertilizer packages. A typical formula like 10-10-10 or 14-14-14 is suitable.
- Timing of Application: The first application of fertilizer should be at the time of planting. This initial feeding provides the young plants with essential nutrients needed for a strong start. The second application should be made mid-season, as the plants are starting to develop sprouts. This helps maintain steady growth and supports the development of the sprouts.
- Method of Application: When applying fertilizer, it should be spread evenly around the base of the plants, avoiding direct contact with the stems and leaves. After applying, it’s beneficial to water the soil, which helps in dissolving the fertilizer and making the nutrients available to the roots.
- Avoiding High Nitrogen Later in the Season: As the growing season progresses, especially later in the season when the sprouts are forming, it’s important to avoid fertilizers high in nitrogen. Excessive nitrogen at this stage can lead to lush leaf growth but can detract from the development of the sprouts themselves. The plant may focus more on producing leaves rather than the edible sprouts.
- Monitoring Plant Health: Observe your Brussels sprouts plants as they grow. If they appear to be growing slowly or have yellowing leaves, a light application of fertilizer might be needed. However, be cautious with additional feeding, especially with nitrogen-heavy formulas.
- Soil Testing: For optimal results, consider having your garden soil tested. This test will provide specific insights into the nutrient levels and pH of your soil, allowing you to tailor your fertilization strategy more precisely to the needs of your Brussels sprouts.
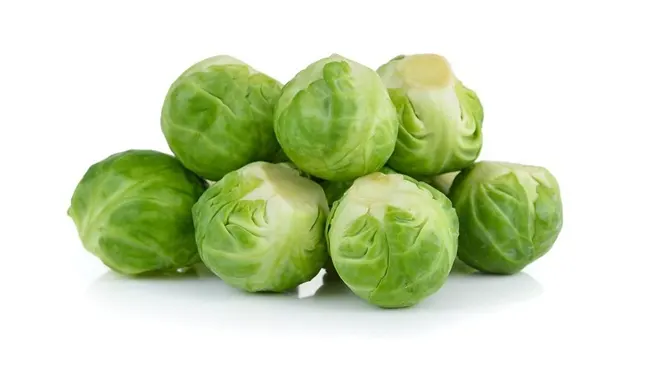
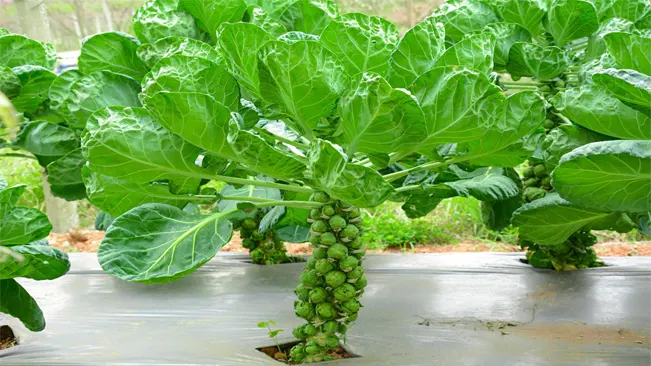
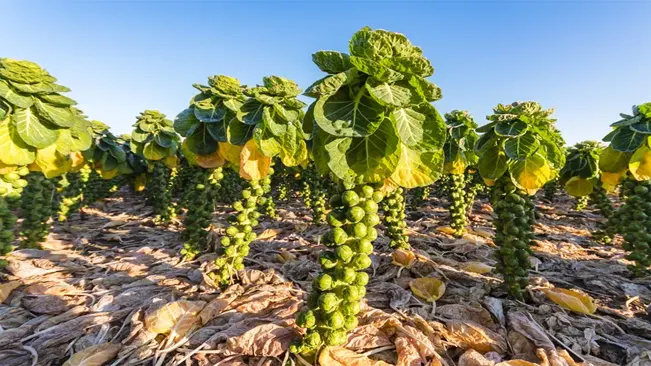
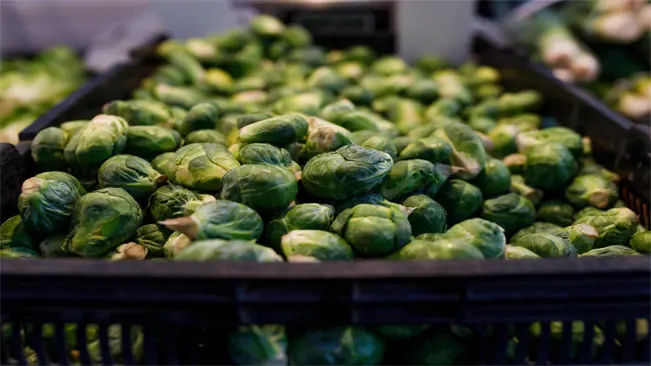
Harvesting
Brussels sprouts are ready to harvest when the sprouts are firm, green, and about 1-2 inches in diameter. Harvest from the bottom of the stalk upward, as the lower sprouts mature first. A light frost can improve their flavor.
Timing and Indicators for Harvesting
- The timing for harvesting Brussels sprouts is crucial for achieving the best flavor and texture. Typically, they are ready to harvest 90 to 180 days after planting, depending on the variety.
- The sprouts should be firm, green, and typically 1-2 inches in diameter. Smaller sprouts tend to be more tender and flavorful.
- The readiness of sprouts can also be indicated by the tightness of the leaves around each sprout. Ideally, the leaves should be closed tightly around the sprout.
Method of Harvesting
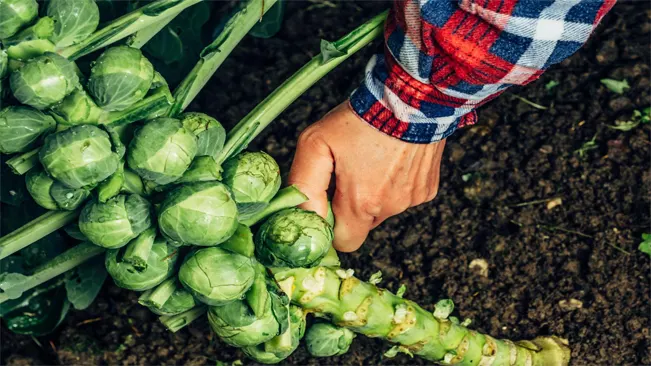
- Start harvesting from the bottom of the stalk. The lower sprouts mature faster than those at the top.
- To harvest, twist the sprout off the stalk or cut it with a sharp knife. Be careful not to damage the stalk, as it will continue to produce more sprouts.
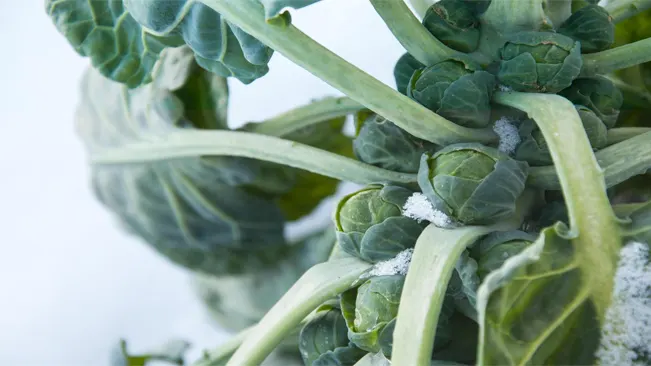
Effect of Frost
- Brussels sprouts are known to benefit from exposure to light frost. The cold temperatures can enhance their flavor by converting some of their starches into sugars.
- If a frost is expected, you don’t necessarily need to harvest all the sprouts immediately. Those left on the stalk can become sweeter post-frost.
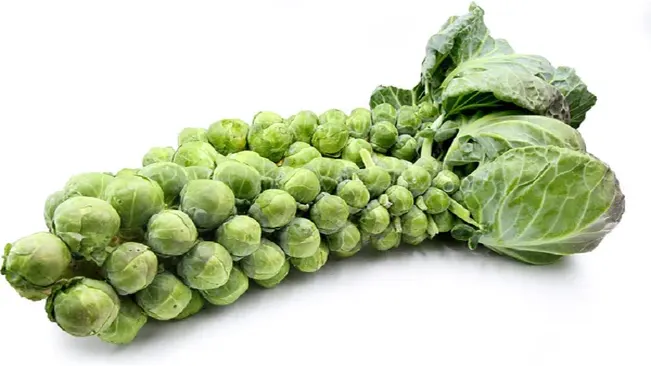
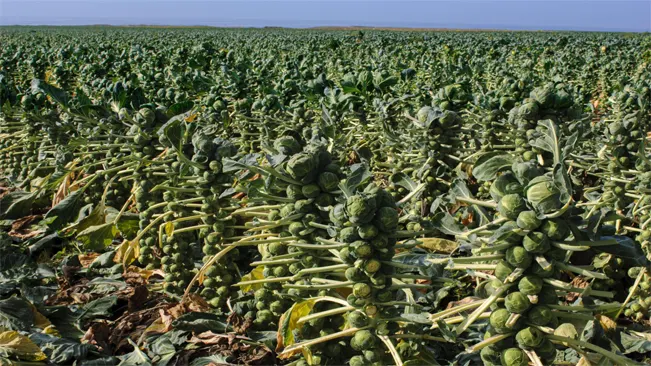
Continuous Harvest
- One stalk of Brussels sprouts can yield numerous sprouts over several weeks. As you remove mature sprouts from the bottom, new ones will continue to develop towards the top of the stalk.
- This continuous harvest makes Brussels sprouts a valuable crop for extended fresh produce during the fall and sometimes into early winter.
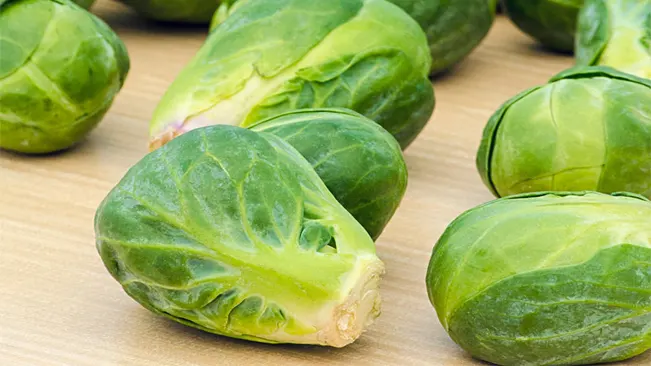
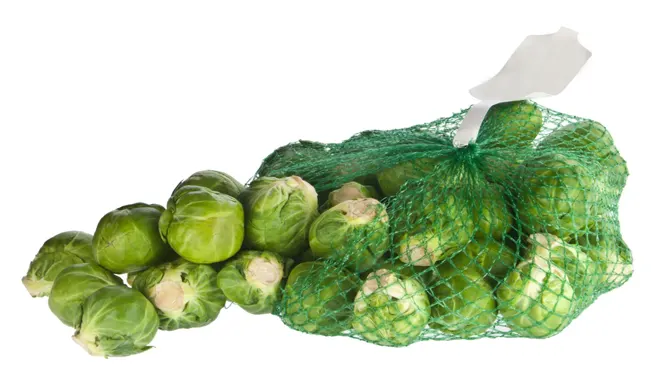
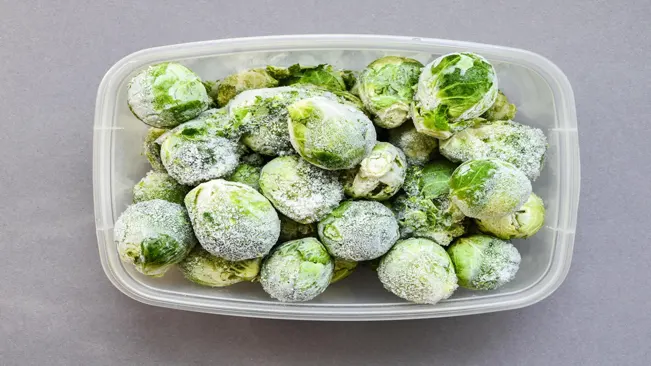
Storage and Usage
After harvesting, Brussels sprouts can be stored in a cool, dry place or refrigerated for several weeks. They can be cooked in various ways, such as roasting, steaming, or sautéing, and are a great addition to many dishes.
Storage Tips
- Refrigeration: Store Brussels sprouts in the refrigerator for the best shelf life. Place them in a plastic bag with some air holes for ventilation. This method can keep them fresh for several weeks.
- Freezing: For longer storage, Brussels sprouts can be frozen. Blanch them in boiling water for a few minutes, then plunge into ice water to stop the cooking process. Drain and freeze in airtight containers or freezer bags.
- Cool, Dry Storage: If you have a cool, dry cellar or similar storage area, Brussels sprouts can be kept there for a short period. However, they last longer and retain better texture when refrigerated.
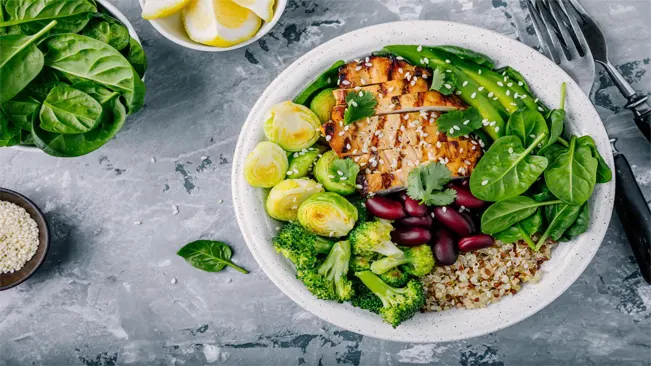
Usage in Cooking
Roasting
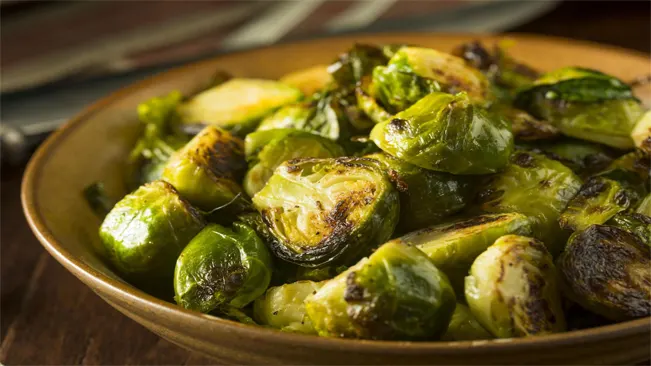
- Roasting Brussels sprouts with a bit of olive oil, salt, and pepper brings out their natural sweetness and adds a delightful crispiness. You can enhance the flavor with garlic, balsamic vinegar, or parmesan cheese.
Steaming
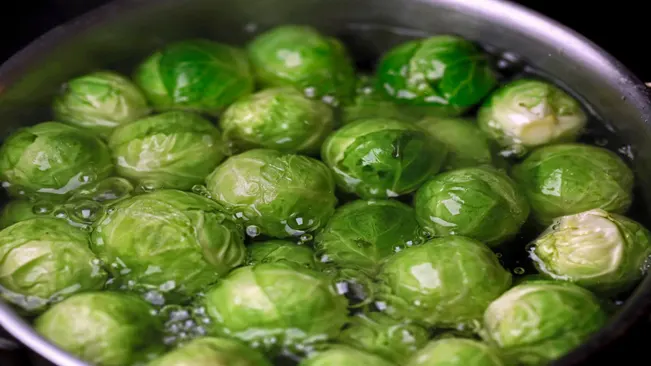
- Steaming is a healthy way to prepare Brussels sprouts, retaining most of their nutrients. It results in a tender texture and can be seasoned simply with salt, pepper, and a dab of butter.
Sautéing
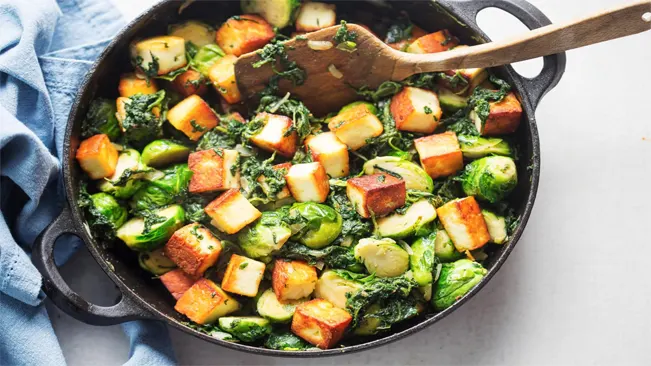
- Sautéed Brussels sprouts, especially when combined with ingredients like bacon, onions, or nuts, create a rich and flavorful side dish.
Raw in Salads
- Thinly sliced or shredded Brussels sprouts can be used raw in salads. They add a crunchy texture and a slightly nutty flavor.
Grilling
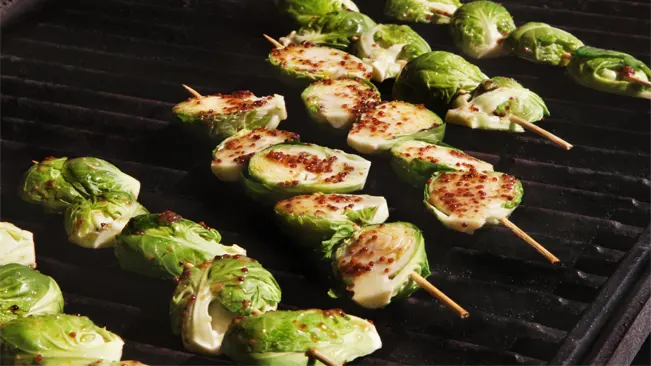
- Grilled Brussels sprouts, skewered or in a grill basket, develop a smoky flavor, ideal for summer barbecues.
Pest and Disease Management
Watch out for common pests like aphids, caterpillars, and cabbage worms. Use organic pest control methods like neem oil, insecticidal soap, or encourage beneficial insects. Prevent diseases by practicing crop rotation and ensuring good air circulation around the plants.
Pest Management
- Common Pests
- Aphids: Small, soft-bodied insects that can cause leaf curling and stunted growth.
- Caterpillars and Cabbage Worms: These larvae feed on the leaves, creating holes and potentially ruining the crop.
- Cabbage Loopers: Similar to caterpillars, they chew large holes in the leaves.
- Organic Pest Control Methods
- Neem Oil: An effective, natural pesticide that disrupts the life cycle of pests without harming beneficial insects.
- Insecticidal Soap: Useful for controlling aphids, it works by breaking down the insect’s outer layer.
- Beneficial Insects: Attracting predators like ladybugs, lacewings, and parasitic wasps can naturally reduce pest populations.
- Physical Barriers
- Using row covers can prevent pests from reaching the plants, especially useful for deterring moths that lay eggs (future caterpillars).
Disease Management
- Common Diseases
- Clubroot: A soil-borne disease that causes swollen, deformed roots, leading to stunted growth.
- Downy Mildew: Appears as yellow patches on leaves, eventually leading to browning and decay.
- Black Rot: Identified by yellowing leaves with V-shaped lesions, it can devastate a crop.
- Preventive Measures
- Crop Rotation: Avoid planting Brussels sprouts or other Brassica family members in the same spot year after year to prevent soil-borne diseases.
- Good Air Circulation: Space plants properly and prune excess leaves to promote air movement, reducing the risk of fungal diseases.
- Sanitation: Regularly remove any fallen or diseased leaves to minimize the spread of pathogens.
- Soil Health
- Maintaining healthy soil through the addition of organic matter can enhance the resilience of plants against diseases.
Conclusion
In conclusion, growing Brussels sprouts is a rewarding endeavor that enriches your garden with a nutritious and versatile vegetable. By providing them with well-drained soil, adequate sunlight, and regular watering, you can cultivate healthy plants. Proper spacing, timely fertilization, and pest management are crucial for optimal growth. With patience and care, you can enjoy the unique flavor and numerous health benefits of home-grown Brussels sprouts.
FAQs (Frequently Asked Questions)
- When is the best time to plant Brussels sprouts?
- Plant Brussels sprouts in early spring for a summer harvest or in mid to late summer for a fall harvest. They thrive in cooler weather and can tolerate light frost.
- Plant Brussels sprouts in early spring for a summer harvest or in mid to late summer for a fall harvest. They thrive in cooler weather and can tolerate light frost.
- How long do Brussels sprouts take to grow?
- Brussels sprouts typically take about 90 to 180 days to mature, depending on the variety.
- Brussels sprouts typically take about 90 to 180 days to mature, depending on the variety.
- What kind of soil is best for growing Brussels sprouts?
- They prefer well-drained, fertile soil with a pH between 6.0 and 7.5. Amend the soil with organic compost for best results.
- They prefer well-drained, fertile soil with a pH between 6.0 and 7.5. Amend the soil with organic compost for best results.
- How much sunlight do Brussels sprouts need?
- They require full sun, meaning at least 6 hours of direct sunlight per day.
- They require full sun, meaning at least 6 hours of direct sunlight per day.
- How often should I water Brussels sprouts?
- Water them regularly to keep the soil consistently moist but not waterlogged, aiming for about 1 to 1.5 inches of water per week.
- Water them regularly to keep the soil consistently moist but not waterlogged, aiming for about 1 to 1.5 inches of water per week.
- Do Brussels sprouts need fertilizer?
- Yes, apply a balanced, slow-release fertilizer at planting and again mid-season. Avoid high nitrogen fertilizers late in the season.
- Yes, apply a balanced, slow-release fertilizer at planting and again mid-season. Avoid high nitrogen fertilizers late in the season.
- How far apart should I plant Brussels sprouts?
- Space seedlings 18 to 24 inches apart in rows that are 30 inches apart.
- Space seedlings 18 to 24 inches apart in rows that are 30 inches apart.
- How do I protect Brussels sprouts from pests?
- Regularly inspect for pests like aphids and caterpillars. Use organic pesticides like neem oil or encourage beneficial insects in your garden.
- Regularly inspect for pests like aphids and caterpillars. Use organic pesticides like neem oil or encourage beneficial insects in your garden.
- When and how do I harvest Brussels sprouts?
- Harvest them when the sprouts are firm and about 1 to 2 inches in diameter, starting from the bottom of the stalk. Twist and snap them off the stalk.
- Harvest them when the sprouts are firm and about 1 to 2 inches in diameter, starting from the bottom of the stalk. Twist and snap them off the stalk.
- Can Brussels sprouts survive frost?
- Yes, Brussels sprouts are frost-tolerant. In fact, a light frost can improve their flavor.

Kristine Moore
Forestry AuthorI'm Kristine Moore, a seasoned garden landscaping professional with over 30 years of experience. My extensive career has been dedicated to transforming outdoor spaces into stunning, sustainable landscapes. With a deep understanding of horticulture, design principles, and environmental stewardship, I have become a respected figure in the field, known for creating harmonious, visually appealing, and eco-friendly gardens. My commitment to excellence and continuous learning in landscaping trends and techniques has solidified my reputation as an expert in garden design and implementation.


Leave your comment