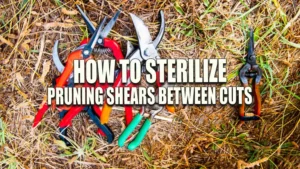
How to Sharpen Fiskars Pruning Shears
- February 12, 2024
- 0 comment
Learn to sharpen Fiskars Pruning Shears for optimal performance. Quick, easy steps to maintain your gardening tool’s edge. Perfect for gardeners. Maintaining the sharpness of your Fiskars Pruning Shears is crucial for ensuring clean cuts, promoting healthy plant growth, and enhancing your gardening experience. Over time, even the best tools can become dull, making gardening tasks more challenging and less efficient. Fortunately, sharpening Fiskars Pruning Shears is a straightforward process that can be done at home with a few simple tools.
This guide will walk you through the necessary steps to restore your shears to their original sharpness, ensuring they’re always ready for your gardening needs. Whether you’re a seasoned gardener or just starting out, keeping your pruning shears in top condition is key to achieving those perfect, effortless cuts every time.
Step-by-Step Guide to Sharpening Fiskars Pruning Shears
- Cleaning the Shears
- Dismantling the Shears
- Inspecting the Blades
- Sharpening the Blade
- Checking Your Work
- Reassembling the Shears
- Testing the Sharpness
What is Fiskars Pruning Shears?
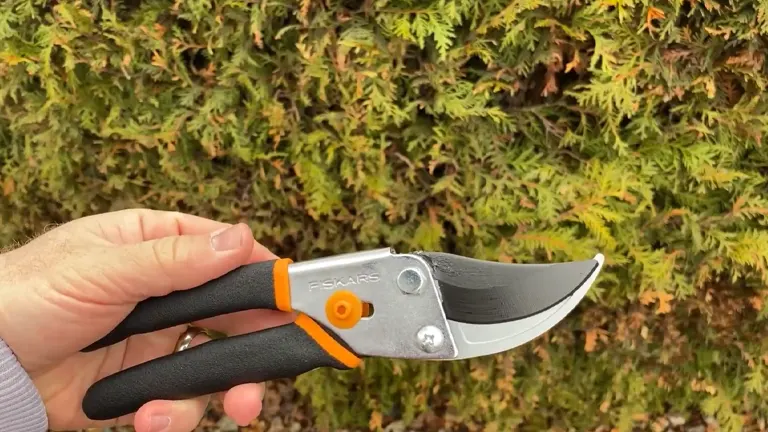
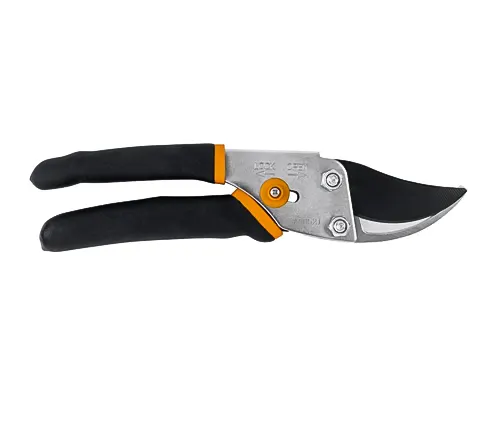
Fiskars pruning shears are a highly regarded tool among gardeners and landscapers, known for their durability, ergonomic design, and efficient cutting performance. Crafted by Fiskars, a company with a long history of producing quality garden tools, these shears feature sharp, precision-ground blades made from high-quality steel, ensuring clean and precise cuts with minimal effort. The handles are designed for comfort and ease of use, often incorporating Softgrip touchpoints or ergonomically shaped grips to reduce hand fatigue during extended use. Fiskars offers a variety of models to suit different pruning tasks, from lightweight snippers for fine trimming to more robust models capable of cutting through thicker branches. With a reputation for reliability and backed by warranties, Fiskars pruning shears are an essential tool for anyone looking to maintain healthy plants and beautiful landscapes with precision and ease.
| Specification | Detail |
|---|---|
| Product Name | Fiskars Bypass Pruning Shears (5/8” Garden Clippers) |
| Cutting Capacity | 5/8 inch (approx. 16mm) |
| Item Weight | 10.4 Ounces |
| Style | Bypass Pruner |
| Product Dimensions | 9.07″L x 2.47″W |
| Blade Material | Alloy Steel |
| Handle Material | Steel, Wood |
| Blade Edge | Serrated |
| Blade Type | Bypass |
| Hand Orientation | Ambidextrous |
| Point Style | Round point |
| Cutting Width | 0.63 Inches |
| Average Price | $13.98 – $14.10 |
Why Sharpness Matters
Sharp pruning shears are crucial for several reasons. Firstly, they make gardening tasks easier and more efficient, allowing for precise cuts with minimal effort. More importantly, sharp shears ensure clean cuts on plants, which is vital for their health and recovery. Clean cuts heal faster and reduce the risk of disease and pest infestation, whereas dull shears can crush stems and branches, leading to damage and potentially harming the plant’s overall health.
Recognizing Dull Shears
Recognizing when your shears have become dull is key to timely maintenance. Difficulty cutting, jagged cuts, or the shears failing to close cleanly are clear indicators. Regular checks will help you maintain your shears’ effectiveness and prevent damage to your plants.
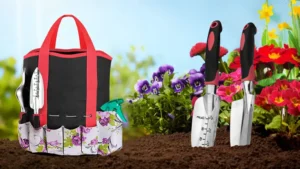
Tools and Materials Needed
Before you begin the sharpening process, gather the following tools and materials:
- A sharpening stone or file suited for pruning shears.
- Soapy water and a cleaning cloth for cleaning the shears.
- Protective gloves to safeguard your hands during the process.
- Optional: a vise or clamp to hold the shears steady while you work.
Safety First
Safety should always be your top priority when sharpening pruning shears. Before you begin, ensure you’re wearing protective gloves to prevent cuts and injuries. Work in a well-lit area where you have a stable surface to work on. By taking these precautions, you can focus on sharpening your shears effectively and safely. Here’s an expanded list of safety precautions:
- Wear Protective Gear: Always wear thick, cut-resistant gloves to protect your hands from sharp edges. Consider safety goggles to shield your eyes from metal filings or debris that could be dislodged during sharpening.
- Choose a Well-lit Workspace: Adequate lighting is crucial to clearly see the work area and avoid mishaps. Natural light is best, but if that’s not possible, ensure your workspace is well-lit with artificial lighting.
- Work on a Stable Surface: Use a sturdy table or workbench that won’t wobble or shift while you’re applying pressure during the sharpening process. A stable surface ensures control and precision.
- Keep a First Aid Kit Nearby: Accidents can happen, so it’s wise to have a first aid kit within easy reach. The kit should include antiseptic wipes, adhesive bandages, and sterile gauze for treating any minor cuts or abrasions immediately.
- Secure the Shears: If possible, use a vise or clamp to securely hold the shears in place while you sharpen them. This frees up both hands for safer handling of the sharpening tools and reduces the risk of the shears slipping.
- Use the Right Tools: Ensure that the sharpening stone or file you’re using is intended for pruning shears. The correct tools will make the job easier and safer.
- Follow Manufacturer Instructions: Before dismantling or sharpening the shears, refer to the manufacturer’s instructions. This can provide specific safety tips related to your model, ensuring you don’t inadvertently damage the shears or put yourself at risk.
- Be Mindful of Your Surroundings: Ensure no one else is within close proximity while you’re working to avoid accidental injuries to bystanders, especially children and pets.
- Dispose of Sharpening Debris Properly: Metal filings and debris should be cleaned up and disposed of immediately to prevent accidental cuts or ingestion by pets and children.
- Regular Breaks: Take regular breaks during the sharpening process to prevent fatigue, which can lead to accidents. This is especially important if you’re working on multiple tools at once.
Step-by-Step Guide to Sharpening Fiskars Pruning Shears
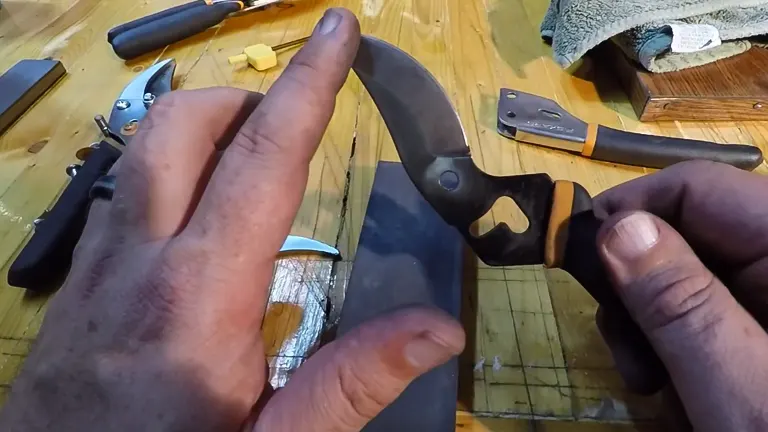
Step 1: Cleaning the Shears
The first step in the sharpening process is to ensure that your Fiskars pruning shears are clean. Any dirt, sap, or rust on the blades can hinder the sharpening process and potentially damage the shears. Here’s how to properly clean your shears:
- Wipe Down the Blades: Use a clean, soft cloth to wipe away any surface dirt or moisture from the blades.
- Remove Sap and Residue: If sap or other sticky substances have accumulated on the blades, apply a bit of rubbing alcohol on a cloth and gently scrub the affected areas. This will help in breaking down the sap, making it easier to remove.
- Address Rust: If there are any signs of rust on the blades, use a wire brush or fine steel wool to gently scrub it off. This not only cleans the shears but also prevents the rust from spreading further.
After cleaning, wipe the shears down once more to ensure they are completely dry before proceeding to the next step.
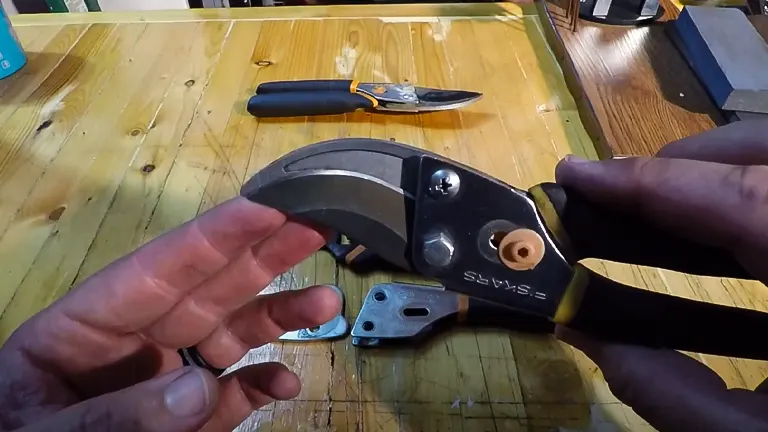
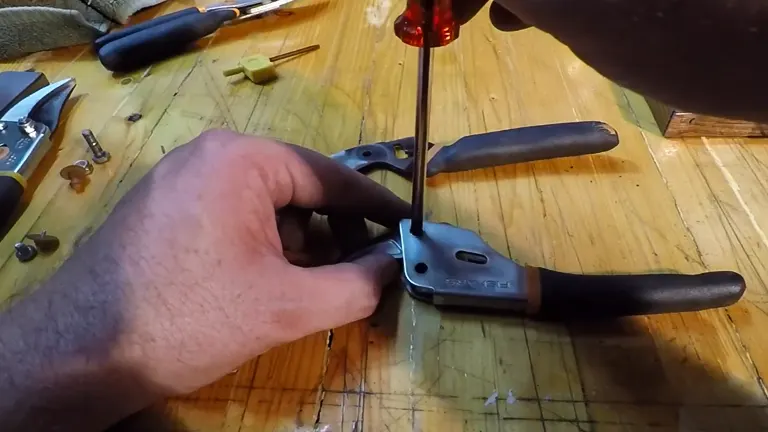
Step 2: Dismantling the Shears (If Applicable)
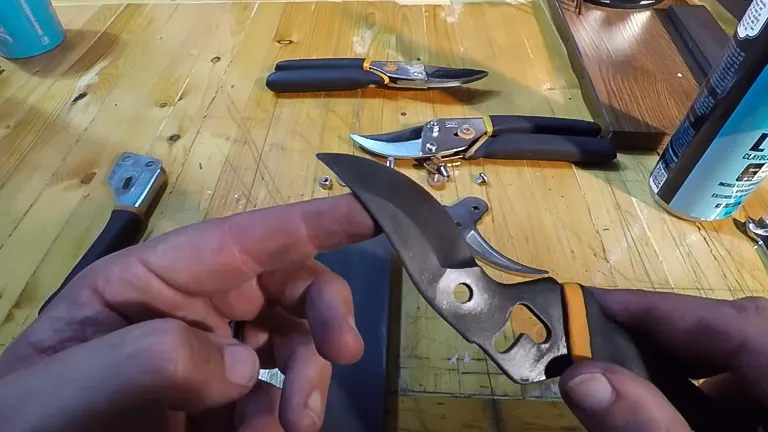
Not all Fiskars pruning shears models are designed to be taken apart, but if yours can be dismantled, doing so can make sharpening easier and more thorough.
- Consult the Manual: Before attempting to dismantle your shears, consult the manufacturer’s manual to understand the correct procedure and ensure that dismantling won’t void any warranty.
- Use the Right Tools: If the shears are designed to be taken apart, typically, a screw or bolt holds them together. Use an appropriate screwdriver or wrench to carefully loosen and remove this, keeping all parts organized.
- Handle With Care: As you dismantle the shears, take note of how each part fits together. This will be crucial for reassembling them correctly after sharpening.
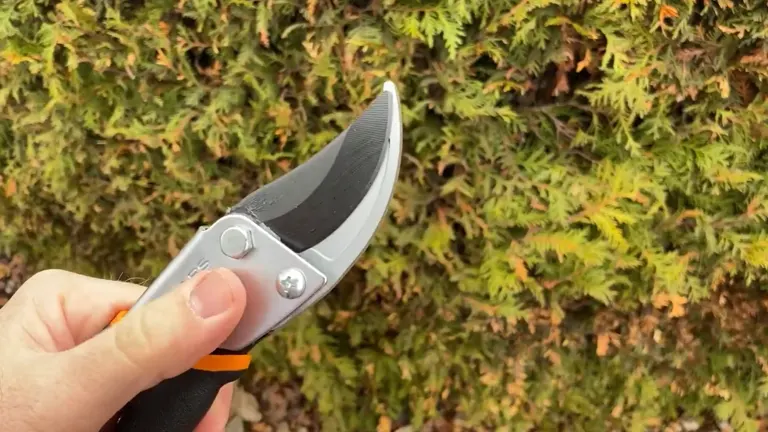
Step 3: Inspecting the Blades
Before sharpening, it’s essential to inspect the blades for any damage that sharpening alone might not fix, such as deep nicks or bends in the metal.
- Look for Major Flaws: Check the blades for any significant damage. Small nicks can often be smoothed out during the sharpening process, but larger defects may require professional attention.
- Assess Blade Condition: Ensure that the blades are still in good enough condition to warrant sharpening. Severely damaged or worn blades might need to be replaced rather than sharpened.
Building on the foundational steps of cleaning, dismantling (if applicable), and inspecting your Fiskars pruning shears, we now move to the core of the process—sharpening the blade. This section is pivotal in restoring your shears to their optimal cutting efficiency.
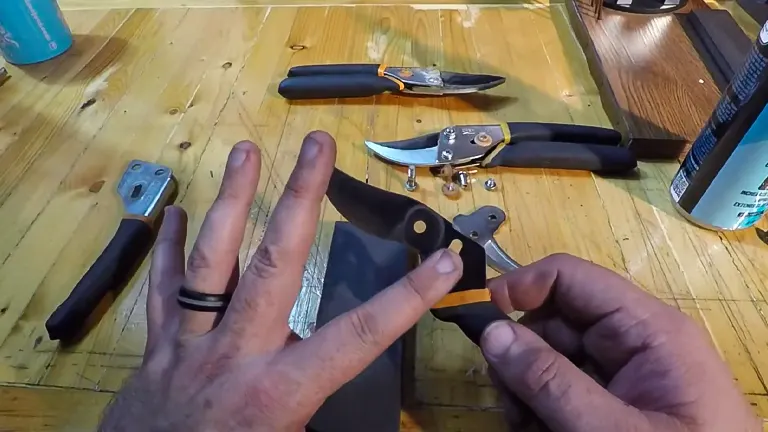
Step 4: Sharpening the Blade
With the shears prepared, it’s time to sharpen the blade. This step requires patience and attention to detail to ensure a sharp, even edge.
- Prepare the Sharpening Stone: Begin by moistening your sharpening stone with water or oil, depending on the type of stone you’re using. A lubricated stone reduces friction and helps remove the metal filings from the blade as you sharpen.
- Find the Right Angle: The blade should be sharpened at the same angle as the original edge, typically between 10 to 20 degrees. Maintaining this angle is crucial for effective sharpening.
- Start Sharpening: Hold the handle of the shears in one hand and the sharpening stone in the other. With smooth, even strokes, slide the stone along the length of the blade edge, working from the base to the tip. Repeat this motion approximately 5 to 10 times, checking progress as you go.
- Maintain Consistency: Ensure that each stroke is consistent in both pressure and angle. This uniformity is key to achieving a sharp edge without creating uneven spots.
- Flip and Repeat for the Other Blade (If Applicable): If both blades of your shears are cutting edges, repeat the sharpening process on the second blade, ensuring to maintain the same angle and consistency.
Step 5: Checking Your Work
After sharpening, it’s important to check the blade’s sharpness and make any necessary adjustments.
- Visual Inspection: Examine the blade edge for any uneven spots or remaining dull areas. The edge should look uniform and sharp along its entire length.
- Test the Sharpness: Carefully and safely test the sharpness by making a few test cuts on a soft material, such as a piece of paper or thin plant stem. The cuts should be clean and effortless.
- Make Adjustments If Needed: If the blade isn’t as sharp as desired, repeat the sharpening process, focusing on any areas that need improvement. Remember, patience is key to achieving a finely honed edge.
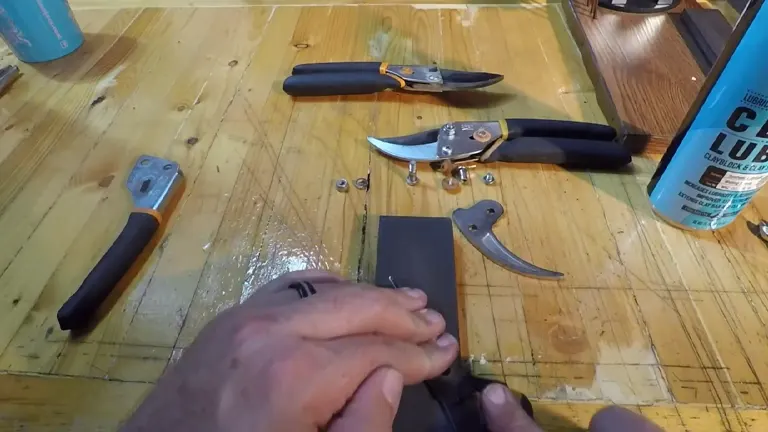
Step 6: Reassembling the Shears (If Dismantled)
If you dismantled your shears for sharpening, reassembly is the final step before getting back to gardening.
- Reassemble Carefully: Refer back to any notes or photos you took during disassembly to ensure each part is reassembled correctly. Align all parts in their original positions.
- Secure the Fasteners: Tighten the screw or bolt that holds the shears together. Ensure it’s snug but not overly tight— the blades should move smoothly without too much play.
- Function Test: Open and close the shears several times to check for smooth operation. Apply a few drops of lubricating oil to the pivot point and blades to reduce friction and prevent rust.
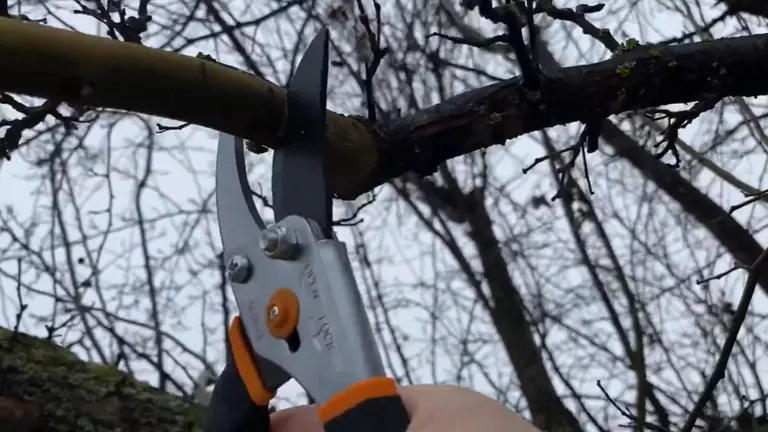
Step 7: Testing the Sharpness
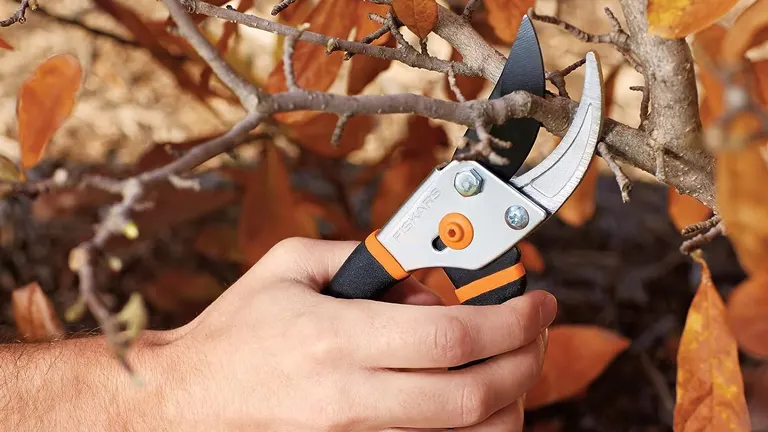
After sharpening, it’s important to test the shears to ensure they’re ready for use. A simple test is to cut through a piece of paper or a thin twig. The shears should slice through easily and cleanly. If the cut is jagged or requires excessive force, some additional sharpening may be necessary.
Aftercare and Maintenance
Proper aftercare and routine maintenance are key to extending the sharpness and overall lifespan of your Fiskars Pruning Shears. Not only do these practices keep the shears in top working condition, but they also contribute to more efficient and enjoyable gardening tasks. Here’s an expanded guide to ensure your tools remain reliable season after season:
- Thorough Cleaning Post-Use: After each use, remove sap, dirt, and debris to prevent build-up that can corrode the blades or hinder their movement. Use soapy water and a scrub brush for tough residues, and finish with a rinse and a thorough dry using a clean cloth. For sticky sap, a solution of water and rubbing alcohol can be particularly effective.
- Detailed Inspection for Damage: While cleaning, inspect your shears for any signs of wear or damage, such as nicks in the blade or loose components. Catching and addressing these issues early can prevent more serious problems down the line.
- Lubrication Is Key: Apply a few drops of a light machine oil or a silicone-based lubricant to the blades and the pivot point after cleaning. This step is crucial not only after use but also periodically during periods of storage. Lubrication helps to repel moisture, prevent rust, and ensure smooth action during cuts.
- Proper Storage Solutions: Store your shears in a dry, cool place to avoid exposure to moisture that can lead to rust. Use a protective sheath or blade cover to safeguard the edges and prevent accidents. Hanging your shears on a tool rack or placing them in a toolbox can also prevent unnecessary wear.
- Periodic Sharpening and Adjustment: Beyond keeping the blades sharp, periodically check and adjust the tension screw or bolt at the pivot point, as proper tension ensures efficient operation. Loose shears can damage plants and cause hand fatigue, while overly tight shears can be difficult to use.
- Protect Against Corrosion: If your shears have developed rust, tackle it early. Use a fine steel wool or a specialized rust remover to clean the blades, followed by thorough drying and lubrication.
- Handle Care: Don’t neglect the handles. If your shears have wooden handles, consider lightly sanding them once a year and applying a coat of linseed oil to keep them in good condition and comfortable to use.
- Seasonal Preparation: Before the gardening season begins, and again before winter storage, give your shears a complete maintenance run-through. This includes deep cleaning, sharpening, tightening any loose parts, and applying a protective coat of oil.
Regular maintenance, including periodic sharpening, cleaning, and oiling, will keep your Fiskars Pruning Shears in top condition, making your gardening tasks more enjoyable and efficient.
Conclusion
Sharp pruning shears are essential for healthy plants and efficient gardening. By following these steps to maintain the sharpness of your Fiskars Pruning Shears, you’ll ensure that your gardening tools are always ready for action. Regular care not only prolongs the life of your shears but also makes your gardening work easier and more enjoyable.
FAQs
- How often should I sharpen my Fiskars Pruning Shears?
Sharpen your shears at the beginning and end of the main gardening season or whenever you notice a decline in cutting performance. Regular users might need to sharpen their shears more frequently. - Can I sharpen my Fiskars Pruning Shears at home, or do I need professional help?
You can sharpen them at home using a sharpening stone or file. However, if the shears are significantly dull or damaged, professional sharpening might be necessary. - What type of sharpening tool is best for Fiskars Pruning Shears?
A diamond file or a whetstone with a fine to medium grit is most effective for maintaining the sharpness of the blades. - Do I need to dismantle my pruning shears to sharpen them?
It’s not always necessary to dismantle them for sharpening. However, disassembling can make the process easier and allow for a more thorough cleaning and sharpening, especially if the model permits easy disassembly. - Is there a specific angle I should maintain while sharpening the blades?
Yes, maintaining an angle of approximately 10 to 20 degrees to the blade’s edge is crucial for effective sharpening, aligning with the original blade angle for optimal sharpness. - How can I test the sharpness of my shears after sharpening?
Carefully making a few test cuts on a soft material, like paper or a thin plant stem, can help assess sharpness. The shears should cut cleanly and with little effort. - What safety precautions should I take when sharpening my shears?
Wear thick, cut-resistant gloves and work in a well-lit area on a stable surface. Keeping a first aid kit nearby is also advisable. - How do I care for my shears after sharpening?
Clean any metal filings off the shears, apply a light oil to the blades and moving parts to prevent rust, and store them in a dry, safe place. Regular maintenance will keep them in top condition.
With these tips in hand, you’re now equipped to keep your Fiskars Pruning Shears in prime condition, ensuring every cut is clean and precise. Embrace the simplicity of this maintenance routine and let your garden thrive under your expert care. Here’s to the many fruitful pruning sessions ahead!

Benjamin Brooks
Forestry AuthorGreetings! I'm Benjamin Brooks, and my journey over the past 15 years has revolved around the fascinating realms of content creation, expertise in snow clearing, and the intricate world of lumberjacking and landscaping. What began as a simple curiosity about the natural world and heavy machinery has evolved into a passionate profession where my love for crafting words intertwines seamlessly with my lumberjacking and garden skills.

Leave your comment