How to Grow Thyme Seeds: A Step-by-Step Guide for Flavorful Gardens
- February 28, 2024
- 0 comment
Thyme, a versatile and aromatic herb, is a delightful addition to any garden or windowsill. Not only is it a culinary staple, but it also boasts lovely, delicate flowers that can attract bees and butterflies. Planting thyme from seeds can be a rewarding endeavor, and with the right care, these herbs will flourish. Here’s your step-by-step guide to planting thyme seeds.
Nutritional Benefits of Thyme
| Benefit | Description |
|---|---|
| Antimicrobial Properties | Thyme contains compounds like thymol and carvacrol which have been shown to have antimicrobial properties. |
| High in Vitamins and Minerals | Rich in vitamins C and A, thyme is also a good source of iron, manganese, and calcium. |
| Respiratory Health | Thyme has been traditionally used to help treat respiratory conditions like bronchitis and coughs. |
| Mood Enhancement | Thyme is believed to positively impact mood and reduce feelings of stress when used in aromatherapy. |
| Culinary Versatility | A popular culinary herb, thyme is used in a variety of dishes to add flavor without overwhelming other ingredients. |
| Garden Benefits | Thyme attracts bees and butterflies, making it an excellent plant for pollinator-friendly gardens. |
| Skin Care | Thyme oil and extracts are often used in skin care products for their antiseptic and anti-inflammatory properties. |
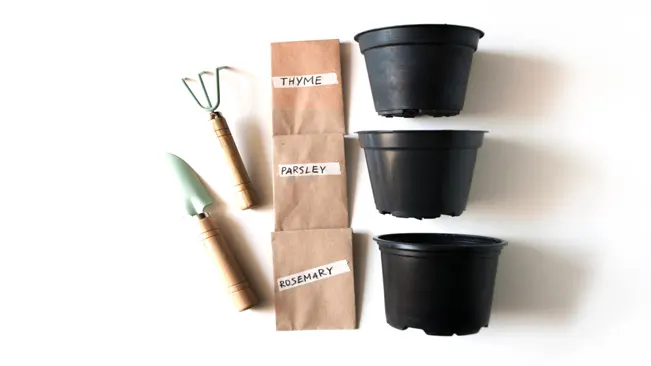
List on How To Grow Thyme Seeds
- Choosing Your Thyme Seeds
- When to Plant
- Preparing the Soil
- Sowing the Seeds
- Germination
- Watering and Care
- Thinning Seedlings
- Harvesting
Choosing Your Thyme Seeds
Before you start, decide which variety of thyme you’d like to grow. Common thyme (Thymus vulgaris) is widely used in cooking, but there are other varieties like lemon thyme or creeping thyme that have unique flavors and growth habits. Purchase your seeds from a reliable source to ensure quality.
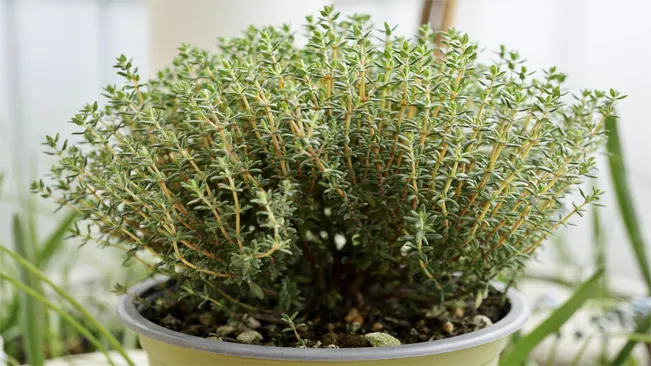
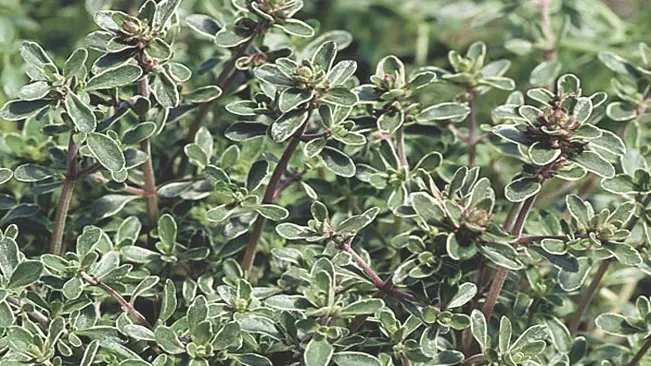
Common Thyme (Thymus vulgaris)
- This is the most widely used variety in cooking. It’s known for its strong, classic thyme flavor, making it an essential herb in many cuisines, particularly Mediterranean.
- It grows into a small, shrub-like plant with tiny, aromatic green leaves.
- Ideal for use in soups, stews, and seasoning meats.
Lemon Thyme (Thymus citriodorus)
- As the name suggests, this variety has a delightful lemon scent and flavor, adding a citrusy twist to the traditional thyme taste.
- It’s excellent for seasoning chicken, fish, and vegetable dishes.
- Lemon thyme has variegated green and yellow leaves, making it not only useful in the kitchen but also attractive in the garden.
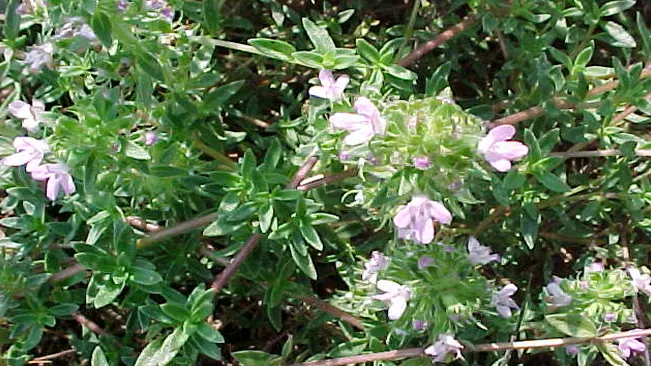
Creeping Thyme (Thymus serpyllum)
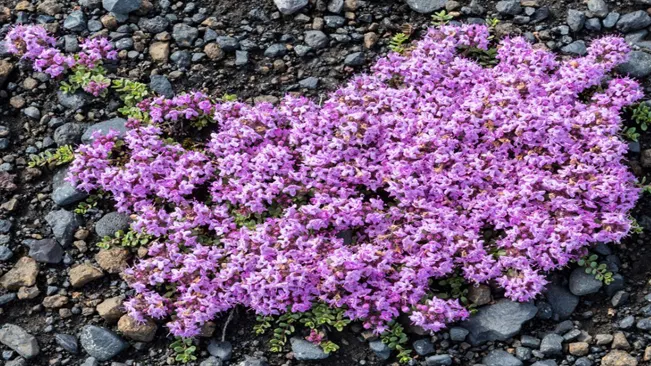
- This variety is known for its ground-covering habit, often used in rock gardens, borders, or as a lawn substitute.
- It has small, fragrant leaves and produces pretty pink or purple flowers, attracting pollinators like bees and butterflies.
- While it can be used in cooking, it’s primarily grown for its ornamental value and pleasant aroma.
Silver Thyme (Thymus vulgaris ‘Argenteus’)
- A variegated type of common thyme, it features green leaves with white edges, making it an aesthetically pleasing choice for gardens.
- It has a similar flavor profile to common thyme and can be used interchangeably in recipes.
Caraway Thyme (Thymus Herba-Barona)
- This variety has a unique caraway scent, which is why it’s sometimes used in dishes that call for caraway.
- It’s low-growing and works well as a ground cover or in rock gardens.
When choosing thyme seeds, consider the following:
- Purpose: Decide whether you’re growing thyme primarily for culinary uses, ornamental purposes, or both.
- Flavor Preference: Each variety has a unique flavor profile. For example, choose lemon thyme if you enjoy citrus notes in your dishes.
- Growth Habit: Consider the space where you’ll be planting. Creeping thymes are great for ground covers, while upright varieties like common thyme are better suited for herb gardens or pots.
- Climate and Soil: While thyme is generally hardy, some varieties may be better suited to your local climate and soil conditions.
When to Plant
Thyme seeds should be started indoors 6-8 weeks before the last frost date in your area. This herb prefers warmer temperatures for germination and early growth.
- Start Indoors: Thyme seeds are best started indoors to protect them from the unpredictable elements of early spring. This indoor start gives them a controlled environment crucial for their initial growth phase.
- 6-8 Weeks Before Last Frost: The timing of 6-8 weeks before the last frost date is critical. This period allows the thyme seedlings to grow strong enough to withstand outdoor conditions. The exact timing will vary depending on your geographical location.
Why Timing Matters
- Frost Sensitivity: Thyme, especially in its early stages, is sensitive to frost and cold temperatures. Planting seeds outdoors before the last frost can damage or kill the young plants.
- Germination Temperature: Thyme seeds germinate best in warmer conditions. Indoors, you can provide a consistent temperature, ideally between 60°F and 70°F (15°C to 21°C), which is not always possible outdoors in early spring.
- Longer Growing Season: Starting seeds indoors extends the growing season. This is particularly beneficial in regions with shorter summers, as it gives the thyme plants more time to mature and thrive.
How to Determine the Last Frost Date
- Local Agricultural Extension: Your local agricultural extension office is a great resource for finding out the last frost date in your area. They provide localized, expert advice.
- Online Resources: Various gardening websites and online tools can help you determine the frost dates based on your ZIP code or geographic location.
- Gardeners’ Community: Local gardening groups or forums can be invaluable for sharing experiences and knowledge about frost dates and planting times in your area.
Importance in Planning
- Planning Your Garden: Knowing when to start your thyme seeds helps you plan the rest of your garden. Many other plants have specific planting times, so understanding your thyme’s needs helps in organizing your planting schedule.
- Successive Planting: If you plan to have a continuous supply of thyme, you might consider starting a few seeds at different times within that 6-8 week window.
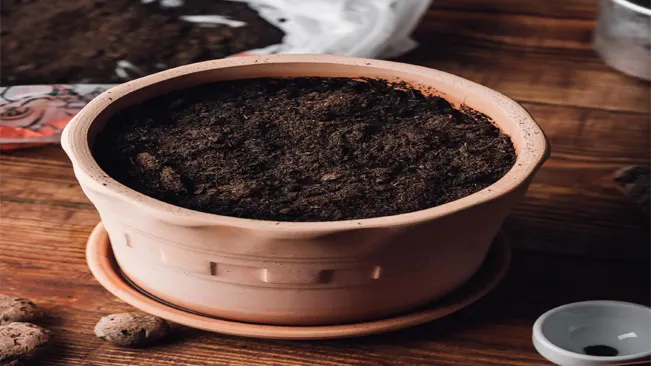
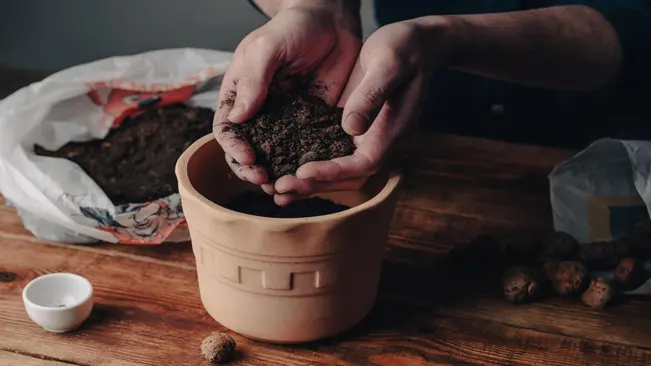
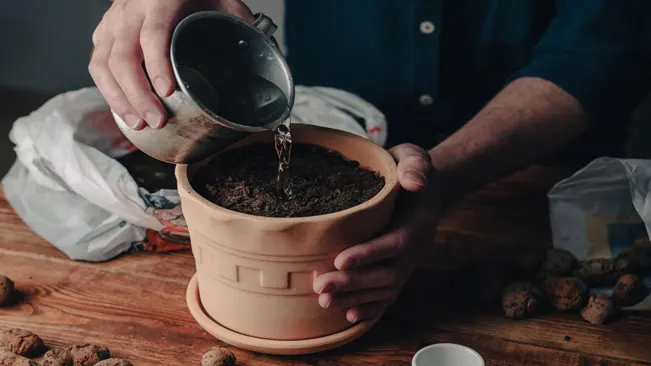
Preparing the Soil
Thyme thrives in well-drained soil with a neutral to slightly alkaline pH. Use a light, soilless mix for seed starting. Ensure your pots or seed trays have good drainage to prevent waterlogging, which can cause seed rot.
- Well-Drained Soil: Thyme does not like to sit in waterlogged soil. Good drainage is essential to prevent root rot and fungal diseases. The soil should allow water to pass through quickly while retaining enough moisture to keep the roots hydrated.
- pH Level: Thyme prefers a neutral to slightly alkaline pH, typically between 6.0 and 8.0. Soil that is too acidic can be amended with lime to raise the pH. Testing your soil’s pH can help you make the necessary adjustments.
Choosing the Right Soil Mix
- Soilless Mix for Seed Starting: When starting thyme seeds, it’s advisable to use a light, soilless mix. This type of mix usually contains a combination of peat moss, vermiculite, and perlite. It’s sterile, which helps prevent disease, and also retains moisture while allowing excess water to drain.
- Benefits of Soilless Mix: A soilless mix is free from weed seeds and pathogens, which is especially important for the delicate early stages of seed growth. It’s also lightweight and provides good aeration, important factors for the germination and growth of thyme seeds.
Ensuring Good Drainage
- Choosing Containers: Whether you’re planting in pots, containers, or seed trays, ensure they have drainage holes at the bottom. Good drainage is crucial to prevent water from pooling at the base, which can lead to overwatering issues.
- Improving Drainage in Garden Beds: If planting thyme directly in the garden, choose a location that is not prone to standing water. You can improve drainage by adding organic matter like compost or by creating a raised bed, which naturally improves water runoff.
Sowing the Seeds
Handling Tiny Seeds
- Thyme seeds are very small and delicate, which makes them somewhat challenging to handle. It’s a good practice to handle them in a calm, wind-free environment to avoid losing them. Some gardeners use a seed sower or a tweezers for precise placement, which can be especially helpful if you’re sowing multiple seeds in a tray or pot.
Sprinkling the Seeds
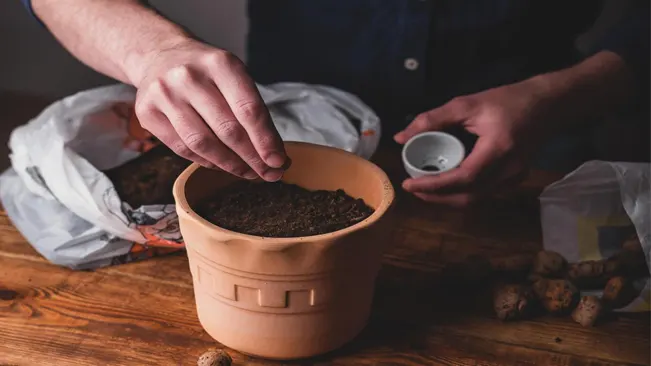
- The goal here is to distribute the seeds evenly across the soil surface. You can sprinkle the seeds directly from the packet, but for more control, pour them into your hand or onto a piece of paper and then gently tap to scatter them. This helps to prevent clumping, ensuring each seed has enough space to grow.
Gentle Pressing
- After sprinkling the seeds, lightly press them into the soil. This step is important for two reasons. First, it ensures that the seeds are in full contact with the moist soil, which is necessary for germination. Second, since thyme seeds require light to germinate, they should not be buried under the soil. A gentle press is all that’s needed to anchor them in place without covering them up.
Why Light is Important
- Some seeds, like those of thyme, are photoblastic, meaning they require light to trigger germination. This is why we don’t cover thyme seeds with soil. Instead, they are sown on the surface where they can receive ample light. Placing the seed containers in a well-lit area, but not in direct sunlight, is crucial during this stage.
Misting the Surface
- Watering is a critical step in the sowing process. However, due to the tiny size of thyme seeds, using a traditional watering can might displace or bury them under a stream of water. Instead, use a mist sprayer to gently moisten the soil surface. This provides the seeds with the necessary moisture without the risk of them being washed away or buried. The soil should be kept consistently moist but not waterlogged, as excessive moisture can lead to seed rot.
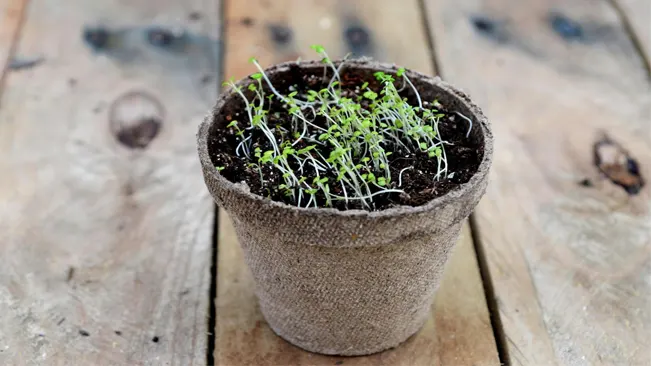
Germination
Germination is the process by which a seed develops into a new plant. This process begins when the seed absorbs water, swells, and eventually breaks through its shell or seed coat. In the case of thyme seeds, this process is dependent on several conditions being just right.
Optimal Conditions for Thyme Seed Germination
- Temperature: Thyme seeds germinate best at around 70°F (21°C). This is a moderate temperature that can be typically maintained indoors. The warmth helps to trigger the germination process and encourages steady growth.
- Light: Thyme seeds need light to germinate, which is why they are sown on the surface of the soil and not covered. Placing the pots in a well-lit area, but out of direct sunlight, provides the seeds with the necessary light without the risk of overheating or drying out too quickly.
- Moisture: Consistent moisture is crucial for germination. The seeds need to stay moist but not waterlogged. Covering the seed trays with plastic wrap creates a mini-greenhouse effect, maintaining humidity and warmth. However, it’s important to remove this cover as soon as you notice sprouts, to prevent mold growth and to allow the seedlings to receive proper air circulation.
- Time Frame: Thyme seeds can take anywhere from 14 to 28 days to germinate. This range accounts for variations in environmental conditions and seed viability. Patience is key during this period, as checking the seeds frequently and adjusting conditions may be necessary.
Tips for Successful Germination
- Even Watering: Use a spray bottle to mist the soil surface, ensuring even moisture without disturbing the tiny seeds.
- Avoid Overcrowding: Sowing too many seeds in a small area can lead to overcrowding, which can impede growth. Thin out seedlings if necessary once they’ve sprouted.
- Monitor Light and Temperature: If your home is not naturally at the ideal temperature, consider using a heat mat under the seed trays. Similarly, if natural light is not sufficient, a grow light can be a helpful supplement.
Post-Germination Care
- Once the seeds have sprouted and the seedlings begin to grow, they will require different care. This includes gradually introducing them to more direct sunlight, regular watering, and eventually transplanting them to larger pots or an outdoor garden.
Watering and Care
Thyme, like many Mediterranean herbs, prefers a well-drained soil environment and does not tolerate over-watering. Here are some key points to consider:
- Soil Moisture: The soil should be kept moist, especially during the germination and early growth stages. However, it’s crucial to avoid waterlogging the soil. Overly wet conditions can lead to root rot and fungal diseases.
- Watering Technique: Use a watering can with a fine spray to gently water the soil, ensuring even moisture. Avoid wetting the foliage, as this can increase the risk of fungal diseases.
- Checking Soil Moisture: Before watering, check the soil moisture by gently pressing your finger into the soil. If the top inch of soil feels dry, it’s time to water. If it still feels moist, wait a bit longer.
Providing Light
Light is another critical factor in the healthy growth of thyme
- Daily Light Requirements: Thyme seedlings need about 6-8 hours of light each day. This light should be bright but not necessarily direct sunlight, especially in very hot climates where it can be too intense.
- Natural vs. Artificial Light: If you’re growing thyme indoors or in a location that doesn’t get enough natural sunlight, consider using a grow light. Grow lights are specially designed to provide the spectrum of light that plants need for photosynthesis.
- Positioning Under Grow Lights: Place the seedlings under the grow light, ensuring they are close enough to benefit from the light but not so close that they overheat or dry out. Typically, a distance of a few inches is appropriate, but this can vary depending on the strength of your light.
Thinning Seedlings
Thinning refers to the process of removing some plants from a group of seedlings to reduce crowding. When seeds are sown, they are often placed quite close together. As they germinate and grow, they can become too crowded if all are left to grow to maturity. This overcrowding can lead to competition for light, space, nutrients, and water, which can hinder their growth and health.
Why is Thinning Important for Thyme Seedlings?
- Ensures Adequate Space: Thyme plants need enough room to develop a strong root system and healthy foliage. Proper spacing, as recommended about 8 inches apart, allows each thyme plant enough space to grow without competing with its neighbors.
- Reduces Competition: By thinning, you reduce the competition among seedlings for vital resources like sunlight, water, and nutrients. This is essential for the development of strong, healthy plants.
- Improves Air Circulation: Adequate space between plants ensures better air circulation, which is crucial for preventing fungal diseases and other issues that can arise in crowded, damp conditions.
- Enhances Sunlight Exposure: Each thyme plant will receive sufficient sunlight if they are properly spaced. This is particularly important for sun-loving herbs like thyme.
How to Thin Thyme Seedlings
- Wait for True Leaves: Thinning should be done once the seedlings are a few inches tall and have a couple of sets of true leaves (these are the leaves that appear after the initial, simpler seed leaves).
- Choose the Strongest Seedlings: Carefully select the healthiest and strongest-looking seedlings to keep. These are likely to grow into more robust plants.
- Gentle Removal: Use a pair of clean scissors or your fingers to gently remove the weaker seedlings. Be careful not to disturb the roots of the remaining plants.
- Consider Transplanting: If you have the space and resources, you can consider transplanting the thinned seedlings to another pot or area in your garden.
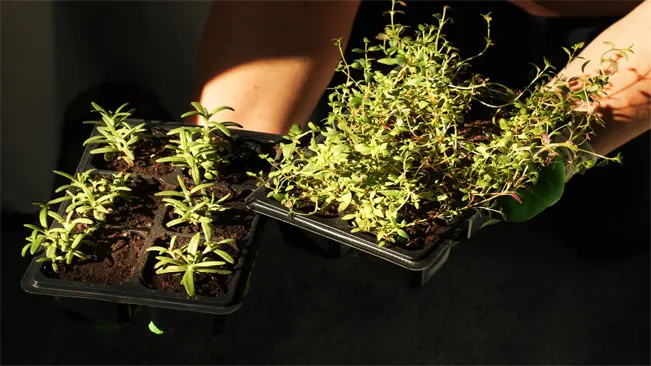
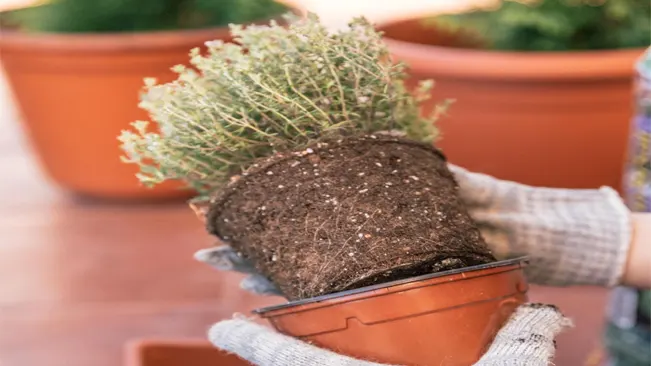
Transplanting
After the danger of frost has passed and seedlings are well-established, you can transplant them outdoors. Choose a spot with full sun to light shade. Thyme can tolerate poor soil, but it must be well-drained.
Timing
- After Frost: The transplanting should occur after the last frost date in your area to avoid exposing the young plants to potentially damaging cold temperatures.
- Well-Established Seedlings: Ensure that the seedlings are robust enough for transplanting. This typically means they should have several sets of true leaves and be a few inches tall.
Selecting the Right Location
- Sunlight Requirements: Thyme thrives in full sun to light shade. The ideal spot should receive at least 6 hours of sunlight daily. Full sun exposure is preferable as it promotes strong, healthy growth and enhances the flavor of the herbs.
- Soil Conditions: While thyme is adaptable to various soil types, it grows best in well-drained soil. It can even tolerate poor soils, but poor drainage can lead to root rot. If your garden soil is heavy or clay-like, consider amending it with sand or organic matter to improve drainage.
Transplanting Process
- Prepare the Site: Before transplanting, prepare the garden bed or containers by loosening the soil and ensuring good drainage. You can add compost or a balanced fertilizer to enrich the soil.
- Spacing: When transplanting thyme seedlings, space them about 8-12 inches apart. This spacing gives each plant enough room to grow and ensures adequate air circulation, which is crucial for preventing fungal diseases.
- Handling Seedlings: Handle the seedlings gently to avoid damaging their roots. It’s often best to water the seedlings before transplanting to ensure the soil sticks to the roots, reducing transplant shock.
- Planting Depth: Transplant the seedlings at the same depth they were growing in their containers. Planting them too deep can stress the plants and slow their growth.
- Watering: After transplanting, water the seedlings thoroughly to help settle the soil around the roots and eliminate air pockets. Continue to water regularly, allowing the soil to dry out slightly between waterings.
- Mulching: Applying a thin layer of mulch around the plants can help retain soil moisture and suppress weeds.
- Acclimatization: If the seedlings were grown indoors, it’s beneficial to gradually acclimate them to outdoor conditions over a week or so. This process, known as hardening off, involves exposing the plants to outdoor conditions for increasing periods each day before the final transplant.
Post-Transplant Care
- Regular Watering: Keep the soil consistently moist but not waterlogged during the first few weeks after transplanting.
- Monitoring: Watch for signs of stress in the plants, such as wilting or discoloration, and adjust care as necessary.
- Pruning: Pruning or pinching back the tips of the thyme can encourage bushier growth.
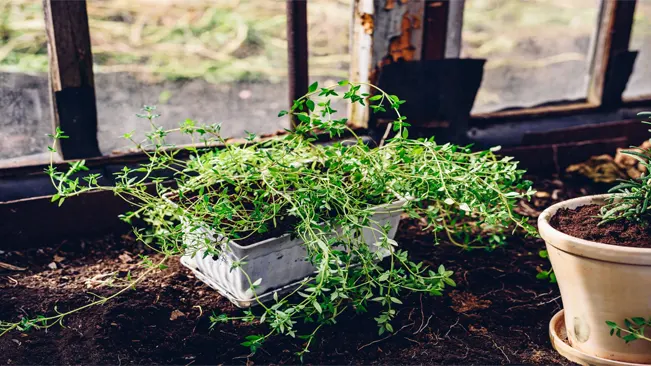
Harvesting
You can start harvesting thyme leaves once the plants are established, typically a few months after planting. Harvest in the morning when the oils are the most concentrated for the best flavor.
Timing of Harvest

- Established Plants: Typically, thyme is ready for harvesting a few months after planting, once the plants are well-established. This means they should be sturdy, bushy, and have a good number of leaves.
- Best Time of Day: The optimal time to harvest thyme is in the morning, just after the dew has evaporated but before the sun is at its peak. During this time, the essential oils in the thyme, which are responsible for its flavor and aroma, are most concentrated.
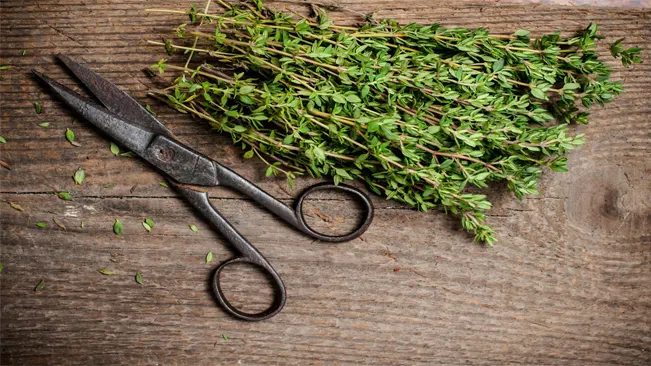
Method of Harvesting
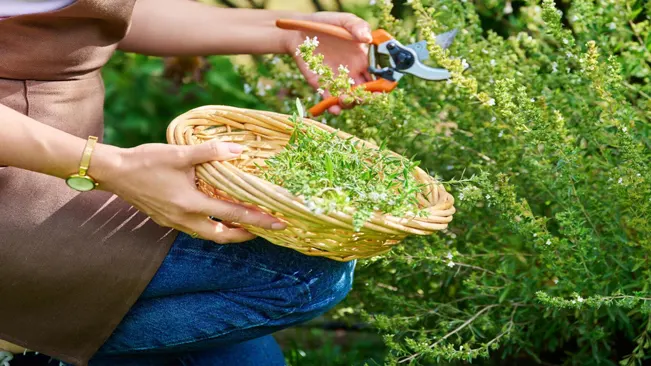
- Gentle Snipping: Use a pair of clean, sharp scissors or garden shears to snip the stems. It’s best to cut just above a leaf node or a set of leaves. This encourages new growth.
- Amount to Harvest: Avoid harvesting more than one-third of the plant at a time. This ensures that the plant remains healthy and has enough foliage to continue growing vigorously.
Post-Harvest Care
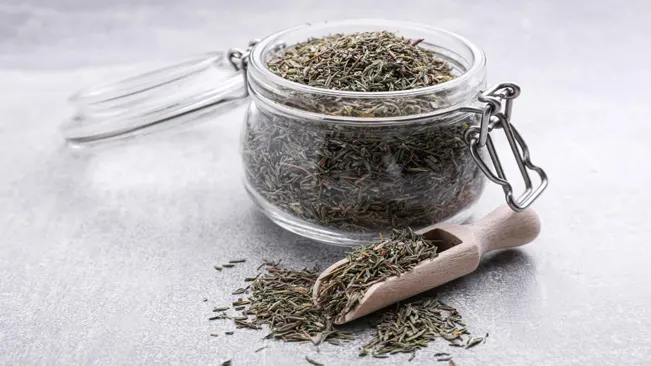
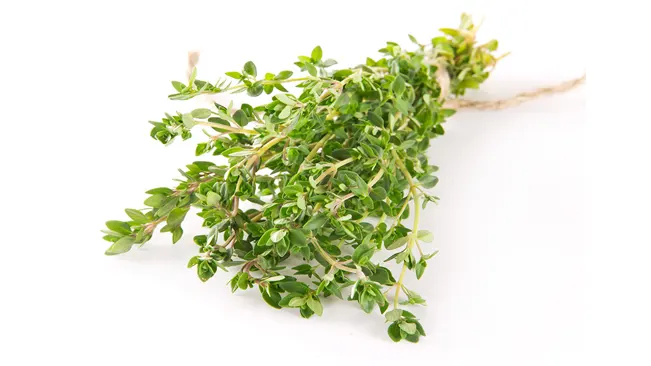
- Use Fresh or Dry: Thyme can be used fresh in cooking, or it can be dried for later use. Fresh thyme has a more subtle flavor compared to the concentrated taste of dried thyme.
- Drying Thyme: To dry thyme, hang the harvested sprigs in a warm, well-ventilated area out of direct sunlight. Once dry, strip the leaves from the stems and store them in an airtight container.
Encouraging Healthy Growth
- Regular Harvesting: Regular harvesting can actually benefit the thyme plant, as it encourages new growth and prevents the plant from becoming too woody.
- Pruning: In addition to harvesting for culinary use, occasional pruning is beneficial. This can be done in early spring or after the plant flowers, if applicable.
Conclusion
In conclusion, planting thyme seeds is a gratifying experience that requires attention to detail and patience. By starting the seeds indoors in well-drained soil, ensuring adequate light and warmth, and carefully transplanting them outdoors after the last frost, you can successfully cultivate this aromatic herb. Regular watering, thinning, and harvesting will encourage healthy, bushy thyme plants, ready to enhance your culinary creations with their fresh, fragrant leaves. This process not only adds flavor to your dishes but also brings the joy of gardening into your home.
FAQs (Frequently Asked Questions)
- What is the best time to plant thyme seeds?
Thyme seeds should be started indoors 6-8 weeks before the last expected frost date in your area. This gives them a head start before transplanting outdoors. - Do thyme seeds require light or darkness to germinate?
Thyme seeds need light to germinate, so they should be sown on the soil surface and not covered with soil. - How long does it take for thyme seeds to germinate?
Thyme seeds typically germinate in 14 to 28 days, although this can vary depending on growing conditions like temperature and light. - What type of soil is best for planting thyme seeds?
Thyme prefers well-drained soil with a neutral to slightly alkaline pH. A light, soilless potting mix is ideal for starting seeds. - How much water do thyme seedlings need?
Thyme seedlings require consistent moisture but should not be overwatered. Water them when the soil surface feels dry to the touch. - How much sunlight do thyme plants need?
Thyme plants thrive in full sun but can tolerate light shade. They need around 6-8 hours of sunlight per day. - When should thyme seedlings be transplanted outdoors?
Transplant thyme seedlings outdoors after the last frost when they are well-established and the weather has warmed. - How far apart should thyme plants be spaced?
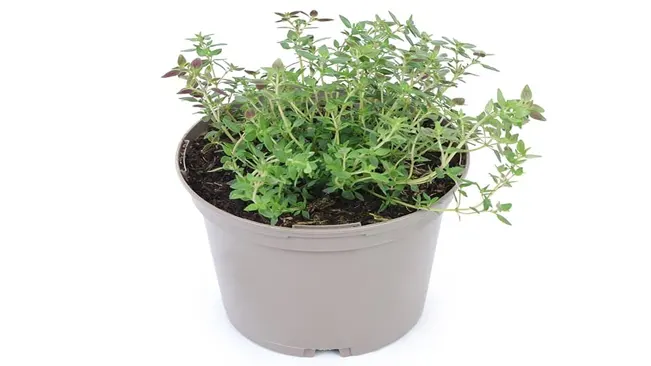
Thyme plants should be spaced about 8 inches apart to allow adequate room for growth and air circulation. - Can thyme be grown in containers?
Yes, thyme can be successfully grown in containers. Ensure the container has good drainage and is large enough to accommodate the plant’s growth. - When can you start harvesting thyme?
You can start harvesting thyme leaves once the plants are well-established, typically a few months after planting. Harvest in the morning for the most intense flavor.

Kristine Moore
Forestry AuthorI'm Kristine Moore, a seasoned garden landscaping professional with over 30 years of experience. My extensive career has been dedicated to transforming outdoor spaces into stunning, sustainable landscapes. With a deep understanding of horticulture, design principles, and environmental stewardship, I have become a respected figure in the field, known for creating harmonious, visually appealing, and eco-friendly gardens. My commitment to excellence and continuous learning in landscaping trends and techniques has solidified my reputation as an expert in garden design and implementation.


Leave your comment