How to Plant Kale: Step-by-Step Guide for Thriving Greens
- February 29, 2024
- 0 comment
Kale, a nutrient-rich leafy green, has soared in popularity among health enthusiasts and gardeners alike. Its hardiness and ease of growth make it a fantastic choice for both experienced and novice gardeners. In this guide, we’ll walk you through the steps of planting, caring for, and harvesting kale.
Nutritional Benefits of Kale
| Benefit | Description |
|---|---|
| Nutrient-Dense | Kale is high in vitamins A, C, and K, iron, calcium, and antioxidants. |
| Low in Calories | It’s a low-calorie food, making it ideal for weight management. |
| High in Fiber | Kale aids in digestion and promotes gut health due to its high fiber content. |
| Supports Heart Health | The antioxidants and fiber in kale help reduce cholesterol levels and support heart health. |
| Anti-inflammatory | Kale contains omega-3 fatty acids which have anti-inflammatory properties. |
| Supports Vision | High in lutein and zeaxanthin, nutrients that protect against macular degeneration and cataracts. |
| Bone Health | Its high vitamin K content is essential for bone health and blood clotting. |
| Detoxification | Kale has detoxifying properties due to its high sulfur and fiber content. |
| Skin and Hair Health | The vitamins and minerals in kale contribute to healthy skin and hair. |
| Diabetes Management | The fiber and antioxidants in kale can help manage blood sugar levels. |
List on How To Plant Kale
Choosing the Right Variety
Curly Kale
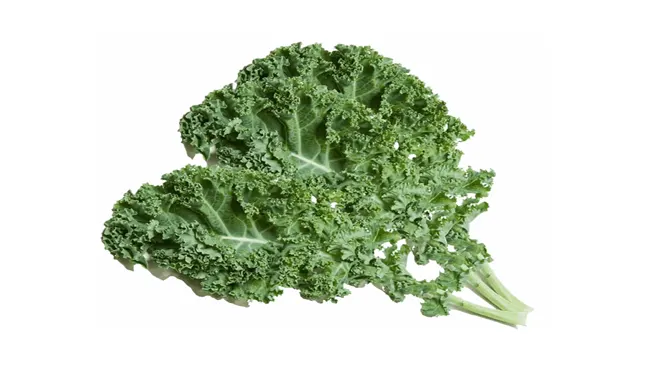
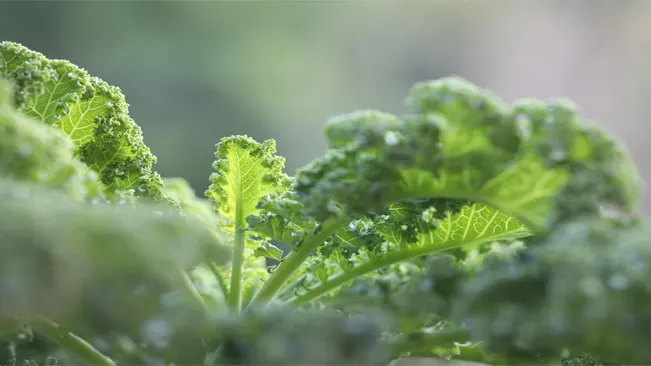
- Appearance: Curly Kale is easily recognizable by its vibrant green, tightly ruffled leaves. The edges of the leaves are notably frilly.
- Taste and Texture: This variety has a pungent and peppery flavor, which can be a bit bitter. The texture is somewhat fibrous and crunchy.
- Culinary Uses: It’s excellent for making kale chips due to its crisp texture. Also, it’s commonly used in salads, soups, and stews. Cooking softens the leaves and can reduce bitterness.
- Growing Conditions: Curly kale is hardy and can grow in a variety of climates, tolerating cold well.
Lacinato Kale (Dinosaur Kale)
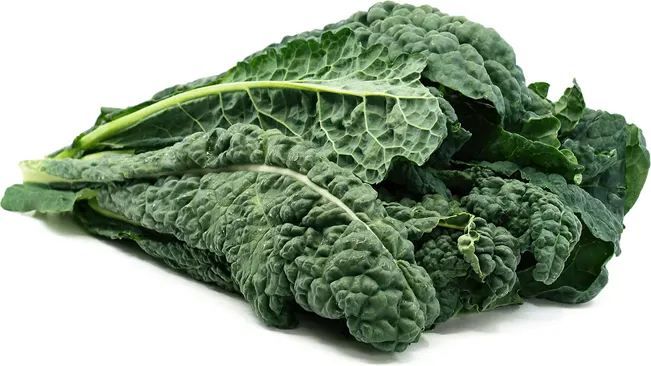
- Appearance: Lacinato kale has long, narrow leaves with a dark, blue-green color. Its leaves are textured with a bumpy surface, resembling dinosaur skin, hence the nickname.
- Taste and Texture: It has a slightly sweeter and more delicate taste compared to curly kale. The texture is tender, especially when young.
- Culinary Uses: Ideal for raw dishes like salads because of its tender texture. It also cooks well in dishes like soups and stews, and is popular in Italian cuisine.
- Growing Conditions: Lacinato kale prefers cooler climates but is adaptable and can grow in a range of environments. It’s also known for its drought resistance.
Red Russian Kale
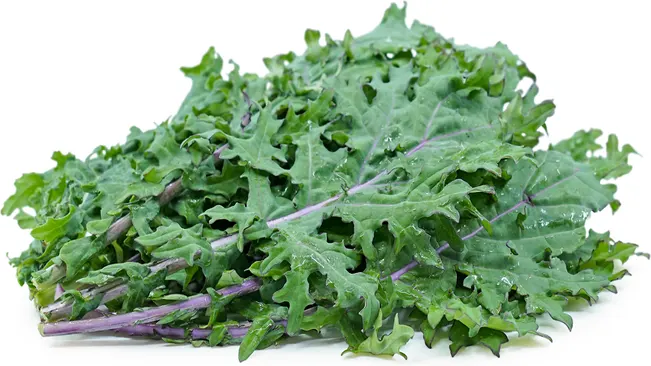
- Appearance: This variety is distinguished by its reddish-purple stems and veins, with flat, serrated leaves that are green with a red tinge.
- Taste and Texture: Red Russian kale is known for its slightly sweet and nutty flavor, which is less bitter than other varieties. The leaves are tender, particularly when harvested young.
- Culinary Uses: Its sweet and tender nature makes it great for raw preparations like salads. It’s also good for light cooking methods like steaming or sautéing.
- Growing Conditions: It is cold-tolerant and often becomes sweeter after a frost. This variety can be more sensitive to heat compared to others.
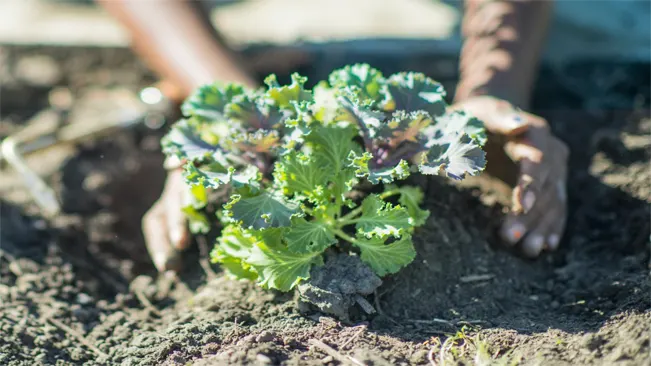
Planting Kale
When to Plant

Spring Harvest
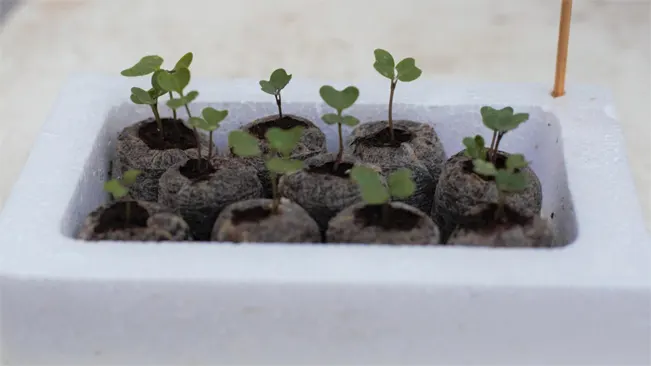
- Timing: The key is to start seeds indoors about 6 weeks before the last expected frost in your area. This early start gives your kale seedlings a head start, crucial for a robust spring harvest.
- Transplanting: When seedlings reach about 4 to 6 inches in height and are sturdy enough, and when outdoor temperatures are consistently above freezing, it’s time to move them outside. This is typically after the threat of frost has passed.
Fall Harvest
- Timing: Planting in late summer is ideal for fall harvests. This period can vary depending on your local climate but generally falls about 6 to 8 weeks before your first expected fall frost.
- Benefits: Planting for a fall harvest allows kale to mature as the weather cools, which can enhance its flavor.
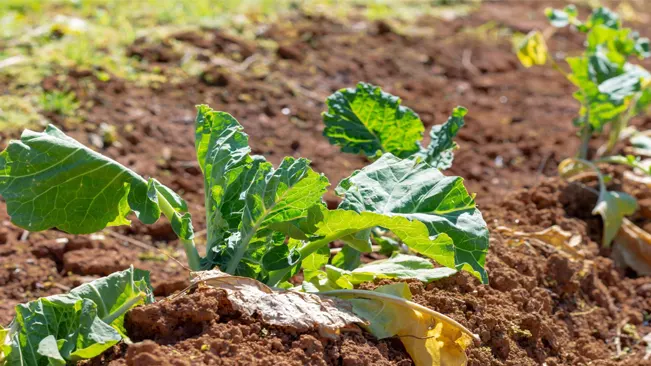
Soil Preparation
- Soil Type: Kale thrives in well-drained, nutrient-rich soil. Heavy, compact soils should be avoided or improved through amendments.
- pH Level: Aim for a soil pH between 6.0 and 7.0. If your soil is too acidic or alkaline, adjust it accordingly. You can test your soil’s pH with a home testing kit available at garden centers.
- Organic Matter: Incorporate compost or well-rotted manure into the soil before planting. This step increases soil fertility and improves soil structure, promoting healthy kale growth.
Sowing Seeds
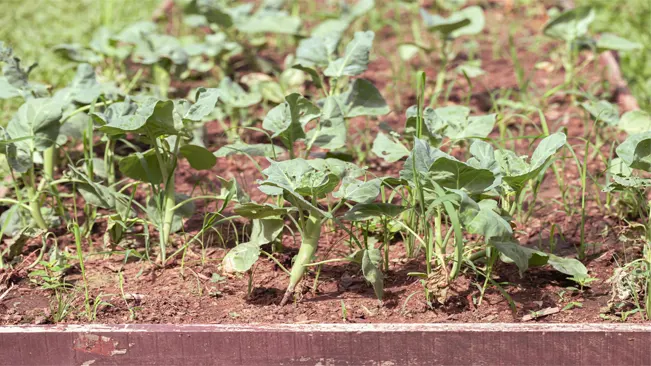
- Depth and Spacing: Sow kale seeds about ¼ to ½ inch deep. Space the seeds about 3 inches apart to give each plant enough room to grow. Rows should be spaced 18 to 24 inches apart. This spacing allows for adequate air circulation and ease of access for maintenance and harvesting.
- Thinning: Once seedlings emerge and grow a few inches tall, thin them to ensure they are still about 3 inches apart. Thinning helps to reduce competition for nutrients and space.
Watering and Mulching
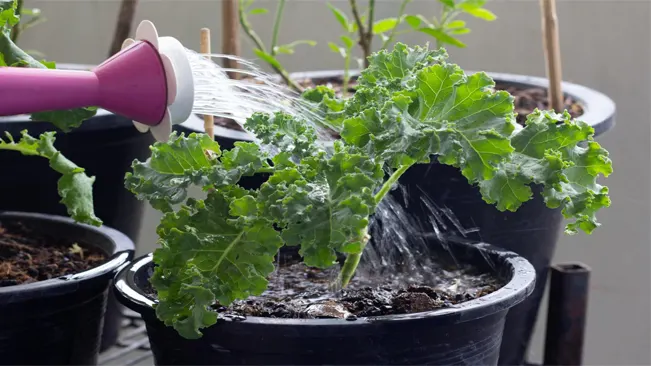
- Watering Needs: Regular watering is crucial, especially as seedlings establish themselves and during dry spells. The goal is to keep the soil evenly moist but not waterlogged, as kale does not like sitting in overly wet soil.
- Mulching: Apply a layer of organic mulch around the base of the plants. Mulch helps retain soil moisture, suppresses weeds, and can add nutrients to the soil as it breaks down. Straw, bark, or compost are good options for mulching.
Caring for Kale Plants
Sunlight and Temperature
Kale is a remarkably adaptable plant when it comes to sunlight and temperature requirements:
- Sunlight: While kale performs best in full sun, receiving at least 6 hours of direct sunlight per day, it also manages quite well in partial shade. This flexibility makes it suitable for various garden locations.
- Temperature: Kale is a standout in cool-weather gardening. It can germinate in temperatures as low as 40°F (4°C), and mature plants can withstand frost. In fact, a touch of frost can enhance the sweetness of kale leaves. However, extremely hot weather can cause kale to bolt (flower and go to seed), which can make the leaves taste bitter.
Fertilization
Proper nutrition is key to healthy kale plants:
- Type of Fertilizer: An all-purpose vegetable garden fertilizer, typically balanced in nitrogen, phosphorus, and potassium (such as a 10-10-10 NPK ratio), is suitable for kale. Organic options like fish emulsion or composted manure are also great choices.
- Timing: Apply fertilizer about a month after transplanting or when the plants are about 4 to 6 inches tall. This boost helps the plants develop strong roots and lush foliage.
- Method: Fertilize at the base of the plants, avoiding direct contact with the leaves. Over-fertilizing can harm the plants, so follow the recommended rates on the fertilizer package.
Pest Management
Kale can attract certain pests, but there are effective ways to manage them:
- Common Pests: Aphids and cabbage worms are the most common. Aphids are small, sap-sucking insects that can weaken the plant, while cabbage worms, the larvae of white butterflies, feed on the leaves.
- Organic Pesticides: Neem oil, insecticidal soaps, and Bacillus thuringiensis (Bt) are effective against these pests and are safe for use in organic gardening.
- Beneficial Insects: Introducing beneficial insects like ladybugs and lacewings can help control aphid populations. These natural predators can be more effective and environmentally friendly than chemical pesticides.
- Physical Barriers: Floating row covers can prevent butterflies and moths from laying eggs on the plants, thereby reducing cabbage worm infestations.
- Regular Inspection: Check your kale plants regularly for signs of pests, especially under the leaves. Early detection makes control easier and more effective.
Harvesting Kale
When to Harvest
Kale is unique in that it allows for a continuous harvest. Generally, the best time to start harvesting is when the leaves are about the size of an adult’s hand. This size indicates that the leaves are mature enough to eat but not so old that they become tough and lose their flavor.
How to Harvest
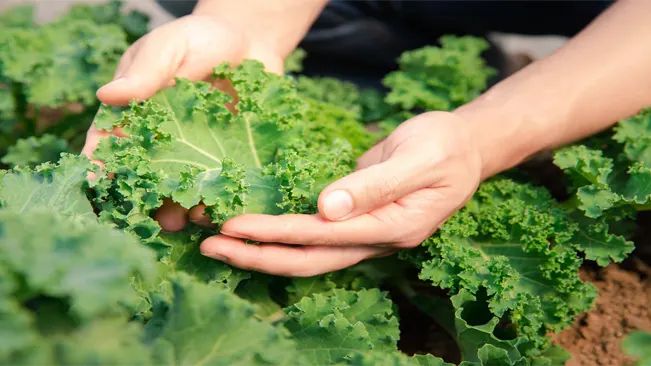
- Pick the Outer Leaves: Gently twist and pull the outer leaves to harvest, leaving the inner leaves and the center of the plant undisturbed. This method allows the plant to continue producing new leaves.
- Avoid the Terminal Bud: The terminal bud is the central growing point of the plant. It’s important not to pick this bud, as doing so can halt the plant’s growth.
Tips for Harvesting
- Harvest in the Morning: Early morning is the best time for harvesting kale. During this time, the leaves are at their most tender and flavorful, as they’ve had the benefit of cool night air.
- Regular Harvesting: Regularly picking leaves can actually stimulate further growth, so don’t be shy about harvesting.
Storing Kale
Short-Term Storage
- Refrigerator Storage: After harvesting, kale can be stored in the refrigerator where it will stay fresh for about a week. To store, wrap the kale in a damp paper towel and place it in a plastic bag in the vegetable drawer of your fridge.
Long-Term Storage
- Blanching and Freezing: For long-term storage, blanching kale is an effective method. To blanch, boil the leaves for a couple of minutes, then immediately plunge them into ice water to halt the cooking process. After drying the leaves, they can be frozen in airtight bags. Frozen kale can last several months.
Conclusion
In conclusion, planting kale is a straightforward and rewarding process that enriches any garden with a nutritious and versatile crop. By selecting the right variety, preparing the soil appropriately, and providing consistent care in terms of watering, sunlight, and pest management, gardeners can look forward to a bountiful harvest. The resilience and adaptability of kale make it an excellent choice for both beginners and experienced gardeners, ensuring a fresh supply of this leafy green throughout the growing season.
FAQs (Frequently Asked Questions)
- What are the best conditions for growing kale?
Kale grows best in well-drained, fertile soil with a pH between 6.0 and 7.0, in full to partial sunlight. It thrives in cool temperatures and can tolerate frost. - When is the ideal time to plant kale?
For a spring harvest, plant kale about 6 weeks before the last expected frost. For a fall harvest, plant in the late summer. - How deep should I plant kale seeds?
Kale seeds should be sown about ¼ to ½ inch deep in the soil. - How far apart should I space kale plants?
Space kale seeds or seedlings about 3 inches apart, with rows 18 to 24 inches apart. - How much water does kale need?
Kale requires regular watering to keep the soil evenly moist. However, avoid overwatering to prevent root rot. - Does kale need fertilizer?
Yes, kale benefits from a balanced fertilizer applied about a month after planting or when plants are 4 to 6 inches tall. - What are common pests that affect kale, and how can I manage them?
Aphids and cabbage worms are common pests. They can be managed with organic pesticides or by introducing beneficial insects like ladybugs. - When can I start harvesting kale?
You can begin harvesting when the leaves are about the size of your hand, typically a few weeks after planting. - How do I harvest kale without harming the plant?
Harvest the outer leaves first, leaving the center intact to continue growing. Avoid picking the terminal bud at the center of the plant. - Can kale withstand frost and cold weather?
Yes, kale is very frost-tolerant and can even become sweeter after a light frost, making it ideal for fall and early winter harvests.

Kristine Moore
Forestry AuthorI'm Kristine Moore, a seasoned garden landscaping professional with over 30 years of experience. My extensive career has been dedicated to transforming outdoor spaces into stunning, sustainable landscapes. With a deep understanding of horticulture, design principles, and environmental stewardship, I have become a respected figure in the field, known for creating harmonious, visually appealing, and eco-friendly gardens. My commitment to excellence and continuous learning in landscaping trends and techniques has solidified my reputation as an expert in garden design and implementation.


Leave your comment