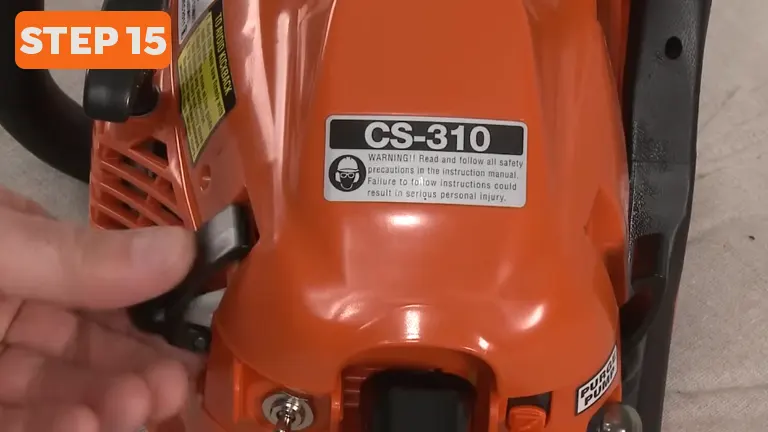
How To Replace Echo Chainsaw Chain: 15 Easy Steps
- February 7, 2024
- 0 comment
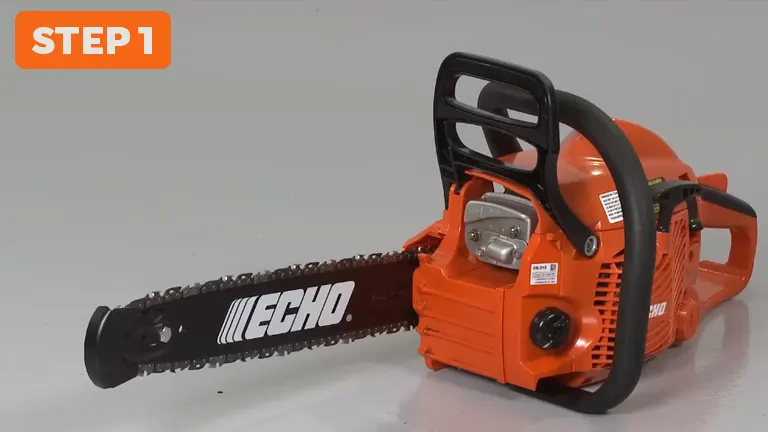
Replacing the chain on your Echo chainsaw is a straightforward process that requires attention to detail and safety precautions. It’s an essential maintenance task that ensures your chainsaw remains effective and safe to use. Below, we’ll guide you through each step of replacing the chain on your chainsaw, providing you with a detailed and informative approach.
Preparation
Cool Down
Ensure the chainsaw’s engine has fully cooled down before starting any work. This precaution is essential to avoid the risk of burns or accidents, as the engine and other components can retain heat for some time after use.
Safety First
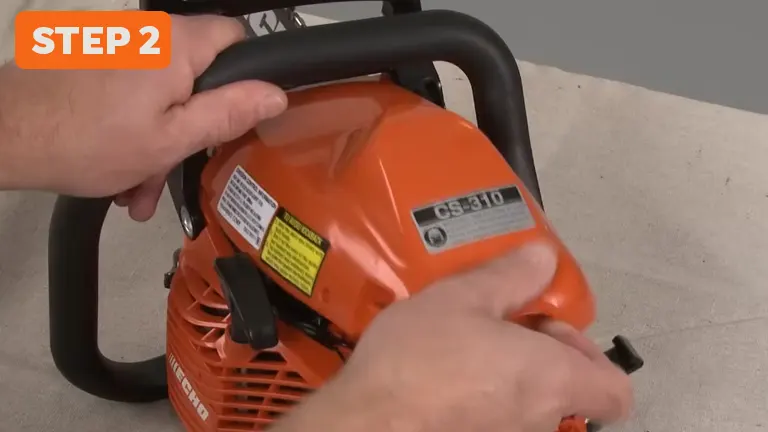
Begin by releasing the top cover clips to access the internal parts of the chainsaw. Carefully lift and remove the cover. This step is crucial as it allows you to reach the components you’ll be working with, including the chain and the spark plug.
Disable the Chainsaw
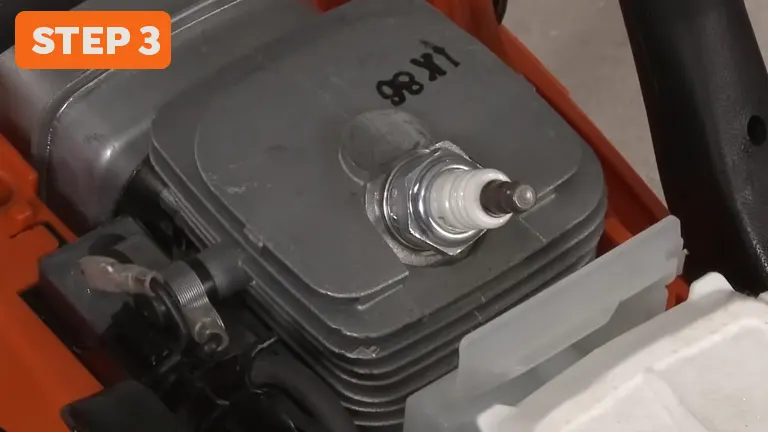
To prevent the chainsaw from accidentally starting during the maintenance, disconnect the spark plug. Remove the wire and boot from the spark plug, ensuring the chainsaw remains inactive and safe to work on. This is a critical safety measure to eliminate any risk of the chainsaw starting unexpectedly.
Removing
Access the Chain
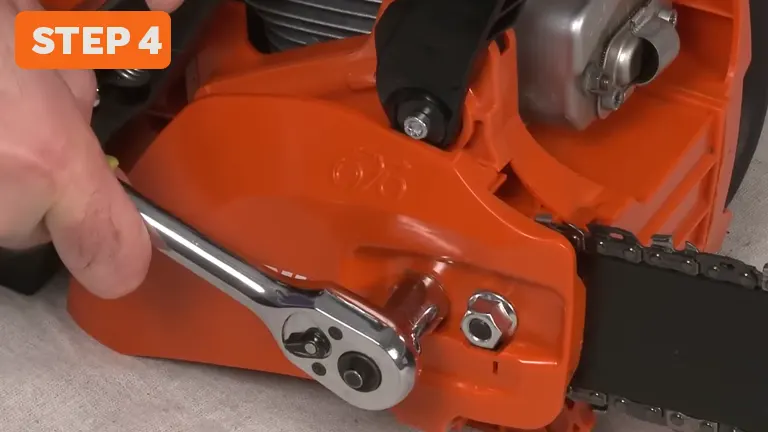
Start by locating the nuts that secure the clutch cover in place. Use the appropriate tool to carefully remove these nuts. Be mindful to place them in a secure spot where they won’t get lost or mixed up with other parts. These nuts are vital for reassembling your chainsaw, so keeping them safe is key.
Remove the Cover
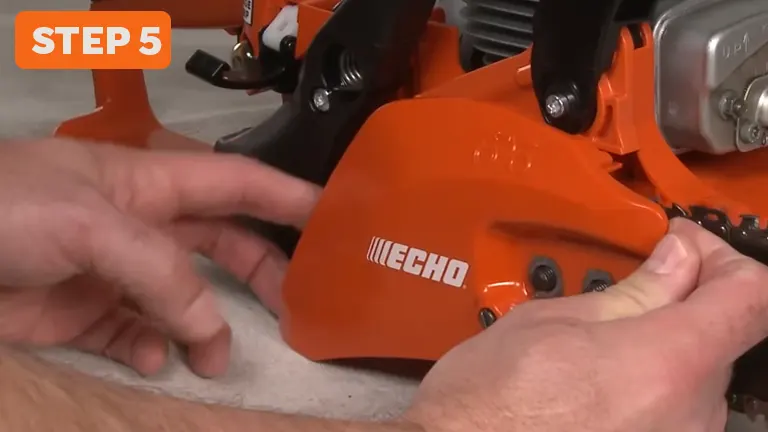
Once the nuts are removed, it’s time to take off the clutch cover. Gently lift and pull it away from the chainsaw. This will reveal the chain bar and the old chain that you’re aiming to replace. Removing the cover is like opening a door to the main components of your chainsaw, so handle it with care.
Chain Bar and Old Chain
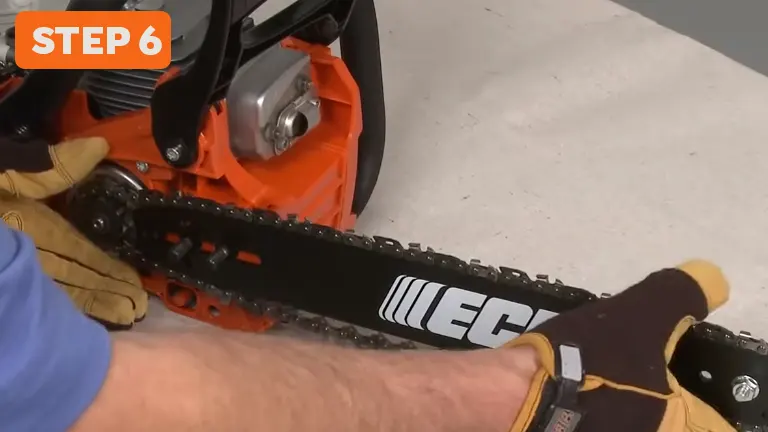
With the cover off, your next step is to address the chain bar and the old chain. Start by carefully lifting the chain bar away from the chainsaw. With the chain bar removed, you can now focus on the old chain. Gently detach it from the bar and the sprocket. As you remove the chain, it’s a good opportunity to examine the chain bar closely. Look for any signs of wear, damage, or irregularities. Ensuring your chain bar is in good condition is crucial before you attach a new chain to it.
Installing
Align the New Chain
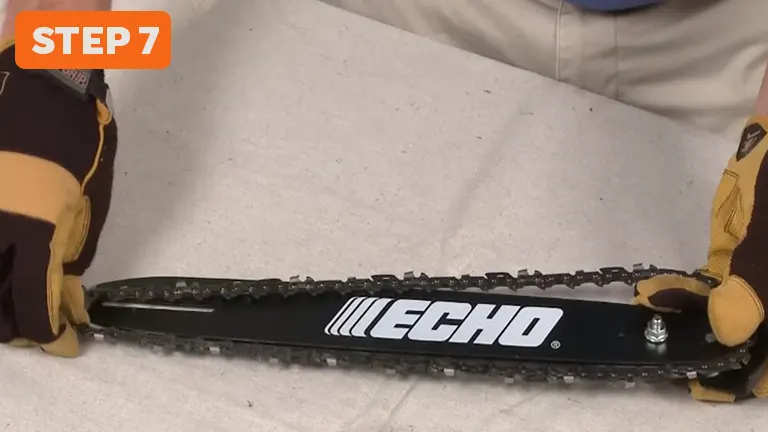
Begin by positioning the new chain onto the chain bar. It’s crucial to ensure the orientation of the chain’s teeth is correct for efficient cutting. The teeth should point towards the front end of the bar at the top and away from it at the bottom. This alignment ensures that your chainsaw cuts effectively and safely.
Clutch Sprockets and Chain Bar

Next, carefully loop the new chain around the clutch sprockets. Ensure that it sits properly in the groove of the chain bar. As you do this, align the chain bar with the mounting bolts on the chainsaw. This step requires a bit of finesse to ensure that everything fits together smoothly and the chain moves freely along the bar.
Replace the Cover
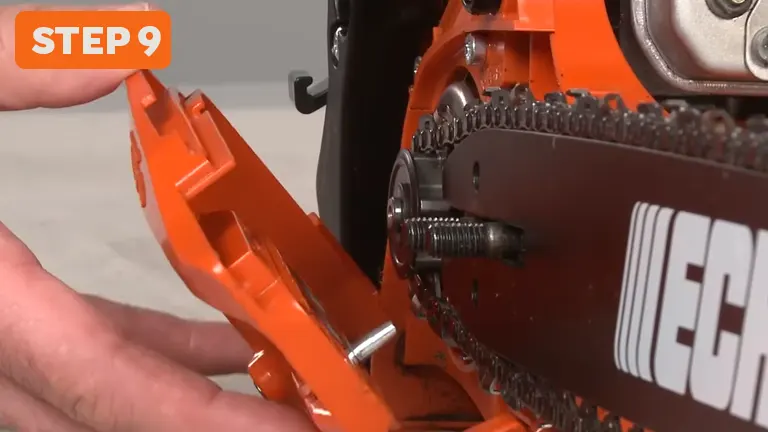
Once the chain and bar are correctly positioned, it’s time to reattach the cover. But before that, make sure the chain tensioner pin fits into the hole in the chain bar. This might require adjusting the tension adjustment screw — usually turning it counterclockwise — to align everything properly. The tensioner plays a crucial role in maintaining the right amount of slack in the chain during operation.
Hand Tighten the Nuts
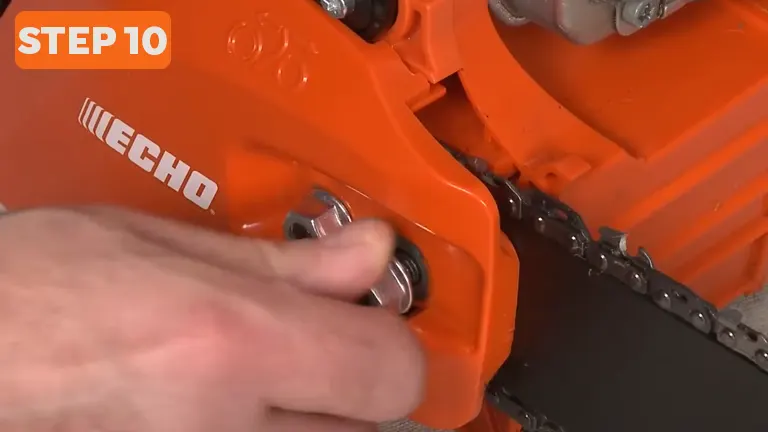
With the cover correctly positioned, thread the nuts back onto the bolts by hand. While it might be tempting to tighten them fully right away, just snug them up at this stage. You’ll need some wiggle room to properly adjust the chain’s tension before giving those nuts a final tighten.
Adjusting
Adjusting Tension
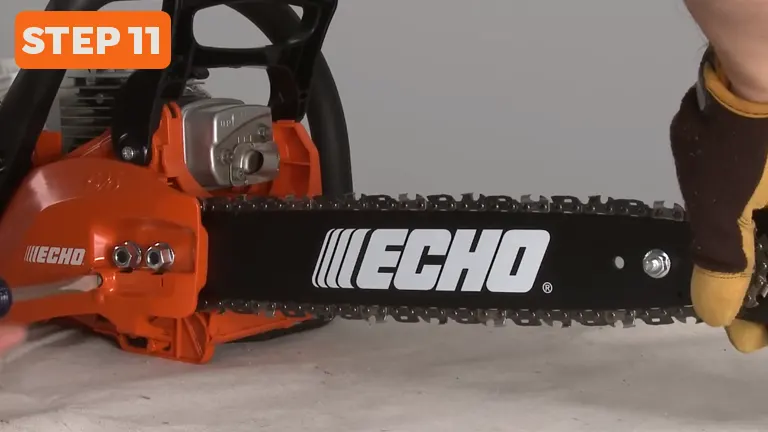
Begin by lifting the tip of the chain bar upwards, mimicking the tension the chain will experience during cutting. Locate the chain tension adjustment screw, usually found near the front side of the chainsaw or through the side cover. Turn this screw clockwise to tighten the chain along the bar. Aim for a tension that allows the chain to be snug against the bar but still able to rotate freely.
Securing Everything

Once the chain tension is appropriately adjusted, proceed to secure all components firmly. Tighten the nuts that you previously hand-tightened, ensuring the cover, chain bar, and chain are securely attached. Be cautious not to over-tighten, as this could put unnecessary strain on the chain and the chainsaw’s components. Perform a final check on the chain tension: you should be able to pull the chain about half an inch away from the bar, and it should snap back into place when released. This indicates a well-tensioned chain, optimized for safe and efficient operation.
Final Steps
Reattach the Spark Plug
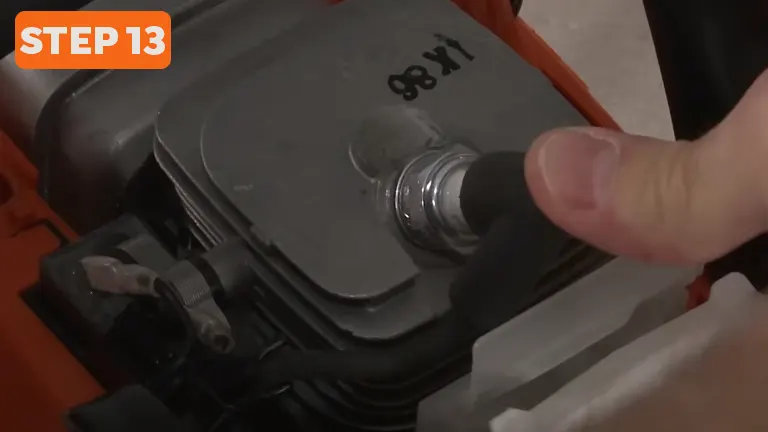
Now that the chain is properly installed and tensioned, reconnect the spark plug to bring your chainsaw back to operational status. Firmly attach the boot and wire to the spark plug. This connection is vital as it ensures that your chainsaw can start and operate safely, signaling that you’re almost ready to get back to work.
Realign the Top Cover
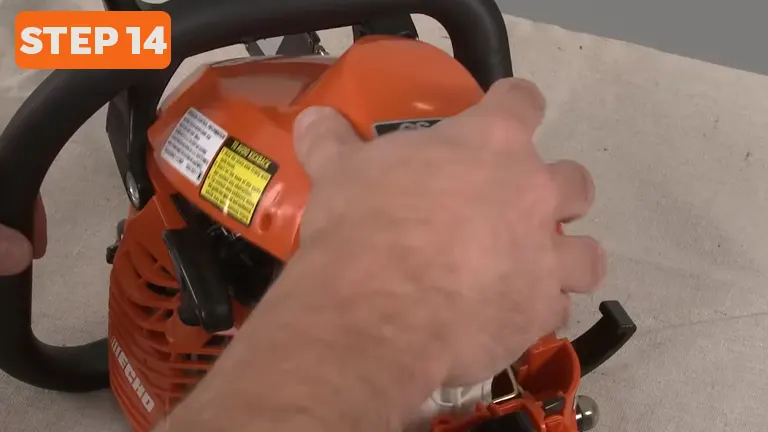
Carefully place the top cover back onto your chainsaw. Make sure it fits snugly and all the parts underneath are properly aligned. This cover protects the internal components of your chainsaw and also provides a safety barrier between you and the moving parts while the chainsaw is in operation.
Secure the Cover
Finally, fasten the top cover using the clips that you released at the start of this process. Ensure that the cover is securely attached and there are no gaps or loose areas. A secure cover means your chainsaw is safe to handle and ready for use.
Conclusion
Replacing the chain on your Echo chainsaw is a vital maintenance task that ensures the longevity and safety of your equipment. By following these detailed steps, you can perform this task efficiently, ensuring that your chainsaw is in optimal working condition. Remember, safety is paramount, so always take the necessary precautions and wear appropriate protective gear when performing chainsaw maintenance.
Related Articles:
- Can a Chainsaw Chain Be Put on Backwards? How to Fix
- How To Switch From Winter Mode To Summer Mode: STIHL Hidden Feature
- How To Get A Chainsaw Unstuck? Expert Tips for a Quick Solution
- How To Use A Chainsaw Depth Gauge
- How To Shorten a Chainsaw Chain Without Using Spinner and Breaker
- Can You Use a Chainsaw in the Rain?
- How to Clean a Stihl Chainsaw Carburetor
FAQs
- Why does the direction of the chain’s teeth matter when installing a new chain?
The orientation of the chain’s teeth is critical because it dictates the cutting direction and efficiency. If the teeth are not facing the right direction, your chainsaw might move through the wood without actually cutting, much like trying to eat with your fork upside down! - How can I tell if my chain tension is too tight or too loose?
A well-tensioned chain should move freely without sagging. If it’s too tight, it won’t rotate smoothly; if it’s too loose, it might resemble a slackline rather than a cutting tool. Think of the chain like the strings of a guitar: not too tight, not too loose, just perfect for playing a tune – in this case, the tune of efficient cutting! - What risks are involved with over-tightening the nuts when replacing the cover?
Over-tightening the nuts can stress the chainsaw’s components, similar to over-tightening the lid on a jar until it cracks. This can lead to wear and tear on the chain or damage to the saw, reducing its lifespan and your safety. - How often should I check the chain tension on my Echo chainsaw?
Regularly! Chain tension can change with use. It’s like checking your bike’s tire pressure: too low, and you’re in for a bumpy ride; too high, and you might have a blowout. Check the chain tension before starting your work, after a break, or when you notice a change in cutting performance. - What should I do if the chain doesn’t snap back into place after adjusting the tension?
If the chain doesn’t snap back, it might be time for a pit stop. This could indicate that the tension is still too loose, the chain is worn out, or the bar needs maintenance. It’s like having a loose belt; you wouldn’t just keep pulling your pants up, you’d adjust or replace the belt! - Can a dull chain affect the tensioning process?
Absolutely! A dull chain can make the saw work harder, leading to heat build-up and potential stretching of the chain. It’s like running in old, worn-out shoes; not only is it inefficient, but it can throw off your balance (or in this case, the chain’s tension).
Just replaced your Echo chainsaw chain or have a handy tip to share? We’re all ears! Drop a comment below and let’s make this space a treasure trove of chainsaw wisdom. Your experiences could be the golden nugget of advice that helps a fellow chainsaw enthusiast. Let’s chop and chat!

David Murray
Forestry AuthorI'm David Murry, a forestry equipment specialist with a focus on chainsaw operation. With over 13 years of experience, I've honed my skills in operating and maintaining a wide range of machinery, from chainsaws to log splitters. My passion for the outdoors and commitment to sustainable forestry drive my work, which emphasizes safety, efficiency, and staying updated with industry advancements. Additionally, I'm dedicated to sharing my expertise and promoting environmental awareness within the forestry community.


Leave your comment