How to Stick Weld: A Beginner’s Guide to Getting Started
- January 30, 2024
- 0 comment
Embarking on my recent journey into the realm of welding, specifically the area of stick welding, I was met with a mix of challenges and gratifying experiences. My objective in writing this article is to delve into and share the wealth of knowledge and insights I’ve gathered, aiming to navigate beginners through the intricate yet intriguing world of stick welding. In this piece, I intend to thoroughly examine stick welding from the perspective of an enthusiast like myself, weighing its advantages and drawbacks, and juxtaposing it with other prevalent welding techniques to assist you in determining its suitability for your needs.
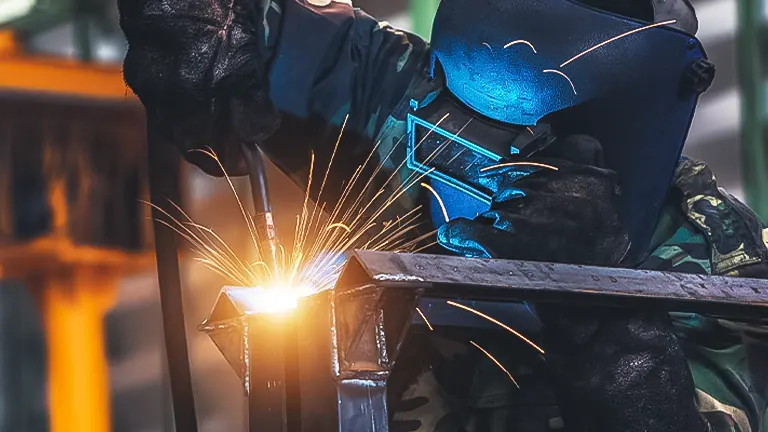
Stick welding, also known as flux-shielded arc welding, employs a unique approach that involves the use of a consumable electrode enshrouded in flux to accomplish the welding task. This method is initiated by igniting an electric arc between the metal electrode and the workpiece at hand.
During the process, an electric current travels through the metal electrode, causing it to gradually melt into the workpiece, thereby forming a molten weld pool. The electrode is encapsulated in flux, which melts alongside and forms a protective barrier over the weld, safeguarding it against atmospheric contamination. As the welding progresses, this flux layer solidifies on the weld bead, necessitating its removal through chipping and brushing upon completion of the welding.
One of the most notable aspects of stick welding is its popularity among outdoor welding professionals, attributed largely to its resilience against wind interference. Moreover, its simplicity and adaptability make it an approachable technique for novices in the welding field. This article aims to provide beginners with straightforward tips and strategies for embarking on stick welding, along with insights into common pitfalls and strategies to circumvent them.
List of A Beginner’s Guide to Getting Started:
- Essentials for Starting Stick Welding
- Maintaining Clean Surfaces is Crucial
- Stick Welding Set Up
- Understanding Incorrect Amperage in Stick Welding
- Initiating Your First Stick Welding Project
- Initiating the Arc
- Manipulating the Stick Electrode
- Maintaining the Correct Arc Length
- Perfecting the Travel Angle
- The Importance of Dragging in Welding
- Ensuring Clear Visibility
- Managing Electrode Moisture
Understanding Stick Welding
Stick welding derives its name from the stick-like shape of the electrode used in the welding process. This method employs electrical power to melt the electrode, which also acts as the filler metal rod. During welding, both the electrode and the metal joint are simultaneously melted and merged together.
To enhance the strength of the joint, it is filled with additional filler metal. The electrode is coated with flux, which, upon heating, melts and forms a protective barrier over the weld pool. This barrier shields the weld from atmospheric contamination, much like the shielding gas does in TIG and MIG welding techniques.
In the stick welding process, the electrical current flows from the power source, through the ground clamp and electrode holder, completing a circuit. This flow of current causes the electrode to melt, facilitating the joining of the metal pieces.
This welding method is predominantly utilized for welding various types of steel, including stainless steel and iron. It is also versatile enough to be applied to welding nickel, aluminum, and certain copper alloys. This combination of flexibility, ease of learning, and broad applicability makes stick welding a preferred choice for both hobbyists delving into personal projects and professionals tackling more demanding repair and fabrication tasks.
Essentials for Starting Stick Welding
To achieve successful and robust stick welds, it’s essential to have the right tools and equipment. Here’s a breakdown of what you’ll need:
Safety Equipment
Priority on Safety: Always follow safety guidelines for all equipment.
Body Protection: Use fire-retardant long-sleeved clothes, safety glasses, and a welding helmet to protect against UV rays, heat, and sparks.
Ventilation: Ensure good ventilation to handle fumes, especially important when welding indoors. Consider an exhaust system for indoor welding.
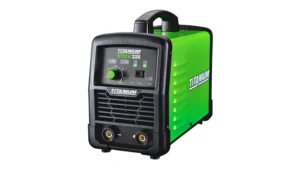
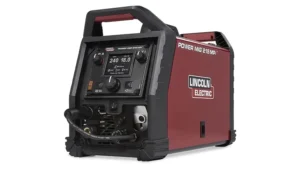
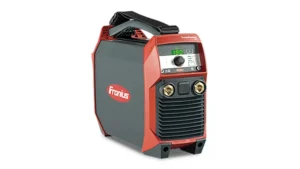
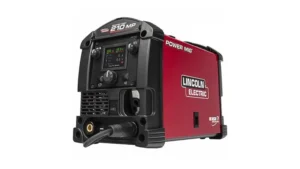
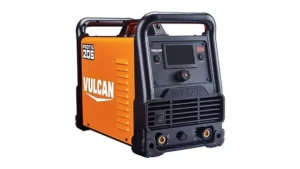
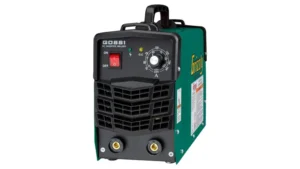
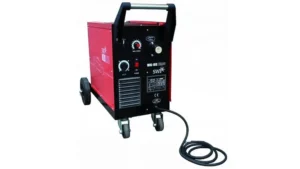
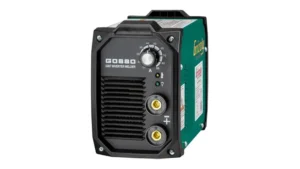
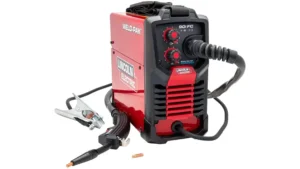
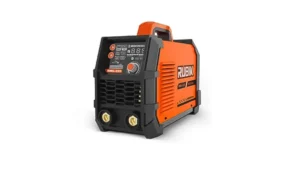
Stick Welder
Quality Welder: Choose a high-quality stick welder for strong welds. Options include stick-only or multipurpose welders for versatility.
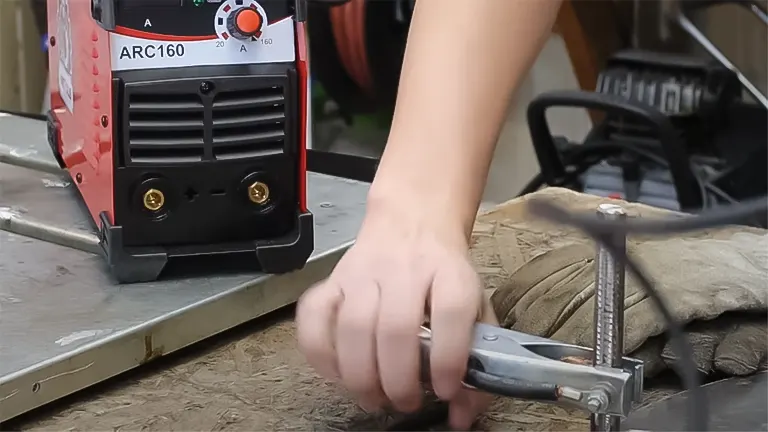
Ground Clamp
Essential Component: Comes with the welding machine and must be connected to the stick welder and clamped onto the workpiece.
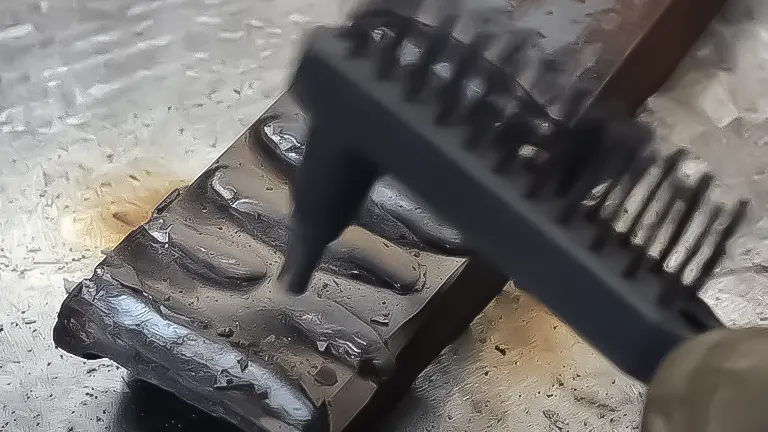
Slag Removal Tools
Post-Weld Cleanup: Stick welding produces slag over the weld. Use a hammer to chip away the slag and a wire brush for cleaning.
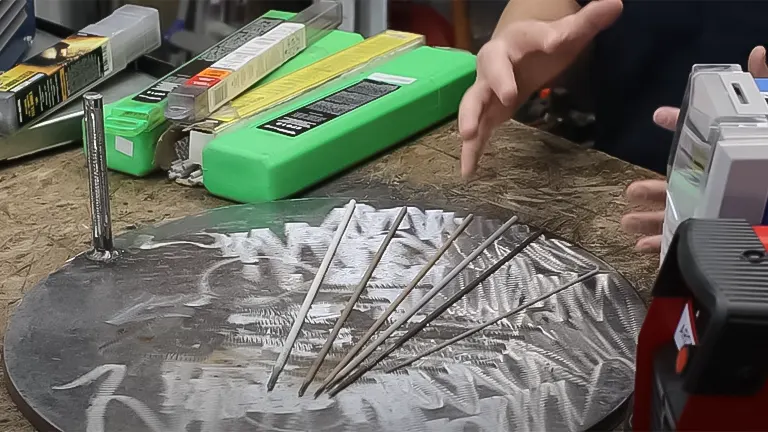
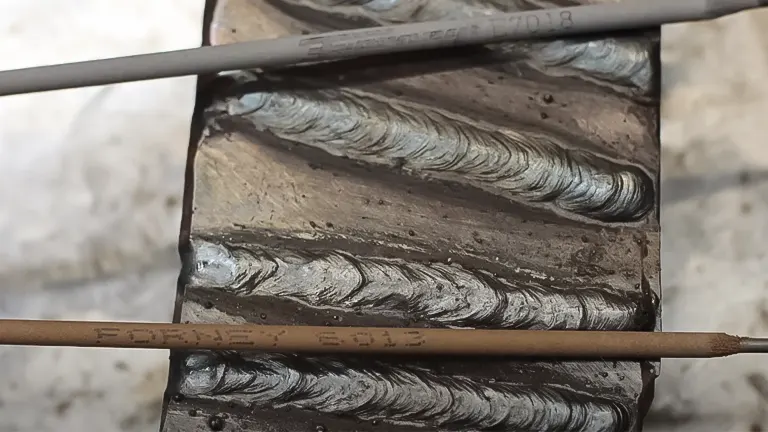
Stick Welding Electrodes
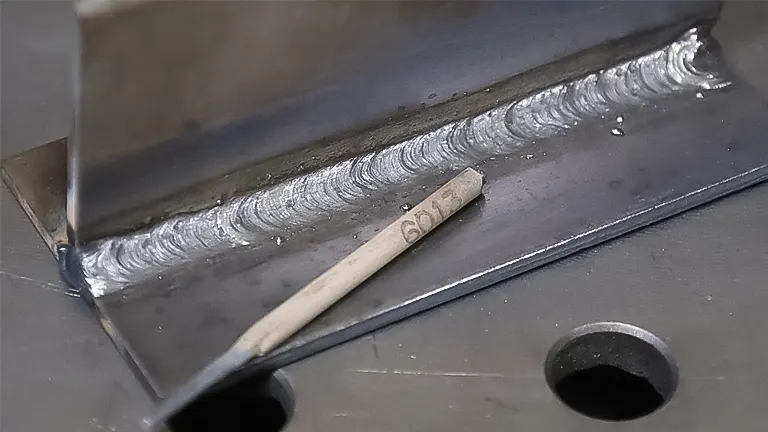
Variety of Choices: Select the right electrode for your project. Common types include 7018, 7024, 6012, 6013, 6010, 7014, and 6011.
For Beginners: 6013 is recommended for beginners; 7018 is popular for strong welds.
Electrode Specifications: Understand the digits in electrode names. The first two indicate tensile strength (e.g., 60 for 60,000 psi). The third digit represents usable positions (1 for all positions, 2 for flat only). The fourth digit indicates current type and coating.
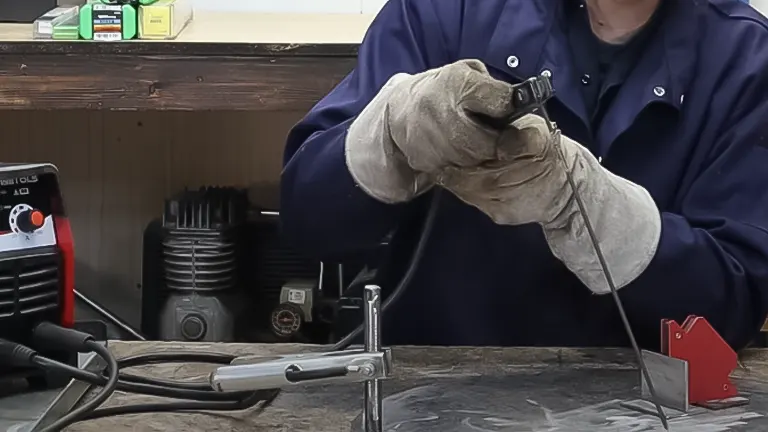
Equipment and Setup
Initially, I invested in a basic stick welding machine, a set of electrodes, safety gear (helmet, gloves, apron), and some metal pieces for practice. My machine, a mid-range inverter type, offered adjustable amperage, which is crucial for welding different materials and thicknesses. Remember, the electrode size and material also play a significant role in your welding outcome.
11 Essential Tips and Techniques for Beginners in Stick Welding
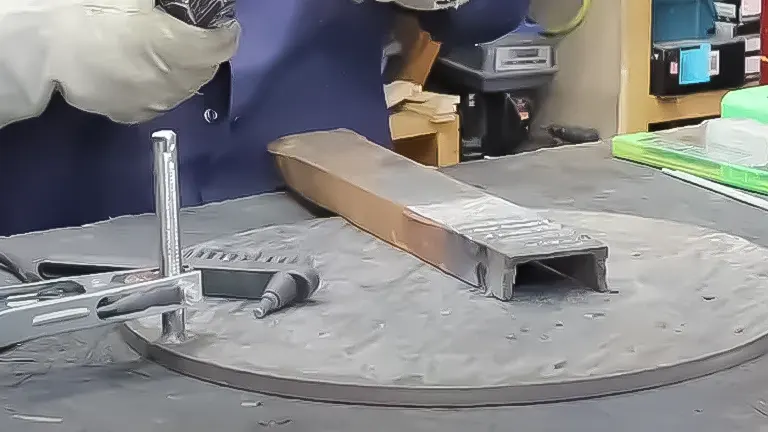
1. Maintaining Clean Surfaces is Crucial
While stick welding is somewhat forgiving when it comes to surface impurities, achieving a high-quality weld still greatly depends on the cleanliness of the metal you’re working with. It’s crucial to dedicate a bit of time to thoroughly clean your material prior to welding. Using tools like a grinder or a wire brush can effectively remove any rust, dirt, or other contaminants from the metal surface.
A key benefit of welding with clean metal is the ability to maintain a faster travel speed during the welding process. This is significant because when welding over surfaces with contaminants, you’re forced to slow down. This slower pace allows more time for gas bubbles to emerge and potentially get trapped before the slag forms, which can compromise the integrity and appearance of the weld.
In contrast, a cleaner surface minimizes such issues, leading to a smoother, more consistent weld. Therefore, even though stick welding can handle some level of surface dirt, taking the time to clean your metal can markedly improve your welding results.
2. Stick Welding Set-Up
Setting up for stick welding involves a series of precise steps to ensure a successful and safe welding experience. First, you’ll need to select the appropriate stick welder – typically, an inverter or transformer-based machine, depending on your specific needs and budget.
After choosing the welder, connect the ground clamp, which is crucial for completing the electrical circuit, to your workpiece or the welding table. Then, insert the selected electrode into the electrode holder, making sure it’s securely fastened. The type of electrode you choose, such as 6013 for beginners or 7018 for more robust welds, will depend on the material you’re welding and the desired strength of the weld.
Before you begin welding, adjust the amperage settings on your welder based on the electrode’s specifications and the thickness of the metal you’re working with. It’s vital to ensure your workspace is well-ventilated, especially if you’re welding indoors, to safely disperse any harmful fumes generated during the welding process.
Lastly, don your safety gear, including a welding helmet, gloves, and fire-resistant clothing, to protect yourself from sparks, heat, and ultraviolet radiation. With your stick welding setup complete, you’re ready to start welding, bearing in mind to maintain a consistent angle and arc length for the best welding results.
3. Understanding Incorrect Amperage in Stick Welding
Identifying when your amperage settings are not optimal is key to achieving good stick welding results. If you set the amperage too low, you’ll notice that the stick electrode tends to be more ‘sticky’, making it challenging to initiate an arc without it clinging to the metal surface. Insufficient amperage fails to generate adequate heat to melt the electrode properly. As a result, you may experience an inconsistent arc that flickers or stutters, regardless of how close you hold the stick electrode to the metal.
Conversely, setting the amperage too high leads to a different set of issues. The weld pool becomes overly fluid and harder to manage, often resulting in a loss of control over the welding bead. High amperage also tends to make the arc noisier and causes excessive spatter. Furthermore, instead of smoothly filling in the joint, the electrode may gouge into the workpiece due to the intense heat.
To find the right amperage setting, a good starting point is the middle of the recommended range for the electrode and material you are using. If the welding performance is not satisfactory, try adjusting the amperage incrementally, either decreasing or increasing by 5 to 10 amps.
The adjustment should be based on the behavior of the arc, the amount of spatter produced, and the stability of the weld pool. Additionally, consider adjusting the amps based on the welding position, as different positions may require variations in heat input for optimal results. This process of fine-tuning helps in achieving the right balance for a clean, strong weld.
4. Initiating Your First Stick Welding Project
With your stick welding equipment properly set up, you’re poised to embark on your initial welding venture. Before diving into any actual project, it’s crucial to confirm that all your settings are appropriately adjusted. Gather multiple pieces of metal and arrange them to form butt joints, which are ideal for practice sessions.
As a novice in the world of stick welding, it’s highly recommended to start by practicing on these scrap pieces of metal. This preparatory step is essential in honing your welding skills and getting a feel for the process without the pressure of working on a significant project. Practicing on scrap metal allows you to experiment with different techniques, adjust your settings, and understand how different angles and speeds affect the quality of the weld.
It’s an opportunity to make mistakes and learn from them in a low-stakes environment. Once you’re comfortable and confident with your technique on these practice pieces, you’ll be better prepared to tackle actual stick welding projects with greater precision and skill.
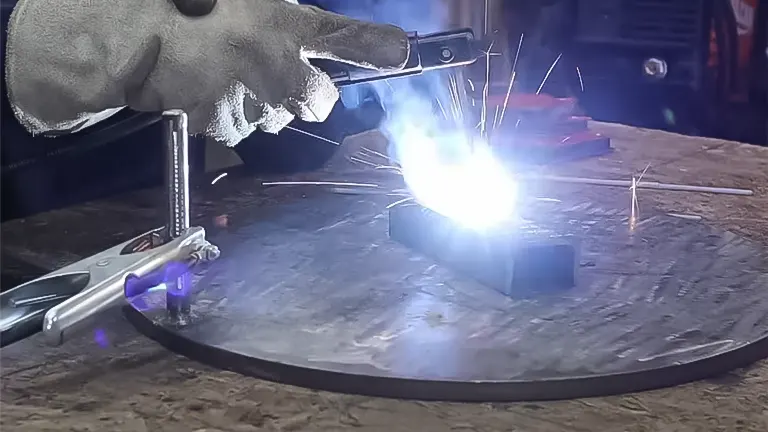
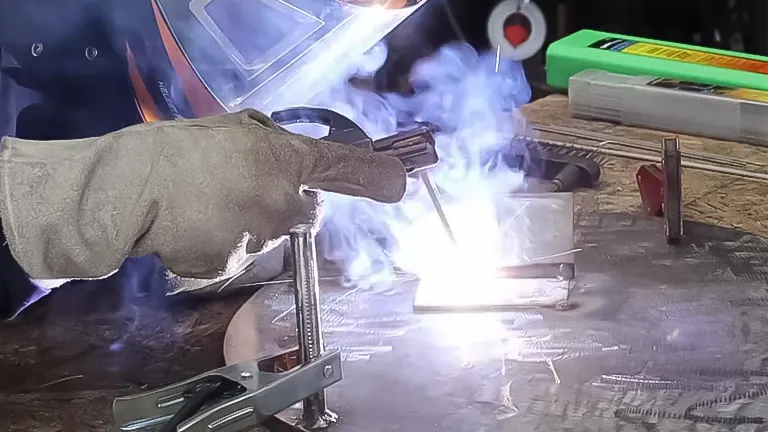
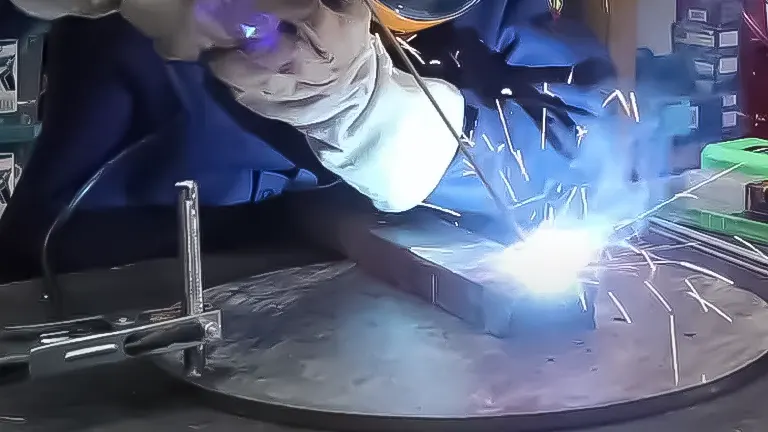
5. Initiating the Arc
To begin stick welding, ensure the electrode is securely placed in the holder and then turn on your welder. Start by gently touching the electrode’s tip to the metal, mimicking the motion of striking a match to ignite the arc. Once the arc is established, slightly lift the stick electrode off the surface.
It’s crucial to maintain the right distance; if the arc extinguishes, it’s likely because you’ve raised the electrode too high, so lower it back down. A correctly lit arc should produce a consistent sound akin to sizzling bacon. If the sound is excessively loud or harsh, indicating too much intensity, it’s advisable to reduce the amperage for a more stable arc.
6. Manipulating the Stick Electrode
With the arc ignited, your next step is to move the stick electrode along the joint you’re welding. It’s important to set the electrode at an angle between 15 to 30 degrees relative to vertical for optimal welding.
Gently pull the electrode towards yourself rather than pushing it forward. Pushing can trap slag in the weld pool, leading to porosity and weaker joints. Consistency is key, so ensure your hand remains steady throughout this process for an even and smooth weld.
7. Maintaining the Correct Arc Length
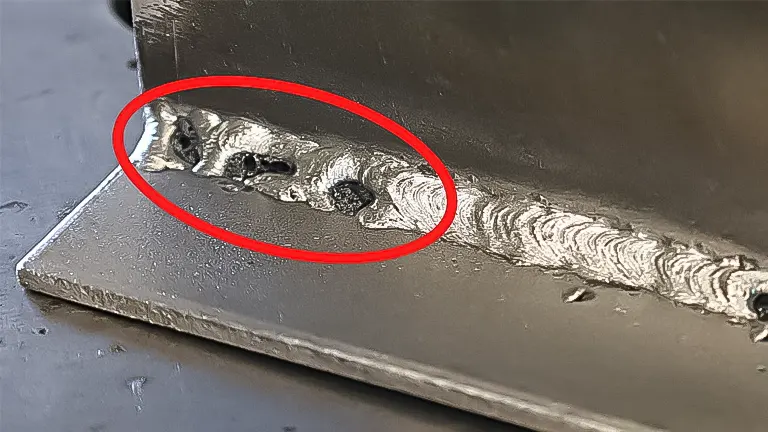
Once the arc is active, your primary focus should be on maintaining a consistent arc length. Ideally, the electrode should be held around 3mm from the workpiece to achieve an effective arc. If the arc becomes too short, the voltage should be lowered, and the electrode brought closer to the workpiece. Conversely, if the arc is too long, it can cause a range of issues like increased voltage, a wider weld pool, excessive spatter, and risks of undercutting.
Undercutting happens when the weld becomes too wide, melting the base metal at the edges without adequate filler material, leading to a grooved weld. As a beginner, managing the arc length can be challenging, especially as the stick electrode shortens while melting. However, with practice, maintaining the correct arc length becomes more intuitive and manageable.
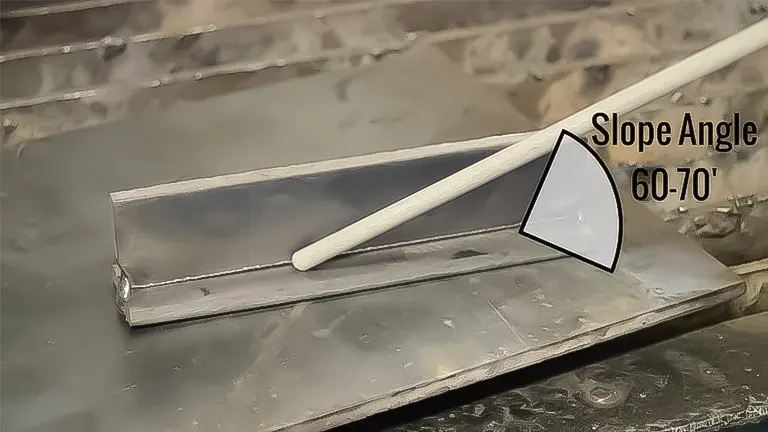
8. Perfecting the Travel Angle
For effective stick welding, especially in horizontal, overhead, or flat positions, it’s essential to master the backhand or drag technique. This involves holding the stick electrode perpendicular to the workpiece and then slightly tilting the top end in the direction of your travel, typically at an angle of about five to fifteen degrees.
For optimal results in your weld quality, maintaining a pull or drag angle of 10 to 15 degrees is recommended. This specific angle allows for better control over the weld pool and ensures a smoother, more consistent bead
9. The Importance of Dragging in Welding
It’s crucial to always drag or pull your stick welds. Pushing the electrode can result in trapping the protective slag within the weld pool, leading to contamination and a compromised weld. The dragging technique is particularly vital in vertical up welding, where pushing the electrode could adversely affect the weld’s integrity.
In contrast, for upward welding along a joint, pushing the stick electrode is more appropriate. This distinction in technique based on the welding direction is key to achieving clean, strong welds.
10. Ensuring Clear Visibility
Visibility is paramount in all types of welding, including stick welding. It’s important to position yourself comfortably to have a clear view of the entire welding process. This not only ensures precision in your work but also enhances safety.
Additionally, be mindful of keeping both your helmet and face away from the harmful welding fumes. These fumes can obscure your vision and pose health risks if inhaled. Maintaining a well-ventilated area and using appropriate protective gear can help mitigate these risks.
11. Managing Electrode Moisture
While electrodes inherently contain some moisture, excess moisture can be detrimental, especially when using low hydrogen electrodes. An electrode that’s too moist may lead to a rough, erratic, or wandering arc, causing weld defects. You might notice flux chipping off and entering the weld pool, leading to imperfections in the weld.
To prevent this, store your electrodes in a sealed, dry place. Alternatively, using an electrode oven can be highly effective. The oven re-bakes the flux coating on the electrodes, evaporating any moisture and ensuring they are in optimal condition for welding. This step is crucial for maintaining the quality and consistency of your welding electrodes.
Making the Decision
In choosing stick welding, the deciding factors for me were versatility, cost-effectiveness, and the ability to weld in various environments (including outdoors). While it may not be the best for high-precision tasks or thin materials, its robustness makes it ideal for general repairs and DIY projects.
Final Thoughts
Stick welding, in my experience, is a valuable skill for anyone interested in metalworking. While it comes with its challenges, the satisfaction of mastering this art is immense. For beginners, I recommend starting with basic equipment, practicing consistently, and gradually exploring more complex projects. Remember, safety is paramount, so always wear appropriate protective gear. Happy welding!
Frequently Asked Questions (FAQ’s)
- What is Stick Welding?
Stick welding, also known as Shielded Metal Arc Welding (SMAW), is a process that uses an electric current to create an arc between a stick electrode and the metals being welded. - What Equipment Do I Need for Stick Welding?
Essential equipment includes a welding machine, stick electrodes, welding helmet, gloves, protective clothing, and a chipping hammer for slag removal. - How Do I Choose the Right Electrode?
Electrode selection depends on the type of metal being welded, the position of the weld, and the desired strength. Common electrodes include E6010, E6013, E7018. - What Safety Precautions Should I Take?
Always wear a welding helmet, gloves, and protective clothing to shield against UV light, sparks, and hot metal. Work in a well-ventilated area and be aware of fire hazards. - How Do I Set Up the Welding Machine?
Adjust the amperage based on the electrode and material thickness. Consult the electrode manufacturer’s recommendations for specific settings. - What Are the Basic Welding Techniques?
Basic techniques include striking the arc, maintaining a consistent arc length, and moving the electrode along the weld joint using either a drag or push technique. - How Do I Know If I’m Welding Correctly?
A good weld will have even ripples, be consistent in width, and fully penetrate the metal. There should be minimal spatter and the slag should easily chip off. - What Are Common Problems and Solutions in Stick Welding?
Common problems include electrode sticking, excessive spatter, and poor arc stability. Solutions involve adjusting amperage, improving technique, and ensuring clean and dry electrodes. - How Do I Clean and Finish the Weld?
After welding, remove slag with a chipping hammer and brush the weld area to clean it. Grinding may be necessary for a smooth finish or if preparing for a second pass. - Where Can I Practice and Improve My Stick Welding Skills?
Practice on scrap metal pieces. Consider taking a course at a community college or vocational school, or seek out workshops and tutorials from experienced welders.
We’d love to hear from you! Share your personal experiences and insights on ‘How to Stick Weld: A Beginner’s Guide to Getting Started’ in the comments section below. Whether you’re a seasoned welder or just starting out, your thoughts and stories could greatly benefit fellow enthusiasts in their welding journey. Your practical tips, challenges faced, and successes achieved could help others make informed decisions and enhance their welding skills!

Edward Smith
Forestry AuthorWoodworking is about more than crafting; it's a harmonious connection with nature, mastering tools, and preserving our environment. I'm here to share my knowledge and experiences with you, forging a future where we can embrace wood's beauty and utility while safeguarding our forests' health and diversity.

Leave your comment