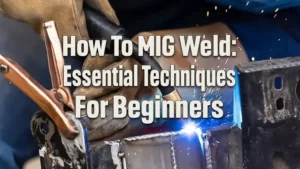
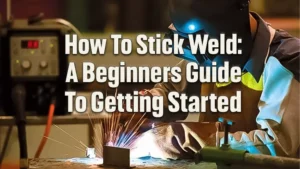
How to Stack Dimes with a MIG Welder: Step-by-Step Guide for Beginners
- February 23, 2024
- 1 comment
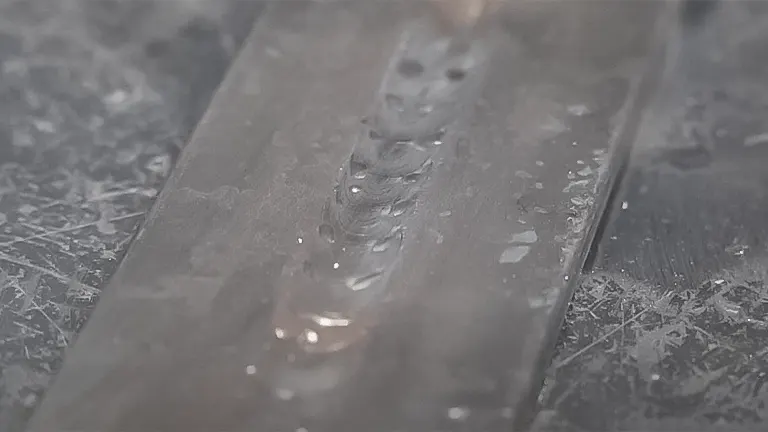
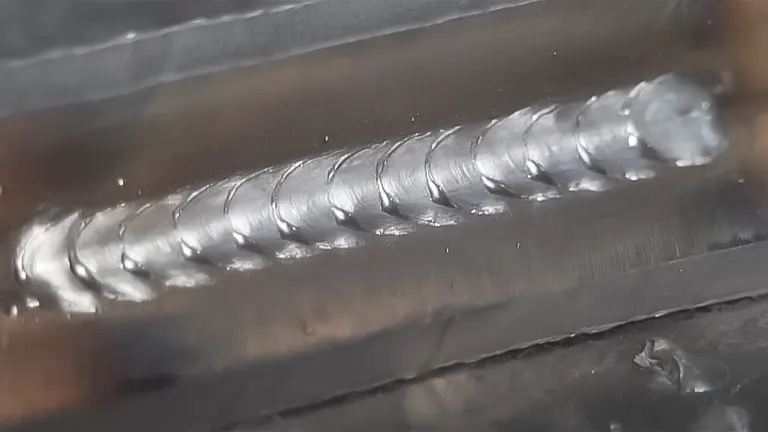
Stacking dimes in welding refers to the appearance of neat, overlapping circular weld beads that resemble a stack of dime coins. This technique is highly sought after for its aesthetic appeal and the indication of quality welding practice, particularly in MIG welding. The process outlined below is the culmination of years of self-taught experience, emphasizing the importance of practice, patience, and the right equipment.
List of 5 Welding Techniques and Patterns:
Equipment and Setup
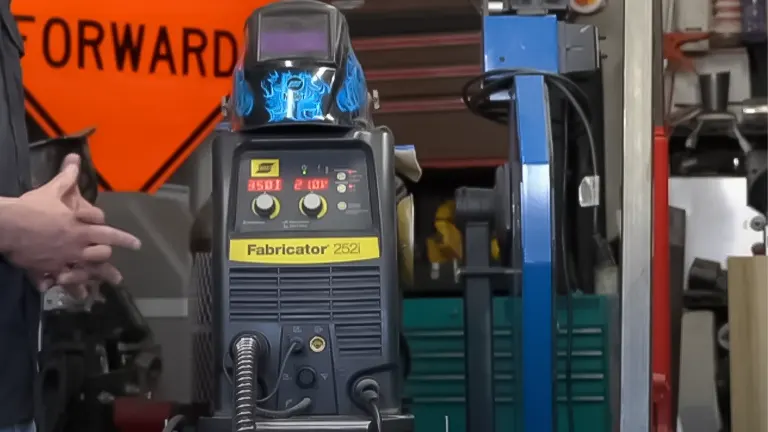
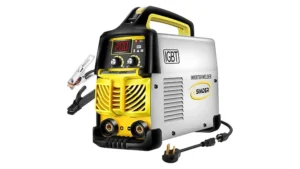
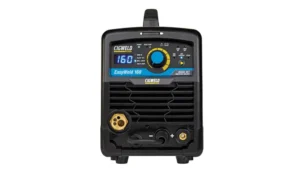
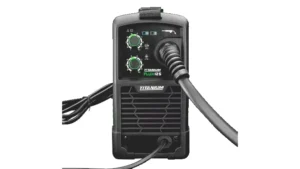
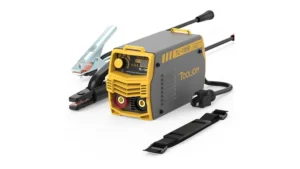
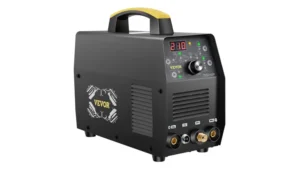
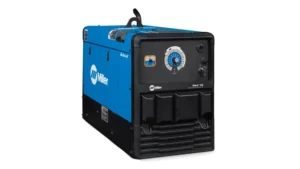
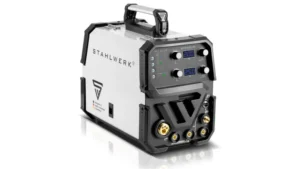
The choice of welder significantly impacts the quality of your welds. High-quality welders, like the Miller 211 or the ESAB Fabricator 252i, are recommended for their reliability and capability to produce perfect welds, essential for beginners who are yet to fine-tune their technique. A 240-volt machine is advisable for welding thicker plates, ensuring sufficient power for deep penetration.
Gas Mix and Welder Settings
A mix of 75% argon and 25% CO2 is preferred for steel MIG welding, offering a good balance for clean, strong welds. Settings will vary by machine and material but aim for a setup that allows for deep penetration without burning through the metal. The process begins with understanding your welder’s capabilities and adjusting the voltage and wire speed accordingly.
5 Welding Techniques and Patterns
1. Beveling for Penetration
Beveling the edges of materials before welding is a preparatory step designed to enhance weld penetration. This method involves cutting a slope on the edges of the material to be welded, which increases the surface area exposed to the welding process.
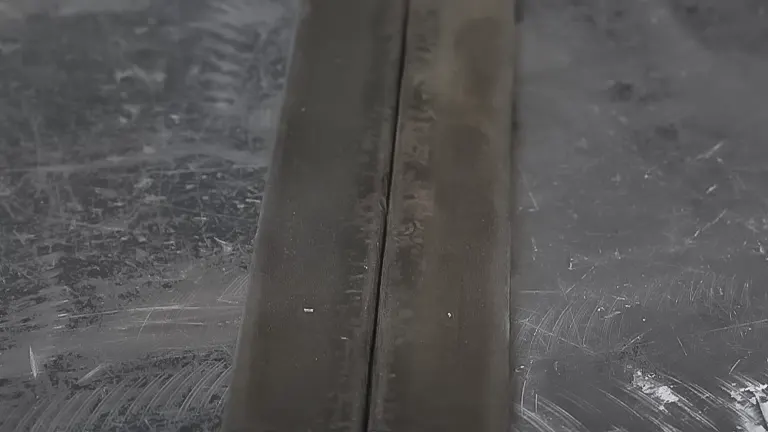
The primary purpose of beveling is to ensure that the weld fully penetrates the thickness of the material, creating a stronger joint. Additionally, beveled edges serve as a visual guide for welders, helping to achieve consistent bead width and spacing. This technique is particularly important when working with thicker materials, where achieving adequate penetration can be more challenging.
2. Tack Welds
Tack welds are small, preliminary welds used to hold pieces of metal together temporarily before final welding. The process starts at the base of the beveled edge, where the welder places the wire and initiates the weld, maintaining the position until the gap fills.
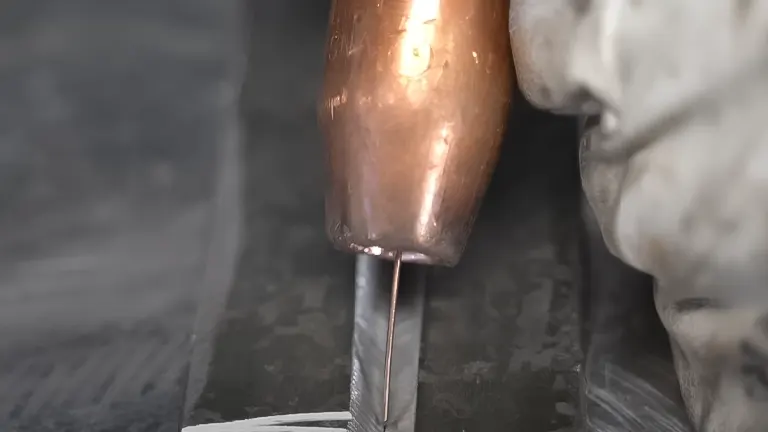
These initial tack welds are crucial for aligning and securing the materials in the correct position, preventing movement during the final welding process. Subsequent tack welds are applied overlapping the previous ones, creating a series of spots that stabilize the entire length of the joint. This step is essential for maintaining alignment and preventing warping of the material during welding.
3. Stitch Welding
Stitch welding is an advancement from tack welding, involving a series of overlapping welds that resemble the stitches in fabric. This method transitions from separate tack welds to a continuous welding motion, adopting specific patterns like triangles or swirls.
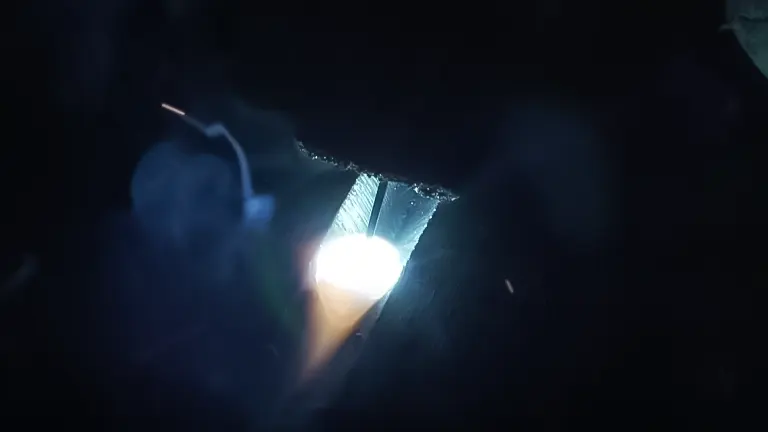
The key is to move the welding torch in a way that the arc preheats and melts the base metal just before the molten pool covers it. This technique ensures deep penetration into the material, crucial for the strength and durability of the weld. Stitch welding is effective in preventing surface-level welds that lack structural integrity, promoting a bond that integrates deeply with the base metal.
4. Practice on Different Joints
Practicing on different types of joints, including butt, lap, inside and outside corner joints, is vital for developing versatility and skill in welding. Each joint type presents unique challenges, from the angle of approach to the type of weld needed for optimal strength and appearance.
Adapting welding techniques and patterns to suit each joint is necessary for achieving uniformity in bead size and spacing, as well as ensuring deep penetration. This practice allows welders to refine their skills across a broad spectrum of welding scenarios, improving their ability to tackle various welding tasks with confidence and precision.
5. Vertical Welding
Vertical welding, particularly vertical down welding, presents a set of challenges that differ from welding in flat or horizontal positions. The technique requires careful control to ensure the base metal melts adequately before being covered by the weld pool.
This method is often debated among welders due to the difficulty in achieving consistent penetration and the risk of creating weak welds if not done correctly. However, when executed with skill, vertical welding can produce aesthetically pleasing results without compromising the weld’s structural integrity.
Mastery of vertical welding techniques is a testament to a welder’s expertise, expanding their capabilities to work effectively in a variety of positions.
Personal Insights and Encouragement
The journey to mastering MIG welding is filled with trial and error, and success largely depends on the willingness to persist and learn from mistakes. The guide emphasizes patience, practice, and the continual adjustment of techniques and settings to suit specific welding tasks.
Related Articles:
- First Welder Guide for DIYers: Practical Tips
- Best 5 MIG Welders: From Budget-Friendly to Premium Picks
- Best MIG Welder for the Money
- Troubleshooting Common Welding Machine Problems
- Best Cheap MIG Welder on Amazon
- Best Yeswelder Plasma Cutter
- Best MIG Welder by YesWelder
- Best STICK Welder by YesWelder
- Best 110v MIG Welders
- Best 120V MIG Welders
Final Conclusion
Stacking dimes with a MIG welder is an art that combines technical skill with a deep understanding of the welding process. While this guide offers a foundation built on personal experience, the path to mastery is unique for every welder. Engage with the community, share insights, and remember that constructive criticism is a stepping stone to improvement. Above all, enjoy the process of learning and take pride in the progress you make with each weld.
Frequently Asked Questions
- What does “stacking dimes” mean in MIG welding?
Stacking dimes refers to the appearance of the weld bead that resembles a stack of dimes, characterized by uniform, overlapping circular patterns along the weld seam. This technique is often sought after for its aesthetic appeal and indication of a skilled weld. - Why is beveling important for stacking dimes?
Beveling the edges of the material before welding increases the weld’s penetration and ensures a stronger joint. It also provides a visual guide to help maintain consistent bead width and spacing, which are crucial for achieving the stacked dimes effect. - How do tack welds aid in stacking dimes?
Tack welds are small, preliminary welds that hold the pieces of metal in place, ensuring proper alignment and stability before the final welding. They are critical for maintaining the alignment and preventing the material from warping, both of which are essential for a clean, consistent stacked dimes pattern. - What is stitch welding, and how does it relate to stacking dimes?
Stitch welding involves creating a series of overlapping welds that resemble fabric stitches. This technique transitions from separate tack welds to a continuous weld, employing specific patterns to ensure deep penetration and a strong bond, essential for the stacked dimes appearance. - Can you stack dimes on all types of joints?
Yes, with the right technique and practice, you can stack dimes on various types of joints, including butt, lap, and corner joints. Each joint type requires adjustments in technique to achieve the desired appearance and penetration. - Is vertical welding suitable for stacking dimes?
Vertical welding, especially vertical down welding, can be challenging but is feasible for stacking dimes with proper technique. It requires precise control to melt the base metal adequately before the weld pool covers it, ensuring both aesthetics and structural integrity. - What gas mix should I use for stacking dimes with a MIG welder?
A common gas mix for MIG welding, particularly when aiming to stack dimes, is 75% argon and 25% CO2. This mix provides a good balance for clean welds with great appearance and penetration. - How do I choose the right wire speed and voltage for stacking dimes?
Wire speed and voltage settings depend on the material thickness, type, and welding position. It’s essential to start with the manufacturer’s recommendations and adjust based on trial and error to find the settings that provide the best appearance and penetration for stacking dimes. - Can I stack dimes with any MIG welder?
While it’s possible to achieve a stacked dimes effect with various MIG welders, high-quality welders offer better control and consistency, making it easier for both beginners and experienced welders to achieve desirable results. - What are common mistakes to avoid when trying to stack dimes?
Common mistakes include incorrect gas flow, improper wire speed and voltage settings, lack of control over the weld pool, and insufficient practice. Avoiding these mistakes requires understanding your equipment, practicing regularly, and adjusting your technique based on the results.
Your feedback is invaluable! We invite you to share your personal experiences and insights about the Bauer RE-AKT 200 in the comments section below. Whether it’s about its comfort, durability, or performance on the ice, your thoughts could greatly assist other players in making well-informed choices. Let’s help each other find the perfect gear!

Edward Smith
Forestry AuthorWoodworking is about more than crafting; it's a harmonious connection with nature, mastering tools, and preserving our environment. I'm here to share my knowledge and experiences with you, forging a future where we can embrace wood's beauty and utility while safeguarding our forests' health and diversity.
Being comfortable calm and steady I always would brace myself in a position where I can freely cover the entire area of the weld in a steady motion braced by either an arm or opposite hand to guide my welding hand to travel smoothly kit cNt be done. By one hand floating holding a mig torch or stinger you must brace the gun hand with something steady either the opposite hand or Against a fixed oblect
Danny D Anderson
February 29, 2024 7:05 pm