How to Install a Wood Stove
- July 17, 2023
- 0 comment
Wood stoves are not only charming additions to any home, but they also provide an efficient and cost-effective way to heat your living space. Installing a wood stove requires careful planning and adherence to safety guidelines. In this article, we will provide a step-by-step guide to help you install a wood stove in your home while ensuring safety and efficiency.
Step 1: Assess Your Space and Gather Materials
Before embarking on the installation process, it is crucial to evaluate your space and ensure that it can accommodate a wood stove. Check local building codes and regulations to ensure compliance. Once you have confirmed the feasibility, gather the necessary materials, including the wood stove, chimney pipe, floor protection, heat-resistant wall coverings, and any additional components required.
Step 2: Choose an Ideal Location
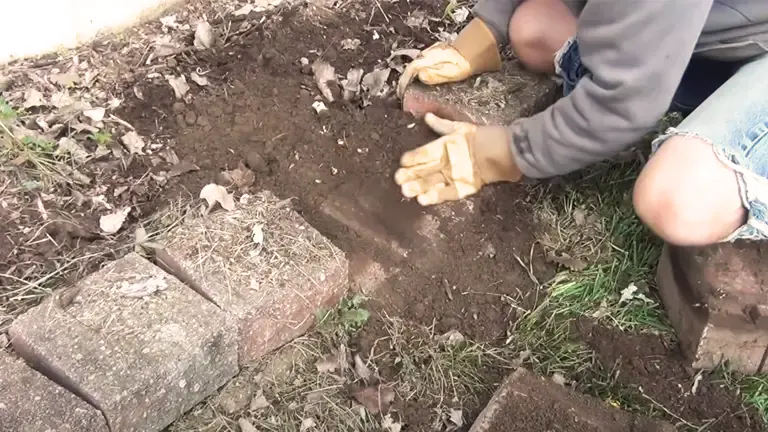
Selecting the right location for your wood stove is vital for safety and efficiency. Look for a central area that allows for proper airflow and heat distribution. Ensure the stove is placed away from combustible materials such as curtains, furniture, or walls. Leave ample space around the stove for ease of maintenance and cleaning.
Step 3: Prepare the Area
Preparing the area where the wood stove will be installed is crucial. Begin by protecting the floor using a non-combustible material like a fireproof hearth pad or sheet metal. The pad should extend at least 18 inches beyond the stove on all sides. Consider installing a heat shield on the wall behind the stove to protect combustible materials.

Step 4: Install the Chimney
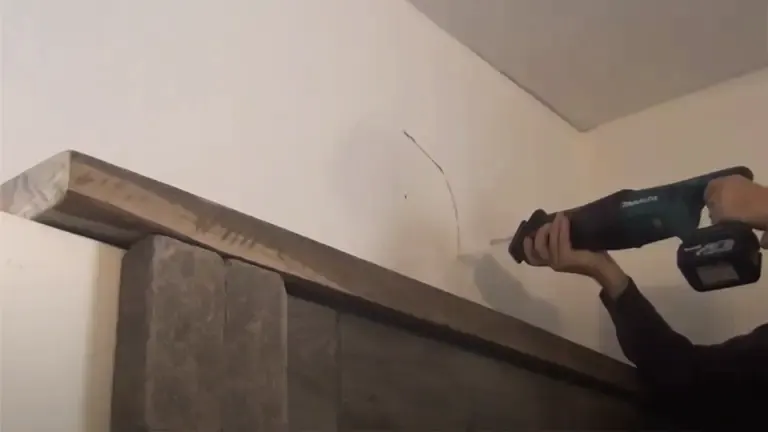
The chimney is a vital component of a wood stove installation. Begin by determining the height and position of the chimney to meet safety regulations. Assemble the chimney pipe sections, ensuring that each joint is securely connected using appropriate locking mechanisms. Extend the chimney pipe through the ceiling and roof, providing a minimum clearance of 2 inches from any combustible materials.

Step 5: Connect the Stove to the Chimney
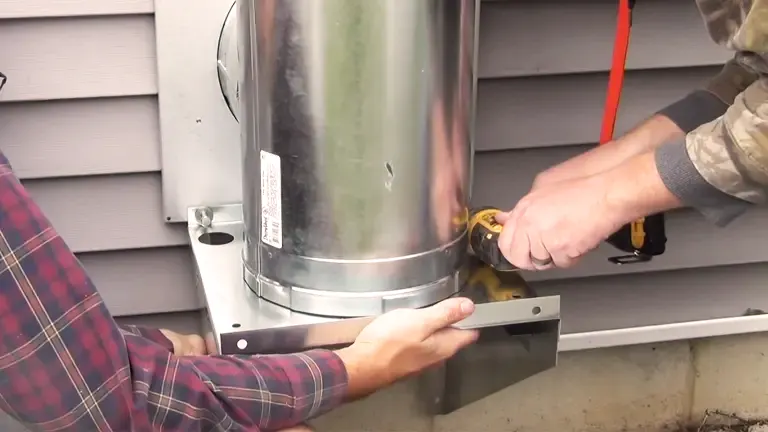
Attach the stovepipe to the collar on the back of the wood stove. Ensure a secure connection using pipe connectors or clamps, following the manufacturer’s instructions. The stovepipe should run upward with a slight incline, without any sharp bends or horizontal sections. Connect the stovepipe to the chimney pipe using a proper connector, such as a chimney adapter.
Step 6: Secure the Components
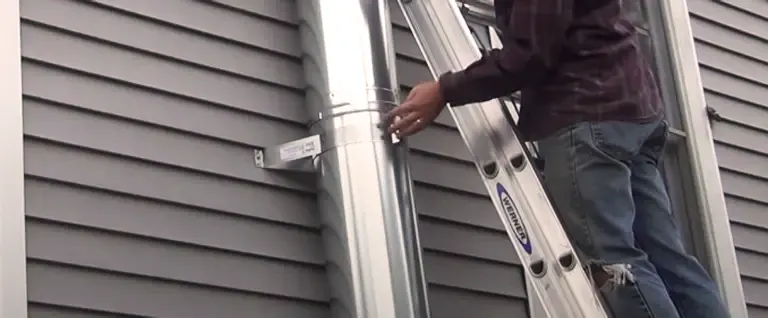
Once all the components are in place, secure them properly. Use appropriate fasteners, brackets, or support systems to ensure stability. Pay attention to the joints and connections to prevent any leaks or dislodgment during regular use.
Step 7: Test and Inspect
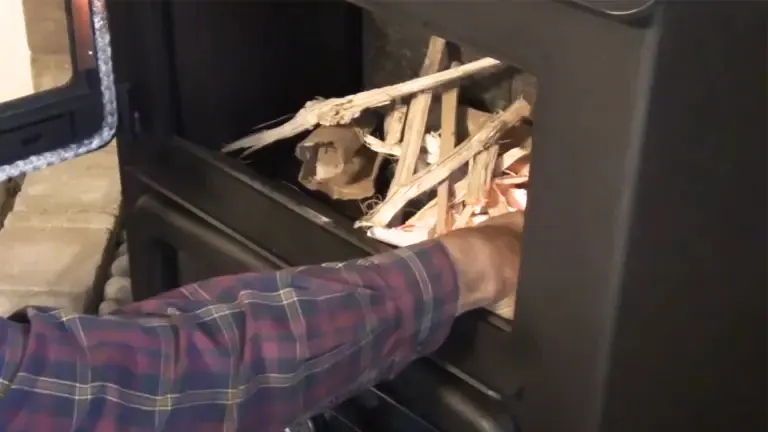
Before lighting your wood stove, conduct a thorough inspection of the entire installation. Check for any loose connections, gaps, or signs of damage. Ensure that the chimney is clear of obstructions and adequately sealed. Perform a test burn to check the stove’s functionality and the chimney’s ability to draw the smoke out effectively.
Step 8: Practice Safe Operation and Maintenance
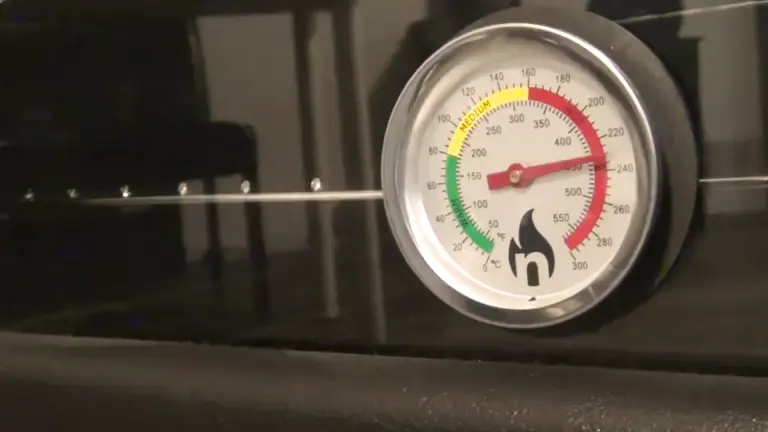
After successfully installing your wood stove, it is essential to follow safety guidelines and perform regular maintenance. Clean the chimney and stovepipe regularly to remove creosote buildup. Ensure proper ventilation and airflow around the stove. Use only seasoned firewood and follow proper lighting and extinguishing procedures.
Considerations Before Installing A Wood Burning Stove
- Fuel Type and Efficiency: There are different types of wood that can be burned in stoves, such as hardwoods like oak or softer woods like pine. Each type has its pros and cons in terms of burn time, heat output, and creosote production. Modern stoves are designed to maximize efficiency, ensuring you get the most heat for the least amount of wood. It’s essential to understand your wood supply and choose a stove that’s suited to your preferred wood type.
- Stovetop Features and Usability: Some wood stoves come with flat tops, which can be used for cooking or boiling water. Others might have viewing windows, allowing users to enjoy the aesthetics of a burning fire. When choosing a stove, consider how you’ll be using it daily and select features that match your lifestyle.
- Ventilation and Installation: The placement of your wood stove will impact its effectiveness in heating your space. It needs proper ventilation, and the stove’s chimney should be positioned to draft correctly, ensuring smoke exits your home without issue. Some stoves may also require an external air intake, especially in newer, tightly sealed homes. Before installation, consider where the stove will be placed and how the venting will be handled.
- Maintenance and Upkeep: Wood stoves require regular cleaning and maintenance. Creosote, a byproduct of wood burning, can build up in chimneys and become a fire hazard. It’s crucial to understand the maintenance needs of any stove you’re considering and to ensure you’re prepared to handle or hire someone for regular cleanings.
- Local Regulations and Guidelines: Many regions have specific guidelines about wood stove installations, especially in urban areas where air quality can be a concern. Before purchasing, check local regulations to ensure your chosen stove meets emission standards and installation guidelines.
- Professional Installation or DIY? While some homeowners might feel confident in installing a wood stove independently, hiring a professional can ensure that the stove is installed safely and efficiently. Incorrect installation can lead to poor ventilation, reduced efficiency, or even hazards like house fires. If in doubt, always lean toward consulting or hiring a certified wood stove installer.
Conclusion
Installing a wood stove in your home can provide warmth, comfort, and energy efficiency. By following these step-by-step instructions and adhering to safety guidelines, you can enjoy the benefits of a wood stove while ensuring the well-being of your home and loved ones. If you feel uncertain at any point during the installation process, it is recommended to consult a professional to ensure a safe and successful installation. Stay warm and cozy with your newly installed wood stove!
FAQs
- What type of wood should I burn in my wood stove?
Different stoves might have different recommendations, but generally, dry, seasoned hardwoods like oak or maple provide a long, hot burn with less creosote buildup. - How often does the stove need cleaning?
This depends on usage and the type of wood burned, but generally, chimneys should be checked and possibly cleaned annually, and ash pans should be emptied as they fill. - Are there any restrictions on where I can install my wood stove?
It’s essential to maintain clearances from combustible materials. Always refer to your stove’s manual and local building codes. Typically, stoves shouldn’t be placed on combustible flooring or directly against walls without protection. - Do I need a chimney for my wood stove?
Yes, a wood stove requires a flue to ensure proper draft and to vent smoke out of the home. - Can I install the stove myself?
While some homeowners choose to do this, hiring a professional ensures that the installation meets safety standards and operates efficiently. - What is creosote and why is it a concern?
Creosote is a flammable byproduct of wood combustion. Over time, it can build up in chimneys, leading to reduced airflow and potentially dangerous chimney fires. - How do I know if my wood stove meets local emissions standards?
Check the rating label on the stove, and cross-reference it with your local environmental or air quality regulations. An EPA-certified stove, for example, meets stringent emissions standards. - What’s the difference between a wood stove and a pellet stove?
A wood stove burns cut logs, while a pellet stove burns compressed wood pellets. Each has its advantages in terms of efficiency, maintenance, and fuel availability. - Can I cook on my wood stove?
Some stoves come with flat, sturdy tops that can be used for cooking or boiling water. Always refer to the manufacturer’s guidelines. - How can I improve the efficiency of my wood stove?
Ensure the wood is dry and seasoned, maintain proper airflow in the stove, clean the chimney regularly, and follow the manufacturer’s operating instructions.
Your input is invaluable to us! Feel encouraged to share your personal experiences and insights about the process of installing a wood stove in the comments section below. Your guidance and tips could provide valuable assistance to those considering or embarking on a wood stove installation journey.

John Carlos
Forestry AuthorThe beauty of logging isn't just about felling trees. It's about understanding nature, mastering the art of chainsaws, and respecting the environment. I believe in sharing my experiences and knowledge, ensuring that we move towards a sustainable future together.


Leave your comment