How to Start and Plan Your Garden in 14 Simple Steps Effortlessly
- June 13, 2024
- 0 comment
Learn how to start and plan your garden in 14 simple steps effortlessly! Achieve a lush, thriving garden with ease. Starting a garden can be a daunting task, but it doesn’t have to be. Whether you’re a beginner or a seasoned green thumb, our guide breaks down how to start and plan your garden into 14 simple and manageable steps.
By following these straightforward techniques, you’ll be able to create a thriving garden effortlessly. Let’s dig into these steps to help you grow the garden of your dreams with minimal fuss.
List of Guide on How to Start and Plan Your Garden
- Define Your Goals
- Choose the Right Location
- Analyze Your Soil
- Design Your Garden Layout
- Select Your Plants
- Gather Your Tools and Supplies
- Prepare the Soil
- Planting Techniques
- Install Irrigation Systems
- Mulching
- Regular Maintenance
- Pest and Disease Control
- Fertilizing
- Harvesting and Enjoying the Results
Step 1: Define Your Goals
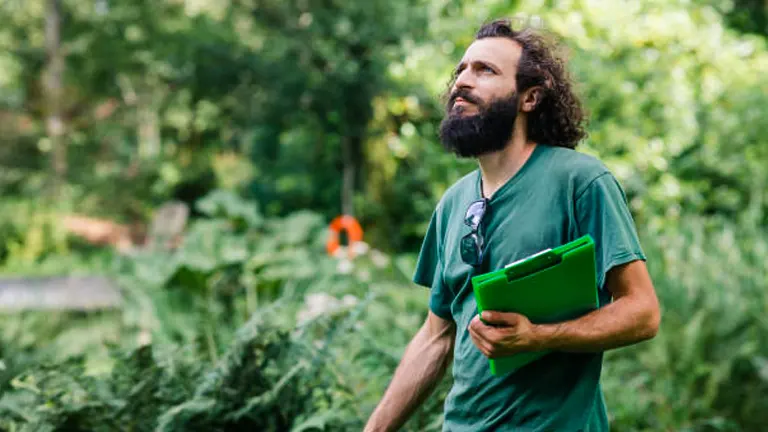
Before any soil is turned, clearly defining your garden’s purpose is crucial. Start by asking yourself several questions: Are you aiming to grow vegetables for your kitchen, herbs for cooking, or flowers for beauty? Do you want a garden that attracts wildlife like bees and butterflies, or are you creating a space for relaxation and meditation? Consider the aesthetic and functional aspects of your garden—whether it’s for self-sufficiency, sustainability, or simply for enjoyment.
Next, set specific, achievable goals. If you’re new to gardening, you might start with easy-to-grow plants, such as marigolds or tomatoes, to gain confidence. For more experienced gardeners, challenging oneself with heirloom vegetables or exotic flowers could be the goal. Document these goals in a garden journal, which can help track your progress and refine your techniques over time.
Key Tip: Utilize garden planning apps or tools to visualize your garden layout. This digital approach can help you place plants in the best locations based on their sun and water needs and fully realize your garden’s potential.
Step 2: Choose the Right Location
Selecting the optimal location is a decision that affects the health and growth of your garden. Perform a thorough analysis of your potential garden site throughout the day to observe how the sun moves across the space. Most vegetables and flowers require a minimum of 6-8 hours of direct sunlight. However, if you’re planning a shade garden, look for areas that receive less direct sunlight.
Consider the soil and topography:
- Soil Quality: Dig a few small test pits to examine the soil texture and composition. Look for soil that crumbles easily in your hand and isn’t too clayey or sandy.
- Drainage: After a rain, check how quickly the water drains. Areas that remain soggy can be problematic, but slight slopes can be ideal for good drainage and easier plant management.
- Wind Exposure: Notice if any areas are particularly windy, as strong winds can stunt plant growth or dry out the soil too quickly.
Accessibility and Practicality: Ensure your garden is easily accessible for regular maintenance. Proximity to a water source simplifies watering tasks, and nearby storage for tools can make gardening more spontaneous and enjoyable.
Environmental Considerations: Be mindful of existing landscape elements. For example, large trees can provide beneficial shade but may compete with your garden for water and nutrients. Also, consider how your garden could affect local wildlife and strive to create a harmonious ecosystem.
Fresh Tip: Before finalizing the location, spend a season observing the area. This allows you to understand the microclimate better, including any unique light patterns and weather conditions, which can significantly influence your garden’s success.
Step 3: Analyze Your Soil
Understanding your soil is critical for a successful garden. Start by testing the soil to find out its pH level and nutrients like nitrogen, phosphorus, and potassium. You can buy a soil test kit from a garden store or send a sample to a local extension office. Knowing the soil type—sandy, loamy, or clayey—helps you decide how much water and fertilizer your plants will need. If the soil isn’t ideal, you might need to add compost to improve it, which helps with water retention and nutrient supply.
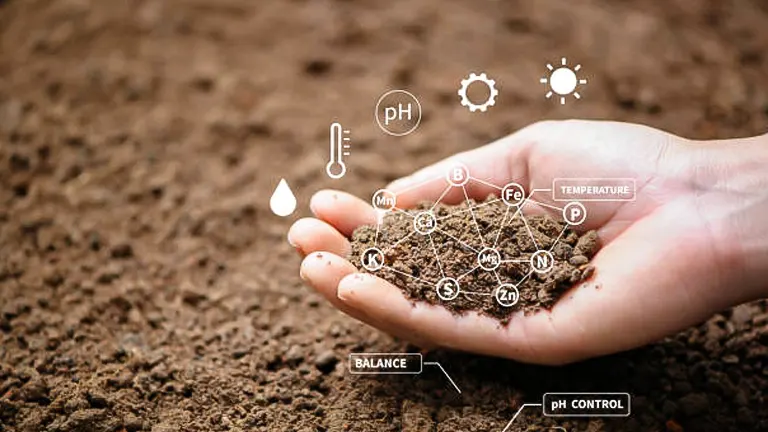
Key Tip: Keep checking your soil every few years to make sure it stays healthy and adjust your gardening practices as needed.
Step 4: Design Your Garden Layout
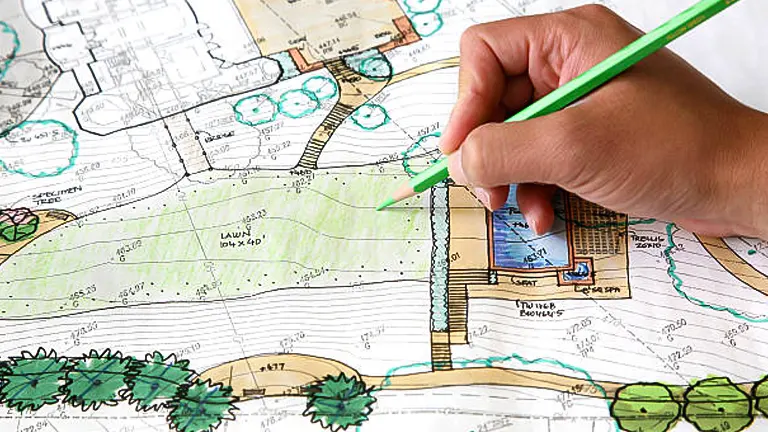
Now that you know your goals, location, and soil type, it’s time to design your garden. Start with a simple sketch that outlines where each plant or vegetable will go. Consider the height and spread of mature plants to avoid overcrowding and ensure each one receives enough light and air circulation. Utilize gardening apps or online planners to visualize your design and make the best use of your space. This step doesn’t require artistic skills but a practical approach to organizing your garden’s layout.
Step 5: Select Your Plants
Choosing the right plants is not only about what looks good but also what will thrive in your garden’s conditions. Research plants that do well in your climate zone and soil type. Consider the amount of sun and water they will need and whether these conditions match your garden’s environment. Start with a few hardy species that are known for being low-maintenance to ensure success. Local garden centers can offer advice tailored to your area, and choosing native plants can reduce care requirements and increase the likelihood of success.
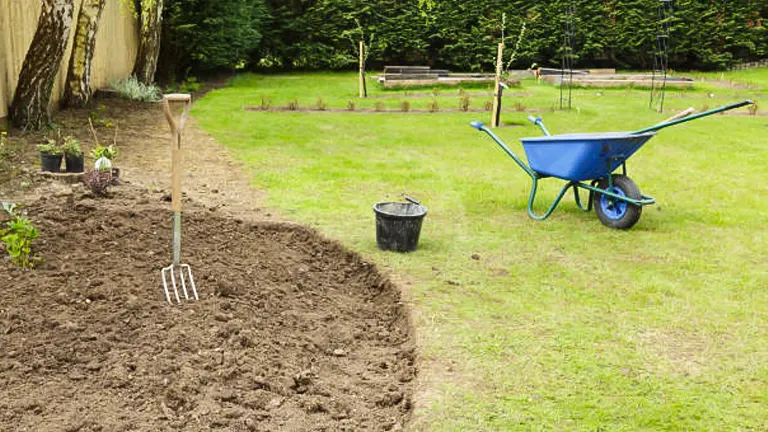
Step 6: Gather Your Tools and Supplies
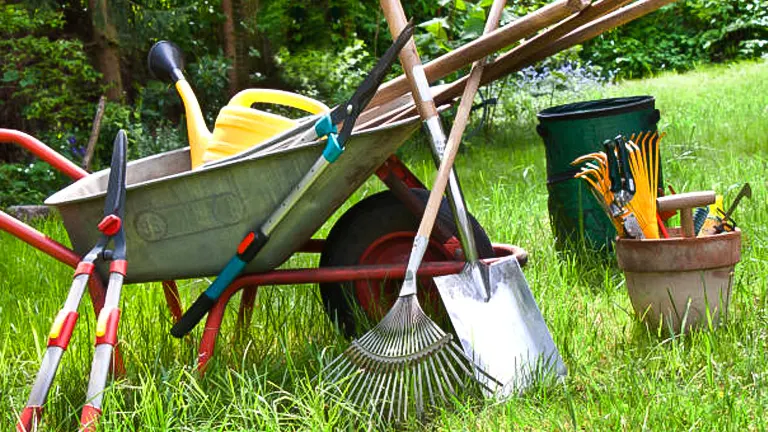
The right tools can make the difference between backbreaking work and a smoothly run garden project. Essentials include a spade, a trowel, gardening gloves, a watering can or hose, and pruning shears. Depending on the size of your garden, you may also need a wheelbarrow to move soil or compost. Choose tools that are durable and fit comfortably in your hand, as well-built tools can last many seasons if cared for properly.
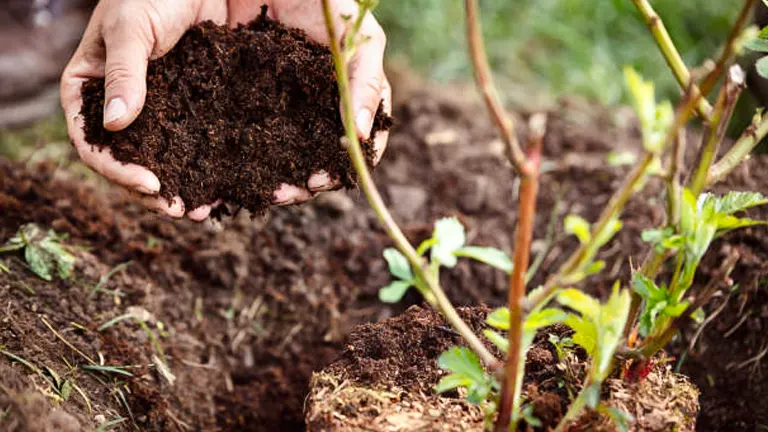
Step 7: Prepare the Soil
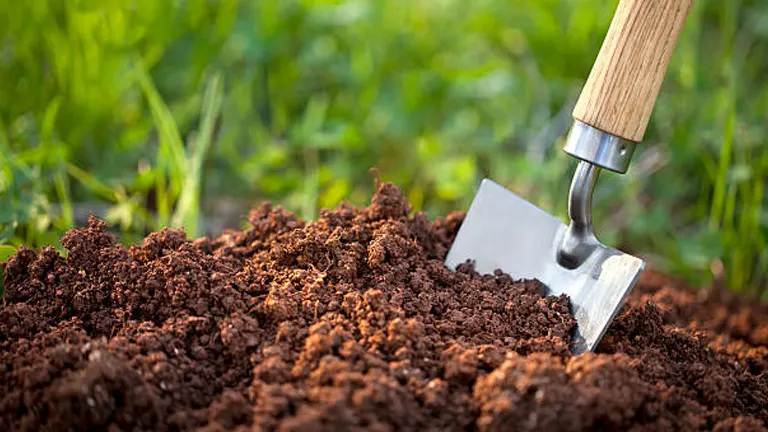
Preparing your soil properly can provide your plants with the best foundation for growth. Remove any weeds, rocks, or debris. Break up the soil using a spade or tiller to aerate it, which will facilitate root growth and improve drainage. Mix in organic matter like compost or aged manure; these enrich the soil and help retain moisture and nutrients. If your soil test indicated a need for specific nutrients, add the recommended fertilizers. This step ensures that your plants will have a nutrient-rich environment in which to thrive.
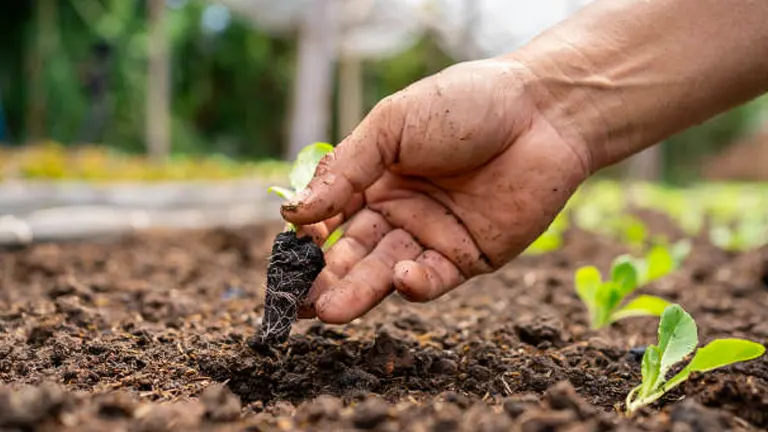
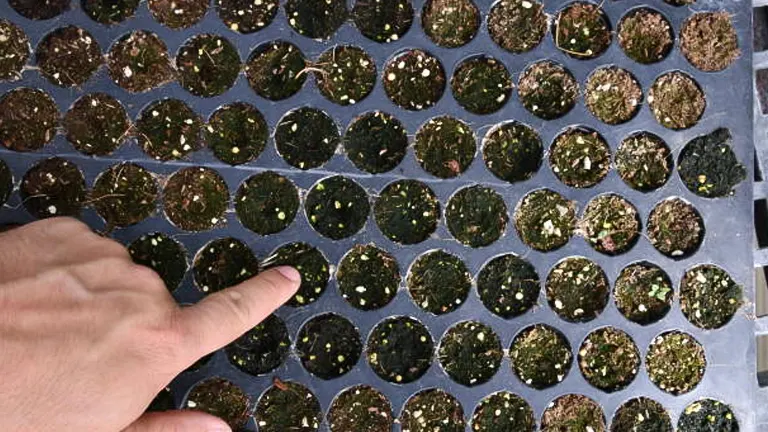
Step 8: Planting Techniques
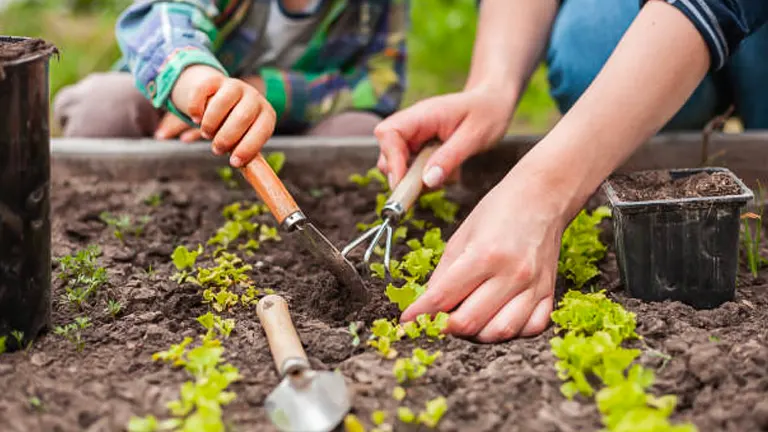
Proper planting is essential for the healthy establishment and growth of your plants. Here’s a detailed guide to ensure you get it right, whether you’re planting seeds or seedlings:
Planting Seeds:
- Start by reading the seed packet carefully. It contains critical information about the best time to plant, depth of planting, and the required spacing between each seed.
- Use a ruler or a planting stick to ensure you sow seeds at the correct depth. This is crucial because seeds planted too deep may not germinate, while those too shallow may be exposed to elements they aren’t strong enough to withstand.
- Proper spacing prevents overcrowding, allowing each plant enough sunlight, nutrients, and air circulation as they grow. If you’re using rows, space the seeds according to packet instructions and thin them to the strongest seedlings once they sprout.
- Gently water the seeds without displacing them. A fine mist setting on a watering can or hose is ideal to keep the soil moist but not waterlogged.
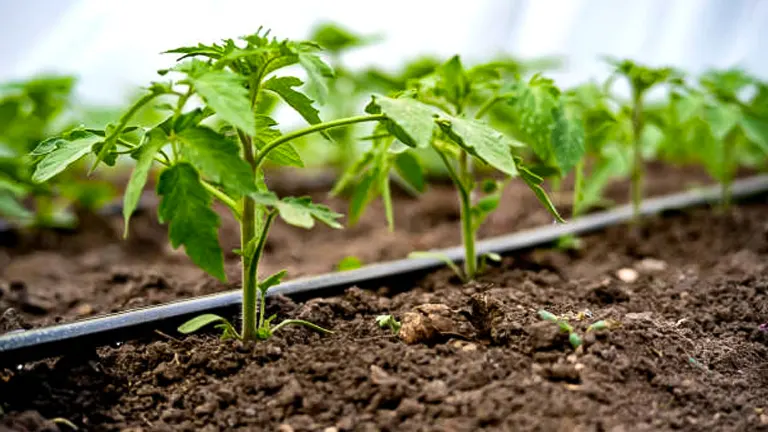
Planting Seedlings:
- Dig a hole for each seedling, making it twice as wide as the root ball but just as deep. This encourages the roots to spread outwards and establish a strong base.
- Remove the plant from its container by tipping it sideways, supporting the plant with one hand, and gently tapping the container until the plant slides out. Position the seedling so that the top of the root ball is level with the soil surface. This positioning is important to prevent water from pooling at the stem, which can cause rot.
- Carefully fill in the hole, gently firming the soil around the root ball to eliminate air pockets. Avoid compacting the soil too much, as this can hinder root growth and water penetration.
- Water thoroughly after planting. This initial watering settles the soil around the roots and helps reduce transplant shock. Make sure the water penetrates deeply into the soil to encourage roots to grow downward.
Aftercare:
- Apply a layer of organic mulch around the base of the plant, leaving some space around the stem. Mulch helps retain moisture, suppress weeds, and maintain an even soil temperature.
- Keep an eye on new plantings, especially in the first few weeks. Ensure the soil doesn’t dry out and check for signs of pests or disease.
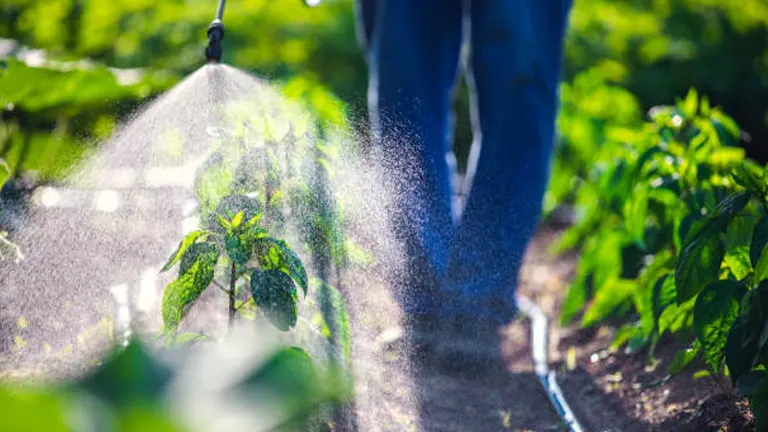
Step 9: Install Irrigation Systems
Efficient watering is key to a successful garden. Consider installing a drip irrigation system, which conserves water by delivering it directly to the plant’s roots. Alternatively, soaker hoses can be a simpler and less expensive option that also helps keep leaves dry, reducing the risk of disease. Make sure your irrigation system has a timer to automate the watering process, which can save time and ensure consistent moisture levels, essential for plant health.
Step 10: Mulching
Mulch is a gardener’s best friend. It helps retain soil moisture, suppresses weeds, and can even regulate soil temperature. Choose a mulch appropriate for your plants—organic mulches like shredded bark or straw not only perform these functions but also gradually break down, adding nutrients back into the soil. Apply a 2 to 3-inch layer around your plants, taking care not to pile it up against the stems to avoid rot.
Step 11: Regular Maintenance
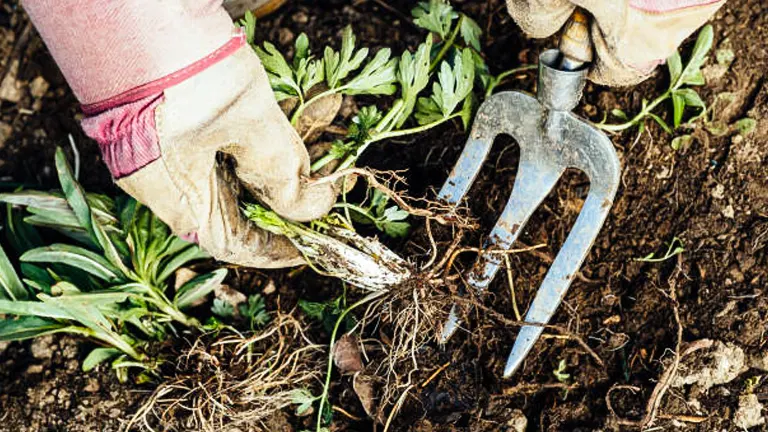
Consistent care is the key to a flourishing garden. Establish a routine for watering, weeding, and inspecting plants for signs of pests or diseases. Water plants early in the morning to allow moisture absorption before the heat of the day and to reduce evaporation. Pull weeds regularly before they have a chance to establish or produce seeds. Regular maintenance prevents minor issues from becoming major problems and keeps your garden looking its best.
Step 12: Pest and Disease Control
Effective pest and disease management is crucial for maintaining a healthy garden. Start by educating yourself about the common pests and diseases that are prevalent in your local area, as different regions have unique challenges. Regular monitoring of your garden is essential; check your plants for signs of stress, unusual spots, damaged foliage, or stunted growth, which are often early indicators of disease or pest problems.
Integrated Pest Management (IPM):
- Preventive Cultural Practices: Keep your garden clean and free of debris where pests can breed. Rotate crops annually to prevent pests and diseases from becoming established.
- Mechanical Controls: Use barriers such as row covers or nets to physically prevent pests from reaching plants. Handpick larger pests like caterpillars or use water sprays to dislodge aphids.
- Biological Controls: Introduce beneficial insects like ladybugs and lacewings, which prey on harmful pests. Planting nectar-rich flowers can attract these natural allies to your garden.
- Chemical Controls: If necessary, use organic pesticides as a last resort. Products like neem oil, insecticidal soaps, and horticultural oils are effective against a variety of pests and are safer for the environment and beneficial organisms than synthetic chemicals.
Key Tip: Always identify the specific pest or disease before treatment. Misidentification can lead to ineffective control measures and unnecessary chemical use.
Step 13: Fertilizing
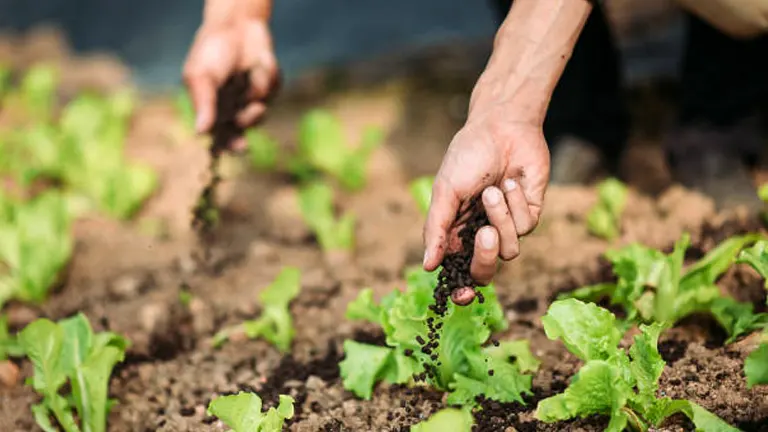
Proper fertilization is pivotal for promoting healthy plant growth and maximizing yields, especially in gardens where nutrient demands are high. Determine the specific nutrient needs of your plants by conducting a soil test, which will help you customize your fertilizing plan to match the exact requirements of your garden.
Fertilization Techniques:
- Balanced Fertilization: Use a balanced, slow-release fertilizer to provide a steady supply of nutrients. This type of fertilizer decreases the risk of nutrient leaching and over-fertilization, which can harm plant roots and diminish plant health.
- Application Timing: Apply fertilizers at critical growth stages—usually at planting, just before blooming, and during fruit set. This targeted feeding supports plants when they need it most.
- Method of Application: Fertilizers can be applied directly to the soil around the plants or mixed with water and used as a liquid feed. Ensure even distribution to avoid nutrient burn.
Innovative Tip: Consider incorporating organic amendments like bone meal for phosphorus, blood meal for nitrogen, and green sand for potassium, which enrich the soil gradually and sustainably.
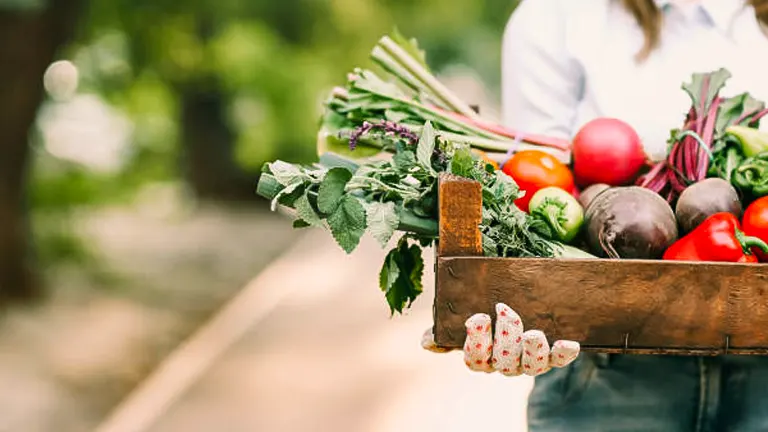
Step 14: Harvesting and Enjoying the Results
The ultimate reward of your gardening efforts comes when it’s time to harvest. The right time to pick your produce varies by plant species and desired ripeness. Vegetables should generally be harvested when they are firm and vibrant in color, while flowers are best picked when they are just about to fully open. Use sharp scissors or pruning shears to cut produce cleanly, which helps prevent damage to the plant. Regular harvesting often encourages more production, especially in vegetable plants.
After the harvest, take the time to enjoy the fruits of your labor. Use your fresh vegetables in cooking, donate excess to a local food bank, or arrange your flowers around the house. Gardening is not just about the physical produce—it’s also about the satisfaction and peace of mind that comes from nurturing growth and life.
Seasonal Tips and Troubleshooting
Each season brings different tasks and challenges in the garden. Here are a few tips to keep your garden thriving year-round:
- Spring: Focus on planting new seeds and early soil preparation. Guard against late frosts by covering tender plants.
- Summer: Prioritize watering and pest control as temperatures rise. Mulch can be especially beneficial in helping retain soil moisture.
- Fall: Prepare your garden for winter by removing spent plants and adding compost to enrich the soil.
- Winter: Plan next year’s garden and maintain tools. This downtime is ideal for researching new plants and techniques.
Encountering issues like pests, diseases, or poor plant performance is common, but don’t be discouraged. Use these experiences as learning opportunities to adjust your practices and improve your garden year after year.
Related Post
- How to Build a Barn: A Step-by-Step Guide for Beginners
- How to Build a Sustainable Compost Bin: Easy and Eco-Friendly DIY
- How to Fertilize Bougainvillea: A Complete Guide for Stunning Blooms
- How to Fertilize Apple Trees: Essential Tips for a Bountiful Harvest
- How to Fertilize Lemon Trees: Secrets for Thriving Citrus
- How to Fertilize Avocado Tree: A Step-by-Step Guide for Lush Growth
- 10 Best Bow Saws to Buy in 2024: Top Picks for the Money
- Best Miter Saw For Beginners
- Top 10 Pruning Saws to Buy in 2024: Best for the Money
- 7 Best Pocket Chainsaw
Conclusion
Starting and planning a garden might seem like a complex endeavor, but by following these 14 simple steps, you can do it effortlessly and with confidence. Each step builds upon the last, from setting clear goals to enjoying the harvest, forming a cycle of continuous improvement and enjoyment. Remember, every gardener learns through trial and error, and every garden is a reflection of its caretaker’s dedication and love. Embrace the journey, and let your garden be a source of beauty and joy for many seasons to come.
FAQs
- What is the first step in planning a garden for beginners?
The first step is to define your goals. Consider what you want to achieve with your garden. Do you want to grow vegetables, herbs, flowers, or a combination? Understanding your goals helps you make informed decisions about everything from the type of plants you’ll grow to the layout of your garden. - How do I choose the best location for my garden?
Look for a spot that receives adequate sunlight (most vegetables and flowers need at least 6-8 hours daily), has good drainage, and is protected from strong winds. Observe potential spots at different times of the day to understand sun exposure and shade patterns. - Why is soil analysis important before planting?
Analyzing your soil helps you understand its pH level and nutrient makeup, which are crucial for plant health. Knowing your soil type (sandy, loamy, or clayey) also helps you decide which plants will thrive and what amendments might be necessary to improve soil structure and fertility. - How do I design an efficient garden layout?
Start by sketching a rough layout, considering the size and height of mature plants to avoid overcrowding. Include paths for easy access and think about companion planting to enhance plant health and deter pests. Using a garden planning app can also help visualize and optimize the space. - What are the best planting techniques for seeds and seedlings?
For seeds, follow the depth and spacing guidelines on the seed packet. For seedlings, ensure the hole is twice the width of the root ball and at the same depth. Plant the seedling so the top of the root ball is level with the soil surface, then water thoroughly to settle the soil around the roots. - How can I effectively manage pests and diseases in my garden?
Adopt an integrated pest management (IPM) approach. Start with preventive measures like choosing disease-resistant varieties and keeping your garden clean. Use physical barriers to protect plants, introduce beneficial insects, and only as a last resort, apply organic pesticides. - What should I know about fertilizing my garden?
Base your fertilizing strategy on the results of your soil test and the specific needs of your plants. Use a balanced fertilizer and apply it at key growth stages. Consider using organic options like compost, bone meal, or liquid seaweed, which are gentler on plants and the environment. - Can gardening be a sustainable practice?
Yes, sustainable gardening focuses on using natural resources responsibly. This includes using native plants that require less water and fertilizer, employing organic pest control methods, and practicing water conservation techniques such as mulching or using drip irrigation systems.
With these 14 simple steps, you’re well on your way to creating a garden that not only looks beautiful but is also a flourishing oasis of your own making.

Benjamin Brooks
Forestry AuthorGreetings! I'm Benjamin Brooks, and my journey over the past 15 years has revolved around the fascinating realms of content creation, expertise in snow clearing, and the intricate world of lumberjacking and landscaping. What began as a simple curiosity about the natural world and heavy machinery has evolved into a passionate profession where my love for crafting words intertwines seamlessly with my lumberjacking and garden skills.


Leave your comment