How to Sterilize Pruning Shears: Between Cuts
- February 12, 2024
- 0 comment
Learn the best techniques to sterilize pruning shears between cuts, ensuring your plants stay healthy and free from disease. Keeping your garden vibrant and healthy involves more than just regular watering and sunlight; it also requires proper tool maintenance. Sterilizing pruning shears between cuts is a critical step often overlooked by many gardeners. This simple yet effective practice can significantly reduce the spread of pathogens, ensuring that your plants remain robust and disease-free.
In this guide, we’ll walk you through the various methods to effectively sterilize your pruning shears, from quick disinfection techniques to thorough cleaning solutions, ensuring your gardening tools are always in the best condition to support your garden’s growth.
List of Guides on How to Sterilize Pruning Shears
- Inspection and Pre-cleaning
- Detailed Cleaning
- Choosing a Disinfectant
- Sterilization Process
- Rinsing (If Required)
- Drying and Lubrication
- Storing
Understanding the Need for Sterilization
Gardening tools, especially pruning shears, can become vectors for disease transmission if not properly sterilized. Pathogens like fungi, bacteria, and viruses can cling to the blades, waiting to infect the next plant you trim. This section underscores the significance of sterilization, detailing how a simple cut can lead to widespread plant disease if the shears are contaminated.
The Risks of Neglect

Pruning shears, used to cut away dead or overgrown branches and leaves, can become vectors for disease transmission if not properly sterilized between cuts. Pathogens, including fungi, bacteria, and viruses, can cling to the blades, easily moving from plant to plant. For instance, the dreaded fire blight, a bacterial disease, can decimate entire orchards if transmitted through contaminated tools. Similarly, fungal diseases like botrytis (grey mold) can spread rapidly in a garden, turning a routine pruning session into a vector for widespread plant affliction.
Benefits of Sterilization
Sterilizing pruning shears is a critical practice for any gardener looking to maintain a healthy and flourishing garden. This routine procedure does more than just prevent the spread of plant diseases; it is a fundamental aspect of garden care that promotes a thriving ecosystem within your garden. The process involves removing potentially harmful pathogens from the tools, thus safeguarding the well-being of your plants. Here are the all-around benefits of regular sterilization:
- Prevents Disease Transmission: The primary benefit of sterilizing pruning shears is the prevention of disease spread among plants. Many plant pathogens can survive on the metal surfaces of unsterilized tools, leading to cross-contamination as you move from one plant to another.
- Promotes Plant Health and Growth: By eliminating the risk of transferring diseases, sterilized pruning shears contribute to the overall health of your garden. Healthy plants are more vigorous and can allocate more energy towards growth and fruit production, rather than fighting off infections.
- Increases Yield: Plants that are well-tended and disease-free typically produce higher yields. Whether you are growing fruits, vegetables, or ornamental plants, using sterilized tools helps ensure that your gardening efforts are maximally productive.
- Saves Money in the Long Run: Investing time in sterilizing your pruning shears can save you money on several fronts. First, it reduces the need for chemical treatments to combat plant diseases. Second, healthy plants are less likely to require replacement due to disease-related loss. Lastly, it extends the lifespan of your shears, delaying the need for replacements.
- Enhances Tool Longevity: Regular cleaning and sterilization prevent the buildup of sap and debris, which can corrode and dull the blades over time. Clean, well-maintained shears are more effective and last longer, making your gardening tasks easier and more enjoyable.
- Contributes to a Sustainable Gardening Practice: By reducing the need for chemical disease controls, sterilization is an environmentally friendly practice. It aligns with sustainable gardening principles, which emphasize minimizing chemical use and fostering a healthy, natural ecosystem.
- Improves Gardening Efficiency: Sharp, clean, and well-maintained pruning shears make gardening tasks more efficient. They cut more cleanly and easily, reducing the effort required and minimizing stress on the plants and the gardener.
- Encourages Regular Tool Maintenance: The routine of sterilizing pruning shears encourages gardeners to regularly inspect and maintain their tools. This attention to tool care can lead to the early identification of issues such as rust or wear, allowing for timely repairs or adjustments.
When to Sterilize Your Pruning Shears
The frequency and timing of sterilization play a crucial role in effective garden management. Here’s when you should sterilize your shears:
- Between each cut on diseased plants: To prevent the spread of infection, it’s crucial to sterilize after each cut made on a diseased plant.
- Before moving to another plant: Even if not dealing with visible diseases, sterilizing before cutting a different plant minimizes the risk of unseen pathogen transfer.
- After every use: A thorough clean and sterilize routine should be standard practice after you finish your gardening tasks for the day.
This disciplined approach to sterilization is your best defense against the spread of disease in your garden, ensuring that your efforts in cultivation yield healthy, vibrant plants.
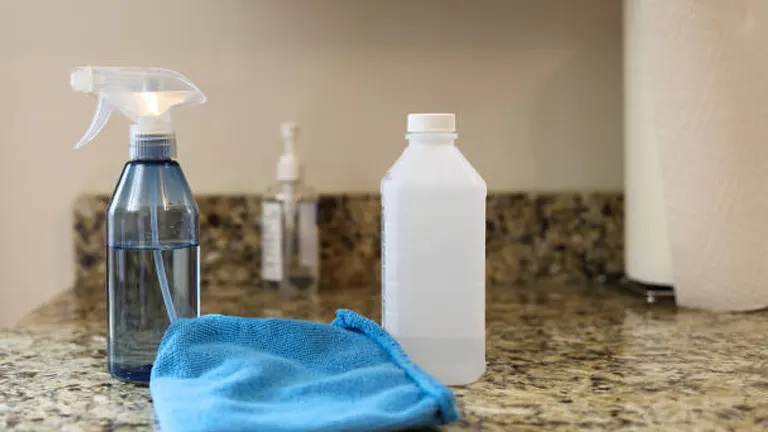
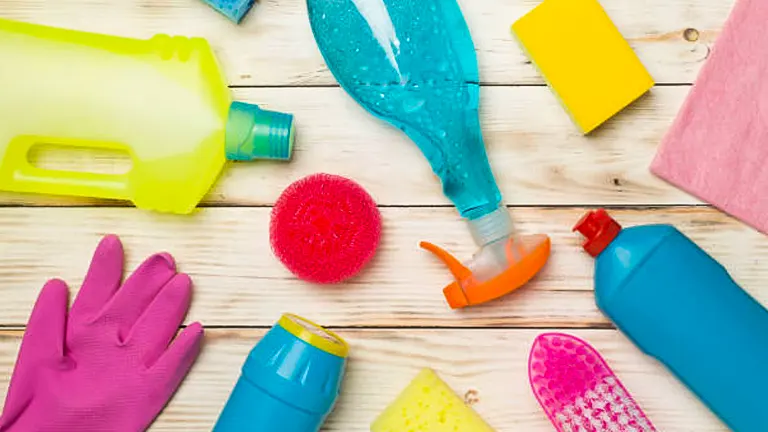
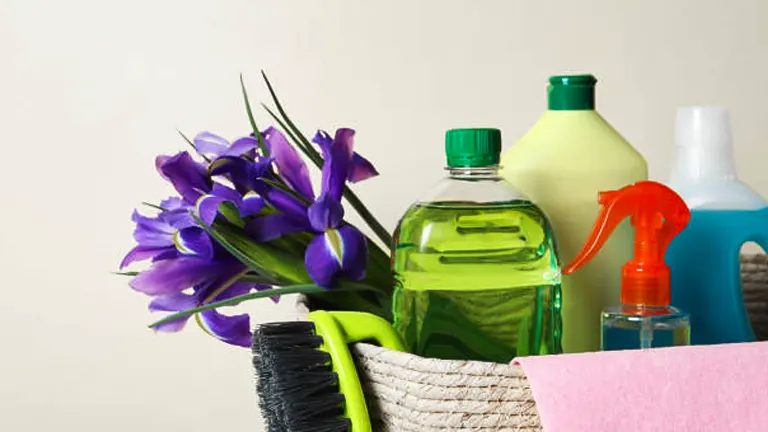
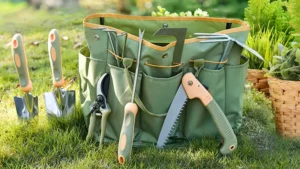
Materials Needed
The right materials are crucial for effectively sterilizing your pruning shears. Here’s what you’ll need:
- Cleaning cloth: For wiping away sap and debris.
- Disinfectants: Isopropyl alcohol (70-100%), bleach solution (1 part bleach to 9 parts water), or hydrogen peroxide are all effective options.
- Water: If using a bleach solution, you’ll need clean water for rinsing the shears after sterilization.
- Lubricant: A tool-specific lubricant to apply after cleaning and drying to prevent rust.
Sterilization Techniques
Quick Cleaning Method: For gardeners on the go, quick sterilization is a must. Alcohol wipes or sprays (70% isopropyl alcohol) are your best friends here. A swift wipe-down between cuts can significantly reduce the risk of disease spread.
Natural Alternatives: For those seeking eco-friendlier options, consider using vinegar or tea tree oil as natural disinfectants. Though not as potent as chemical options, they offer a safer alternative for the environment.
Step-by-Step Guide to Sterilizing Pruning Shears
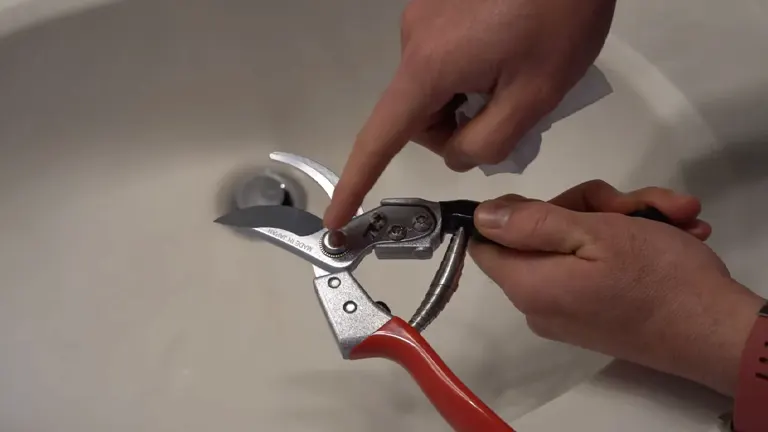
1. Inspection and Pre-cleaning
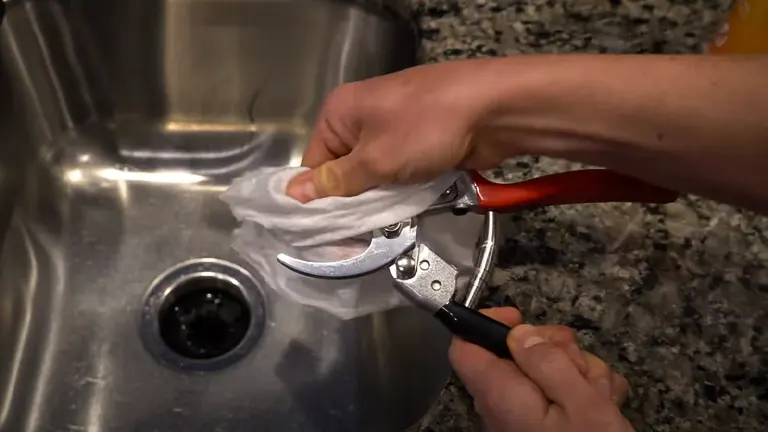
- Inspect: Begin by inspecting your pruning shears for any signs of rust, damage, or wear. This is crucial for ensuring that the tool is in good condition for effective sterilization and safe use.
- Pre-clean: Use a stiff brush or steel wool to scrub off any dried sap, dirt, or debris from the blades and the pivot area. A clean surface allows the disinfectant to work more effectively.
2. Detailed Cleaning
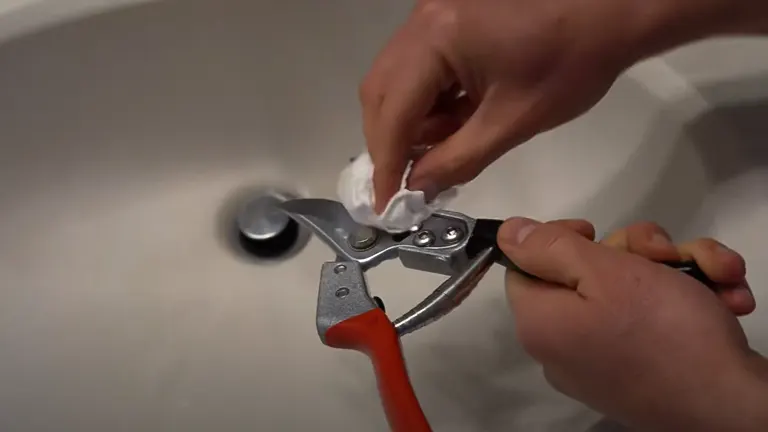
- Soap and Water: Wash the shears with soapy water to remove any remaining sap and dirt. This step further ensures that the disinfectant can make direct contact with the blade surfaces.
- Rinse and Dry: Rinse the shears thoroughly with clean water and dry them with a clean towel to prepare for disinfection.
3. Choosing a Disinfectant
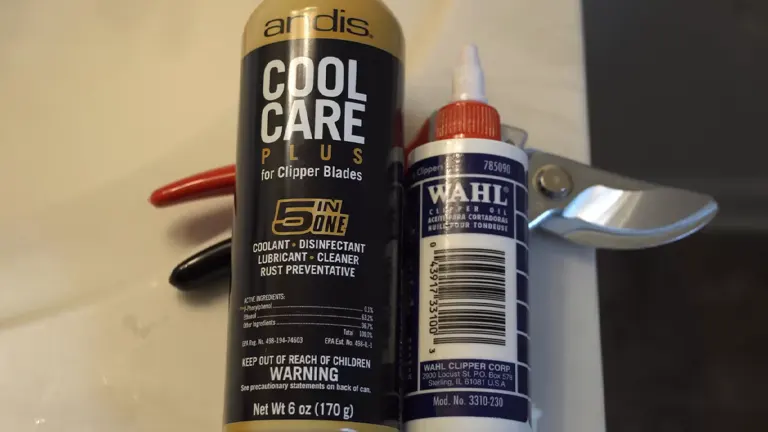
Select your disinfectant based on availability and preference. Isopropyl alcohol is quick and effective, not requiring a rinse. A bleach solution is highly effective but requires dilution and thorough rinsing to prevent corrosion. Hydrogen peroxide is another viable option, offering a good balance between efficacy and ease of use.
4. Sterilization Process
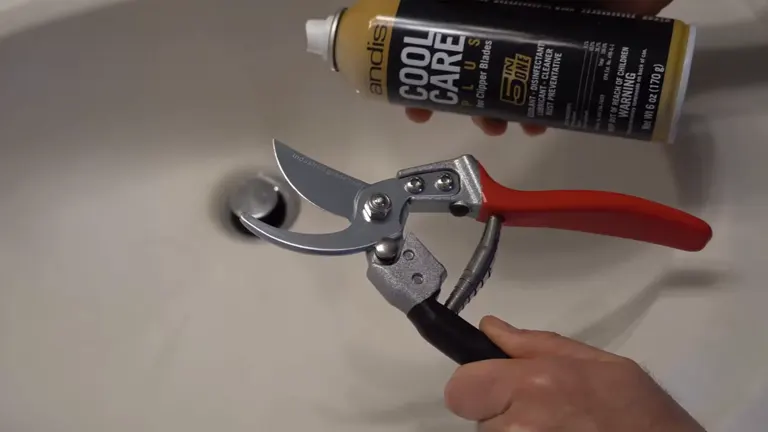
- For Isopropyl Alcohol: Soak a clean cloth with the alcohol and thoroughly wipe the blades. Alternatively, you can immerse the blades in a container of alcohol for 30 seconds.
- For Bleach Solution: Dip the blades in the diluted bleach solution for at least one minute, then rinse thoroughly with clean water to prevent corrosion.
- For Hydrogen Peroxide: Similar to alcohol, you can either wipe the blades with a cloth soaked in hydrogen peroxide or immerse them in the solution for a few minutes.
5. Rinsing (If Required)
- Bleach Solution: If you’ve used a bleach solution, it’s essential to rinse the shears thoroughly with clean water to prevent corrosion.
- No Rinse Needed: For alcohol and hydrogen peroxide, you can skip this step, as these solutions evaporate without leaving harmful residues.
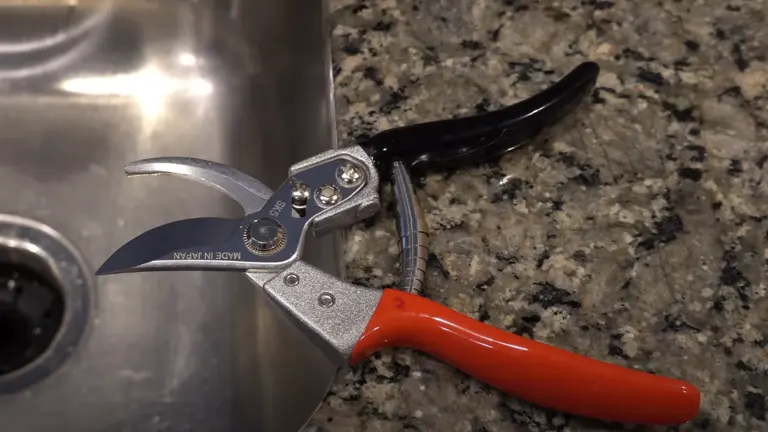
6. Drying and Lubrication
- Drying: After sterilization (and rinsing if applicable), dry the shears completely with a clean, dry cloth. Any moisture left can lead to rust, undermining the tool’s integrity.
- Lubrication: Apply a lubricant to the blades and moving parts. This not only prevents rust but also ensures that the shears operate smoothly. Use a product designed for garden tools to avoid gumming up the mechanisms.
7. Storing
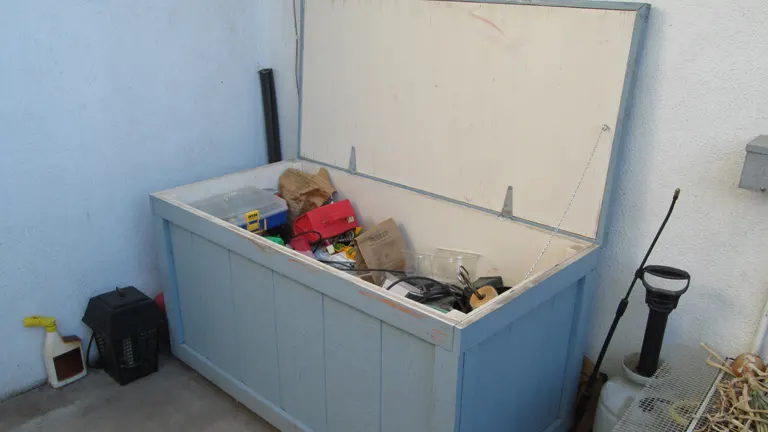
- Proper Storage: Store your pruning shears in a dry, clean place to prevent rust and dust accumulation. A tool box, hanging rack, or even a fabric tool roll can protect them from moisture and damage.
After-Care and Maintenance
Proper after-care extends the life of your pruning shears and ensures they remain a reliable tool in your gardening arsenal. Regular maintenance involves a few simple but critical steps:
- Sharpening: Dull blades can harm plants, causing jagged cuts that are more susceptible to disease. Sharpen your shears regularly to ensure clean, healthy cuts.
- Oiling: After each sterilization and cleaning, apply a light machine oil to the blades and moving parts. This prevents rust and keeps the mechanism smooth.
- Storage: Always store your pruning shears in a dry, clean place. Moisture is an enemy to metal, and dirt can harbor pathogens. A protective sheath or case can further shield the shears from damage.
By adhering to these maintenance practices, you safeguard not only the health of your plants but also the longevity and performance of your pruning shears.
Common Mistakes to Avoid
Even seasoned gardeners can fall prey to common pitfalls in pruning shear sterilization and maintenance. Here are some mistakes to watch out for:
Overuse of Harsh Chemicals
- Understanding the Risk: Excessive use of chemicals or employing overly concentrated disinfectants can cause corrosion and pitting on the blades. This not only damages the shears but can also introduce toxic residues that might harm plants.
- Solution: Use recommended dilutions for disinfectants and opt for less corrosive options like isopropyl alcohol or hydrogen peroxide when possible. Ensure thorough rinsing if using harsher solutions like bleach, followed by complete drying.
Skipping the Drying Process
- Consequences: Leaving shears wet after cleaning or sterilizing introduces the risk of rust, particularly in the pivot area and on the blades, drastically reducing their effectiveness and lifespan.
- Preventative Measure: Always dry shears thoroughly with a clean, absorbent cloth immediately after washing or sterilizing. Consider using a hairdryer for a quick dry in hard-to-reach areas, ensuring no moisture remains.
Infrequent Maintenance
- The Pitfall: Sporadic sharpening, oiling, and cleaning reduce the performance of pruning shears. Dull blades can damage plants, and poorly maintained shears are more likely to spread disease.
- Maintenance Routine: Establish a regular maintenance schedule based on usage. Light users might sharpen and oil monthly, while heavy users should consider a bi-weekly routine. After each use, remove sap and debris to prevent buildup.
Ignoring Rust and Corrosion
- Early Signs: Rust not only affects the shears’ operation but can also become a source of tetanus. Initial signs of corrosion or rust can quickly escalate, compromising the shears.
- Action Steps: At the first sign of rust, use a rust remover or a mixture of baking soda and vinegar to clean the affected area. Apply protective oil after cleaning to prevent further oxidation.
Using the Wrong Tools for Sharpening
- Common Error: Utilizing inappropriate or overly aggressive tools for sharpening can alter the blade’s angle, making precise cuts difficult and harming plant health.
- Recommended Tools: Use a diamond file or sharpening stone designed for pruning shears. Maintain the original angle of the blade, and finish with a honing stone for a sharp, clean edge.
Not Adjusting Tension
- Overlooked Aspect: Incorrect tension affects cutting efficiency and can cause undue strain on both the plant and the gardener.
- Adjustment Guide: Regularly check and adjust the tension screw or nut to ensure smooth operation. The shears should open and close easily without being too loose or too tight.
Forgetting to Check for Wear and Tear
- Maintenance Gap: Failure to inspect shears for wear, especially on the spring mechanism and locking system, can lead to unexpected failures during use.
- Inspection Tip: Periodically inspect all components for signs of wear or damage. Replace worn parts promptly to maintain optimal functionality.
Neglecting Blade Alignment
- Cutting Issue: Misaligned blades can result from falls or improper storage and lead to ineffective cutting or additional plant damage.
- Correction Method: Check blade alignment regularly, especially after a drop. Some models allow for adjustments to realign the blades; otherwise, professional servicing may be required.
Awareness and avoidance of these errors can significantly enhance your gardening practice, ensuring your tools remain in prime condition for the task at hand.
Conclusion
The meticulous sterilization of pruning shears between cuts is more than a mere recommendation; it’s an indispensable part of responsible gardening. This guide has equipped you with the knowledge and techniques to perform this task effectively, ensuring your garden remains a testament to health and vigor. As you incorporate these practices into your routine, remember that the wellbeing of your garden lies in the smallest details. Through consistent care and attention to tool sterilization, you can prevent disease, promote plant health, and enjoy the rewards of a thriving garden.
FAQs
- Why is it important to sterilize pruning shears between cuts?
Sterilizing pruning shears is crucial to prevent the spread of plant diseases. When you cut a plant, the shears can pick up pathogens, which can then be transferred to other plants. Sterilizing the shears between cuts minimizes this risk, helping keep your garden healthy. - Can I use household bleach to sterilize my pruning shears?
Yes, household bleach is effective for sterilizing pruning shears. A solution of 1 part bleach to 9 parts water will kill most plant pathogens. Soak the blades for at least one minute, then rinse thoroughly with clean water to avoid corrosion, and dry them completely. - Is there an alternative to bleach for sterilizing shears that’s more environmentally friendly?
Isopropyl alcohol (70-100%) is a great, more environmentally friendly alternative. It’s effective against a wide range of pathogens and evaporates quickly, reducing the risk of corrosion without needing rinsing. Hydrogen peroxide is another option that’s less harsh on the environment compared to bleach. - How often should I sterilize my pruning shears?
It’s best practice to sterilize your pruning shears before and after each use, especially when moving between different plants or after cutting diseased material. This helps to ensure you’re not spreading pathogens around your garden. - What’s the best way to dry pruning shears after sterilizing?
After sterilizing, wipe down the shears with a clean, dry cloth to remove most of the moisture. Then, allow them to air dry completely in a well-ventilated area before applying lubricant to the moving parts and storing them. - Do all types of disinfectants require rinsing after sterilization?
Not all disinfectants require rinsing. Isopropyl alcohol and hydrogen peroxide, for example, do not need to be rinsed off as they evaporate quickly. However, if you use a bleach solution, it’s important to rinse the shears thoroughly with clean water to prevent corrosion. - Can vinegar be used as a disinfectant for pruning shears?
Vinegar, especially white vinegar, can be used for cleaning and has some disinfectant properties. However, it’s not as effective as bleach, alcohol, or hydrogen peroxide in killing all types of plant pathogens. It’s a more environmentally friendly option but should be used for light cleaning or on tools used with less disease-prone plants. - How do I maintain the sharpness of my pruning shears while ensuring they are sterilized?
Regularly clean and sterilize your shears to maintain their condition. Sharpen the blades as needed, depending on use, to keep them cutting efficiently. Always dry and lubricate the shears after sterilizing to protect the blades from rust and corrosion, which can dull them over time.
In essence, keeping your pruning shears sterilized is a straightforward yet vital practice for any gardener. By integrating these simple steps of cleaning, disinfecting, and caring for your shears between each cut, you safeguard your garden’s health and ensure your tools stand the test of time. Happy gardening!

Benjamin Brooks
Forestry AuthorGreetings! I'm Benjamin Brooks, and my journey over the past 15 years has revolved around the fascinating realms of content creation, expertise in snow clearing, and the intricate world of lumberjacking and landscaping. What began as a simple curiosity about the natural world and heavy machinery has evolved into a passionate profession where my love for crafting words intertwines seamlessly with my lumberjacking and garden skills.


Leave your comment