Top 5 Chicken Roost Mistakes To Avoid
- March 28, 2024
- 0 comment
Dive into the ‘Top 5 Chicken Roost Mistakes To Avoid’ to ensure the well-being of your backyard poultry. This guide emphasizes the significance of a well-constructed roost in maintaining your chickens’ health, comfort, and safety, offering insights to enhance their living conditions.
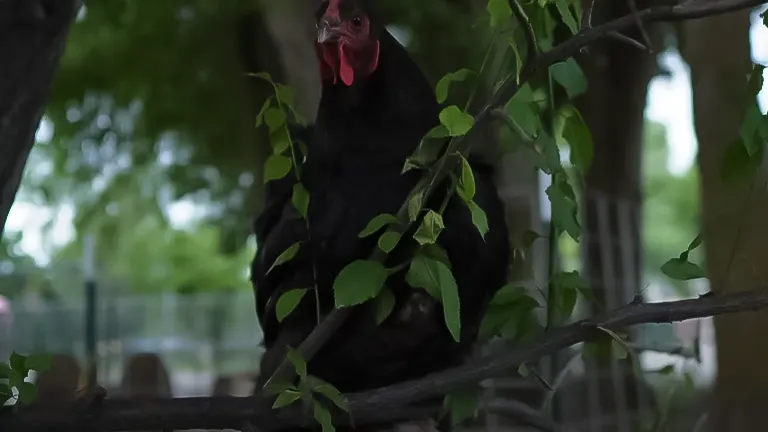
Drawing from extensive experience and observations, we delve into the top five mistakes poultry keepers often make with chicken roosts and provide actionable guidance to avoid them.
Ensuring your chickens have an optimal roosting environment is a step towards a thriving, stress-free flock.
List of Top 5 Chicken Roost Mistakes To Avoid:
- Choosing the Wrong Material
- Inappropriate Shape
- Incorrect Height
- Underestimating Space Needs
- Making the Roost Immobile
Basic Understanding About Chicken Roost Mistakes To Avoid Properly
Understanding and avoiding common mistakes in chicken roost design is crucial for the well-being of your flock. The right material, shape, and size of the roost, its placement within the coop, and the provision for easy access and cleaning, all play significant roles in ensuring the comfort and safety of your chickens.
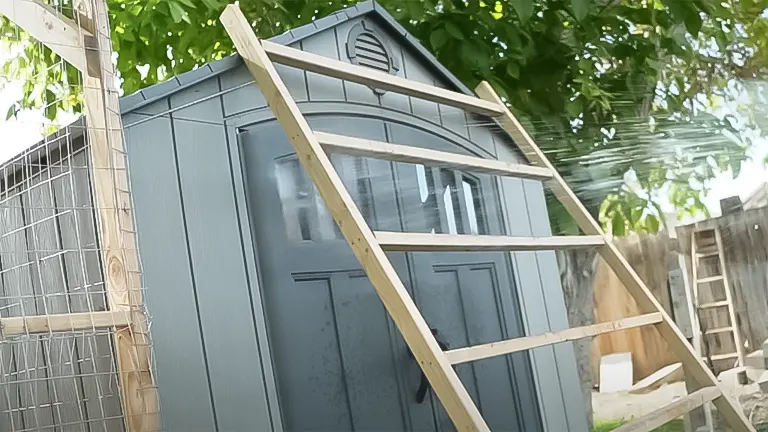
Wooden roosts with a rounded or squared-off edge provide the best grip and comfort, while ensuring the roost is positioned higher than nesting boxes prevents unwanted sleeping arrangements. Additionally, offering ample space per bird and considering the ease of access for chickens of various ages and mobility levels are key factors.
Regular maintenance and adjustments based on observing your chickens’ behavior can lead to a healthier, happier flock. This basic understanding emphasizes the need for thoughtful design and upkeep of chicken roosts, directly impacting the flock’s health and egg production.
Mistake #1: Choosing the Wrong Material
In my early days, I experimented with various materials – plastic, metal, and wood. Each has its appeal, but not all are suitable for our avian companions. Plastic, for instance, is affordable and readily available. Yet, it proves too slippery, causing unnecessary stress as chickens struggle to maintain their grip throughout the night.

Metal, on the other hand, conducts temperature extremes. In Utah’s biting winters, a metal roost can chill to dangerously low temperatures, risking frostbite. Wood emerges as the clear winner. Its natural texture provides ample grip, and it insulates against the cold. Whether repurposed branches or lumber, ensuring a smooth, splinter-free surface is key.
For my setup, I opted for two-by-twos, creating a ladder-like structure that’s both comfortable and warm. However, a future upgrade to two-by-fours might offer even more comfort with a broader surface for the chickens to roost upon.
Mistake #2: Inappropriate Shape
The shape of the roost can greatly affect a chicken’s comfort. Early on, I witnessed designs featuring sharp angles or triangular profiles – they’re a no-go.
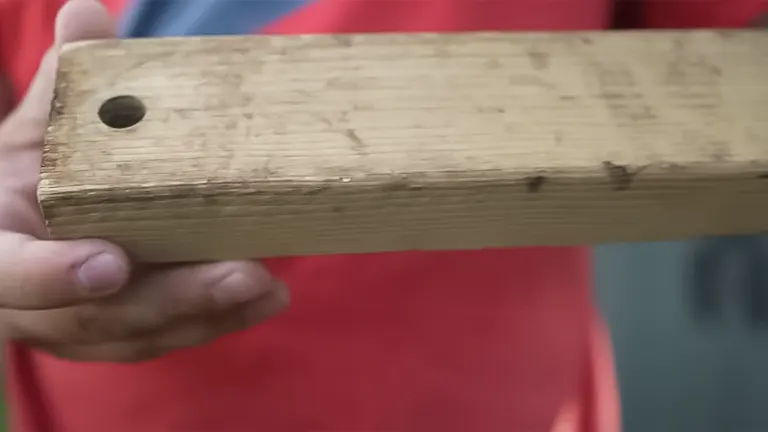
Chickens need a flat or gently rounded surface to perch comfortably. My choice of a squared two-by-two, with its corners slightly sanded down, proved a simple yet effective solution, avoiding the discomfort of angular edges.
Mistake #3: Incorrect Height
This one’s a bit of a balancing act. Too low, and the chickens won’t feel safe. Too high, without easy access, and you risk injuries. The roost should be the highest point available, encouraging use over nesting boxes, which should remain reserved for egg-laying.
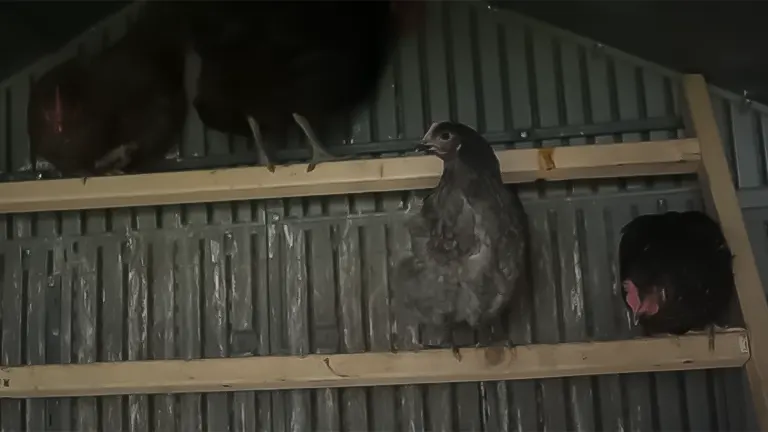
My roost’s design mimics a ladder, providing an easy climb to the top, where warmth accumulates – a crucial consideration during colder months.
Mistake #4: Underestimating Space Needs
The commonly cited “eight inches per bird” guideline is, from my experience, insufficient. Chickens appreciate personal space, especially when hierarchy dynamics come into play.
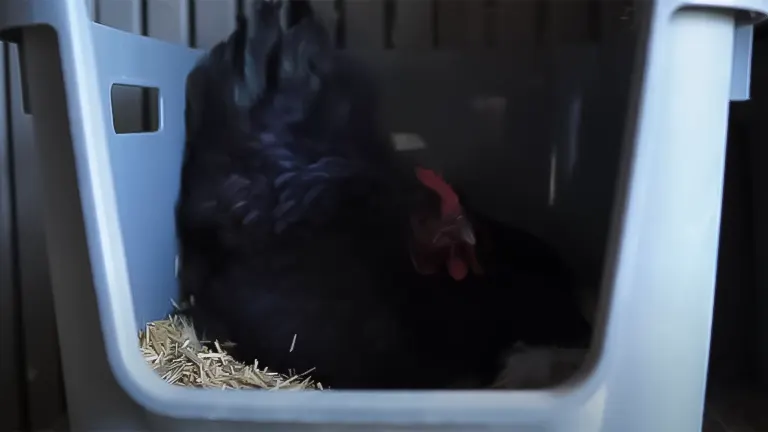
Overcrowding can lead to stress and health issues. In designing my roost, I generously exceeded this guideline, allowing ample room for the chickens to maneuver and settle comfortably, considering their well-being over strict space allocations.
Mistake #5: Making the Roost Immobile
Early designs taught me the importance of accessibility – for cleaning, maintenance, and adjustments. Initially, I fixed the roost in place, only to find cleaning a cumbersome chore.
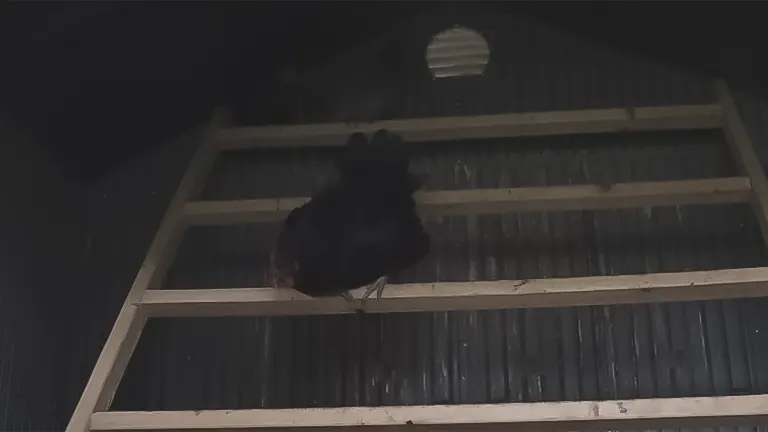
Now, my roost is easily removable, simplifying the maintenance process and ensuring I can keep the coop in top condition, promoting a healthier environment for the chickens.
Additional Tips For Proper Chicken Roost By It’s User’s
- Regular Cleaning is Key: Users recommend weekly checks and cleaning of the roost to prevent mite infestations and maintain hygiene. A removable roost design simplifies this process significantly.
- Monitor for Comfort and Adjust: Pay attention to your chickens’ behavior. If they appear uncomfortable or avoid the roost, it might be time to reassess its design or materials based on their needs.
- Provide Adequate Landing Space: Ensure there’s enough room around the roost for safe landings and take-offs. Chickens need space to navigate without causing injury to themselves or others.
- Experiment with Heights: While keeping the roost the highest point is crucial, users have found success in offering multiple heights, especially in mixed-age flocks, to accommodate all comfort levels.
- Consider Accessibility for All Ages: For flocks with varying ages, ensure that both younger and older chickens can easily access the roost. Gentle slopes or steps can help less agile birds
Related Articles:
- How to Keep Raccoons Away from Your Chicken Coop: Top Strategies
- How to Kill Rats in a Chicken Coop
- How to Clean a Chicken Coop with a Dirt Floor: Best Practices for Hygiene
- Raising Rare Peacocks: A Step-by-Step Hatching Guide
- 8 Beginner Chicken Care Mistakes To Avoid
- How to Make Incubator For Chicken Eggs: Insider Techniques and Tips
- How to Keep Ducklings Alive: A Step-By-Step for Method Guides
- 3 Reasons Your Chickens Stopped Laying Eggs
- What Should You Feed Your Chickens for Year-Round Egg Production? An Essential Guide
- How Do You Introduce New Chickens to Your Flock? A Step-by-Step Guide
- How to Create the Perfect Indoor Chicken Brooder: From Start to Outdoor Transition
- How to Create an Odor-Free Chicken Run: Enhancing Your Garden
- Easy Chicken Feed Savings and Coop Care Tips
- How to Ferment Chicken Feed: Discovering the Path to Robust Poultry
- Feeding Chickens with Your Garden: The Top Plants for a Healthy Flock
- Raising Chickens for Eggs: Easy Tips for Beginners
- Start Growing Animal Feed: A Beginner’s Guide to Homesteading
- Top 5 Chicken Coop Designs for Backyard Farmers: Ultimate Guide
- How to Create Your Own Black Soldier Fly Larvae Composting Bin: A DIY Guide
- How to Start A Black Soldier Fly Bin: A Step-by-Step Setup Guide
- Composting Chicken Manure: How to Boost Nitrogen Content
- Designing the Perfect Low-Maintenance Chicken Coop: Your Ultimate Guide
- Can You Put Lime in a Chicken Coop? Analyzing Safety and Best Practices
Final Closing Remarks
In closing, these insights stem from both personal triumphs and tribulations. Each mistake served as a stepping stone towards creating a better living space for my chickens. If you’re embarking on building or refining your chicken roost, take these lessons to heart. It’s about providing our chickens with a safe, comfortable place to rest, mirroring their natural instincts and catering to their needs. For more tips and tricks on all things chicken-keeping, keep following our journey. Your feathery friends will thank you for it.
Frequently Asked Questions
- What is the best material for a chicken roost?
The best material is wood due to its natural texture, which provides a good grip and doesn’t conduct cold like metal or slip like plastic. Ensure it’s smooth to avoid injuring the chickens’ feet. - How thick should the roosting bar be?
A diameter of about 2 inches is ideal for most chickens. It should be thick enough for their feet to wrap around comfortably without fully encircling the bar, preventing overgripping and potential frostbite. - Can I use a square or rectangular piece of wood for the roost?
Yes, you can use square or rectangular pieces, but it’s recommended to round off the edges to prevent discomfort and ensure the chickens can grip the roost properly. - How high should the chicken roost be off the ground?
The roost should be high enough to make the chickens feel safe, typically higher than the nesting boxes to discourage roosting there. However, ensure it’s not so high that chickens risk injury when hopping down. - Is there such a thing as too much space on a roost?
While you can’t really have “too much” space, it’s essential to balance space with the coop’s overall size and the flock’s size. Offering ample space prevents overcrowding and stress. - Why shouldn’t I make the roost from metal or plastic?
Metal can become extremely cold, leading to frostbite, while plastic can be slippery, causing chickens to struggle to maintain their grip. - What shape should the roost be?
A round or slightly oval shape is ideal for comfort and grip. Avoid angular shapes that can cause discomfort. - How can I ensure my roost design is easy to clean?
Design the roost to be removable or easily accessible for cleaning. This helps maintain hygiene in the coop and prevents the buildup of droppings and mites. - What mistakes should I avoid in the positioning of the roost?
Avoid placing roosts directly over food, water, or nesting areas to prevent contamination. Ensure there is a clear path for droppings to fall away from these areas. - How do I accommodate chickens of different sizes on the same roost?
Consider multiple roosting bars at different heights, allowing birds to choose their preferred spot. Ensure each bar is accessible without causing dominance issues, where higher-ranking chickens block access to others.
For more insightful chicken care tips and advice, delve into our extensive guides. Discover our top recommendations in our “Best Of” section and explore in-depth discussions on avoiding common pitfalls in our detailed review section. Happy Chicken Keeping!

Edward Smith
Forestry AuthorWoodworking is about more than crafting; it's a harmonious connection with nature, mastering tools, and preserving our environment. I'm here to share my knowledge and experiences with you, forging a future where we can embrace wood's beauty and utility while safeguarding our forests' health and diversity.




Leave your comment