Designing the Perfect Low-Maintenance Chicken Coop: Your Ultimate Guide
- February 28, 2024
- 0 comment
The chicken coop, while straightforward in its construction, stands as a pivotal component in maintaining a content and healthy group of chickens. Although the precise details of your coop will differ based on the breed of your chickens and your geographic location, the fundamental steps and critical aspects provided here will assist anyone in creating a secure and robust coop.
The aim of constructing a chicken coop is to establish a shelter that protects your chickens from predators, dampness, drafts, illness, excessive heat, cold, and the possibility of escape. Ensuring it’s done correctly is essential for the health and safety of your flock.
Table of Content List:
- Planning Your Coop’s Size and Location
- Incorporating Automatic Feeding Systems
- Installing an Automatic Watering System
- Nesting Boxes Design
- Enhancing Coop Security
- Providing Adequate Ventilation
- Utilizing Vertical Space and Ergonomic Design
- Implementing Supplementary Systems
8 Steps for Low-Maintenance Design a Chicken Coop
Designing and building a chicken coop that simplifies poultry care while embracing sustainability and efficiency has been an enlightening journey for me. Two years into its use, my chicken coop, housing between 15 to 20 chickens, stands as a testament to blending permaculture principles with practical, low-maintenance design.
This 12×20 ft structure, alongside an outdoor run, has evolved into a near-autonomous system that supports my small-scale farming efforts in San Diego. Here are the 8 steps that guided me through this process:
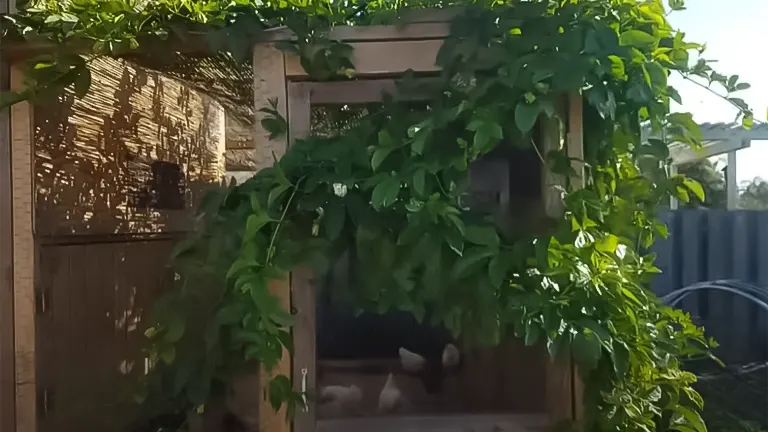
Step 1: Planning Your Coop’s Size and Location
The foundation of a successful chicken coop begins with meticulous planning of its size and strategic placement. A coop with dimensions of at least 12 feet by 20 feet can comfortably house 15 to 20 chickens, providing them with ample space to move, rest, and feed.

The location of the coop should prioritize safety from predators and shelter from harsh weather, while also considering ease of access for regular maintenance and cleaning.
It’s essential to choose a spot that receives adequate sunlight and has proper drainage to keep the area dry and disease-free. The placement should also align with local regulations and consider the comfort of your neighbors to avoid any conflicts.
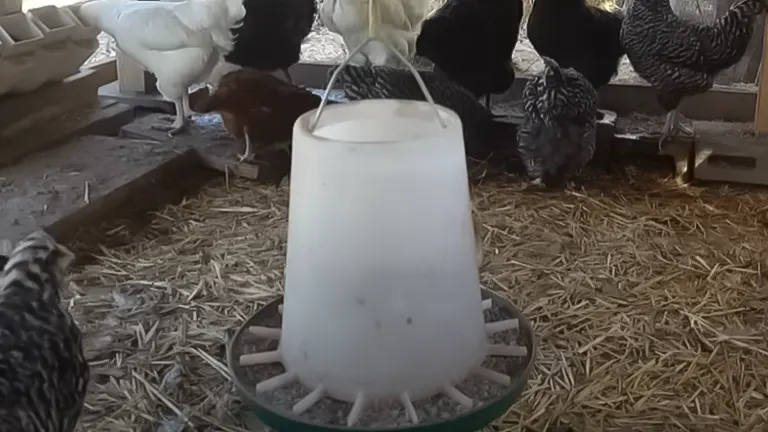
Step 2: Incorporating Automatic Feeding Systems
Integrating an automatic feeding system into your chicken coop design revolutionizes the way you manage poultry nutrition. By using vertical tubes filled with feed, this gravity-powered system ensures a continuous supply of food, minimizing waste and the labor involved in daily feedings.
Constructed from readily available materials such as PVC pipes or gutter components, these feeders are not only cost-effective but also highly efficient. This setup dramatically reduces the frequency of refilling feed, saving time and ensuring that your chickens always have access to their food, thus promoting healthier birds and a more productive flock.
Step 3: Installing an Automatic Watering System
A reliable automatic watering system is vital for maintaining a hydrated and healthy chicken flock. By utilizing PVC piping equipped with poultry nipples, you can create a self-sustaining water supply that ensures your chickens have access to fresh water at all times.
Linking this system to a rainwater collection setup not only conserves water but also emphasizes the coop’s sustainability. This approach is particularly beneficial in regions with scarce rainfall, ensuring that your chickens always have clean water without the constant need for manual refilling, enhancing the overall well-being of your flock.
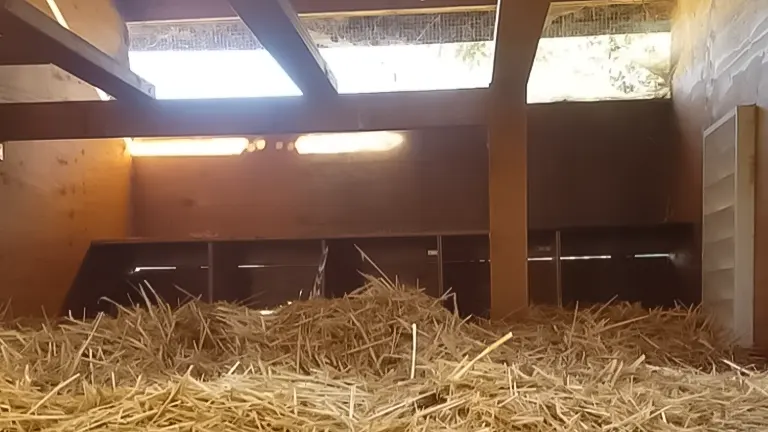
Step 4: Nesting Boxes Design
Designing optimal nesting boxes is crucial for encouraging egg-laying in a safe and comfortable environment. Nesting boxes should be dark, secluded, and secure, offering chickens a tranquil space to lay their eggs.
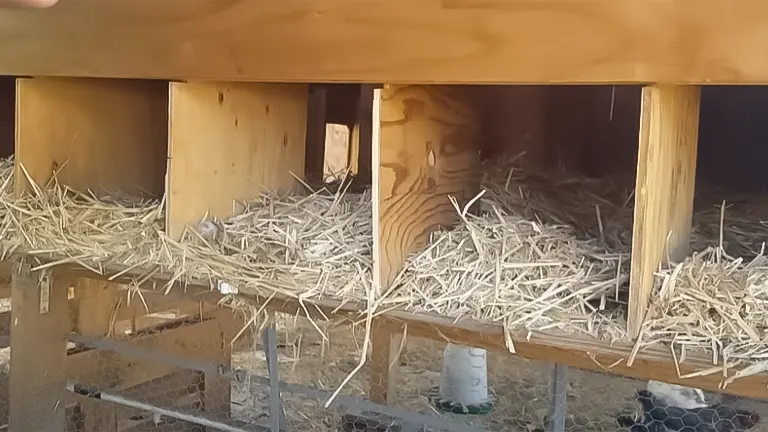
The ideal size for a nesting box is 12x12x12 inches, accommodating chickens of various breeds comfortably. Strategic placement of these boxes, with easy access for collection without disturbing the hens, streamlines the egg-gathering process, making it more efficient and less stressful for both you and your chickens.
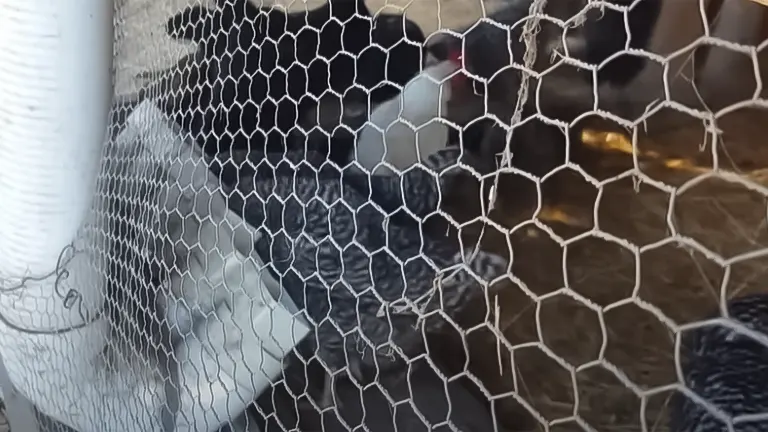
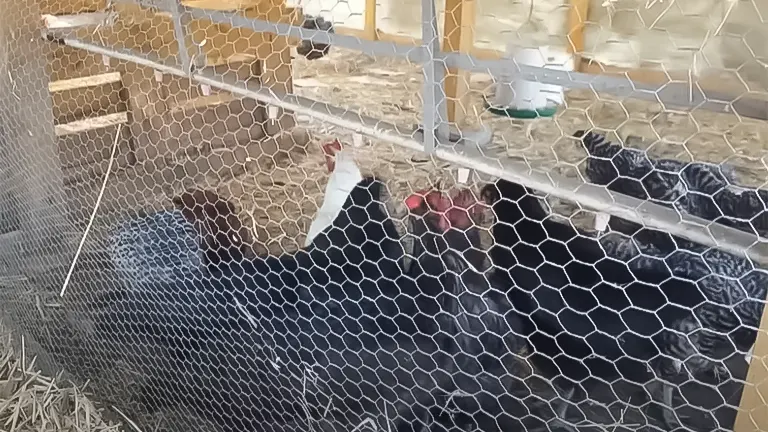
Step 5: Enhancing Coop Security
The safety of your chickens is paramount, necessitating a coop design that effectively thwarts predators. Implementing robust latching mechanisms on doors and nesting box lids, along with secure fencing and hardware cloth, can deter potential threats from accessing the coop.
Regular inspections for vulnerabilities and timely repairs are essential to maintain a fortress-like security level, ensuring your chickens’ safety from predators and environmental hazards.
Step 6: Providing Adequate Ventilation
A well-ventilated coop is essential for maintaining a healthy living environment for your chickens, preventing the buildup of ammonia from their manure and regulating the temperature within the coop.
Adequate ventilation, achieved through strategically placed vents or windows, ensures fresh air circulation, essential for the birds’ respiratory health.
Ensuring at least one square foot of ventilation per chicken helps maintain an ammonia-free and temperature-controlled environment, contributing significantly to the overall health and productivity of your flock.
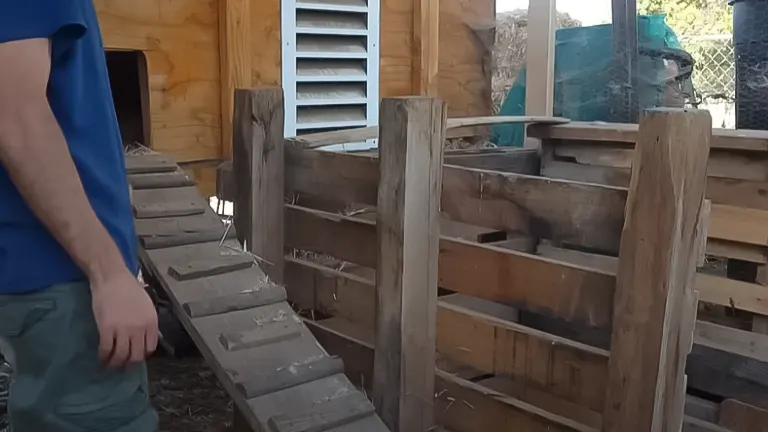
Step 7: Utilizing Vertical Space and Ergonomic Design
Maximizing the use of vertical space by elevating the coop off the ground prevents wood rot and offers additional roaming area beneath the coop, optimizing the available space.
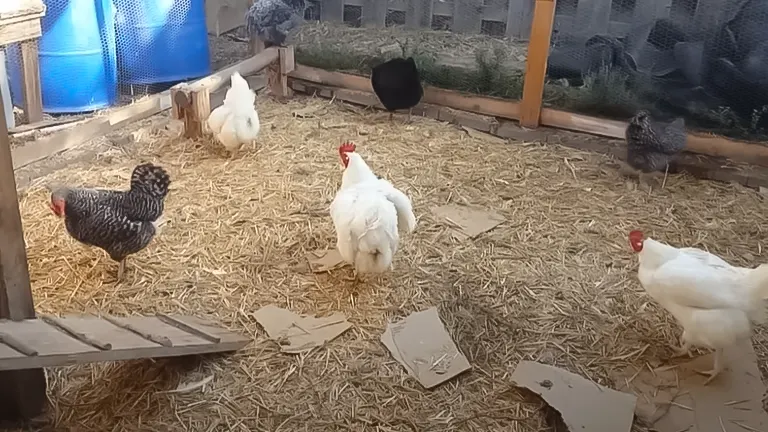
Ergonomic design elements, such as wide doors for easy access and cleaning, enhance the functionality and maintenance efficiency of the coop.
This approach not only improves the living conditions for the chickens but also simplifies the tasks involved in coop upkeep, making it a win-win for both the chickens and their caretakers.
Step 8: Implementing Supplementary Systems
Incorporating supplementary systems like grit and oyster shell dispensers is essential for supporting chicken health, aiding in digestion, and ensuring strong eggshell production. Exploring innovative options such as soldier fly larva bins can offer a sustainable source of high-quality protein, reducing feed costs and maintenance efforts.
These systems not only contribute to the nutritional well-being of your chickens but also promote a more sustainable and self-sufficient coop ecosystem, enhancing the overall efficiency and productivity of your poultry care regimen.
Additional Tips for Designing a Low-Maintenance Chicken Coop
- Optimize for Easy Cleaning: Choose materials and design your coop layout with cleanliness in mind. For example, having a slanted floor towards a central point can make washing out the coop easier, and removable trays under roosting bars can simplify manure collection. Consider materials that can be easily hosed down without deteriorating.
- Plan for Seasonal Changes: Design your coop to be adaptable to different weather conditions. In colder climates, ensure your coop can be insulated and sealed against drafts. In warmer areas, focus on maximizing ventilation and providing ample shade. Removable panels or adjustable vents can be a great way to make your coop comfortable year-round.
- Implement Predator Deterrents: Beyond physical barriers, consider natural or technological deterrents for predators. Motion-activated lights or even radio sounds can help keep nocturnal predators at bay. Planting certain herbs or flowers that repel common pests can also add an extra layer of protection.
- Leverage Technology for Efficiency: Consider integrating smart technology into your coop design. Automatic doors that open at sunrise and close at sunset, water level monitors, or even temperature sensors can significantly reduce daily maintenance tasks and keep your flock safe and comfortable with minimal manual intervention.
Related Articles:
- Best Bedding For Chickens
- Best Safe Chicken Coop Heater
- 8×8 Chicken Coop Plans
- Turning a Shed Into a Chicken Coop
- How to Make a Chicken Coop Out of Pallets
- Best Sand for Chicken Coop
- How To Insulate a Chicken Coop
- How To Heat a Chicken Coop
- How To Keep Water from Freezing in Chicken Coop
- How to Build a Chicken Coop
- How To Build Chicken Nesting Boxes
- How to Raise Happy and Healthy Chickens in Your Backyard
- When Can Chicks Go Outside? Timing and Tips for a Smooth Transition
- 12 Reasons why Ducks are Better than Chickens
- Best Automatic Chicken Coop Doors 2024: Expert Reviews & Buyer’s Guide
- Best Fans for Chicken Coop 2024: Effective Cooling Solutions Reviewed
Final Thoughts
In conclusion, the “Ultimate Guide to Designing a Low-Maintenance Chicken Coop” provides a comprehensive blueprint for creating an efficient, sustainable, and secure environment for raising chickens. By emphasizing the importance of strategic planning, incorporating innovative systems like automatic feeding and watering, and focusing on the health and safety of your flock through proper ventilation, predator-proofing, and ergonomic design, this guide ensures that your chickens thrive with minimal effort on your part.
The ultimate goal is to build a coop that not only meets the fundamental needs of your chickens but also simplifies your poultry management tasks, making chicken keeping a joyful and rewarding experience. Whether you are a novice or an experienced chicken keeper, these insights and strategies will empower you to design a chicken coop that is a model of efficiency and sustainability, contributing to the overall well-being and productivity of your flock.
Frequently Asked Questions
- How big should my chicken coop be?
A general rule is to allocate about 3-4 square feet per chicken inside the coop and about 8-10 square feet per chicken in an outdoor run. However, larger breeds may require more space. Adjust the size based on your flock to ensure comfort and prevent overcrowding. - What is the best location for a chicken coop?
Choose a location that offers protection from predators and harsh weather conditions. The area should be well-drained to avoid moisture buildup. Additionally, consider the sun’s path; a location that receives morning sunlight can be beneficial, especially in colder climates. - How do I keep predators out of my chicken coop?
Use hardware cloth instead of chicken wire for better protection against predators. Bury the wire at least 12 inches deep around the perimeter to deter digging animals. Ensure the coop is securely closed at night, and consider automatic door systems for added safety. - What type of flooring is best for a chicken coop?
Sand, straw, or pine shavings are popular choices for coop flooring. Each has its benefits, such as easy cleaning or providing insulation. The key is to maintain dryness and cleanliness to prevent diseases. - How often should I clean my chicken coop?
The frequency depends on the bedding material and the coop’s design, but a general guideline is to perform spot cleaning weekly and a thorough cleanout every 4-6 weeks. Implementing a deep litter method can reduce the need for frequent cleanouts. - What are the essential features of a chicken coop?
Essential features include nesting boxes (one box for every 3-4 hens), perches for sleeping (at least 8-10 inches per bird), proper ventilation, predator-proofing, and easy access for cleaning and egg collection. - How do I ensure proper ventilation without creating drafts?
Install vents or windows near the top of the coop to allow hot air to escape without creating direct drafts on the chickens. The goal is to promote air circulation while keeping the interior comfortable for the birds. - Can I use recycled materials to build my chicken coop?
Yes, recycled materials can be used effectively to build a coop, reducing costs and environmental impact. Ensure the materials are safe, free from harmful chemicals, and provide adequate protection and comfort for your chickens. - How do automatic feeding and watering systems work?
Automatic feeders use gravity to supply feed continuously, reducing labor. Automatic waterers, often equipped with poultry nipples, provide a constant fresh water supply. Both systems should be regularly checked and cleaned to ensure proper operation. - What should I consider when designing nesting boxes?
Nesting boxes should be cozy, dark, and private to encourage egg-laying. Position them lower than the highest perch to prevent chickens from sleeping in them. They should also be easily accessible for cleaning and egg collection, with one box for every 3-4 hens being the standard recommendation.
We can’t wait to hear from you! Dive into the comments section below to recount your own experiences and wisdom gained from designing a low-maintenance chicken coop. Your journey and advice could be invaluable to fellow chicken coop enthusiasts aiming to build effective and eco-friendly shelters for their birds. From the hurdles you’ve conquered to the creative solutions you’ve employed, sharing your insights can empower others to navigate their coop design projects with confidence and make educated decisions!

Edward Smith
Forestry AuthorWoodworking is about more than crafting; it's a harmonious connection with nature, mastering tools, and preserving our environment. I'm here to share my knowledge and experiences with you, forging a future where we can embrace wood's beauty and utility while safeguarding our forests' health and diversity.


Leave your comment