How To Run Straight Consistent Beads: Stick Welding Basics
- February 23, 2024
- 0 comment
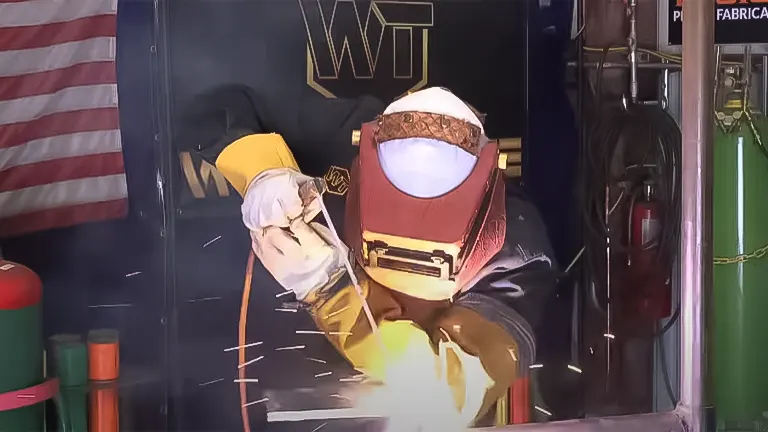
Stick welding, or shielded metal arc welding (SMAW), can be daunting for beginners. However, mastering the art of running consistent, straight beads is a fundamental skill that can significantly improve your welding quality. In this review, I’ll share my personal journey and the 8 essential steps I learned to achieve reliable results while stick welding on a half-inch plate using a 7018 5/32 stick rod.
List of How To Run Straight Consistent Beads:
- Rod Angle and Movement
- Feeding the Rod
- Visibility and Control
- Comfort and Posture
- Running Beads
- Overlap and Alignment
- Restarting
- Practice and Patience
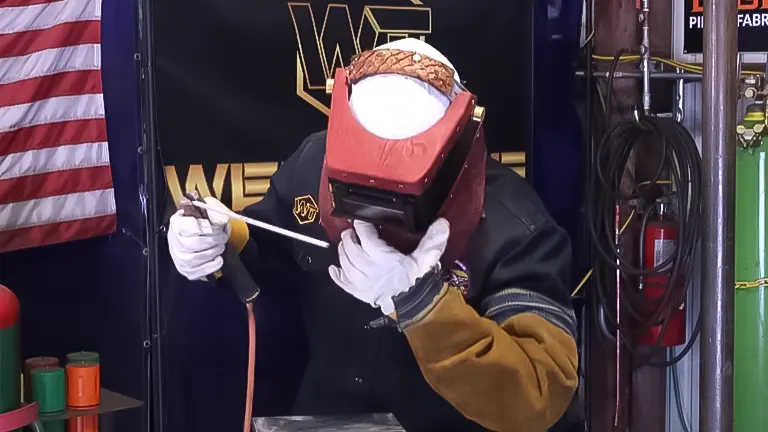
Equipment and Safety
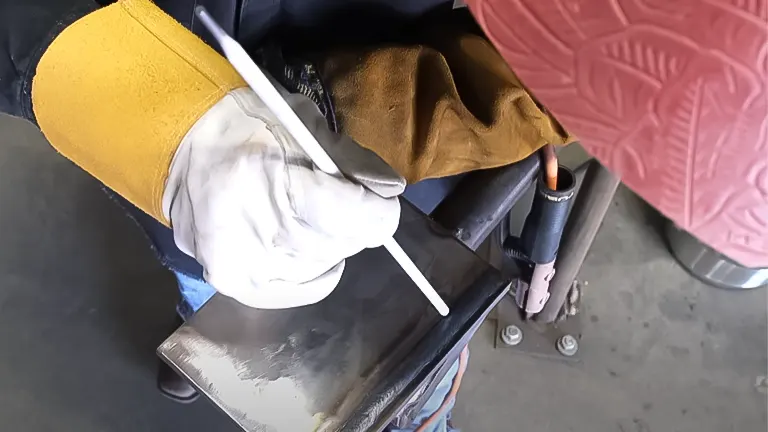
Prior to initiating the welding process, it is imperative that welders equip themselves with the necessary Personal Protective Equipment (PPE) to safeguard against the inherent hazards of welding. This essential gear includes, but is not limited to, protective gloves designed to resist heat and spatter, safety glasses that shield the eyes from harmful UV radiation and flying debris, as well as appropriate welding attire that covers exposed skin to prevent burns.
Additionally, when utilizing a 7018 5/32″ electrode, a fundamental aspect of preparation involves accurately setting the welding machine to approximately 190 amps. This setting serves as a starting point, which may require minor adjustments to accommodate the specific thickness of the metal plate being welded or to suit the welder’s personal comfort and technique preferences. Such meticulous attention to both safety measures and equipment setup is crucial in laying the foundation for a successful and safe welding operation.
8 Step-By-Step Guidelines
Step 1: Rod Angle and Movement
The angle at which the rod is held plays a pivotal role in stick welding, with a recommended angle of 10-15 degrees either towards or away from the welder, adjusted based on whether the welder is left or right-handed.
This specific angle is not arbitrary; it is essential for ensuring optimal visibility of the welding area and maintaining control over the welding process. A steady hand movement is crucial, with the rod being fed into the weld pool at a consistent rate. This technique allows for a smoother welding process, facilitating the creation of even and clean welds.
Step 2: Feeding the Rod
Mastering the rate at which the electrode is fed into the weld pool is a nuanced aspect of stick welding that can significantly affect the quality of the weld. The goal is to achieve a light touch of the rod to the base metal, a delicate balance that requires finesse.
Feeding the rod too aggressively can cause spatter, a messy and undesirable outcome, while insufficient feeding might not penetrate the metal adequately, leading to weak welds. Finding the sweet spot for rod feeding is crucial for producing strong, clean welds.
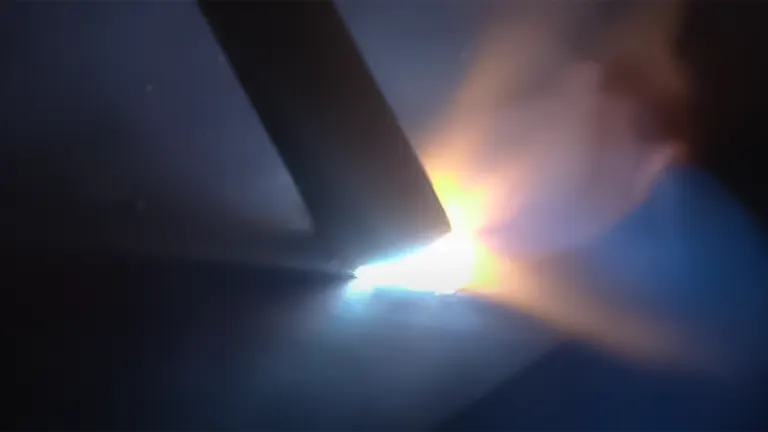
Step 3: Visibility and Control
Maintaining clear visibility of the weld puddle is paramount in stick welding. It’s essential to continuously adjust the angle of the rod to ensure the weld puddle is always in view, as this visibility directly influences the welder’s ability to control the process.
Moving in harmony with the workpiece, while keeping a consistent speed and rod angle, enables the welder to create smooth and uniform welds. This practice helps in avoiding common pitfalls such as uneven bead width or incomplete fusion.
Step 4: Comfort and Posture
A comfortable stance is more than just a matter of convenience; it directly impacts the quality of welding. By securing a stable position and avoiding an overly tight grip on the stinger, a welder can move more fluidly with the welding process.
This relaxed but controlled approach reduces fatigue, allowing for longer periods of welding with greater precision. A comfortable posture is integral to maintaining the fine motor control necessary for high-quality welding.
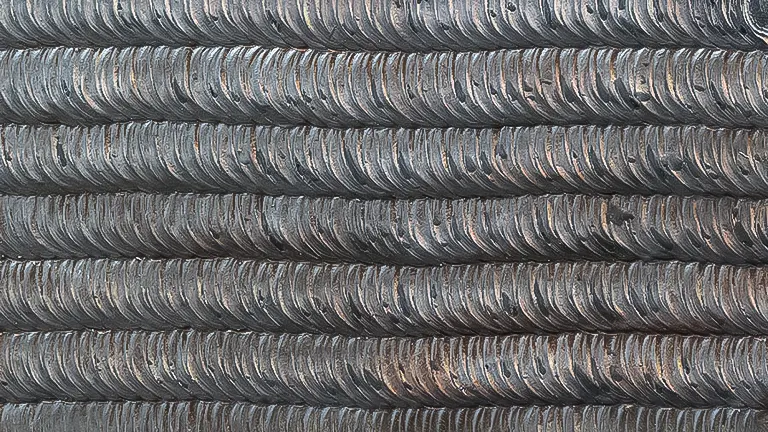
Step 5: Running Beads
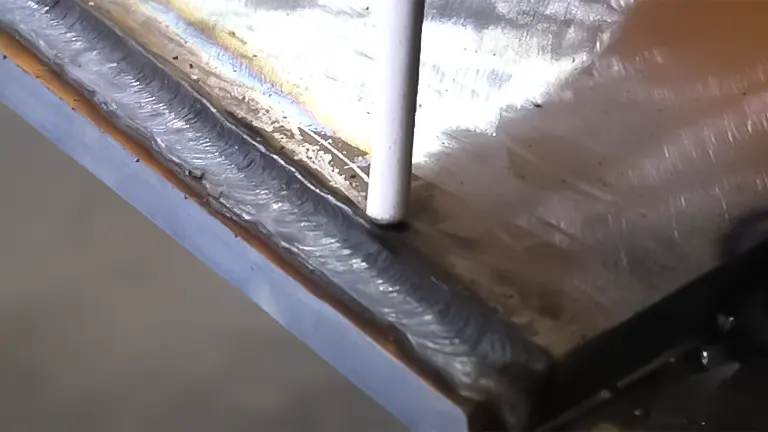
The initial bead is often the most challenging due to the necessity of keeping a consistent distance from the edge of the plate, which serves as a guide. This consistency is key to achieving a straight bead.
Although the first bead may present difficulties, the process becomes progressively easier with each subsequent pass, as the previous beads provide a visual and tactile guide for alignment, contributing to improved accuracy and confidence in running straight beads.
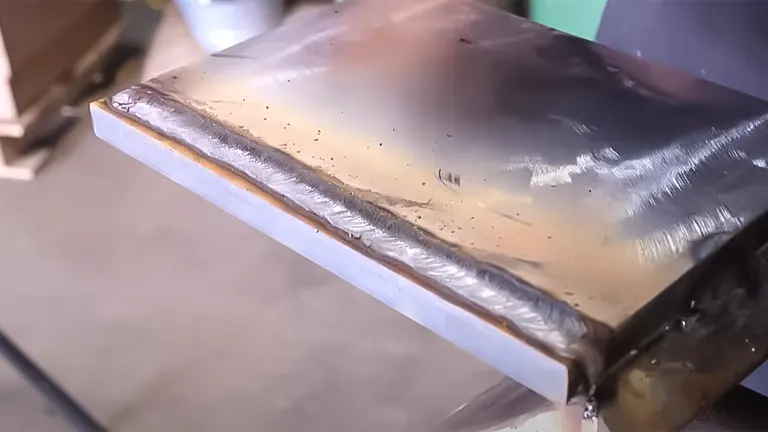
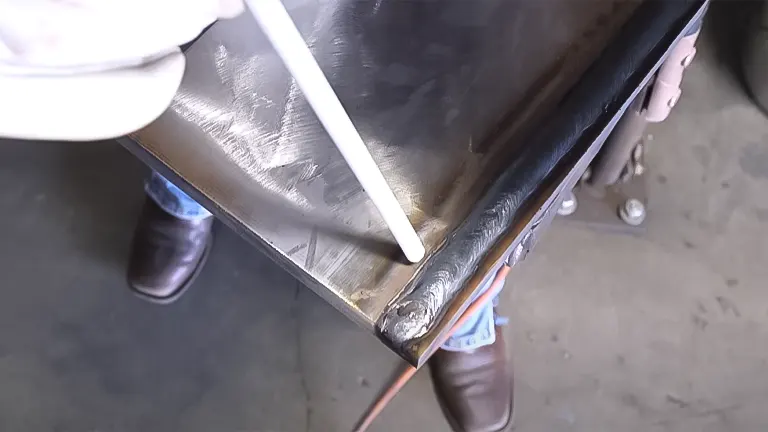
Step 6: Overlap and Alignment
When laying down multiple beads, the alignment of each subsequent bead relative to the previous ones is critical for achieving a uniform weld profile. The trick is to use the toe line of the prior bead as a guideline without overlapping the beads excessively.
Focusing on the puddle’s edge rather than the stick rod itself helps in maintaining the correct placement and ensures that each bead contributes to a cohesive weld with uniform width and spacing.
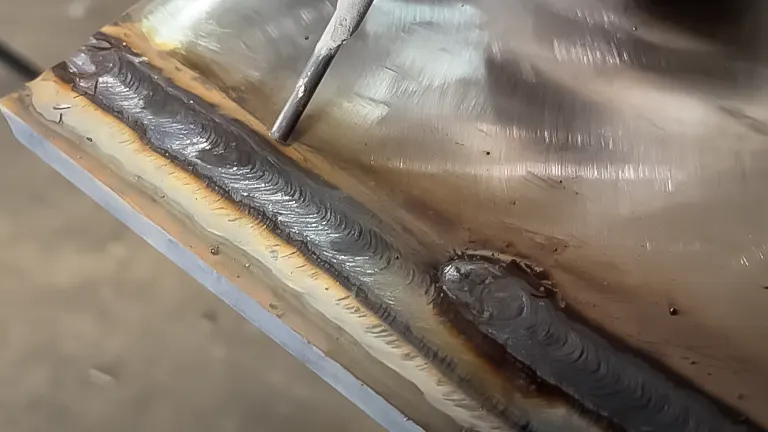
Step 7: Restarting
In longer welding projects, it’s often necessary to stop and restart, a task that can introduce flaws if not done correctly.

To execute a smooth restart, begin a short distance behind where the weld was stopped, striking the arc and moving forward promptly to integrate seamlessly with the existing weld.
This technique minimizes the risk of excessive material build-up or defects at the restart point, ensuring a continuous, uniform weld appearance.
Step 8: Practice and Patience
Achieving proficiency in stick welding, particularly in running straight, consistent beads, is a process that demands patience and practice.
Attention to detail in every aspect of the welding process—from the speed of travel and angle of the rod to the method of feeding the rod into the weld pool—is essential.
Continuous practice not only improves technique but also enhances the welder’s ability to troubleshoot and adjust in real-time, leading to consistently better outcomes.
Pros and Cons
Pros
- Versatility: Stick welding is highly adaptable, allowing you to work in various positions and environments, including outdoors or in windy conditions.
- Forgiving Nature: It’s effective on less-than-ideal surfaces, managing well with rusty or painted materials without the need for meticulous surface preparation.
Cons
- Frequent Electrode Changes: The process demands regular replacement of electrodes, which can interrupt workflow and reduce efficiency.
- Slag Production: Stick welding generates considerable slag that needs to be chipped away post-weld, adding an extra step to the cleaning process.
Related Articles:
- First Welder Guide for DIYers: Practical Tips
- Best 5 MIG Welders: From Budget-Friendly to Premium Picks
- Best Black Friday Welding Machine Deals 2023
- Troubleshooting Common Welding Machine Problems
- Best Cheap MIG Welder on Amazon
- Best Yeswelder Plasma Cutter
- Best MIG Welder by YesWelder
- Best STICK Welder by YesWelder
- Best 110v MIG Welders
- Best 120V MIG Welders
Final Conclusion
Stick welding is a skill that improves with practice and attention to detail. By following these basics, beginners can start to achieve straight, consistent beads, laying the groundwork for more advanced welding techniques. Remember, welding is as much about feel and observation as it is about technique. Adjust your approach based on the feedback from each weld, and don’t hesitate to experiment within the safety norms to find what works best for you.
Frequently Asked Questions
- What is the ideal rod angle for stick welding?
The optimal rod angle for stick welding typically ranges between 10-15 degrees in relation to the workpiece, which can vary slightly based on whether you’re pushing or dragging the rod, as well as your welding position. - How do I maintain a consistent speed when welding?
Maintaining a consistent speed involves practice and developing a steady hand movement. Watching the weld puddle and adjusting your speed to ensure it remains uniform in size is key. - Why is my weld bead uneven or irregular?
Uneven weld beads can result from several factors, including inconsistent speed, incorrect rod angle, fluctuating arc length, or improper rod feeding. Evaluate each aspect to identify and correct the issue. - How can I prevent excessive spatter when stick welding?
To minimize spatter, ensure you’re using the correct amperage setting for your rod size, maintain a consistent arc length, and avoid excessive rod angle adjustments. - What are the signs of underfeeding or overfeeding the rod?
Underfeeding the rod often results in a narrow, high bead with poor penetration, while overfeeding leads to excessive spatter and a wide, shallow bead. Aim for a slight, controlled feed for optimal results. - How do I improve visibility and control during welding?
Keep your helmet and glasses clean for maximum visibility, adjust your rod angle for a clear view of the puddle, and position yourself comfortably to control the weld with precision. - What is the best way to practice running straight, consistent beads?
Practice on scrap metal with varying thicknesses. Start with straight lines, using the edge of the plate as a guide, before progressing to more complex patterns and bead placements. - Can I adjust the amperage while welding?
While welding, it’s not practical to adjust the amperage. However, based on the results of your welds, you can stop and adjust the settings on your machine as needed to find the optimal amperage for your rod size and plate thickness. - How do I ensure proper overlap and alignment when running multiple beads?
Use the toe line of the previous bead as a visual guide for the next one. Aim for a consistent edge of the puddle to overlap the previous bead slightly, ensuring uniformity and strength in the weld. - What should I do if I need to restart a bead?
To restart a bead smoothly, begin slightly ahead of where you stopped, strike the arc, and then move back into the existing bead before proceeding forward. This technique helps to avoid overlap and cold lapping.
We greatly value your input! Please share your experiences and insights regarding the techniques for running straight, consistent beads in stick welding in the comments section below. Whether you’re a beginner or a seasoned welder, your practical tips and personal stories could greatly assist fellow welders in mastering this essential skill. Your contributions not only enrich our community but also empower others to make progress in their welding journey. Let’s help each other achieve welding excellence!

Edward Smith
Forestry AuthorWoodworking is about more than crafting; it's a harmonious connection with nature, mastering tools, and preserving our environment. I'm here to share my knowledge and experiences with you, forging a future where we can embrace wood's beauty and utility while safeguarding our forests' health and diversity.


Leave your comment