How To Clean A Chicken Coop
- January 30, 2024
- 0 comment
I’m thrilled to share my recent journey in meticulously cleaning my chicken coop. As a devoted chicken enthusiast, I fully grasp the significance of maintaining a spotless and healthful environment for our beloved feathered companions. In this comprehensive article, I will walk you through the step-by-step process of cleaning a chicken coop, providing you with a detailed account of my personal experiences and valuable tips along the way.
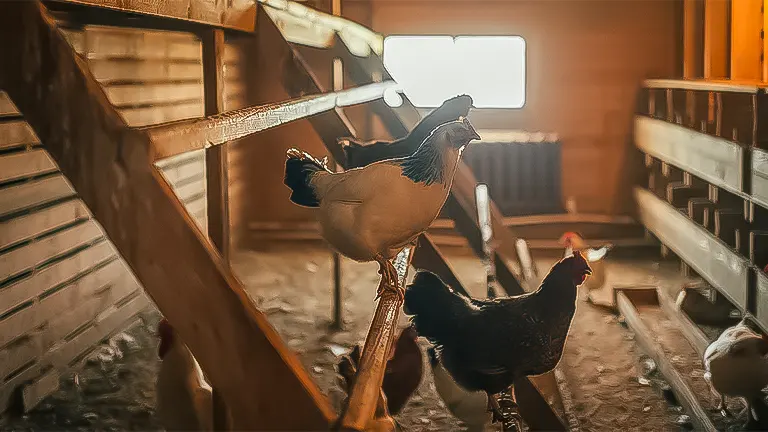
In just a couple of weeks, we are eagerly anticipating the arrival of our new batch of chicks. I am resolute in my commitment to bolster my knowledge and readiness this time around. Reflecting on our experience, when we acquired our last group of hens and hastily brought them home without proper preparation, I recognize the importance of avoiding undue stress and chaos. It’s crucial to ensure that we are fully prepared before welcoming our new chickens into their coop.
For the past several weeks, I have dedicated myself to the meticulous preparation of our coop. My ultimate goal is to create the optimal environment for our incoming chicks, setting them up for a healthy and thriving start in their new home.
During my research, I stumbled upon a highly recommended practice that has resonated with me: the thorough sanitization and disinfection of the chicken coop before introducing a new flock, especially when dealing with vulnerable chicks. It’s important to acknowledge that chicks are more susceptible to diseases or pests that may have lingered in the coop from the previous flock’s presence. By adhering to this practice, we can significantly enhance the well-being of our new feathered additions.
List on How To Clean A Chicken Coop List:
Gather Your Supplies
Before we proceed on the first step in this coop-cleaning journey is to gather all the necessary supplies. Trust me; it’s much more efficient when you have everything ready before you start. Here’s what you’ll need:
- Sturdy gloves
- Rake or pitchfork
- Shovel
- Wheelbarrow or waste removal bucket
- Scrub brush
- Vinegar or specialized chicken coop cleaner
- Fresh bedding (straw or wood shavings)
- Hose or bucket of water
- Optional but recommended: Dust mask
Step-By-Step on How to Clean a Chicken Coop
Step 1: Empty the Coop
Emptying the coop is the next crucial step in this thorough cleaning process. Armed with your gathered supplies, it’s time to get hands-on with the task. Begin by carefully and gently relocating all the chickens from the coop to a secure and temporary area. If you’re dealing with a sizable flock, having an extra pair of hands can be immensely helpful during this phase to ensure the birds’ safe removal.
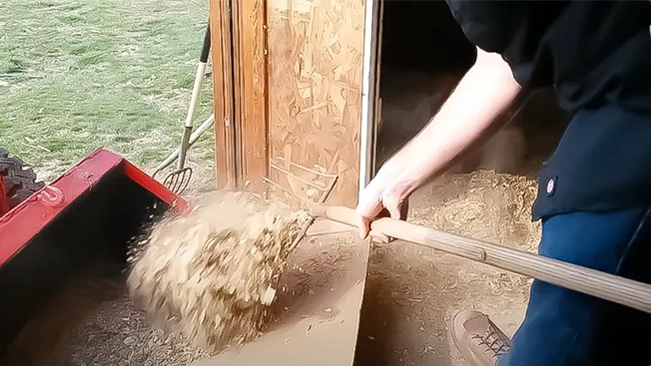
Once the coop is vacated, it’s time to tackle the accumulated mess. Employ your trusty rake or pitchfork to meticulously clear out soiled bedding, discarded feathers, and accumulated droppings. While this part can be physically demanding, it’s absolutely indispensable to eliminate all traces of waste, contributing to a cleaner and healthier coop environment for your feathered companions.
Step 2: Scrub a Dub-Dub
The “Scrub-a-Dub-Dub” phase is a pivotal part of the coop-cleaning process. With the coop emptied and the primary debris removed, it’s now time to roll up your sleeves and give your coop a thorough scrubbing.
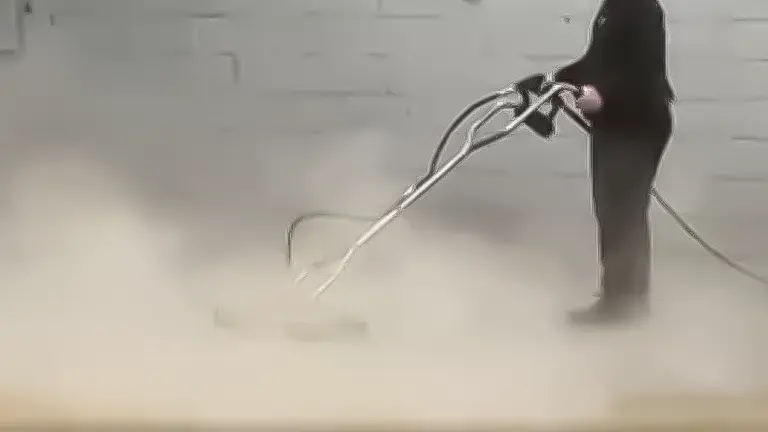
Armed with your scrub brush and a solution of water and vinegar or a specialized chicken coop cleaner, systematically clean all surfaces within the coop. Pay close attention to areas like nesting boxes, perches, and any concealed nooks and crannies where dirt and mites tend to lurk.
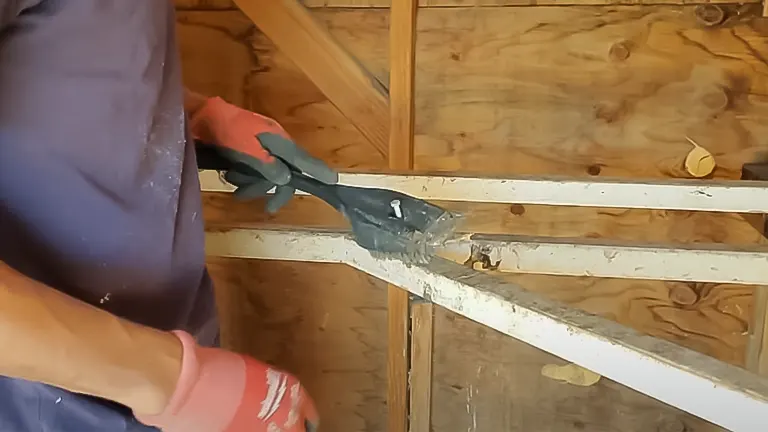
It’s crucial to prioritize safety during this phase. Ensure you’re wearing sturdy gloves to protect your hands from any lingering grime and potential irritants. Additionally, if you have one available, consider wearing a dust mask to shield yourself from the fine dust that can be present in the coop. This dust can be potent and is best avoided to maintain your respiratory health while you work diligently to create a pristine living space for your feathered friends.
Step 3: Rinse and Dry
The “Rinse and Dry” stage is a crucial step in ensuring your chicken coop is not only clean but also safe for your feathered companions. Once you’ve completed the scrubbing process, it’s time to thoroughly rinse the entire coop. This can be accomplished using a hose or, in some cases, buckets of clean water. The objective here is to completely eliminate any remnants of the cleaning solution, as well as any remaining dirt or debris.
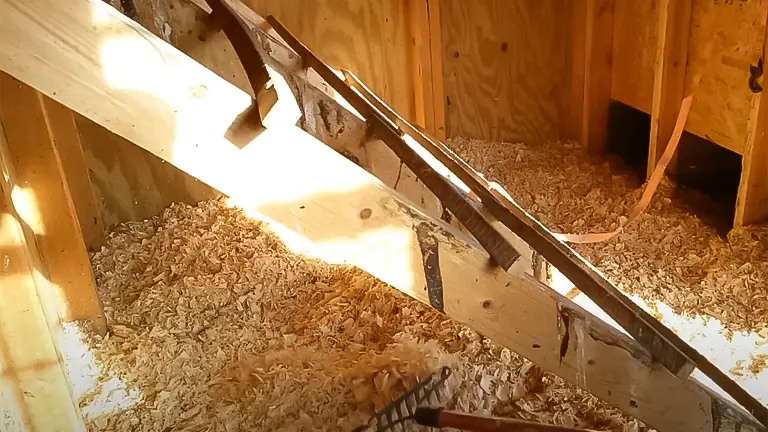
It’s imperative to be meticulous during this step, as any residue from the cleaning solution can potentially harm your chickens. Ensure that every nook and cranny is thoroughly rinsed, leaving no area untouched. Following the rinsing process, allow the coop to air dry completely. This step is vital to prevent any residual moisture from fostering a damp environment that could lead to mold or bacterial growth. A dry coop is not only more hygienic but also more comfortable and inviting for your poultry pals.
Step 4: Add Fresh Bedding
“Add Fresh Bedding” is a crucial step in ensuring the comfort and well-being of your chickens after a thorough coop cleaning. Once your coop has been meticulously cleaned and has had the chance to air dry completely, it’s time to prepare it for the return of your feathered friends. Before reintroducing the chickens, generously spread a fresh layer of bedding material, such as straw or wood shavings, across the floor of the coop.
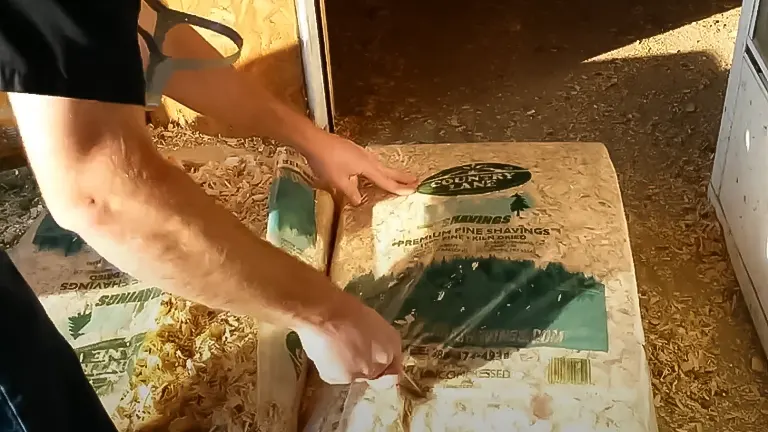
This bedding serves multiple essential purposes. Firstly, it provides a clean and comfortable surface for your chickens to roost on, encouraging them to feel secure and content. Secondly, it helps regulate the temperature within the coop by offering insulation against cold and dampness.
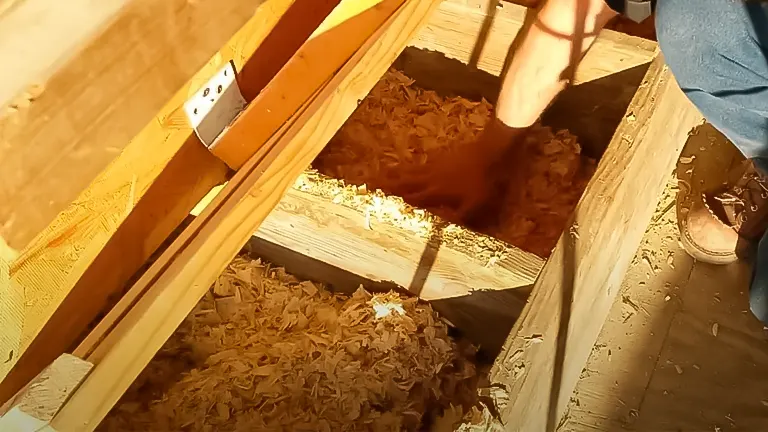
Additionally, fresh bedding absorbs moisture and waste, making it easier for you to maintain cleanliness in the future. By ensuring a cozy and hygienic environment, you are promoting the overall health and happiness of your flock, which is paramount for their well-being and egg-laying productivity.
Step 5: Welcome Your Feathered Friends Back
“Welcome Your Feathered Friends Back” is the heartwarming culmination of your efforts in cleaning and preparing the coop for your chickens. After completing the meticulous cleaning, drying, and bedding stages, it’s time to reunite your poultry pals with their revitalized living space.
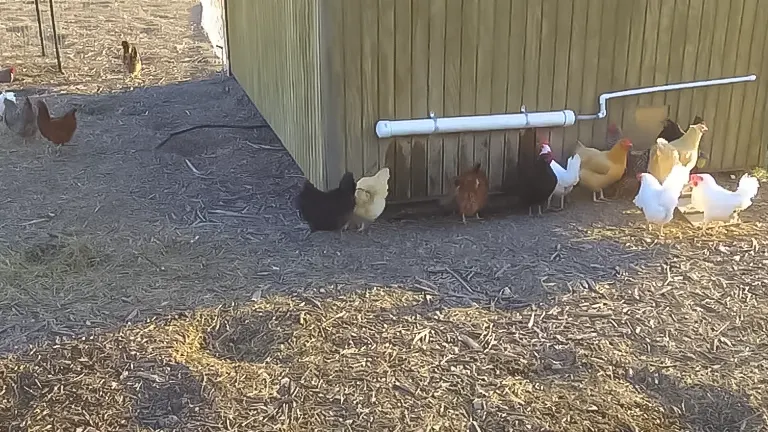
Gently usher them back into the coop, and you’ll likely witness their appreciation for the clean and cozy environment you’ve worked diligently to provide.
Your chickens will benefit greatly from the refreshed surroundings. They’ll feel more at ease and secure in their spotless home, which can lead to reduced stress levels and even enhanced egg production.
The sense of cleanliness not only promotes their physical well-being but also contributes to a more pleasant environment for you, the keeper.
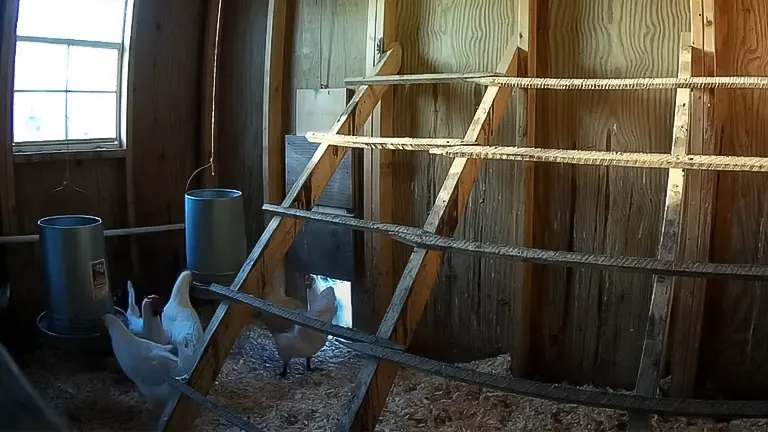
As you observe your contented flock settling back into their sparkling clean coop, you’ll find that the time and effort invested in the cleaning process are undoubtedly worthwhile, fostering a stronger bond between you and your feathered companions.
Related Articles:
- Best Bedding For Chickens
- Best Safe Chicken Coop Heater
- 8×8 Chicken Coop Plans
- Turning a Shed Into a Chicken Coop
- How to Make a Chicken Coop Out of Pallets
- Best Sand for Chicken Coop
- How To Insulate a Chicken Coop
- How To Heat a Chicken Coop
- How To Keep Water from Freezing in Chicken Coop
- How to Build a Chicken Coop
- How To Build Chicken Nesting Boxes
Final Thoughts
In conclusion, undertaking the task of cleaning a chicken coop may initially appear daunting, but it stands as a fundamental responsibility for those dedicated to caring for their feathered companions. I genuinely hope that this comprehensive walkthrough of my personal experience in cleaning a coop has proven to be a valuable resource for you. It is vital to keep in mind that maintaining a clean coop not only benefits the chickens but also plays a pivotal role in responsible chicken keeping.
Ultimately, a well-kept coop contributes to the overall health and contentment of your poultry, aligning with the aspirations of every conscientious chicken keeper. After all, who wouldn’t want to see their chickens thrive in a clean and inviting environment?
Frequently Asked Questions (FAQ’s)
- How often should I clean my chicken coop?
Regular coop cleaning should occur at least once a month, but more frequent spot cleaning may be necessary based on the size of your flock and coop conditions. - What supplies do I need for cleaning a chicken coop?
Common cleaning supplies include gloves, a rake or pitchfork, a shovel, a wheelbarrow or bucket, a scrub brush, vinegar or coop cleaner, fresh bedding, water, and optionally, a dust mask. - Can I use bleach to clean my chicken coop?
It’s generally not recommended to use bleach due to its strong odor and potential harm to chickens. Vinegar or a specialized coop cleaner is a safer choice. - How do I prevent mites and pests during coop cleaning?
Regularly inspect and clean nesting boxes, perches, and corners where mites and pests tend to hide. Consider using diatomaceous earth as a natural pest deterrent. - Should I remove chickens from the coop during cleaning?
Yes, it’s crucial to remove the chickens from the coop to ensure their safety and to clean more thoroughly. - Can I compost chicken coop bedding and waste?
Yes, chicken coop bedding and waste can be composted, but it should be done separately and properly managed to ensure it reaches the right temperature to kill pathogens. - How do I clean nesting boxes?
Remove any old bedding, scrub with a coop cleaner or vinegar solution, rinse thoroughly, and allow them to dry before adding fresh bedding. - What’s the best way to handle manure removal from the coop?
Use a shovel or rake to gather manure and soiled bedding, placing it in a designated compost area or disposing of it properly. - Is it necessary to disinfect the coop before introducing new chicks?
Yes, it’s highly recommended to disinfect the coop, especially when bringing in new chicks, as they are more susceptible to diseases from previous flocks. - How can I maintain a clean coop between deep cleanings?
Regularly remove droppings, replace soiled bedding, and conduct routine spot checks to address cleanliness and potential issues promptly.
We’d greatly appreciate your input! Please feel free to share your own experiences, tips, and thoughts on chicken coop cleaning in the comments section below. Your insights can be incredibly valuable to others seeking guidance on maintaining a clean and healthy coop for their feathered friends!

Edward Smith
Forestry AuthorWoodworking is about more than crafting; it's a harmonious connection with nature, mastering tools, and preserving our environment. I'm here to share my knowledge and experiences with you, forging a future where we can embrace wood's beauty and utility while safeguarding our forests' health and diversity.






Leave your comment