Craft a Box Joint Jig for Precision Table Saw Cuts Review
- December 6, 2023
- 0 comment
Box joints, a woodworking technique valued for both its robustness and visual appeal in joining boards, can be a challenging endeavor when attempted by hand due to the intricate precision required. Crafting accurate box joints manually is a time-consuming task, often demanding a high level of skill and meticulous attention to detail. Enter the box joint jig, a game-changer in simplifying and enhancing the precision of this process. By providing a structured and controlled approach, a box joint jig proves to be an indispensable tool for woodworkers, streamlining the intricate task of creating box joints. This tool not only saves time but also ensures that the joints are precisely cut, resulting in a seamless and visually pleasing connection between boards.
For the past decade, my woodworking endeavors have been accompanied by a rather rudimentary box joint jig, or to be more accurate, a pair of plywood scraps affixed to a miter gauge. Describing it as simple might be an understatement.
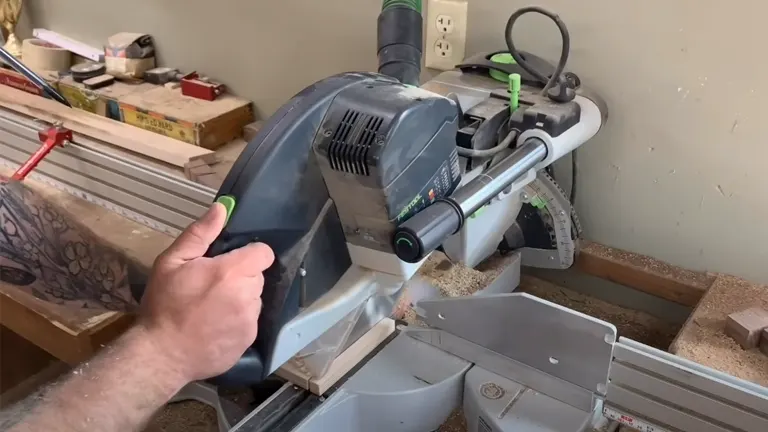
However, after years of relying on this makeshift solution, I felt the need for an upgrade, particularly desiring the precision offered by a micro-adjustable box joint jig, also known as a Finger Joint Jig. Opting to construct a dedicated jig base for my Laguna Fusion F2 tablesaw marked a departure from the conventional method of attaching the jig to a miter gauge.
In this innovative approach, the newly crafted base features runners meticulously tailored to seamlessly fit into the miter slots of my tablesaw. This strategic modification not only enhances precision but also affords the convenience of using the miter gauge for alternate tasks without the hassle of resetting the jig for every use. Simply dropping it into the saw’s slots allows for efficient and uninterrupted woodworking sessions.
What is a Box Joint Jig?
A Box Joint Jig is a specialized tool designed to facilitate the precise cutting of box joints using a table saw. Comprising a base, a fence, and a set of runners, this jig plays a crucial role in guiding the table saw blade with utmost accuracy. The runners, strategically spaced at regular intervals, form the distinctive fingers of the box joint.
To execute the jointing process, the workpiece is securely clamped to the fence, and the entire assembly is systematically fed through the table saw blade. Through this methodical approach, the Box Joint Jig ensures that the resulting box joints are not only perfectly spaced but also impeccably aligned, offering woodworkers a reliable and efficient solution for achieving intricately crafted joints.
Materials Needed
The list of materials and tools you provided is commonly used in woodworking projects, particularly for constructing jigs and fixtures. Here’s some information about each item:
- 1/2″ Plywood or MDF: Both plywood and MDF (Medium Density Fiberboard) are versatile sheet materials commonly used in woodworking. They are stable and provide a flat, smooth surface, making them suitable for constructing the base or components of jigs.
- 1/4″ Hardboard: Hardboard, also known as Masonite, is a dense and smooth panel material. It is often used as a backing or surface layer in jigs and templates due to its durability and resistance to wear.
- 1″ x 2″ Lumber: 1″ x 2″ lumber is a standard dimension for wood stock. It is often used to create structural components or supports in jig construction. Its size makes it versatile for various applications.
- Wood Screws: Wood screws are essential for joining different components of the jig. They provide a strong and durable connection. Selecting the appropriate length and type of wood screws is crucial for the stability and integrity of the jig.
- Wood Glue: Wood glue is used to enhance the bond between wood pieces. When combined with screws, it creates a robust and long-lasting connection. Ensure to use a type of wood glue suitable for your specific woodworking needs.
- Sandpaper: Sandpaper is crucial for smoothing rough edges, refining surfaces, and preparing the wood for finishing. Different grits of sandpaper can be used depending on the desired finish.
- Table Saw: The table saw is a fundamental woodworking tool used for cutting and shaping wood. It is particularly essential for accurately sizing and shaping components of the jig.
- Drill: A drill is necessary for creating holes for screws or other fasteners. Corded or cordless drills can be used based on your preference and the specific requirements of your project.
- Jigsaw: A jigsaw is a versatile tool for cutting curves and intricate shapes in wood. It can be used to cut out specific components or shapes required for your jig.
- Router: A router is a powerful tool used for hollowing out an area in wood or creating decorative edges. In jig construction, a router may be used for adding grooves, slots, or other specialized features.
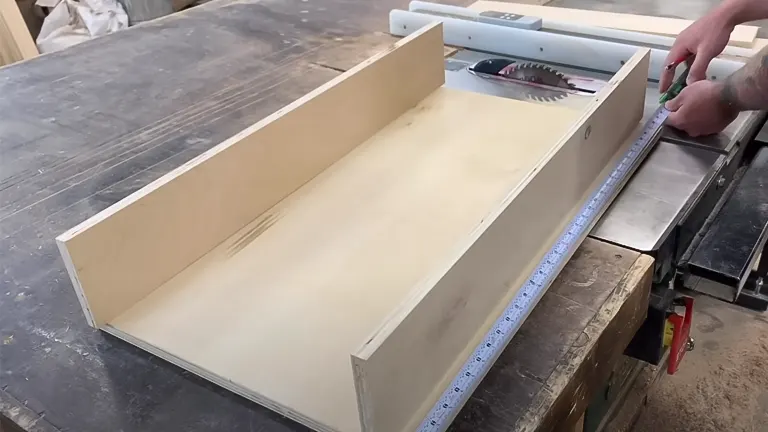
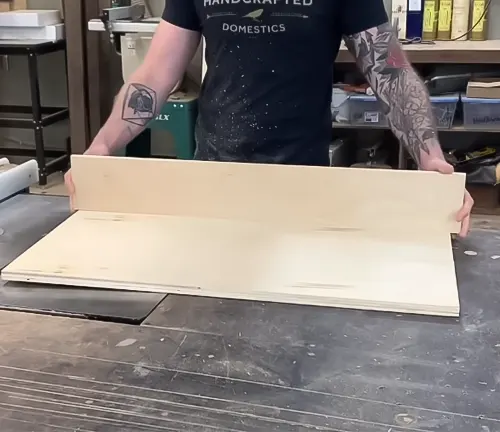
Cut the Base
To begin crafting the box joint jig, start by cutting the base from a sturdy material such as 1/2″ plywood or MDF. The dimensions of the base hinge on the desired box joint size; for 1/2″ thick joints, a base measuring at least 6″ x 12″ is recommended. Precision in this step is key, as the accuracy of subsequent cuts relies on a well-measured and precisely cut base.
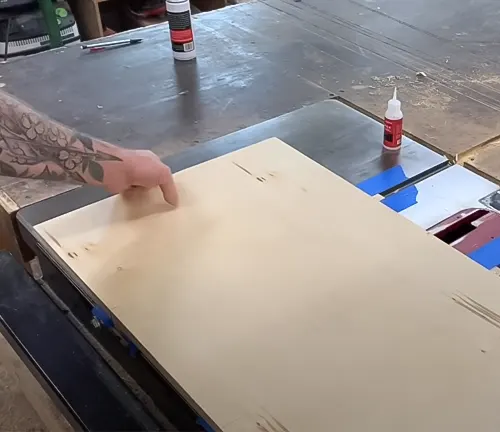
Attach the Fence
Next, affix the fence, a crucial component made from 1/4″ hardboard, to the front of the base. The height of the fence should align with the height of the table saw blade. Proper attachment ensures a straight guide for the wood pieces during the cutting process, contributing to the overall precision of the box joint jig.
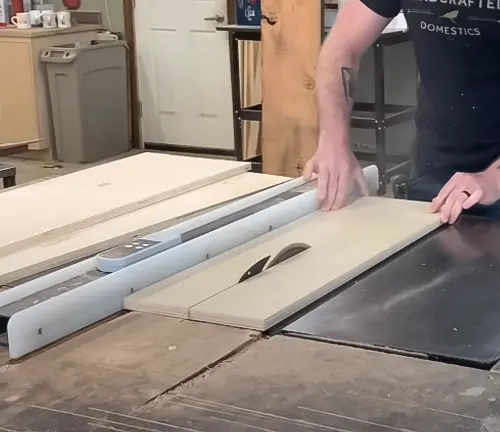
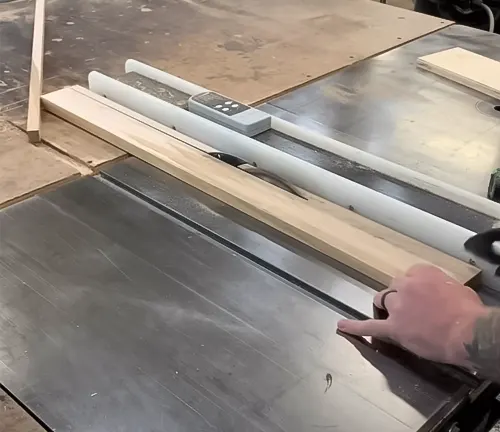
Cut the Runners
The runners, constructed from 1″ x 2″ lumber, play a pivotal role in determining the width of the box joint fingers. For 1/2″ thick box joints, aim for runners that are 1/4″ wide. Employing a table saw or a reliable cutting tool, carefully shape these runners to the desired dimensions, maintaining accuracy to ensure uniform box joint fingers.
Space the Runners
Achieving even spacing between the runners is essential for consistent box joint patterns. Utilize a spacer block with the same thickness as the intended fingers of the box joint. This tool assists in establishing equal intervals, contributing to the precision and alignment of the jig.
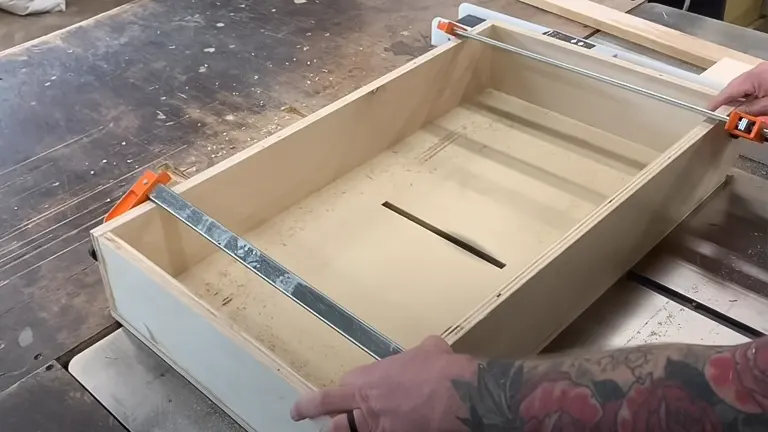
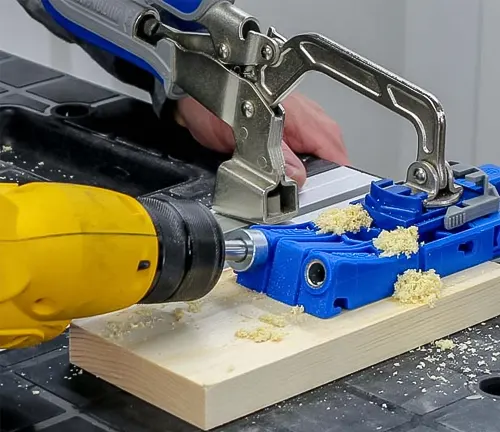
Attach the Runners
Securely attach the runners to the base using either wood screws or wood glue. The choice between these methods depends on personal preference and the desired sturdiness of the jig. Proper attachment ensures that the runners remain stable during operation, preventing any unwanted movement that could compromise the accuracy of the cuts.

Sand the Jig
Once the box joint jig is fully assembled, take the time to sand all surfaces meticulously. Smoothing out any rough edges or imperfections not only enhances the jig’s aesthetic appeal but also ensures that the wood pieces glide effortlessly through the jig during use. This final step adds a touch of finesse to the jig, complementing its functional precision with a polished finish.
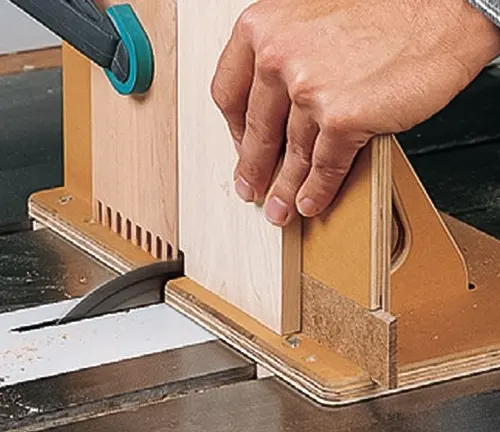
Using the Metering Jig Saw
When employing the box joint jig, the process is straightforward and efficient. Begin by securely clamping the workpiece to the fence of the jig, ensuring that it is positioned firmly for the upcoming cut. With the workpiece in place, carefully feed the entire jig through the table saw blade. As the jig moves through the cutting process, its design and structure come into play, guiding the blade with precision. The result is the creation of impeccably spaced and aligned box joints.
This method not only streamlines the box joint cutting process but also guarantees a high level of accuracy, allowing woodworkers to achieve professional-grade joints with ease. The simplicity of the jig’s operation, combined with its ability to produce consistent and refined results, makes it an invaluable tool for woodworkers seeking efficiency and precision in crafting box joints for their projects.
Tips:
- Use a sharp table saw blade.
- Make sure the workpiece is securely clamped to the fence.
- Feed the jig slowly and evenly through the table saw blade.
- Stop the jig frequently to clear sawdust from the blade.
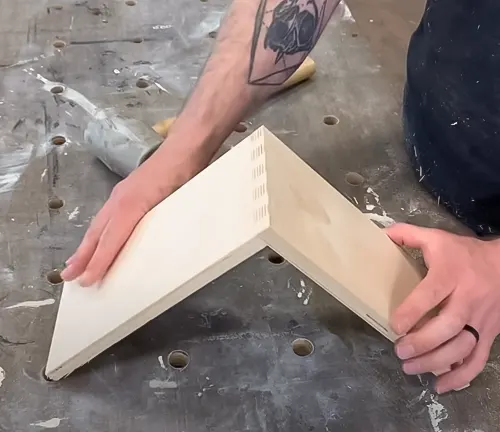
Using Ultimate Box Joint Jig
Utilizing the Ultimate Box Joint Jig proved to be a seamless process as I meticulously set it up, ensuring it was squared to my table saw blade and equipped with my dado blade set—a prerequisite for optimal performance. The efficiency of this jig was evident as I effortlessly produced tight and accurate finger joints within a matter of minutes, showcasing its effectiveness in enhancing precision.
However, a minor design flaw surfaced during my experience—specifically, the two adjusting wing nuts responsible for fine-tuning the front plate proved to be uncomfortably close to the bottom of the jig sled, adjusting somewhat challenging. To remedy this, I ingeniously employed my cordless screwdriver to tighten the screw end of the bolt while securing the wing nut manually, effectively resolving the issue.
While I found the Ultimate Box Joint Jig to be notably user-friendly and easily adjustable compared to homemade alternatives, it’s worth noting that clearer instructions from Eagle America on utilizing the jig would be a valuable improvement for users.
Conclusion
To sum up, the box joint jig stands out as an indispensable asset for woodworkers seeking the pinnacle of precision in crafting box joints. Its significance lies not only in its ability to facilitate the creation of precise joints but also in the accessibility it offers to craftsmen. By investing a bit of time, care, and attention, any woodworker can construct their own box joint jig tailored to their specific needs. The advantage of creating a personalized jig is not just in the cost-effectiveness but also in the tailored control it provides over the dimensions and intricacies of the joints. This DIY approach ensures that the resulting box joints meet the highest standards of quality and precision, showcasing the craftsmanship and dedication of the woodworker. As an essential addition to any woodworking toolkit, the box joint jig empowers enthusiasts and professionals alike to elevate the caliber of their projects with ease and accuracy.
Frequently Asked Questions
- What materials are suitable for crafting a box joint jig? Crafting a box joint jig requires materials like 1/2″ plywood or MDF for the base, 1/4″ hardboard for the fence, and 1″ x 2″ lumber for the runners. Wood screws, wood glue, sandpaper, and access to tools such as a table saw, drill, jigsaw, and router are also essential.
- What determines the size of the base when making a box joint jig? The size of the base depends on the desired box joint dimensions. For 1/2″ thick box joints, it is recommended to have a base at least 6″ x 12″.
- How do you achieve precision in spacing the runners for box joints? Precision in spacing the runners is achieved using a spacer block with the same thickness as the intended fingers of the box joint. This ensures equal intervals between the runners for consistent joint patterns.
- What is the purpose of the fence in a box joint jig? The fence, typically made of 1/4″ hardboard, is attached to the front of the base and serves as a guide for the workpiece during the cutting process. It ensures straight and accurate cuts.
- Can I use wood screws or wood glue to attach the runners to the base? Yes, the choice between wood screws and wood glue depends on personal preference. Both methods are effective, with wood screws providing added stability.
- How do you use the box joint jig during a table saw operation? To use the jig, clamp the workpiece to the fence and feed the jig through the table saw blade. The jig guides the blade, resulting in perfectly spaced and aligned box joints.
- What are the benefits of sanding the box joint jig once assembled? Sanding the jig post-assembly is essential for smoothing out any rough edges or imperfections. This not only enhances the jig’s aesthetics but also ensures a seamless and effortless operation.
- Can a box joint jig be customized for different box joint sizes? Yes, the versatility of a box joint jig allows for customization based on the desired joints sizes. Adjustments in the dimensions of the base, runners, and fence can be made to accommodate various woodworking projects.
We welcome your input! Feel free to share your own experiences and reflections on the Ultimate Box Joint Jig in the comment section below. Your personal insights can be incredibly helpful for other woodworkers, providing practical perspectives that contribute to well-informed decisions. Whether you’ve discovered effective techniques for using the jig or have noteworthy project outcomes to discuss, your thoughts matter. Join the discussion and be a part of a community where woodworkers support each other in achieving precision in their craft!

Edward Smith
Forestry AuthorWoodworking is about more than crafting; it's a harmonious connection with nature, mastering tools, and preserving our environment. I'm here to share my knowledge and experiences with you, forging a future where we can embrace wood's beauty and utility while safeguarding our forests' health and diversity.


Leave your comment