How to Make Incubator For Chicken Eggs: Insider Techniques and Tips
- March 13, 2024
- 1 comment
Embarking on the process of hatching chicken eggs at home is an exciting and enriching endeavor that can transform a simple space into a vibrant breeding ground. With the right techniques, tools, and knowledge, you’re well-equipped to oversee the development of life from egg to chick.
This guide aims to streamline your journey into egg incubation, offering well-researched advice and expert insights to ensure a high success rate. Whether you’re a seasoned farmer or a curious hobbyist, the comprehensive tips provided will help you foster a nurturing environment for your soon-to-be hatchlings, making the entire hatching process a rewarding experience.
List of How To Make Incubator For Chicken Eggs:
- Temperature: The Lifeline of Incubation
- Humidity: Balancing the Atmosphere
- Ventilation: Ensuring Fresh Air
- Egg Turning: Simulating Natural Conditions
- Monitoring and Adjusting
- The Final Countdown: Preparing for Hatch Day
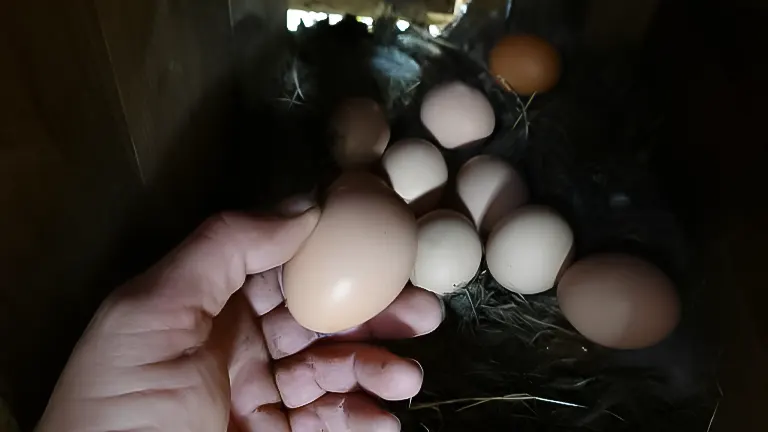
Understanding the Basics of Egg Incubation
Choosing the right incubator is a crucial step in the process of hatching chicken eggs. The market offers a spectrum of models, from basic manual versions to advanced automatic systems. When selecting an incubator, it’s essential to consider your specific requirements.
The capacity of the incubator should align with the number of eggs you plan to hatch. Features such as automatic egg turning can greatly simplify the process, reducing the need for manual handling and thus, the risk of contamination or temperature fluctuation.
Equally important are accurate temperature and humidity controls, which are fundamental to the development of the embryos. These controls should be easy to adjust and reliable, as consistent conditions are imperative to achieving a high hatch rate. Ultimately, the incubator you choose should serve as a dependable and efficient tool in realizing your egg hatching goals.
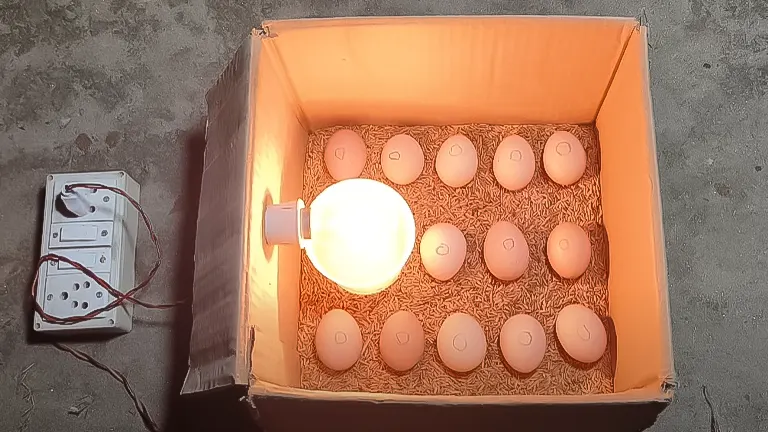
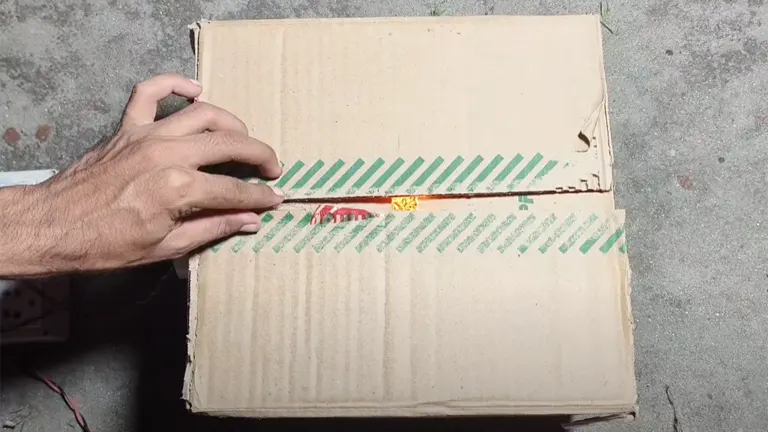
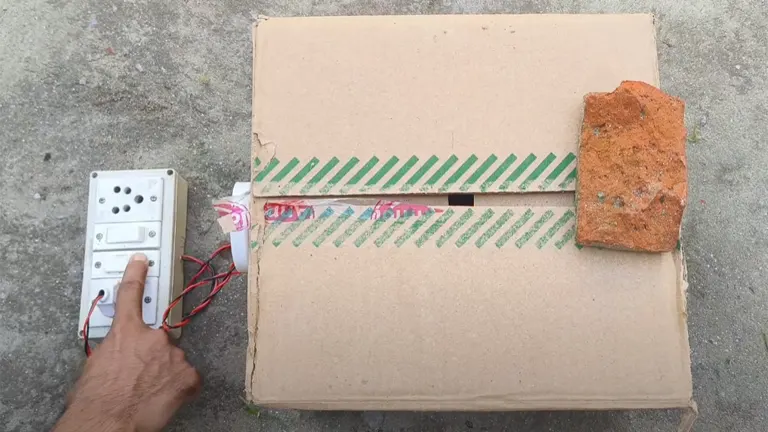
6 Step By Step For Making The Incubator For Chicken Eggs
1. Temperature: The Lifeline of Incubation
Keeping the incubation temperature at an exact 99.5°F (37.5°C) is critical for embryo development. Small changes in temperature can significantly impact their growth.
Continual monitoring with a reliable digital thermometer is essential to maintain this delicate balance and ensure the health of the developing chicks.
2. Humidity: Balancing the Atmosphere
During incubation, maintaining humidity levels between 45-55% for the first 18 days and raising them to 65-75% towards the end is vital for the eggs’ moisture and successful hatching.
Using hygrometers or humidity gauges allows for accurate monitoring, ensuring the eggs receive the right amount of moisture throughout the process.
3. Ventilation: Ensuring Fresh Air
Proper ventilation provides the essential fresh air needed by developing embryos, balancing the need for oxygen against the risk of drying out the eggs.
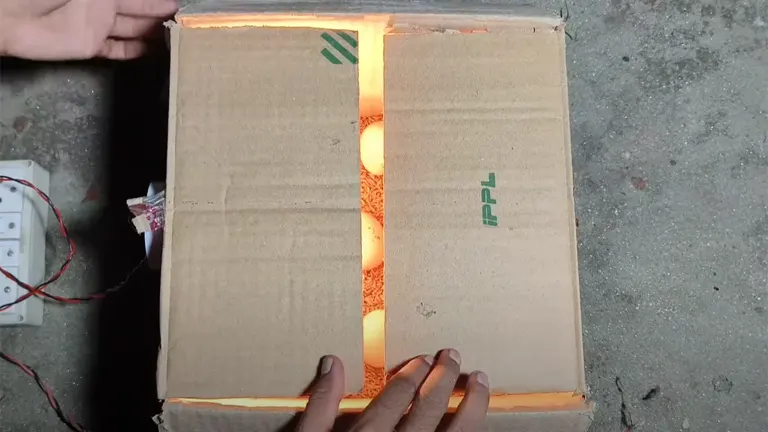
Modern incubators with adjustable vents are crucial for managing airflow, ensuring the environment remains conducive to embryo development.
4. Egg Turning: Simulating Natural Conditions
Rotating the eggs three to five times daily until day 18 mimics the natural actions of a hen and is key to preventing the embryo from adhering to the shell, promoting uniform warmth.
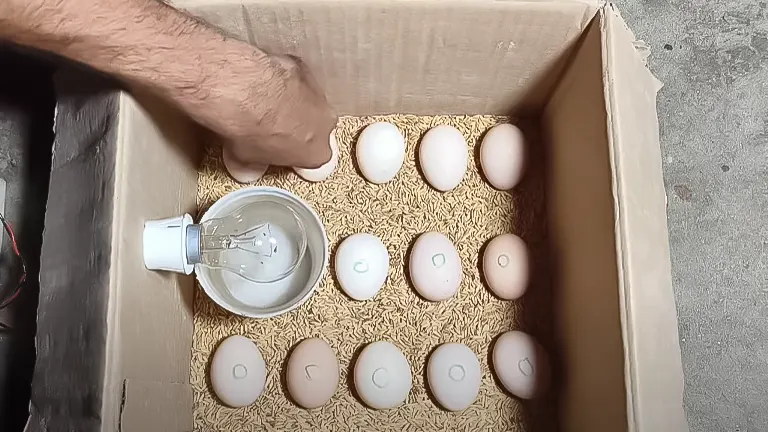
Automatic incubators are particularly useful for this task, offering consistent turning without manual effort.
5. Monitoring and Adjusting
Careful observation and adjustments to temperature, humidity, and ventilation are necessary to cater to the incubator’s performance and the needs of the developing embryos.
Timely adjustments can be the difference between success and failure in egg incubation.
6. The Final Countdown: Preparing for Hatch Day
In anticipation of hatch day, it’s important to set up a warm, safe brooding area for the chicks, complete with food and water.
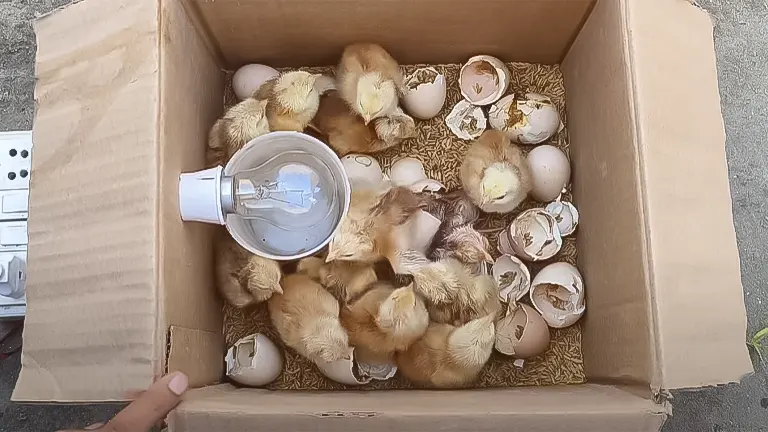
The emergence of chicks is not only a rewarding finale to your efforts but also a moment of transformation, marking the beginning of new life.
Pros and Cons: A Balanced View
While DIY egg incubation offers a rewarding hands-on experience, it also demands commitment and precision. The pros include the joy of witnessing the miracle of life and the ability to control the hatching process. However, the cons involve the initial investment in equipment and the need for constant monitoring and adjustments.
Additional Tips For User’s
Here are five additional tips for users looking to make and use their own chicken egg incubator effectively:
- Stable Environment: Place your incubator in a location free from drafts and where the room temperature is relatively stable. Fluctuations in room temperature can make it harder to maintain a consistent internal environment.
- Water Reservoirs: Use multiple small water trays instead of one large one to adjust humidity levels more precisely. This allows for finer control over the incubation atmosphere.
- Calibration is Key: Before starting your incubation, calibrate your thermometer and hygrometer. Accurate readings are crucial for the successful development of the embryos.
- Emergency Preparedness: Have a backup power source ready in case of an outage, especially during the critical stages of incubation. A few hours without heat can jeopardize the entire process.
- Record Keeping: Keep detailed records of temperature, humidity, egg turning, and any observations. This data can be invaluable for troubleshooting issues and improving future hatch rates.
Related Articles:
- Best Bedding For Chickens
- Best Safe Chicken Coop Heater
- 8×8 Chicken Coop Plans
- Turning a Shed Into a Chicken Coop
- How to Make a Chicken Coop Out of Pallets
- Best Sand for Chicken Coop
- How To Insulate a Chicken Coop
- How To Heat a Chicken Coop
- How To Keep Water from Freezing in Chicken Coop
- How to Build a Chicken Coop
- How To Build Chicken Nesting Boxes
- How to Raise Happy and Healthy Chickens in Your Backyard
- When Can Chicks Go Outside? Timing and Tips for a Smooth Transition
- 12 Reasons why Ducks are Better than Chickens
- Best Automatic Chicken Coop Doors 2024: Expert Reviews & Buyer’s Guide
- Best Fans for Chicken Coop 2024: Effective Cooling Solutions Reviewed
Recommendation For Best Uses
- Educational Projects: Ideal for schools or home education, teaching students about the lifecycle of chickens and the basics of embryology.
- Poultry Hobbyists: Perfect for chicken enthusiasts looking to breed specific poultry varieties or expand their flock with a hands-on approach.
- Sustainable Living: Suitable for individuals pursuing self-sufficiency and aiming to produce their own food, starting with hatching their own chickens.
- Small-Scale Farming: Great for small farmers or homesteaders who need to hatch limited numbers of eggs without investing in commercial equipment.
- Science Experiments: An excellent choice for science fairs or biological studies, allowing for controlled experiments on the effects of varying incubation conditions.
Final Conclusion
DIY chicken egg incubation is a fascinating venture that can lead to successful hatchings with the right knowledge and tools. By following these guidelines and maintaining a diligent watch over your incubating eggs, you’re well on your way to experiencing the joy of hatching your own chicks. Remember, patience and attention to detail are your best allies in this journey.
Frequently Asked Questions
- What temperature should be maintained in a DIY chicken egg incubator?
Maintain a steady temperature of 99.5°F (37.5°C) inside the incubator to ensure optimal embryo development. - How often should the humidity level be checked in the incubator?
Check and adjust humidity levels daily, aiming for 45-55% during the first 18 days and increasing to 65-75% for the last few days before hatching. - Is ventilation important in an egg incubator, and how can it be regulated?
Yes, proper ventilation is crucial for supplying fresh air to developing embryos. Most modern incubators come with adjustable vents to help regulate airflow effectively. - How frequently should eggs be turned in the incubator?
Eggs need to be turned at least three to five times per day until day 18 to prevent the embryo from sticking to the shell and ensure even heat distribution. - Can I use any thermometer and hygrometer for my incubator?
It’s best to use reliable, digital thermometers and hygrometers designed for incubators to ensure accurate temperature and humidity readings. - What materials do I need to build a DIY incubator?
Essential materials include a well-insulated box, a heat source, a fan for ventilation, a water tray for humidity, and devices to monitor temperature and humidity. - How can I tell if the eggs are developing correctly during incubation?
Candling the eggs, which involves shining a bright light through them in a dark room, can help you see the developing embryos and check for viability. - What should I do if the temperature or humidity is too high or too low?
Adjust the incubator’s settings accordingly. If it lacks automatic controls, manually regulate the heat source, water levels, or ventilation to correct the levels. - How do I prepare for hatch day?
Increase humidity, stop turning the eggs, and prepare a brooder with a heat source, bedding, food, and water for the chicks. - What are common mistakes to avoid when using a DIY incubator?
Avoid opening the incubator frequently, not turning the eggs enough, incorrect temperature or humidity levels, and poor ventilation, as these can negatively impact embryo development and hatching success.
We’re eager to hear from you! Share your own experiences and insights on creating and using an incubator for chicken eggs, following the “How To Make Incubator For Chicken Eggs: Insider Techniques and Tips.” Your valuable input could assist fellow enthusiasts in navigating the complexities of egg incubation and achieving success. Drop your thoughts and advice in the comments section below and contribute to our community’s collective knowledge!

Edward Smith
Forestry AuthorWoodworking is about more than crafting; it's a harmonious connection with nature, mastering tools, and preserving our environment. I'm here to share my knowledge and experiences with you, forging a future where we can embrace wood's beauty and utility while safeguarding our forests' health and diversity.


Thanks for the useful tips
Matthew H
March 18, 2024 11:45 am